
Creating easy wall art is a fun and straightforward process. First, gather your materials like paint, brushes, and canvases. Then choose a design that matches your style. Prepare your workspace by keeping it organized and well-lit. Experiment with textures and colors to bring your vision to life. Allow your artwork to dry before hanging it. With a bit of creativity and experimentation, you'll create stunning decor pieces that enhance your space—stick around to discover more tips and ideas!
Key Takeaways
- Gather essential materials like acrylic paint, canvases, and unique items from thrift stores for creative wall art projects.
- Choose a design that reflects your style, and prepare a clean workspace for a smooth creative process.
- Experiment with texture and color by mixing paint with baking soda or incorporating natural materials for added depth.
- Allow your artwork to dry in a well-ventilated area, avoiding direct sunlight to prevent damage.
- Showcase your finished pieces by creating a gallery wall or using thrifted frames to enhance your decor.
Gathering Your Materials
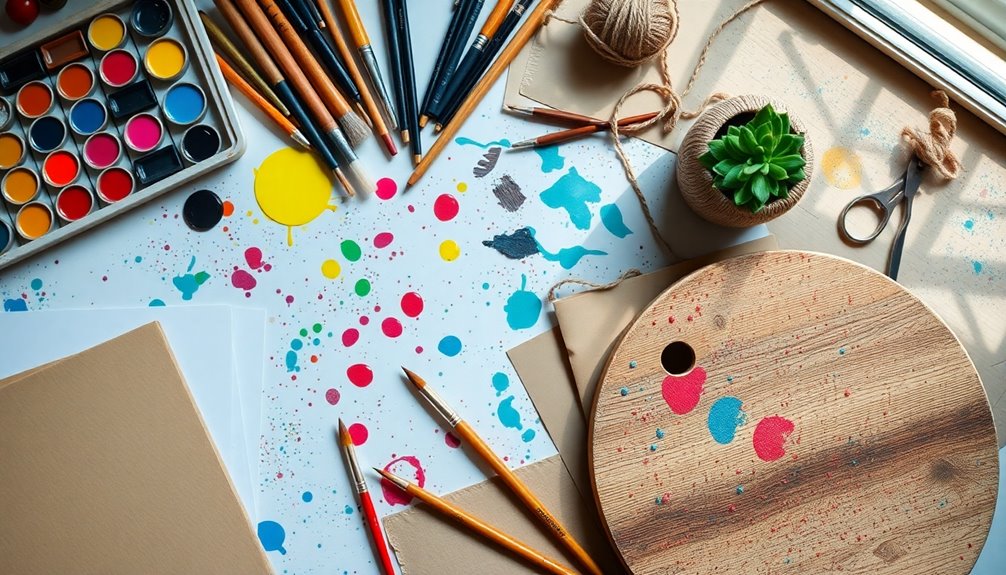
Before you immerse yourself in your DIY wall art project, it's essential to gather all the necessary materials. Start by collecting basic tools like paintbrushes, acrylic paint, and blank canvases, which you can find at affordable prices in art supply stores or thrift shops.
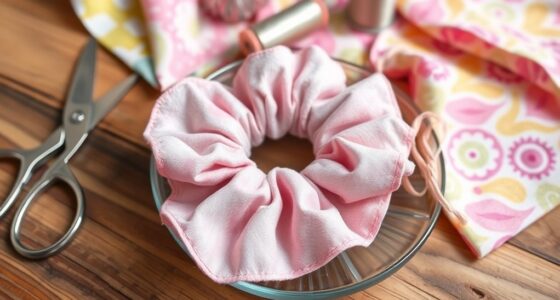
To create unique pieces, consider sourcing materials from thrift stores or your home—old linens, fabric scraps, and unused picture frames can add character to your artwork.
Don't forget to utilize natural materials like leaves and flowers for inspiration or texture. Gather budget-friendly supplies like painter's tape for clean lines and cardstock for backing. Additionally, using eco-friendly materials ensures that your creative process is safe for both your family and the environment.
Embrace your imagination, experiment with different materials and techniques, and let your personal style shine through in your handmade decor.
Choosing Your Design
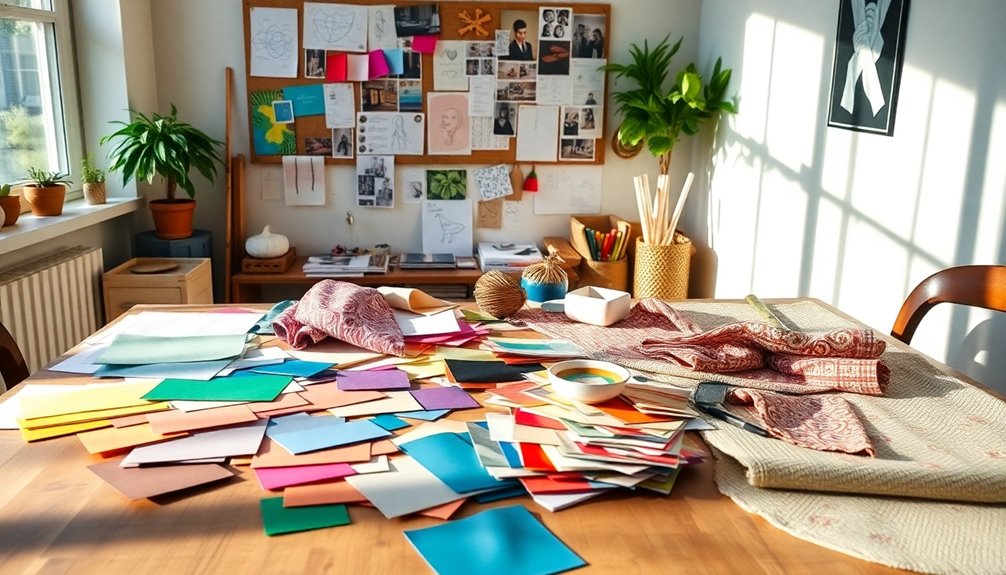
With your materials ready, it's time to focus on choosing a design that reflects your personal style and enhances the room's theme.
Start by considering what resonates with you, whether it's abstract designs or botanical themes. Research popular trends to spark your creativity and inspire your direction.
A great way to visualize your ideas is by creating a mood board filled with images, color palettes, and materials that speak to you.
Once you have some inspiration, sketch out a few design ideas on paper to see how different elements combine.
Don't hesitate to experiment with various materials and painting techniques, allowing your artistic expression to shine through in your final design.
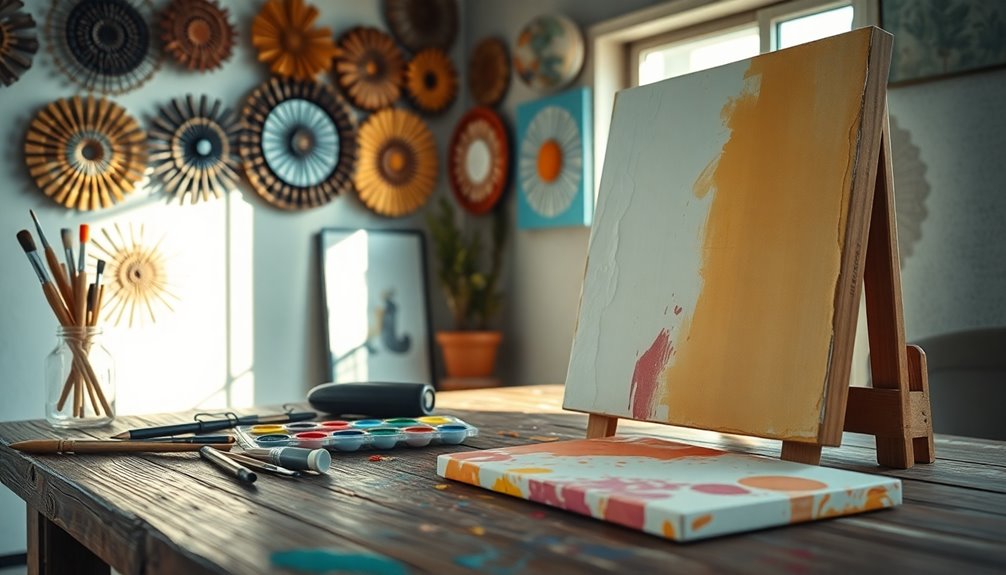
Preparing Your Workspace
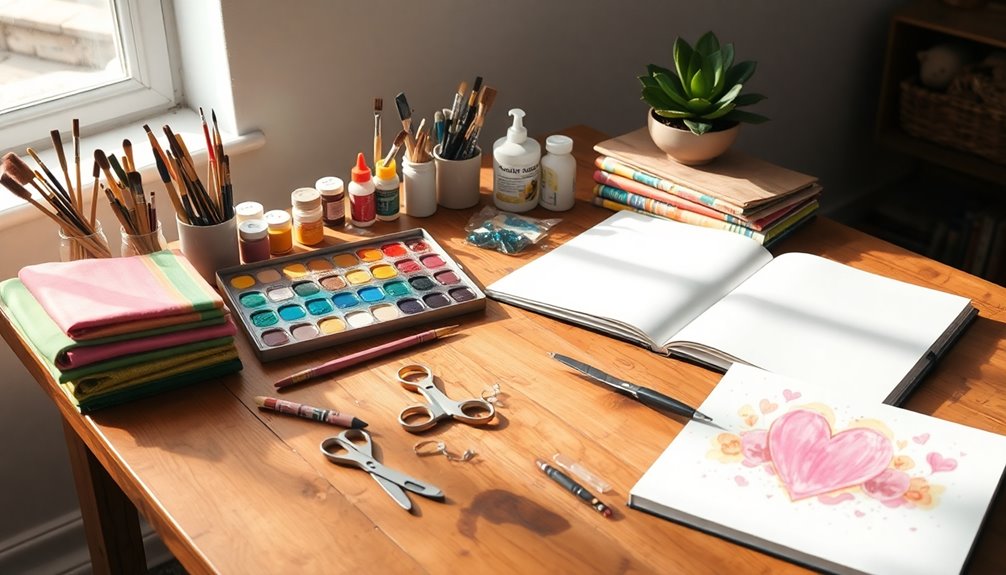
Before you start your DIY wall art project, make sure you've gathered all your necessary supplies and organized your space.
Having everything within reach will keep you focused and make the process smoother.
Don't forget to protect your area to avoid any messy surprises!
Gather Necessary Supplies
Creating your DIY wall art starts with setting up a clean and organized workspace, as this lays the foundation for a smooth creative process.
Make sure you've got ample room to work and easy access to your materials. Here's a quick list of supplies you'll need to gather before diving in:
- Canvas
- Paint
- Brushes
- Painter's tape
Don't forget to protect your surface with a drop cloth or newspaper to catch any spills.
Proper lighting is essential too, as it helps you accurately gauge colors and details while you create. Additionally, having a well-structured workspace can enhance your energy efficiency during the crafting process, allowing you to focus more on creativity.
With all your supplies organized and within reach, you'll find that the creative flow becomes much easier.
Happy crafting!
Organize Your Space
To get the most out of your DIY wall art experience, it's important to organize your space effectively.
Start by clearing a dedicated workspace, removing any clutter, and making sure you have ample room for your supplies like canvases, paints, and brushes. Gather all necessary materials to minimize interruptions during your creative process.
Lay down a drop cloth or old newspapers to protect your workspace from paint spills and splatters. Organize your materials in containers or trays for easy access, helping maintain a streamlined workflow.
Finally, make certain your workspace has good lighting—either natural light or bright artificial lamps—so you can accurately see colors and details as you create. A clean and organized environment supports a healthier lifestyle and makes for a more enjoyable and productive art session!
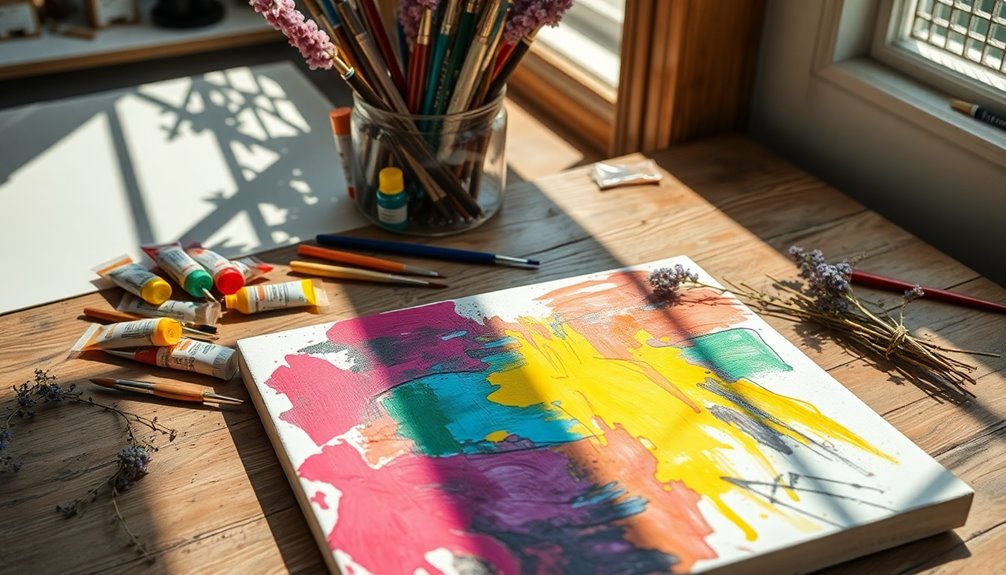
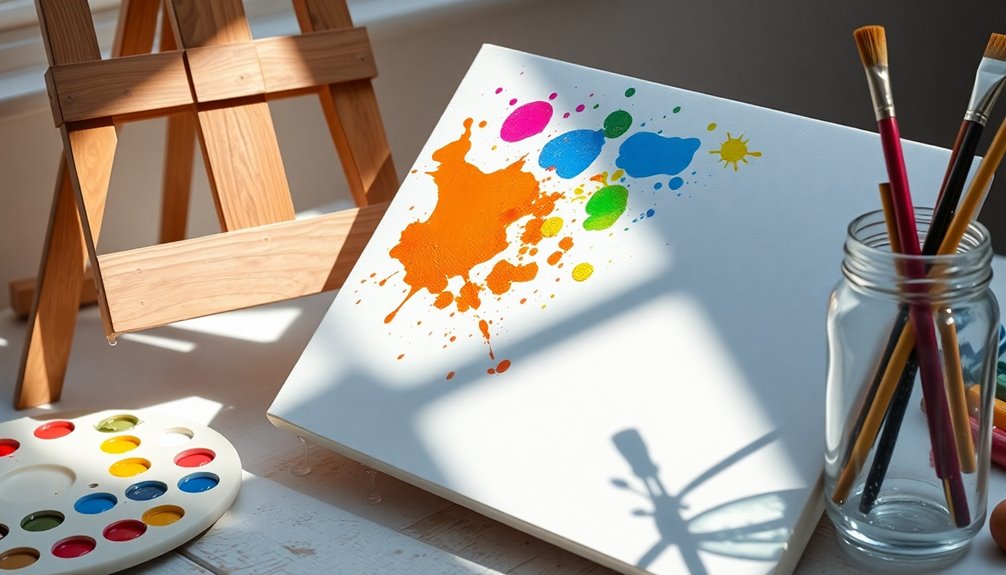
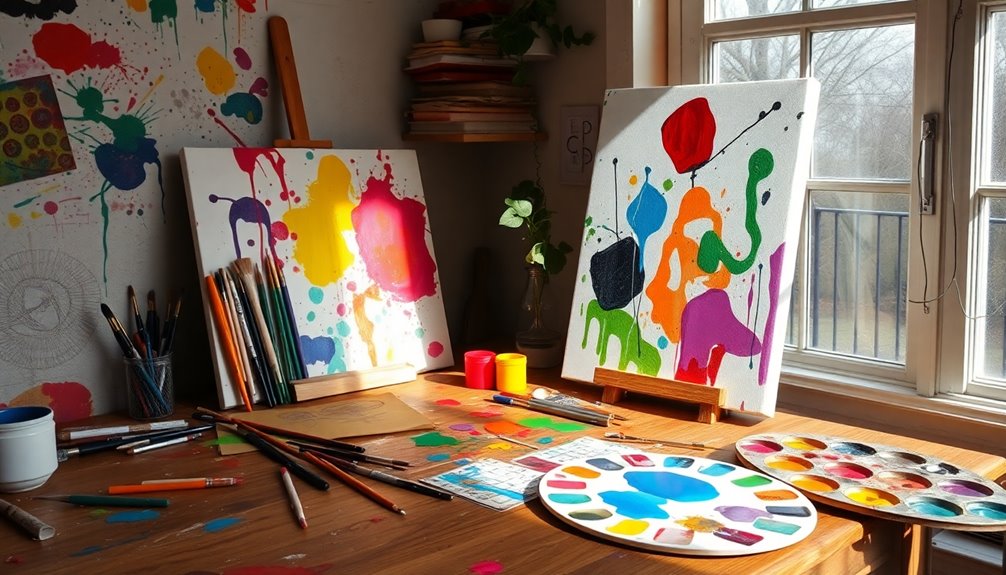
Applying Texture and Color

While experimenting with texture and color in your wall art, you can transform a simple canvas into an enchanting piece. Start by using spackling or mixing acrylic paint with baking soda for a gritty texture.
Try these layering techniques:
- Apply multiple coats of paint for depth.
- Use a putty knife to create waves in spackling.
- Incorporate natural materials like leaves or fabric scraps.
- Mix shades and hues for a stunning gradient effect.
These methods will enhance the tactile quality and visual interest of your artwork.
Remember to let each layer dry completely before adding the next one. This practice not only guarantees a professional finish but also prevents unwanted blending or smudging in your masterpiece.
Allowing Your Artwork to Dry
Once you've finished your artwork, giving it the right time and conditions to dry is essential.
Make sure to place it in a well-ventilated area to speed up the process and prevent any unwanted smudging.
Optimal Drying Conditions
Ensuring your artwork dries properly is essential for achieving the best results, so placing it in a well-ventilated area can greatly enhance the drying process.
Avoid direct sunlight, as excessive heat can cause your paint color to dry too quickly, leading to cracks or uneven surfaces. Aim for a temperature between 65°F to 75°F (18°C to 24°C) to maintain the integrity of your materials.
Here are some tips to optimize your drying conditions:
- Use a fan to promote air circulation, but don't point it directly at your artwork.
- Allow multiple thin layers of paint to dry completely.
- Check for dust and debris in the drying area.
- Stay patient; quality takes time! Additionally, maintaining good air quality can help prevent unwanted airborne pollutants from settling on your artwork during the drying process.
Timing for Drying
To achieve a polished finish on your DIY wall art, it's vital to allow your artwork to dry completely. Typically, this means a drying time of at least 24 hours for paint and spackling to set properly.
Keep in mind that drying time can vary; for instance, acrylic paint may feel dry in just 30 minutes but needs more time to cure fully.
To enhance the drying process, guarantee your workspace is warm and dry, as humidity can slow things down. Good ventilation is also important; it helps reduce lingering paint odors and speeds up drying.
If you're using spackling, let it dry overnight before cutting or painting for sharp, clean edges. Additionally, maintaining good air quality in your workspace can further assist in the drying process.
Hanging Your Wall Art
Hanging your wall art can transform a space, but getting it right requires some careful planning. Start by choosing the appropriate hanging hardware, like picture hooks or adhesive strips, based on your artwork's weight.
Next, measure the desired height for your piece and mark the wall with a pencil to guarantee proper placement. Use a level to check that your art hangs straight, making adjustments as necessary before securing the hardware. For larger pieces, it's wise to use two or more hanging points to distribute weight evenly.
- Pre-drill holes to avoid splitting wood.
- Confirm your artwork is centered and aligned.
- Double-check the level after hanging.
- Step back to assess the final look.
With these tips, you'll create a stunning display!
Experimenting With Styles
While exploring different styles in wall art, you can release your creativity and discover techniques that resonate with you.
Experimenting with abstract art opens up a world of possibilities; you can play with color combinations and brush stroke techniques that reflect your personal style.
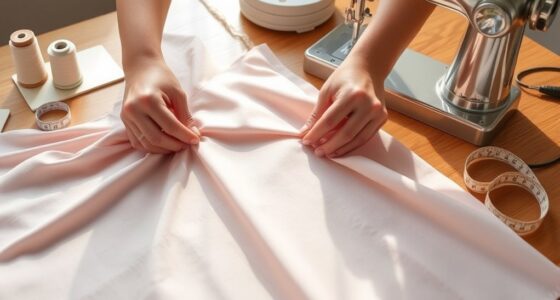
Don't hesitate to mix mediums, like combining paint with fabric or paper, to add depth and visual interest to your DIY artwork.
Incorporating seasonal themes or popular design trends can also inspire fresh ideas and keep your decor relevant.
Remember, embracing trial and error is key—it encourages innovation and helps you develop a distinctive artistic voice. Engaging in self-care practices through creative expression can significantly enhance your overall well-being.
Immerse yourself, let your imagination run wild, and create wall art that's uniquely you!
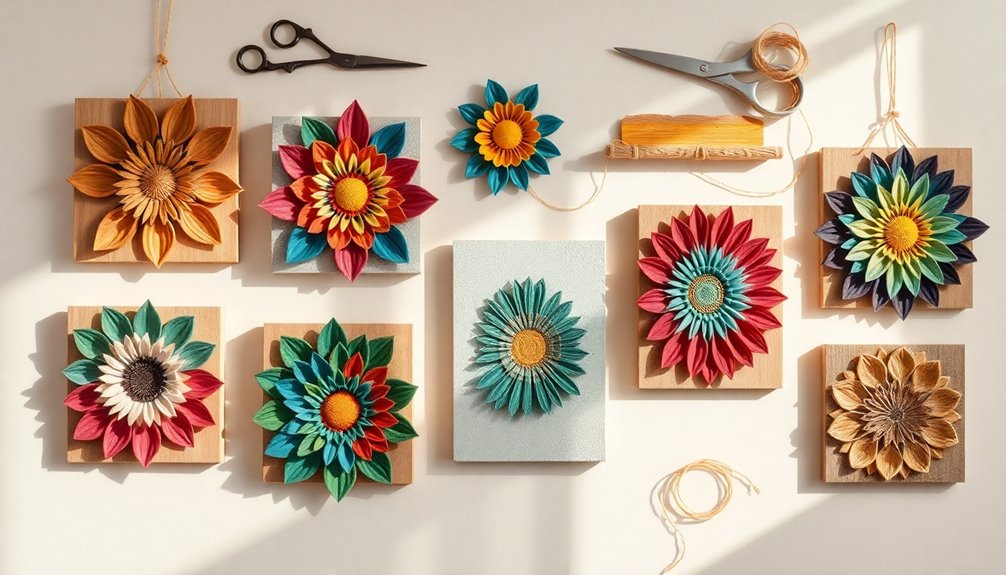
Showcasing Your Creativity
Showcasing your creativity not only highlights your individuality but also transforms your living space into a reflection of who you are.
Embrace your unique artistic style by experimenting with different materials and techniques to create beautiful DIY wall art. Incorporate natural elements like leaves and flowers for an organic touch. Use affordable materials, such as thrifted frames, to keep your home decor budget-friendly without sacrificing creativity. You can also explore various color palettes that resonate with your personal aesthetic, adding depth and cohesion to your art pieces. Don’t forget to consider textural contrasts, which can elevate the visual appeal of your decor. For those looking to expand their creative repertoire, be sure to check out some nosew pillow crafting tips that allow you to effortlessly enhance your space with cozy and stylish decorative pillows.
Consider these ideas to enhance your artistic expression:
- Create a gallery wall that combines various art forms
- Experiment with abstract pieces and fabric designs
- Share your finished projects on social media
- Inspire others to appreciate and engage with your journey
Additionally, integrating natural materials into your artwork can further enhance the farmhouse aesthetic.
Let your walls tell your story!
Frequently Asked Questions
What Types of Paint Are Best for Wall Art?
When you're creating wall art, acrylic paint is your best bet. It dries quickly, blends easily, and offers vibrant colors.
If you want something with a bit of texture, consider using gouache, which has a matte finish.
For a more artistic flair, watercolors can work too, but they're less opaque.
Don't forget about spray paint for bold designs!
Always test your paints on a small area first to see how they adhere.
Can I Use Recycled Materials for My Artwork?
Absolutely, you can use recycled materials for your artwork!
In fact, using items like cardboard, old newspapers, or bottle caps can add unique textures and character to your creations. Not only does this approach help the environment, but it also sparks creativity as you think outside the box.
How Long Does It Take for Paint to Dry Completely?
Did you know that oil paints can take anywhere from 6 to 12 days to dry completely?
When you're painting, the drying time depends on various factors like the type of paint, thickness of the application, and environmental conditions.
Acrylics typically dry within 30 minutes to a couple of hours, while watercolors can dry even faster.
Always check the specific paint label for precise drying times to guarantee your artwork's longevity.
What Tools Can I Use for Creating Finer Details?
To create finer details in your artwork, you'll want to gather a few essential tools. A fine-tipped paintbrush gives you precision, while a palette knife can help with texture.
Consider using a liner brush for intricate lines and a toothpick or stylus for tiny dots. If you're working with mixed media, a gel pen or marker can add sharp details.
Experiment with these tools to enhance your creative process and achieve stunning results!
How Do I Clean My Brushes and Workspace After Painting?
After painting, cleaning your brushes and workspace is essential for maintaining your tools.
Rinse your brushes under running water to remove excess paint, then use soap to clean them thoroughly.
For your workspace, wipe down surfaces with a damp cloth to eliminate paint splatters. If you used acrylics, a little vinegar can help dissolve stubborn spots.
Finally, let everything dry properly before storing your brushes and materials away for your next project.
Conclusion
As you step back to admire your handmade masterpiece, imagine it as a vibrant garden blooming on your wall, each color a petal, each texture a leaf swaying in the breeze. You've nurtured your creativity, allowing it to flourish, and now it stands as a tribute to your unique vision. Just like a garden, your wall art invites others to pause and appreciate the beauty of your imagination. Keep planting those artistic seeds, and watch your home blossom with joy!