
To achieve machine embroidery perfection, focus on maintenance and thread management. Clean your bobbin area regularly and oil the wick monthly to prevent issues. Choose quality threads like Jomi cotton, and use the right needle type for your fabric. Master effective hooping and stabilization techniques for crisp designs. Organize your threads with a bobbin saver and keep everything tidy. Stick around, and you'll uncover even more essential tips and tricks to elevate your embroidery skills!
Key Takeaways
- Regularly clean the bobbin area with t-shirt rags and apply oil monthly to prevent thread breakage and ensure smooth operation.
- Choose the right needle type based on fabric thickness to avoid issues and enhance stitching quality.
- Use thread nets and a bobbin saver for organized storage, preventing thread puddling and maintaining accessibility.
- Experiment with various stabilizers and hooping techniques to ensure fabric stability and achieve crisp designs.
- Utilize ACU Stitch software for design transfer and explore digitized thread palettes for easy color selection and creative flexibility.
Importance of Machine Maintenance
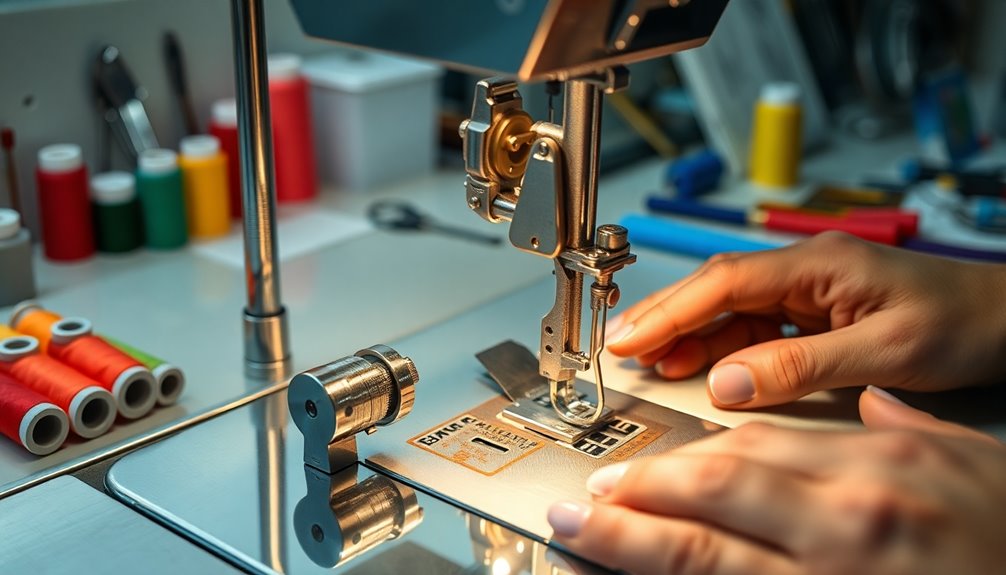
When you neglect machine maintenance, you risk encountering frustrating issues like thread breakage and noisy operation.
I've got a few tips that can help you keep your embroidery machine running smoothly. Regularly clean the bobbin area with t-shirt rags to remove lint, as tissues or paper towels can leave debris behind.
It's also essential to apply one drop of oil on the felt wick monthly; this simple step guarantees peak performance. Following your instruction manual for specific care guidelines keeps everything in black and white, making maintenance straightforward.
Finally, using the recommended paraffin distillate cleaner for the bobbin area enhances your machine's functionality, reducing the chances of problems during your embroidery projects.
Stay proactive, and your machine will thank you!
Bobbin Management for Smooth Operation
Effective bobbin management is vital for achieving smooth operation in machine embroidery. Start by regularly cleaning the bobbin area with t-shirt rags to remove lint and debris. This simple step can greatly reduce thread breakage and operational noise. Don't forget to add a drop of oil on the felt wick monthly to keep your machine running smoothly.
Using the right bobbin holder is important. Opt for the standard 10-gram bobbin holder compatible with Jomi bobbin thread, which comes in 60 weight and 90 weight for different applications. Jomi pre-wound bobbins in black and white guarantee consistent quality and save you time.
| Task | Frequency |
|---|---|
| Clean bobbin area | After each use |
| Oil felt wick | Monthly |
| Change bobbin thread | As needed |
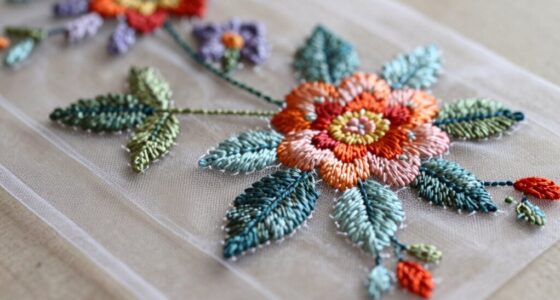
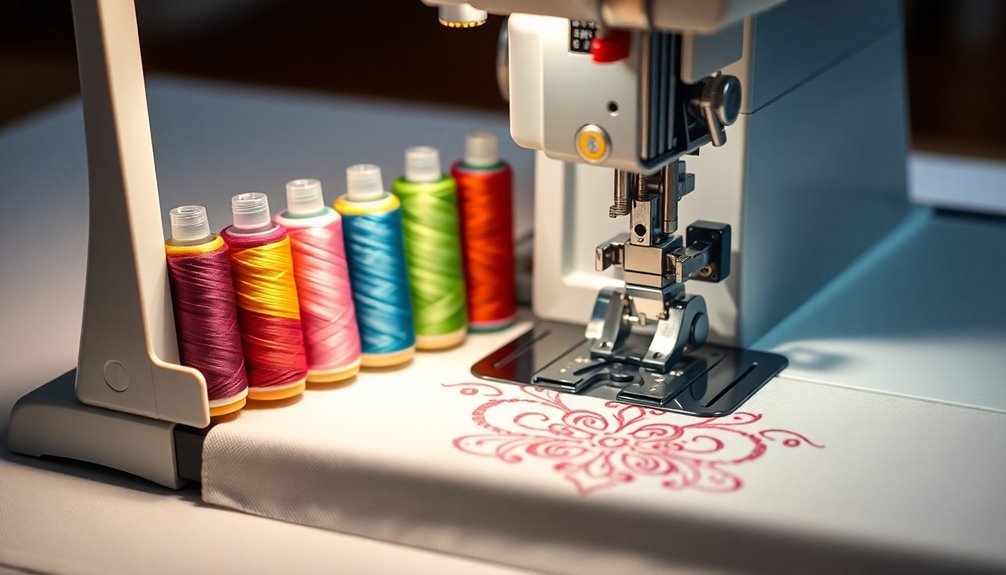
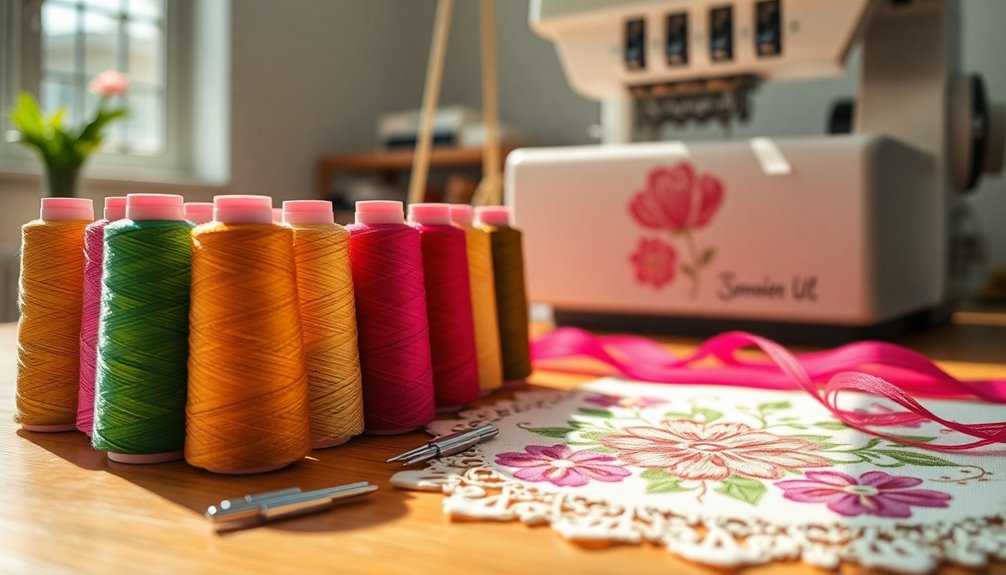
Selecting the Right Thread for Your Projects
Choosing the right thread can make or break your embroidery project.
You'll want to take into account thread types, weight, and color to guarantee your designs shine.
Let's explore how to select the perfect thread for your creative needs.
Thread Types Explained
Selecting the right thread for your embroidery projects is essential for achieving the best results. Jomi offers versatile options like cotton and multicolor threads, allowing you to release your creativity.
With their bobbin threads available in 60 weight and 90 weight, you can choose the perfect thickness for your designs.
Here are some key tips to contemplate:
- Use thread nets to prevent puddling under the spool.
- Explore digitized thread palettes for easy color selection.
- Properly wind your bobbins for consistent stitching and use a bobbin saver for efficient storage.
Weight and Application
Understanding thread weight is key to optimizing your embroidery projects. Jomi bobbin thread comes in 60 weight and 90 weight options, perfect for varying thicknesses and intricacies.
For standard embroidery, pair your thread with a blue tip needle size 11. If you're working with thicker fabrics or stabilizers, switch to a red tip needle size 14 for better results.
Proper bobbin winding is essential; consider using a bobbin saver to keep up to 66 regular bobbins organized. To guarantee smooth thread flow, use thread nets to prevent puddling under the spool.
With Jomi embroidery machines, you'll enjoy compatibility with various thread types, including cotton and multicolor threads, giving you the flexibility to explore your design possibilities.
Color Selection Tips
Color plays an essential role in the success of your embroidery projects, and the right thread can make all the difference.
Start by exploring the wide range of thread types your Jomi embroidery machine supports, like cotton and multicolor threads. To simplify your choices, take advantage of digitized thread palettes that help you select perfect shades for your designs.
- Use Jomi bobbin threads in 60 weight or 90 weight for ideal thickness.
- Employ thread nets to avoid puddling under the spool, ensuring smooth stitching.
- Utilize a spool stand for efficient management of multiple colors and to prevent tangling.
With these tips, you'll elevate your embroidery work to new heights!
Understanding Needle Types and Their Uses
Choosing the right needle type can make a significant difference in your machine embroidery projects.
For general tasks, the standard blue tip needle size 11 strikes a perfect balance between precision and versatility for most fabrics.
If you're working with thicker layers or stabilizers, opt for the red tip needle size 14 to guarantee stitch quality isn't compromised.
For enhanced thread intersection, consider using a purple tip needle with a Cobra head design, specifically crafted to separate fibers.
If you use Jomi machines, remember to choose Organ needles, as they're designed for peak performance with various Jomi models.
Proper needle selection is crucial for avoiding thread breakage and maintaining consistent tension, so adjust based on your fabric's thickness.
Adjusting Foot Height for Optimal Results

To achieve the best results in your machine embroidery projects, adjusting the foot height is essential. Proper foot height prevents excessive thread tension and breakage, especially when working with thicker layers and fabrics.
Using a convertible free motion quilting foot set allows you to raise the foot height, ensuring smoother stitching without dragging.
Here are some tips for ideal foot height adjustment:
- Maintain the correct foot height to enhance your needle's performance.
- Monitor foot adjustments throughout your project to avoid uneven stitching.
- Regularly consult your machine's manual for specific height suggestions.
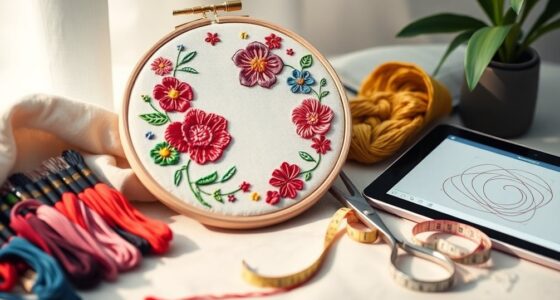
Stabilizer Techniques for Better Quality
Achieving machine embroidery perfection extends beyond adjusting foot height; effective stabilizer techniques play a key role in your project's success.
Proper stabilization is essential to prevent fabric slippage, ensuring your design stitches accurately and maintains quality throughout the process. Choose the right type of stabilizer based on your fabric and design—tear-away, cut-away, or water-soluble options can make a considerable difference.
To maximize material usage, consider gluing small scraps of stabilizer together, reducing waste while providing necessary support. If you're working with lightweight or delicate fabrics like chiffon, using rubber strips in the hoops can minimize movement.
Effective Hooping Methods
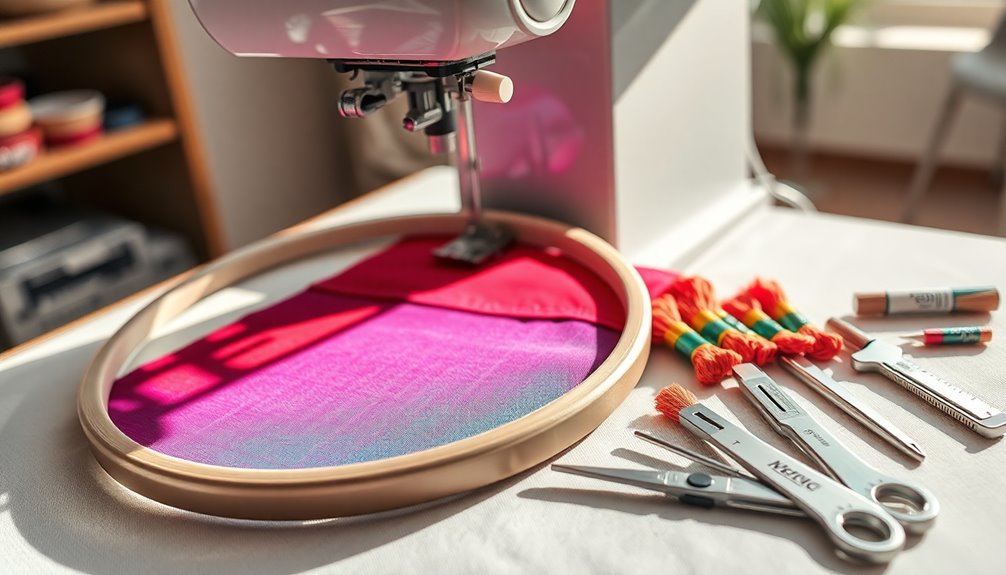
While proper stabilization is essential, effective hooping methods also greatly impact the quality of your machine embroidery. To achieve the best results, keep these tips in mind:
- Make sure your fabric is taut but not overstretched to prevent slippage and distortion during stitching.
- Use rubber strips within your embroidery hoop for better grip, minimizing movement.
- For lightweight fabrics like chiffon, consider sticky strips to secure the material firmly.
Additionally, combine small scraps of stabilizer and glue them together to maintain stability while stitching.
Practice with various fabrics and stabilizers to master these hooping techniques, and you'll see a noticeable improvement in your overall embroidery results.
Happy stitching!
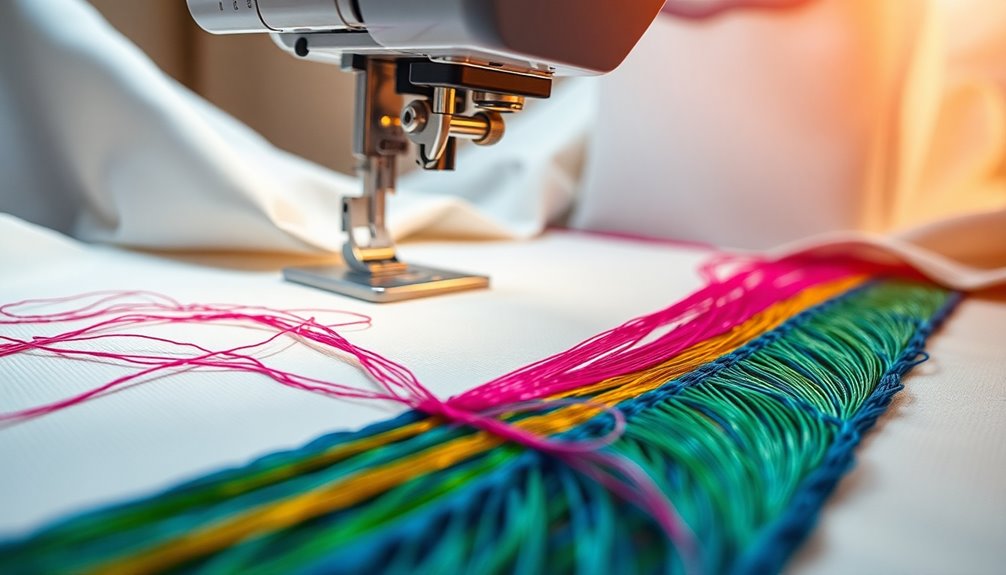
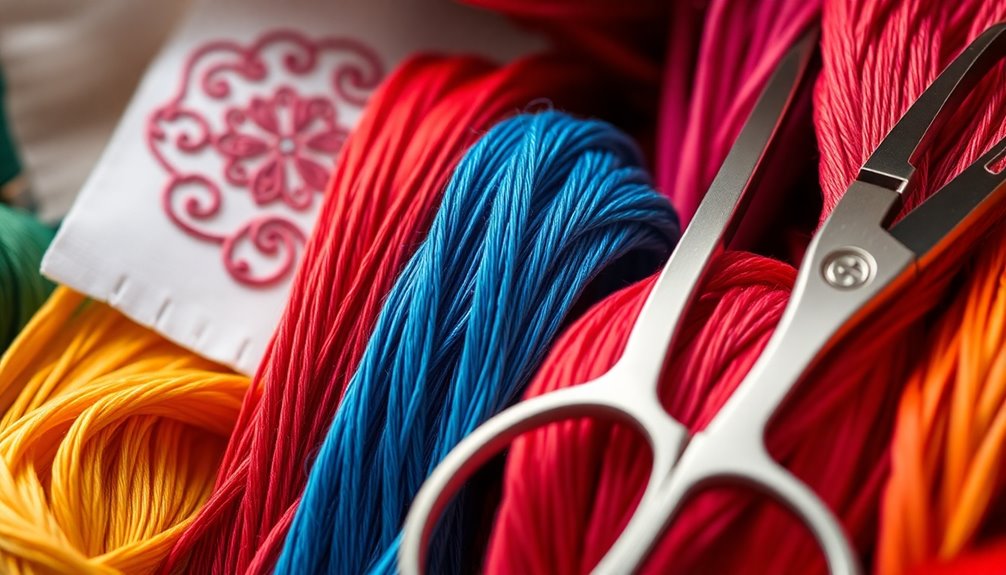
Thread Management Tips
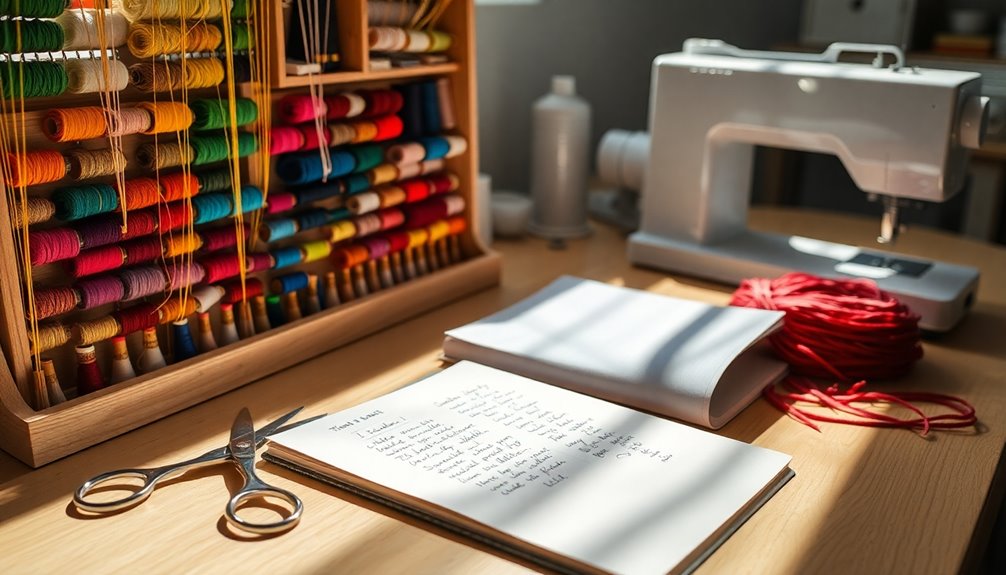
When it comes to thread management, mastering proper bobbin winding techniques is essential for achieving consistent stitches.
You'll also want to explore effective thread storage solutions to keep your materials organized and accessible.
Plus, using thread nets can prevent tangling and guarantee smooth flow, making your embroidery process much more efficient.
Proper Bobbin Winding Techniques
To guarantee your embroidery projects turn out perfectly, mastering proper bobbin winding techniques is essential. Start by filling your bobbins evenly without overfilling. This guarantees consistent tension and helps prevent thread breakage during your projects.
Consider using a bobbin saver that can hold up to 66 regular bobbins, keeping your threads organized for quick changes.
- Try Jomi pre-wound bobbins for uniformity and time-saving convenience.
- Use a standard bobbin holder designed for Jomi bobbin thread to enhance compatibility.
- Regularly check and clean the bobbin area to reduce lint buildup, improving your overall efficiency.
Thread Storage Solutions
Effective thread storage solutions can make a significant difference in your embroidery experience. Start by using a bobbin saver that holds up to 66 regular bobbins, keeping your threads organized and easily accessible.
Implement spool stands in two or five configurations to manage multiple threads efficiently, enhancing your sewing performance. Remember to use the correct spool caps for each thread type; this helps maintain proper thread flow and minimizes tension issues.
Store your threads in a cool, dry place, away from direct sunlight, to preserve their quality and prevent degradation over time.
Utilizing Thread Nets
As you immerse yourself in your embroidery projects, consider incorporating thread nets into your setup to enhance thread management.
These simple tools prevent thread from puddling under the spool, eliminating issues like inconsistent stitching and thread breakage. By maintaining tension and ensuring smooth thread flow, especially with tricky threads, thread nets can elevate your embroidery game.
- Select the right size for your spools to maximize effectiveness.
- Experience quicker thread changes, boosting your efficiency.
- Enjoy cleaner, more professional-looking results with improved quality.
Utilizing thread nets not only simplifies your process but also leads to stunning finished pieces.
Utilizing Machine Features for Efficiency
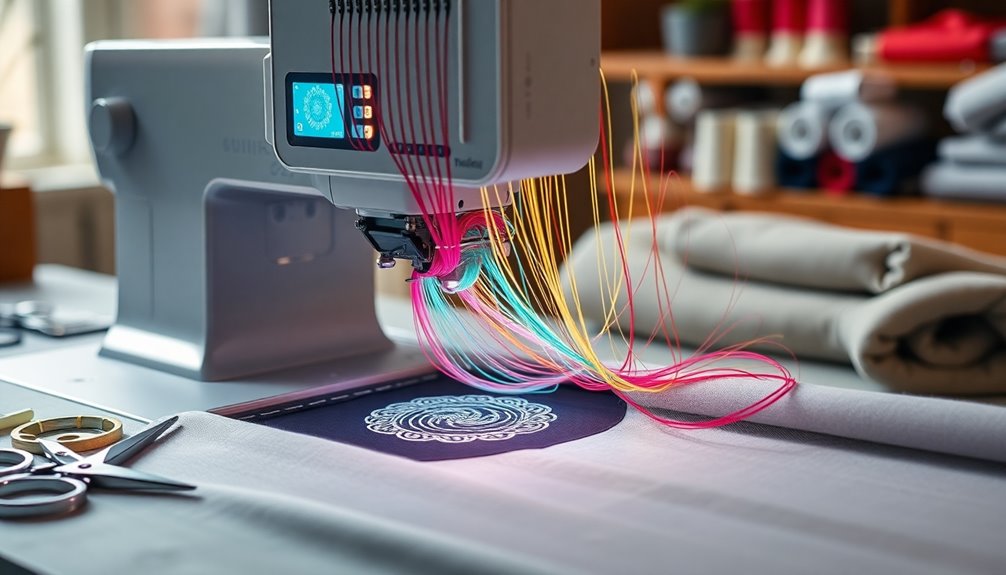
While you immerse yourself in machine embroidery, taking full advantage of your machine's features can dramatically enhance your efficiency.
For instance, with the Jomi Memory Craft 550E and 550 El, you can easily transfer designs via USB, and the 550 El even includes ACU Stitch software and bonus designs to expand your creativity.
Regularly clean the bobbin area with t-shirt rags and paraffin distillate cleaner to keep your machine running smoothly and minimize thread breakage.
Using a bobbin saver can help you manage up to 66 bobbins, reducing downtime.
Don't forget to choose the right needle type; a blue tip size 11 for embroidery or purple tip for fiber separation can make a significant difference in your stitching quality.
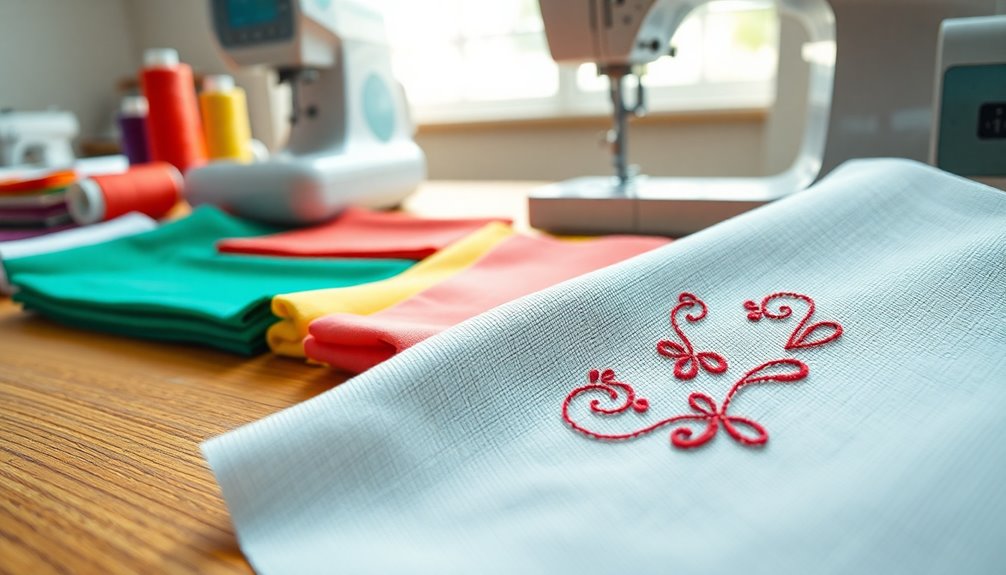
Creative Ways to Enhance Your Embroidery Skills
To elevate your embroidery skills, you'll want to explore advanced stabilization techniques that keep your fabric secure and smooth.
Additionally, understanding needle selection can make a significant difference in how your designs turn out, so experiment with various types.
Finally, mastering thread management strategies will help you maintain a tidy workspace and improve your overall efficiency.
Advanced Stabilization Techniques
Mastering advanced stabilization techniques can dramatically elevate your embroidery skills, ensuring your designs come out crisp and professional.
To achieve this, consider these creative approaches:
- Glue small scraps of stabilizer together to make the most of your materials while maintaining proper support.
- Incorporate rubber strips into your hoops to reduce fabric slippage, enhancing the accuracy of your designs.
- Use sticky strips for lightweight fabrics like chiffon to keep everything stable, preventing distortion and misalignment.
Additionally, effective hooping techniques are essential.
Make sure your fabric is taut and centered for the best results. Familiarize yourself with stabilizer types—tear-away, cut-away, and water-soluble—to choose the right one for your project.
With these techniques, you'll be well on your way to embroidery perfection!
Needle Selection Insights
Achieving perfection in machine embroidery goes beyond just stabilization techniques; needle selection plays a pivotal role in your overall success.
For most fabrics, you'll find that a standard blue tip needle size 11 works wonders, while the red tip needle size 14 is perfect for thicker layers and stabilizers.
If you want to enhance fiber separation, try using a purple tip needle with a Cobra head—it improves thread intersection and results in smoother stitching.
Remember to choose Jomi needles if you're using Jomi machines, as they minimize thread breakage.
Don't hesitate to experiment with different needle types for each project; discovering the right combinations for your fabric and designs will elevate your embroidery outcomes considerably.
Thread Management Strategies
While you might focus on needle selection and fabric stabilization, effective thread management is equally essential for achieving stunning machine embroidery results.
Implementing these strategies can elevate your projects considerably:
- Use a bobbin saver to store up to 66 bobbins, keeping your threads organized for various designs.
- Incorporate thread nets to prevent puddling under spools, guaranteeing consistent tension and minimizing tangles.
- Opt for spool stands in two or five spool configurations to manage tricky threads better.
Don't forget to pair the right spool caps with your threads to guarantee smooth flow and reduce breakage.
Plus, check out Jomi's digitized thread palettes for a streamlined color selection process.
With these tips, you'll enhance your embroidery skills and create flawless designs!
Frequently Asked Questions
How to Achieve the Best Embroidery Work?
To achieve the best embroidery work, start by using the right needle for your fabric type.
Keep your machine clean and well-oiled to enhance performance and reduce thread breakage.
Make sure you use appropriate stabilizers and hooping techniques to prevent fabric slipping.
A spool stand can help manage multiple threads, preventing tangles.
Finally, familiarize yourself with your machine's features to make necessary adjustments for different projects, guaranteeing peak stitching results.
How to Keep Your Machine Embroidery From Puckering?
To keep your machine embroidery from puckering, start by choosing the right stabilizer for your fabric.
Make certain you're using the correct needle size; a size 11 is great for general fabrics, while a size 14 works better for thicker layers.
Clean your bobbin area regularly to prevent thread breakage, and adjust the foot height for thicker projects.
Finally, hoop your fabric tightly with rubber strips to minimize slippage and make certain proper alignment.
What Is the Best Stitch Length for Machine Embroidery?
The best stitch length for machine embroidery usually falls between 2.5 to 3.0 mm for clarity and definition.
If you're working with intricate designs or smaller lettering, consider a shorter length of 1.5 to 2.0 mm to enhance detail.
For larger motifs, you can stretch it up to 4.0 mm.
Always adjust based on your fabric type to maintain consistency and achieve that professional look in your embroidery projects.
What Tension Should My Embroidery Machine Be On?
Finding the sweet spot for your embroidery machine's tension can be a bit like tuning a musical instrument; it takes a little finesse.
Typically, you'll want to start with a tension setting around 4-5. Remember, balance is key! If your upper thread feels loose, it'll create unsightly loops underneath.
Always test your settings on a scrap piece similar to your project, and don't hesitate to adjust as you change threads or fabrics.
Conclusion
To achieve machine embroidery perfection, remember that regular maintenance can boost your machine's lifespan by up to 50%! By mastering bobbin management, selecting the right thread, and understanding needle types, you'll set yourself up for success. Don't underestimate the power of proper hooping and foot adjustments—these small tweaks can make a big difference. So, immerse yourself in these hidden tricks and watch your embroidery skills flourish, turning every project into a masterpiece!