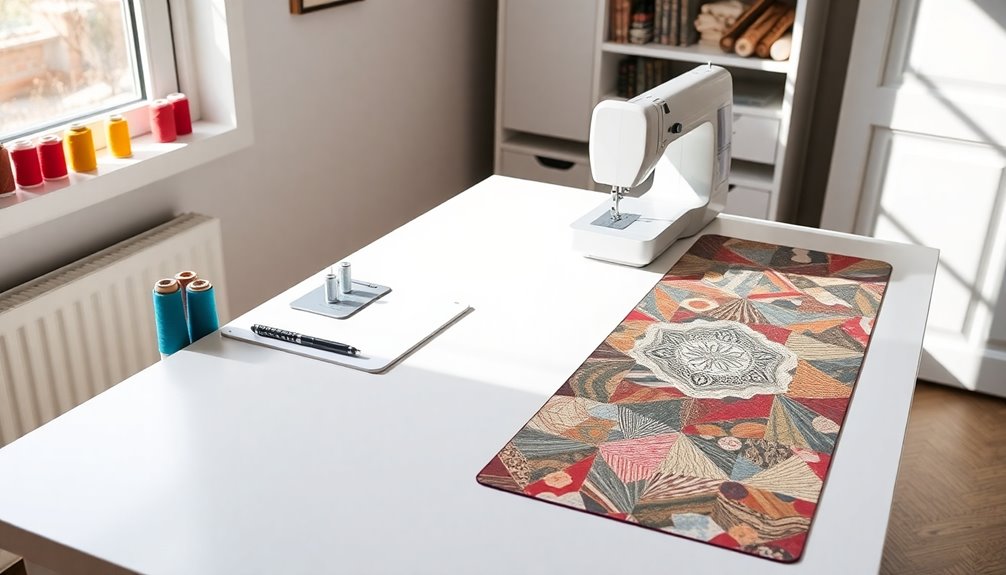
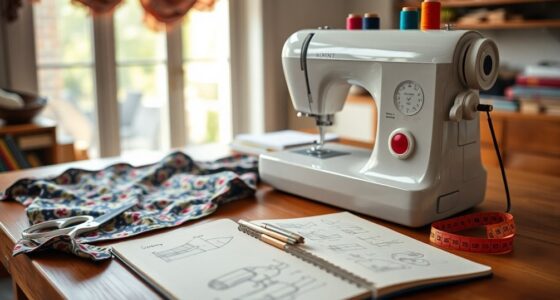
You can create a custom sewing table insert in no time! Start by gathering materials like sturdy plywood and cardstock for templates. Measure your sewing machine's dimensions accurately, then cut the insert to size using a jigsaw. Sand the edges for a smooth finish before installing it into your table with threaded brass inserts for stability. This project not only improves functionality but also enhances your workspace's look. Stick around to uncover even more tips and tricks!
Key Takeaways
- Measure your sewing machine dimensions carefully and create a precise cardstock template for a snug fit in the table insert.
- Use a jigsaw or router to cut the hardboard, leaving extra material for fine-tuning the fit around the sewing machine.
- Sand the edges with medium and fine-grit sandpaper for a smooth finish, ensuring the insert is comfortable to use.
- Install the insert securely using threaded brass inserts and wood screws, confirming it's flush with the tabletop.
- Manage power cables by cutting an opening in the insert, ensuring there's enough slack and no obstructions for functionality.
Materials Needed for Your Custom Insert
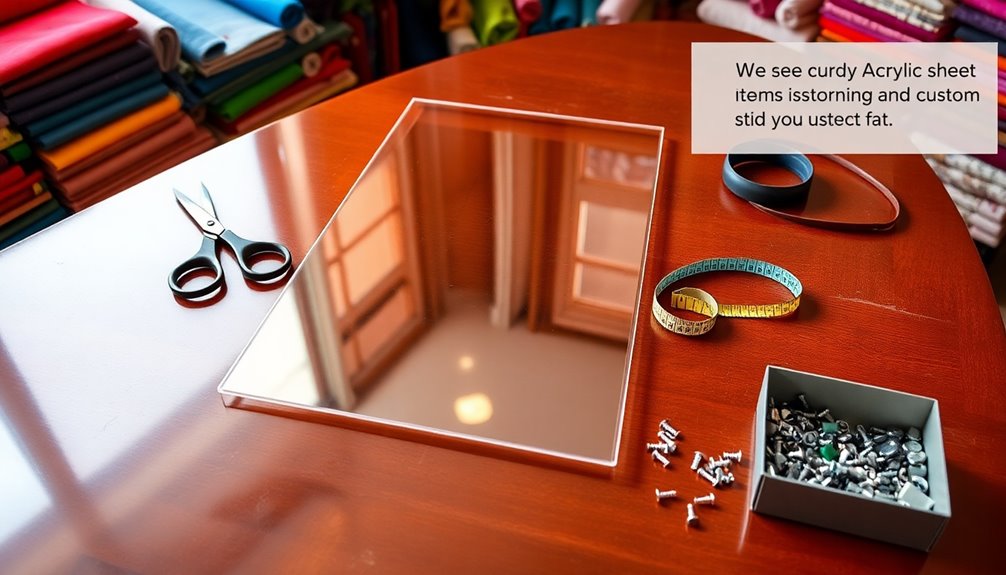
To create your custom sewing table insert, you'll need a few essential materials.
Start with a sturdy base like hardboard or plywood, ideally about 0.5" thick for durability and stability.
Next, grab some cardstock to make a template; this will help you cut an opening that fits your sewing machine snugly.
You'll also need a router equipped with a .75 roundover bit to smooth the edges of your insert, preventing fabric snags.
For a polished finish, apply multiple coats of matte spray lacquer to protect against wear and tear.
Finally, don't forget threaded brass inserts to fasten the insert securely to your sewing table, ensuring it stays in place during your projects.
Measuring Your Sewing Machine
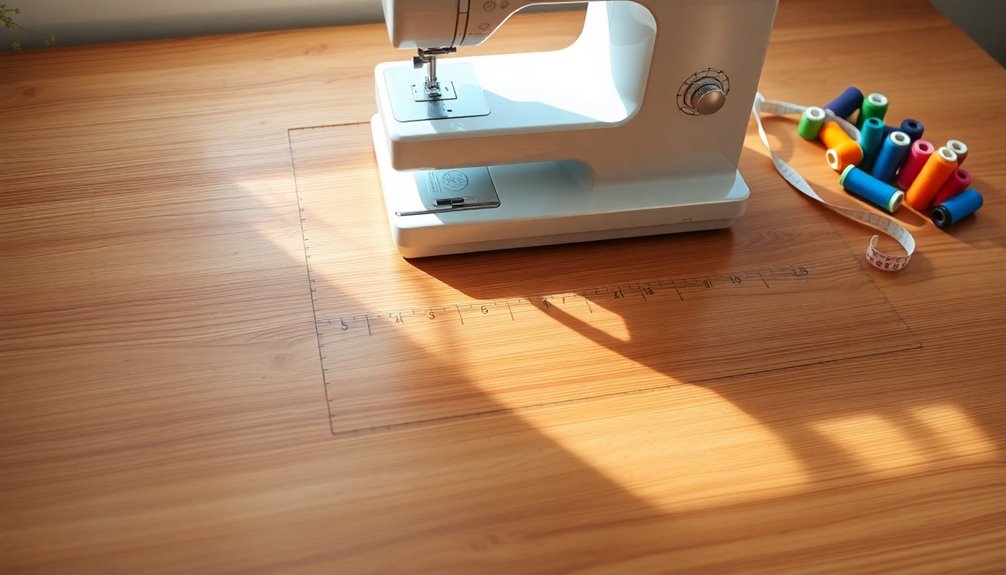
With your materials gathered, the next step is measuring your sewing machine accurately for a custom insert. Start by taking these essential measurements:
- Width and Length: Measure the base, including knobs or handles that extend beyond the dimensions.
- Height: This will help confirm the insert sits flush with your tabletop.
- Power Cable Location: Note where the cable enters to allow easy access.
Using a cardstock template, trace the outline of your machine for precise cuts.
Double-check all measurements multiple times—accuracy is key in measuring your sewing machine. Even slight inaccuracies can lead to a poorly fitting insert, affecting functionality.
Take your time to confirm a snug fit around your machine for the best results!
Cutting the Insert to Size
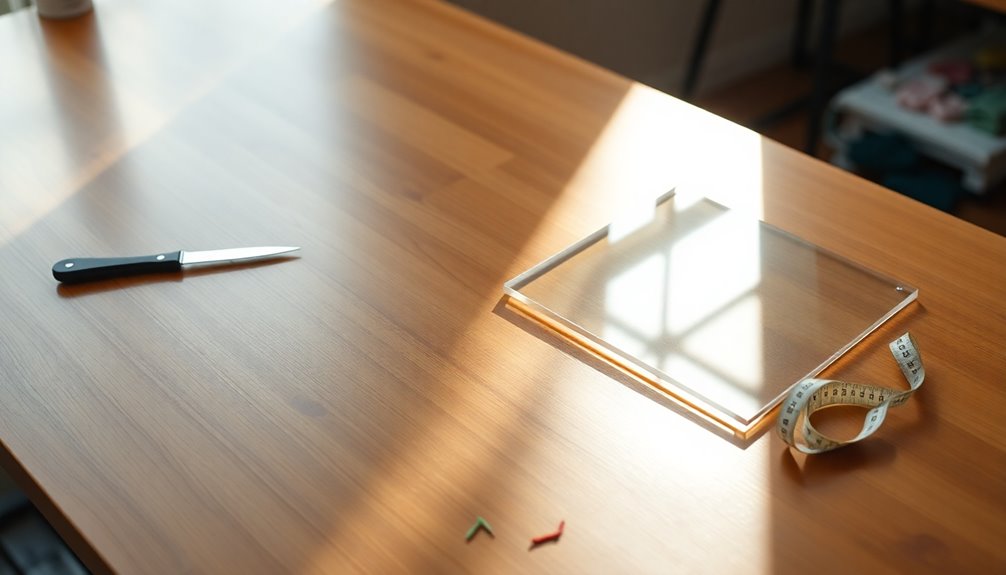
Cutting your insert to size is an essential step that guarantees a perfect fit for your sewing machine.
Start by measuring your machine's dimensions to create a precise template. Use cardstock for drafting, then transfer those dimensions onto your chosen material, like hardboard or plywood.
When cutting the insert, use a jigsaw or router, but make certain to leave extra material around the edges for fine-tuning later.
Test fit the insert in the tabletop hole and use a rasp or dremel to shape it gradually until it fits snugly with no gaps.
This careful process assures that your sewing machine sits securely, enhancing your sewing experience and making your DIY project a success.
Sanding and Finishing Edges
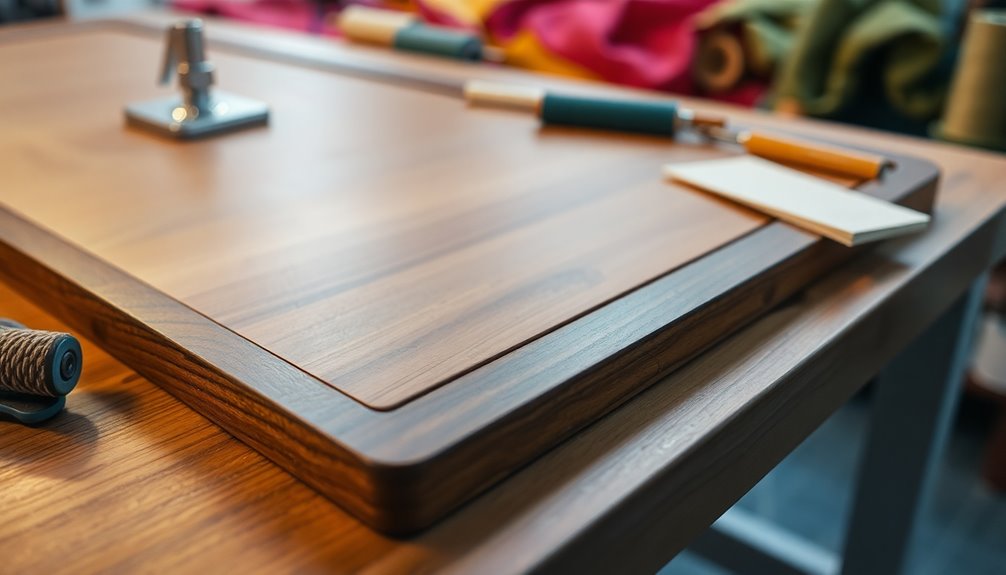
After ensuring your insert fits snugly in the tabletop, it's time to focus on sanding and finishing the edges. Start with medium-grit sandpaper (around 120-grit) to smooth out any rough spots.
Then, switch to finer-grit sandpaper (220-grit) for a polished finish that prevents snagging during sewing.
- Use a sanding block or electric sander for even pressure.
- Consider rounding edges with a router for a professional touch.
- Seal your work with multiple coats of matte spray lacquer for durability.
This sanding process not only enhances the look of your insert but also improves safety by eliminating sharp corners.
Your sewing experience will be smoother, ensuring fabric glides effortlessly across your custom table insert.
Installing the Insert Into Your Table
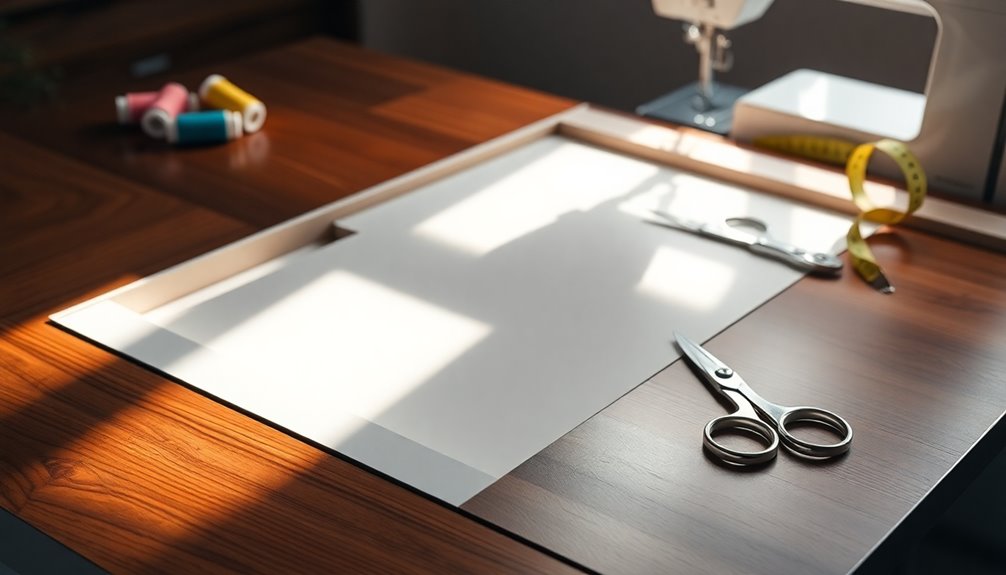
Start by creating a precise template for your insert using cardstock, guaranteeing it fits snugly around your sewing machine while allowing space for the power cable.
Once you have your template, use a router with a hardboard template to cut a hole in the tabletop. This step guarantees accuracy and clean edges for a professional finish.
Next, secure the box beneath the tabletop with threaded brass inserts and wood screws, making sure the box sits flush with the surface for peak functionality.
Design the top insert to extend slightly beyond the box dimensions for easy machine mounting.
Finally, test the insert fit and make adjustments with tools like rasps and a Dremel until it aligns perfectly with your sewing machine, guaranteeing smooth operation.
Tips for a Perfect Fit
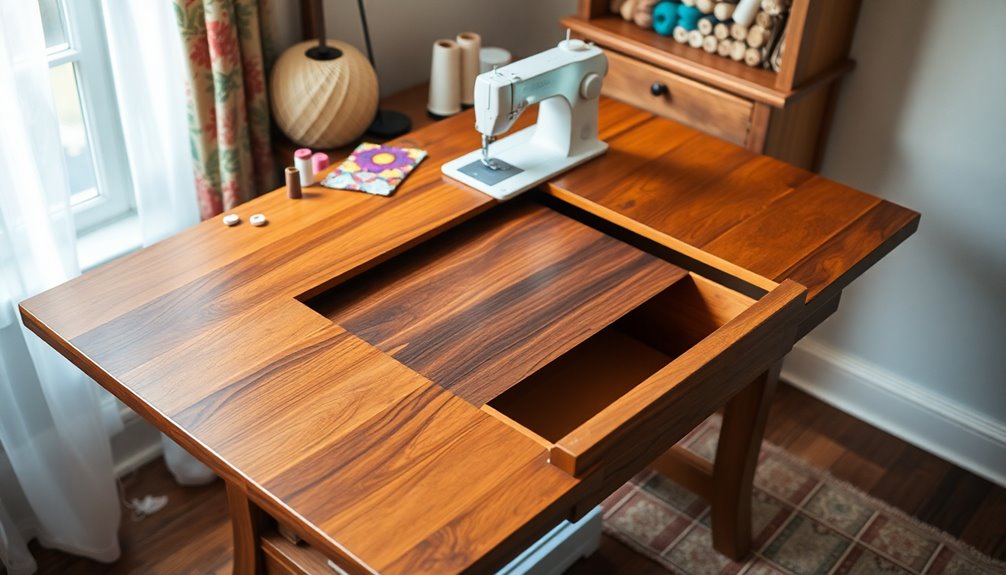
To achieve a perfect fit for your sewing table insert, it's important to take your time in crafting the template from cardstock. This allows you to make adjustments that guarantee your insert fits flush with the tabletop.
Here are some tips to help you:
- Mark the power cable entry point before cutting the insert hole.
- Use a dremel or rasp for fine-tuning the shape and smoothing the edges.
- Test fit your sewing machine multiple times to confirm the insert aligns perfectly with the tabletop.
Rounding the edges with a router not only enhances safety but also improves the aesthetics of your sewing table.
Following these steps will help you create a snug, functional insert you'll love working with!
Enhancing Your Sewing Workspace
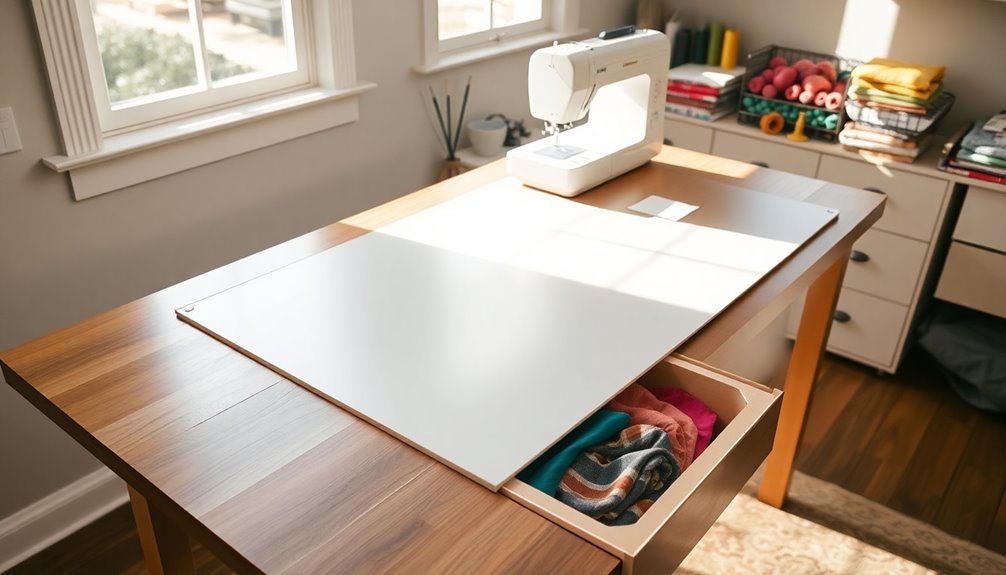
To truly enhance your sewing workspace, think about optimizing the height of your table for comfort and efficiency.
Streamlined access to your machine can make a big difference in your workflow, so consider how you arrange your setup.
Plus, incorporating smart storage solutions will keep your materials organized and within reach, making your sewing experience more enjoyable.
Optimize Table Height Adjustment
While sewing can be a joy, an improperly adjusted table height can quickly turn it into a chore.
To create a comfortable and efficient workspace, consider these tips for optimizing your table height:
- Incorporate adjustable legs to personalize your sewing table's height for maximum comfort.
- Implement a hand-cranked mechanism for easy elevation changes, ensuring accessibility during long projects.
- Use threaded brass inserts and machine screws to secure your top insert, allowing for quick adjustments as needed.
Streamlined Machine Access
Creating a seamless shift between your sewing machine and the table surface can greatly enhance your sewing experience. By designing a custom sewing table insert that fits snugly around your machine, you'll achieve a flush surface that improves stability and makes maneuvering fabric easier.
Start by using cardstock to create a precise template, allowing for adjustments to your machine's dimensions for a tight fit that reduces snagging. Consider incorporating adjustable height features to accommodate various projects and different machine types.
Don't forget to mark and cut openings for power cables, keeping your workspace tidy and accessible. Finally, smooth, rounded edges on your insert will prevent fabric from catching, elevating both the functionality and aesthetics of your sewing area. Additionally, ensuring that your workspace has optimal lighting control can further enhance your sewing experience by improving visibility on your projects.
Enhance Storage Solutions
A well-organized sewing space can greatly boost your creativity and efficiency. To enhance your storage solutions, consider these ideas:
- Incorporate built-in drawers and shelves in your custom sewing table design.
- Utilize vertical space with wall-mounted shelves or pegboards for easy access to tools.
- Use clear storage bins labeled for quick identification of fabrics and notions.
To secure these features, wood screws will help guarantee everything stays in place.
Designate a cutting area with underneath storage for mats and rulers, keeping your essentials within reach.
Adjustable shelving allows you to customize storage for various machine sizes and accessories, adapting to your needs.
With thoughtful organization, you'll create a functional and inspiring sewing environment! Additionally, remember that long-term financial planning can assist in budgeting for essential sewing tools and materials.
Troubleshooting Common Issues
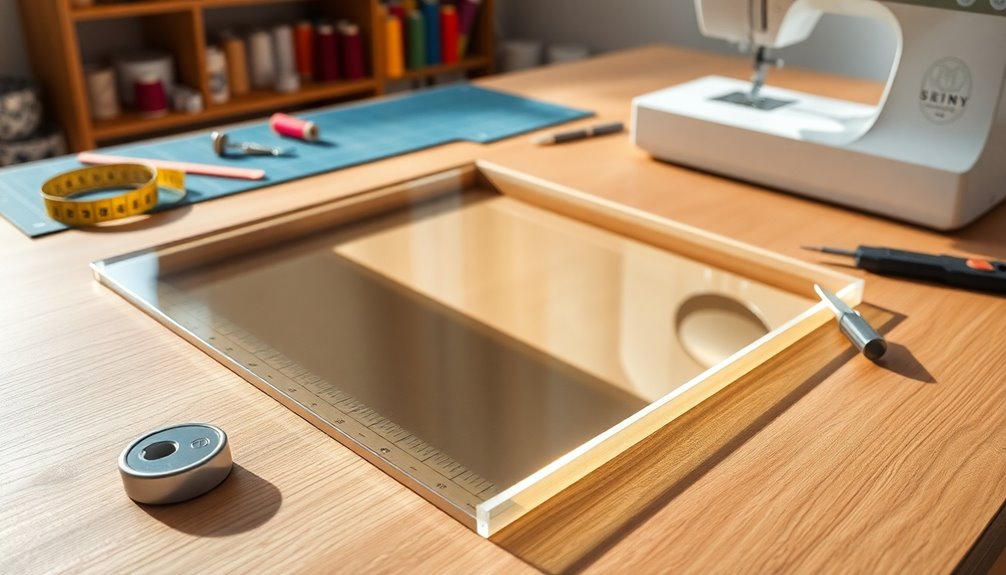
Many DIY enthusiasts encounter common issues when crafting a sewing table insert. To guarantee a snug fit around your sewing machine, use cardstock to create a precise template before cutting.
If your insert sits unevenly, check that the wings are securely fastened and the box is flush with the tabletop; reinforce stability with wood screws and t-nuts.
For power cable issues, mark the cable's position on the insert and carefully cut an opening to avoid strain.
If the insert looks bulky, consider redesigning it with a thinner profile or using acrylic for a sleeker appearance.
Finally, if the edges are rough, use a router bit to smooth them out, then apply matte spray lacquer for protection.
Sharing Your Finished Project
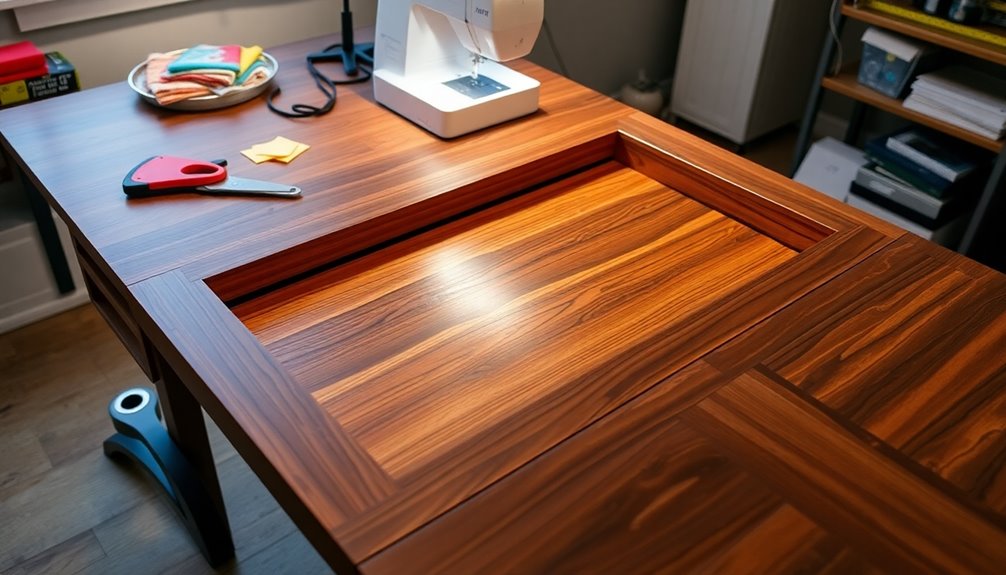
After tackling common issues during your sewing table insert project, it's time to show off your hard work. Capture high-quality photos from various angles, highlighting the fit and finish of your insert.
Consider including:
- Before-and-after shots to showcase the transformation of your sewing space.
- A brief description of the materials and techniques you used, including dimensions.
- Any challenges you faced, like when you drilled a hole, and how you overcame them.
Encourage feedback by inviting viewers to share their own sewing table insert projects or suggestions for improvements. Additionally, you might want to explore basic sewing techniques that can enhance your skill set.
Your insights can inspire others in the DIY community! Sharing your experience not only highlights your creativity but also contributes to a supportive space for fellow crafters.
Frequently Asked Questions
How to Make a Table Sewing Machine?
To make a sewing machine table, start by choosing a sturdy tabletop, like a Gerton from Ikea.
Measure your sewing machine to create a custom insert that fits snugly. Use 0.75" thick birch plywood or MDF for the insert, and smooth the edges with a router.
Secure the insert with threaded brass inserts and wood screws, allowing for easy changes.
Finally, finish with matte spray lacquer for durability and protection during use.
What Is the Best Height for a Sewing Table?
So, you wanna know the best height for a sewing table?
Well, if you don't enjoy back pain, aim for 28 to 32 inches while seated. For those who love to stand and sew, 36 inches is your friend.
Remember, you're not a contortionist, so guarantee your machine's bed is flush with the tabletop.
Ultimately, your comfort is key, so don't be shy—experiment with heights until you find what suits you best!
Can You Put a Brother Sewing Machine in a Cabinet?
Yes, you can definitely put a Brother sewing machine in a cabinet!
Just make certain the cabinet has a suitable insert to fit your machine's dimensions for a flush tabletop. Measure your machine's height, width, and depth to ascertain it'll fit comfortably.
Look for cabinets with adjustable inserts and features like drop-down mechanisms for easy access.
Don't forget about proper ventilation and cable management to keep everything organized and safe during your sewing sessions!
Can I Use a Folding Table for Sewing?
Yes, you can use a folding table for sewing, but keep a few things in mind.
Make sure the table's surface is smooth and level to prevent snags. It's also crucial to check that the table can support your sewing machine's weight.
Consider adding a cutting mat or plywood for added stability.
Finally, pick a height that allows you to sew comfortably, ideally at or near elbow level, to maintain good posture.
Conclusion
Creating a custom sewing table insert might seem intimidating, but it's easier than you think! With just a few materials and some basic measurements, you'll have a perfect fit for your machine in no time. Don't worry if you've never done this before; the satisfaction of enhancing your sewing workspace is worth it. So grab your tools, follow these steps, and transform your sewing experience—your creativity deserves a dedicated space!
