Switching needles on your Singer sewing machine is easy and essential for great stitch quality. First, turn off your machine and raise the needle to its highest position. Lower the presser foot for stability. Use a flathead screwdriver to loosen the needle clamp screw, then remove the old needle. Insert the new needle with the flat side facing back. Tighten the clamp, rethread, and you're ready to sew! There's more to know about maintaining needle quality and knowing when to replace it.
Key Takeaways
- Turn off your Singer sewing machine and raise the needle to its highest position for safety and accessibility.
- Lower the presser foot to stabilize the fabric and make needle removal easier.
- Use a flathead screwdriver to loosen the needle clamp screw and remove the old needle.
- Insert the new needle with the flat side facing the back, pushing it until it touches the stopper.
- Tighten the needle clamp screw securely to ensure the needle is firmly in place before continuing to sew.
The Importance of Regular Needle Replacement
While you might think you can wait until your needle looks worn out, regularly replacing your sewing machine needle after about eight hours of use is essential for maintaining high-quality sewing.
A sharp needle considerably enhances stitch quality, ensuring your projects look their best. On the other hand, a dull needle can cause fabric damage and lead to inconsistent stitching.
A common mistake is only swapping out a needle when it's visibly bent or broken, instead of following the general rule of replacement.
Keeping track of your sewing sessions and planning for new needle replacements helps prevent frustrating material snags and poor stitching. Additionally, using educational toys that promote fine motor skills can improve your overall dexterity, making needle replacement easier and more efficient.
Tools You'll Need for the Process
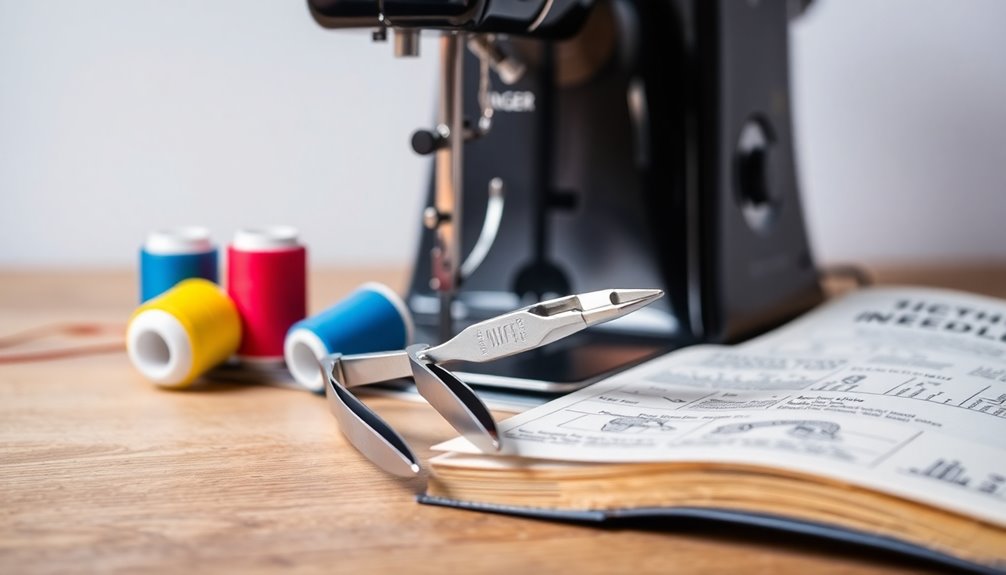
Before you start switching needles on your Singer sewing machine, you'll need a few essential tools at your side.
Understanding the different needle types and following safety precautions will make the process smoother and safer.
Let's go over what you'll need to get started.
Essential Tools Overview
To successfully switch needles on your Singer sewing machine, you'll need a few essential tools at your side. Here's a quick overview:
| Tool | Purpose |
|---|---|
| Flathead screwdriver | Loosens the needle clamp screw for removal |
| New machine needle | Replaces dull or damaged needles |
| Fabric or paper | Catches falling needles to prevent loss |
| Presser foot | Must be lowered for safe needle replacement |
| Power switch | Turns off the machine to avoid accidents |
Make certain to have these items ready. Always remember to lower the presser foot and turn off your machine before starting the process. This guarantees safety and efficiency while replacing your needle.
Needle Types Explained
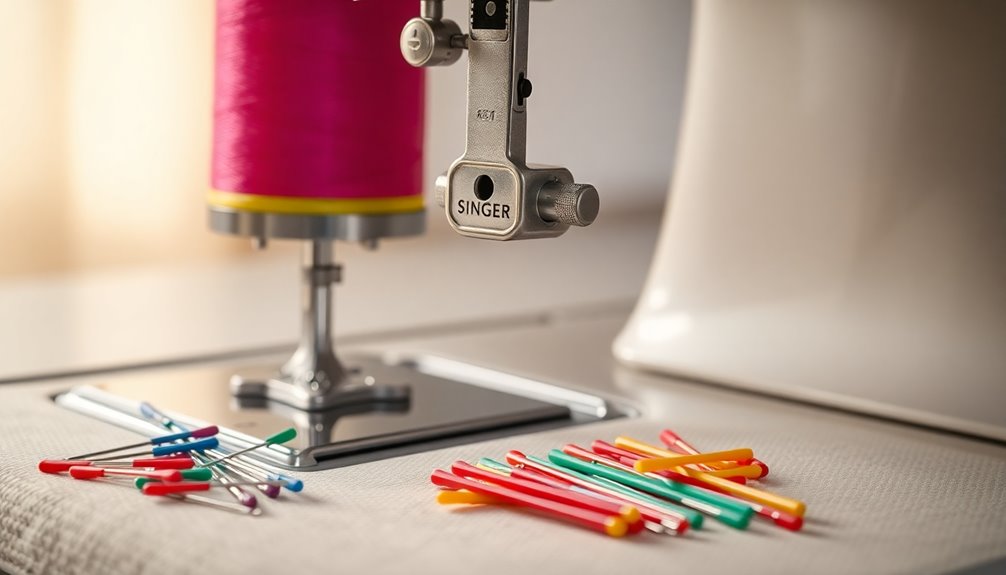
Selecting the right needle is essential for achieving the best results in your sewing projects. Different needle types, like universal, ballpoint, and quilting needles, are designed for specific pieces of fabric.
Each needle has a unique size and shape, ranging from 60/8 for fine fabrics to 100/16 for heavier ones. Choosing the correct needle can enhance your sewing efficiency and minimize issues like skipped stitches or fabric puckering.
You can easily identify needle types by their color-coded packaging, making selection straightforward.
Remember, regularly replacing needles with the appropriate type not only maintains your sewing performance but also extends the life of your sewing machine.
Safety Precautions Noted
When you're ready to replace the needle on your Singer sewing machine, it's crucial to prioritize safety by making sure the machine is turned off. This prevents any accidental operation while you're working.
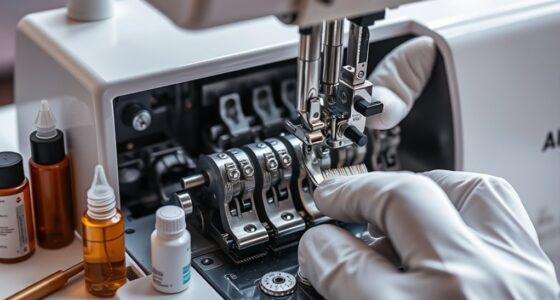
Gather the necessary tools: a flathead screwdriver, typically included with the machine, and a new needle for the replacement. To catch any falling needle parts, prepare a piece of fabric or paper beneath the needle area.
Always lower the presser foot before starting the replacement; this avoids any interference during the process.
Finally, having spare needles on hand makes it easier to switch them out quickly, keeping your sewing efficient and hassle-free.
Following these precautions will help guarantee a safe and smooth needle replacement experience.
Preparing Your Sewing Machine
Before you start replacing the needle, make sure to turn off your Singer sewing machine to avoid any surprises.
Lower the presser foot to create enough space for easy needle removal.
This simple preparation step will help you work efficiently and safely.
Turn Off Machine
To guarantee a safe needle replacement, always turn off your Singer sewing machine. This simple step prevents any accidental operation while you're changing the needle.
Disconnect the machine from the power source to guarantee complete safety. Before you switch out the needle, make sure to raise it to its highest position. This makes it much easier to access the needle clamp.
Additionally, prepare a clean workspace to avoid misplacing small parts like the needle or screws. Keeping your sewing area organized is vital; consider using fabric or paper to catch any falling needle during removal.
Lower Presser Foot
With the machine turned off and the needle at its highest position, it's time to lower the presser foot. This step's essential for preventing any accidental needle movement while you replace it.
Lowering the presser foot also secures your fabric, guaranteeing a stable environment for sewing. To do this safely, locate the presser foot lever, typically found at the back or side of your machine; it should be easily accessible.
Once the presser foot is lowered, you can smoothly shift to inserting the new needle. This alignment helps guarantee proper function and stitching quality.
Removing the Old Needle
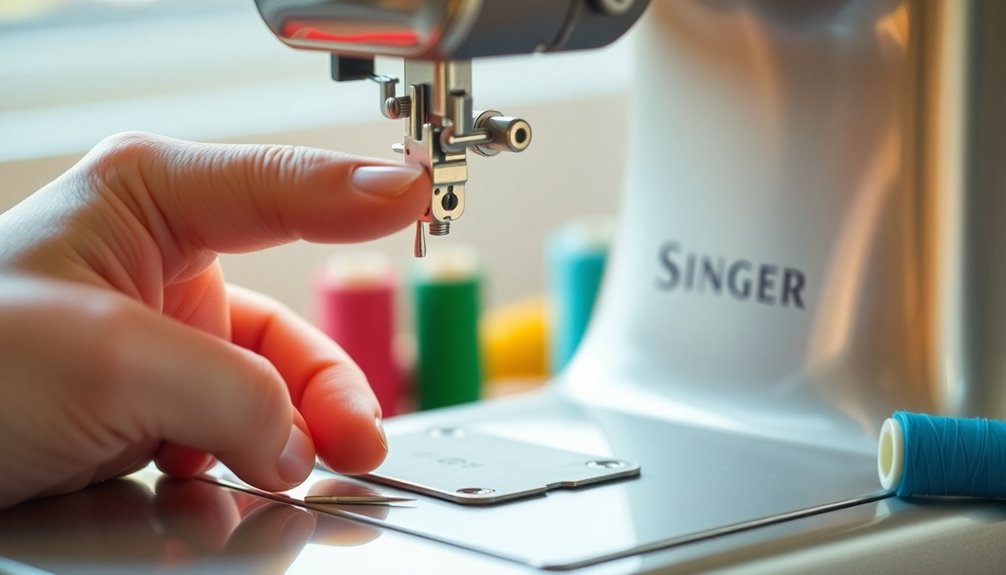
Raise the needle to its highest position to make removing the old needle easier.
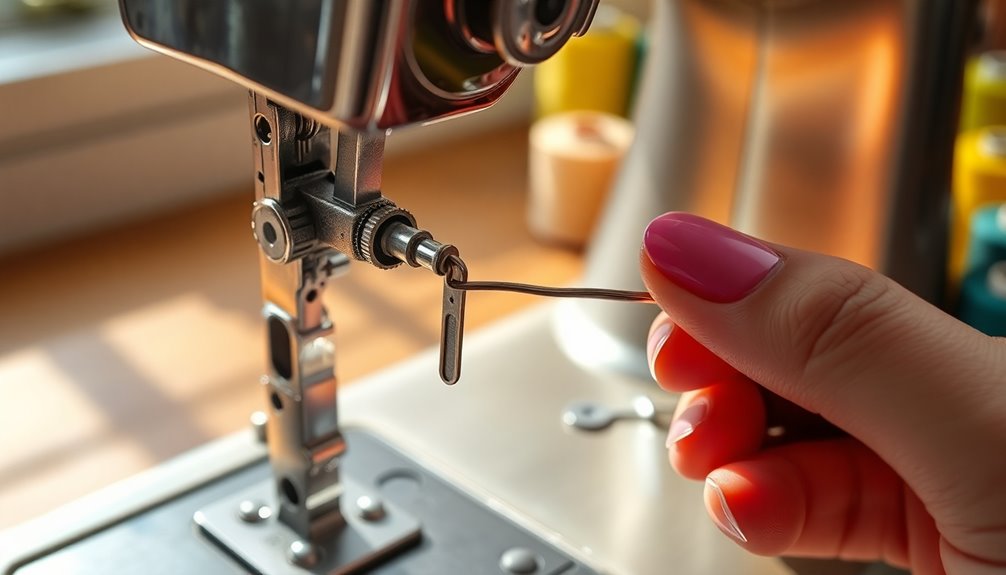
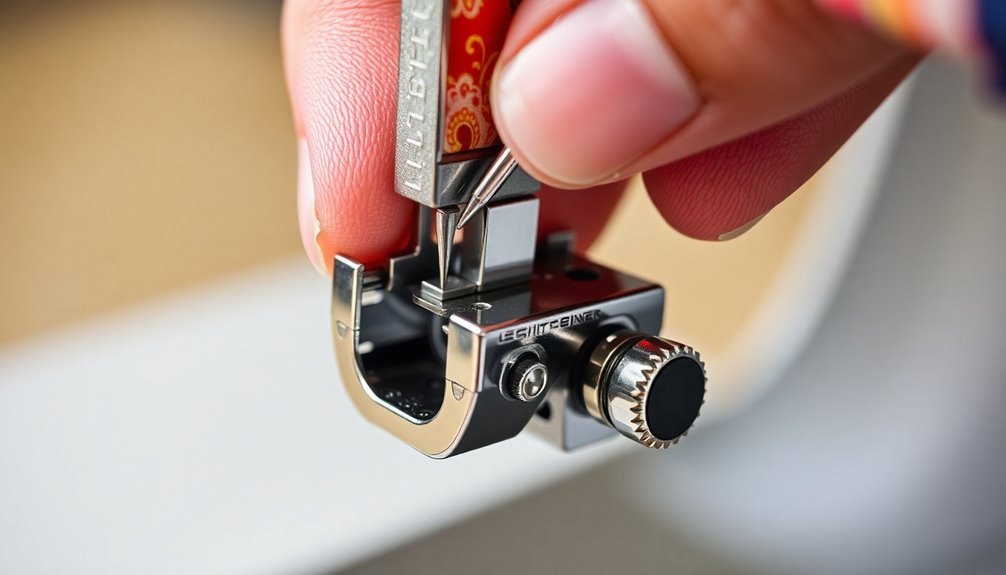
Grab a flathead screwdriver and twist the needle clamp screw towards yourself to loosen it. Carefully pull out the old needle, making sure you don't drop it during the process.
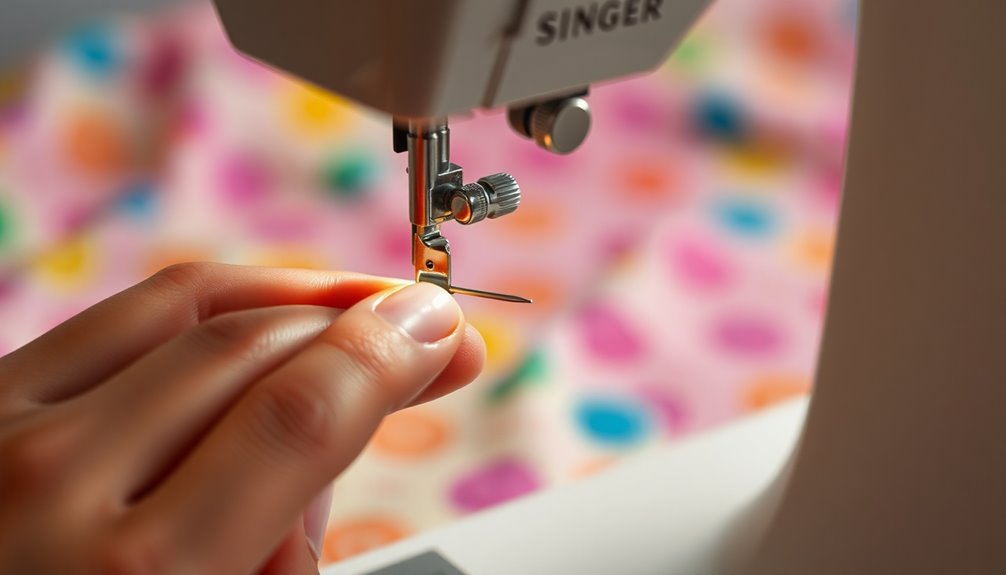
Keep in mind that the needle has a flat side and a rounded side—this will be important for correct insertion later. As you remove the needle, hold it with your left hand to maintain control.
After you've successfully taken out the old needle, tighten the screw back to secure the clamp in place.
Now you're ready for the next step in switching your needle!
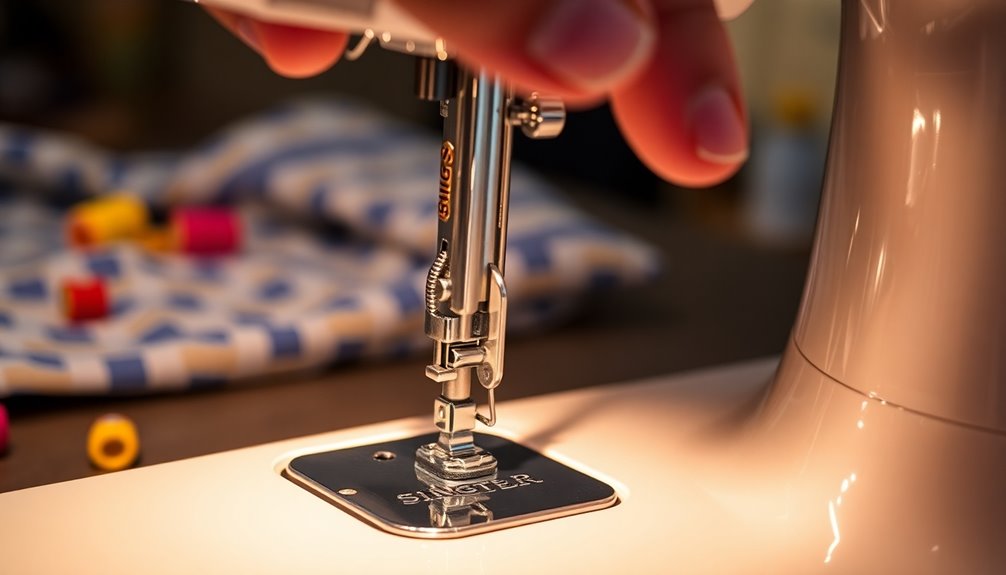
Inserting the New Needle
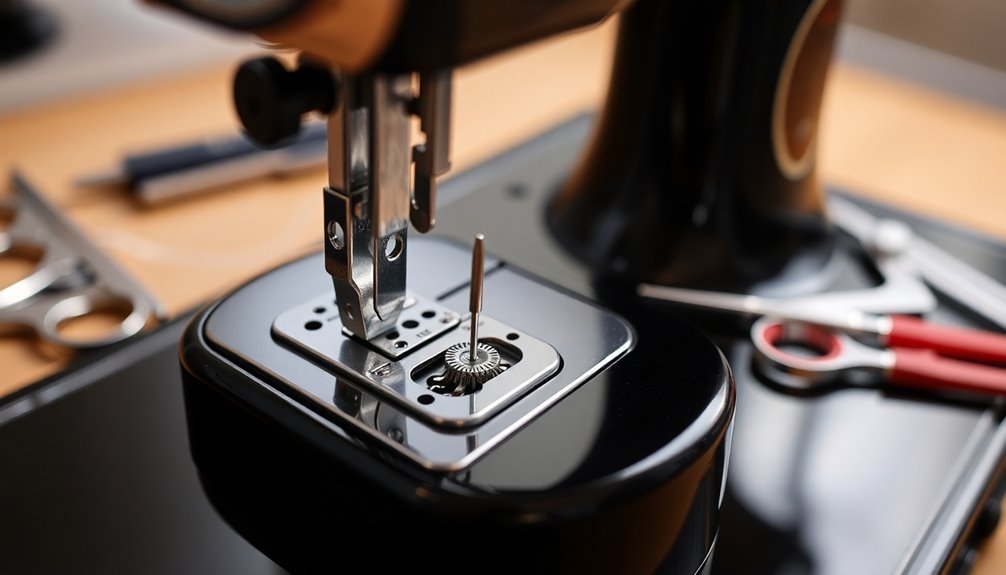
Inserting a new needle into your Singer sewing machine is a straightforward process that guarantees your sewing projects go smoothly. First, make sure the machine is turned off and the presser foot is lowered. Insert the new needle into the slot with the flat side facing the back, pushing it up until it touches the needle stopper. If it doesn't fit easily, rotate it slightly until it aligns correctly. Here's a quick reference to help you remember the steps:
| Step | Action | Note |
|---|---|---|
| 1. Turn Off Machine | Ensure safety before changing needle | Always prioritize safety |
| 2. Insert Needle | Flat side facing back, push up | Check for proper alignment |
| 3. Adjust if Necessary | Rotate slightly if it doesn't fit | Prevents needle damage |
| 4. Rethread | Don't forget to rethread after | Essential for sewing success |
Tightening the Needle Clamp
After you've successfully inserted the new needle, it's time to verify it's secure by tightening the needle clamp.
First, make sure the needle is firmly in the slot before turning the needle clamp screw. Use a flathead screwdriver, typically included with your Singer sewing machine, to tighten the screw by rotating it away from yourself.
This guarantees the needle stays firmly in place, preventing any loosening during use. Don't forget to keep the presser foot lowered while you're tightening; this maintains the correct alignment and stability of the needle.
Always check the tightness of the needle clamp after each needle replacement to confirm peak sewing performance and avoid any sewing mishaps.
Rethreading the Needle
Rethreading the needle is an essential step in ensuring your Singer sewing machine operates smoothly.
After you've inserted the new needle, lower the presser foot to maintain proper tension while you rethread.
Start by placing the thread spool on the spool pin and pulling the thread through the tension discs, referring to the machine's threading diagram for accuracy.
Next, guide the thread through the take-up lever, making sure it's securely in the groove for consistent stitching.
Now, thread the needle from front to back, leaving a tail of thread for effective stitching.
Finally, pull the thread through the needle's eye and under the presser foot, getting your machine ready for sewing.
Tips for Maintaining Needle Quality
To keep your sewing projects running smoothly, it's crucial to maintain your needle quality. Replace your sewing machine needle after every eight hours of sewing time for peak performance.
Regularly check your needle's condition, as sharp needles enhance precision and prevent fabric damage. Always keep spare needles on hand; quick replacements can save you time and maintain efficiency.
Use the appropriate needle types for different fabrics to guarantee better results and reduce wear.
Finally, monitor your sewing performance for signs of needle wear, like skipping stitches or uneven seams. Identifying these issues early can help you maintain the quality of your work and keep your projects looking professional.
Happy sewing!
When to Replace Your Needle Again
Knowing when to replace your needle again is key to keeping your sewing projects on track. Aim to switch it out after about eight hours of sewing time to maintain peak quality.
Regularly inspect your needle for signs of wear; this proactive approach can prevent problems before they impact your work. If you notice skipped stitches or fabric snagging, don't wait until you hit that eight-hour mark—replace your needle immediately.
Keeping track of your sewing schedule will help you monitor usage effectively. Finally, always have spare needles on hand. This way, you can quickly replace a worn needle and keep your sewing uninterrupted, ensuring your projects turn out beautifully every time.
Frequently Asked Questions
How to Change Needle Singer Simple?
To change the needle on your Singer Simple, start by turning off the machine and lowering the presser foot.
Raise the needle to its highest position using the handwheel, then loosen the needle clamp screw by turning it towards you.
Remove the old needle, noting its flat side.
Insert the new needle until it touches the stopper, then tighten the clamp screw by turning it away from you.
Don't forget to rethread the needle!
How to Change Needle on Old Singer Sewing Machine?
Did you know that nearly 70% of sewing machine issues stem from using the wrong needle?
To change the needle on your old Singer sewing machine, first, turn it off and lower the presser foot.
Raise the needle to its highest position, loosen the clamp screw, and carefully remove the old needle.
Insert the new needle with the flat side facing back, tighten the screw, and rethread before you start sewing again.
How to Change Needles on a Sewing Machine?
To change needles on a sewing machine, first, raise the needle to its highest position and turn off the machine for safety.
Loosen the needle clamp screw with a flathead screwdriver and remove the old needle.
Insert the new needle with the flat side facing the back until it touches the stopper.
Tighten the clamp screw to secure it, and don't forget to rethread the needle before you start sewing again.
Is It Necessary to Turn the Power off When Changing the Sewing Needle?
Yes, it's necessary to turn the power off when you're changing the sewing needle.
Doing so prevents accidental needle movement, which could lead to injury. By powering down your machine, you eliminate the risk of it activating while you're handling the needle.
This also creates a stable environment for loosening or tightening the needle clamp screw, protecting both you and your sewing machine during the replacement process.
Safety should always come first!
Conclusion
Switching needles on your Singer sewing machine is as simple as flipping a switch. Just as a fresh needle can transform your sewing experience, a dull one can lead to frustration and mistakes. By regularly replacing your needle, you guarantee smooth stitches and vibrant seams. Remember, a well-maintained needle is like a sharp pencil—ready to create beautiful designs. So, keep your sewing machine in top shape, and let your creativity flow effortlessly!