To thread a needle on a sewing machine, start by preparing your bobbin. Wind the thread and place it in the bobbin case, ensuring the thread unwinds correctly. Next, set up the upper thread by placing the spool on the thread pin and guiding it through the thread guide and take-up lever. Finally, pull the thread down toward the needle and thread it through. Keep going, and you'll find more tips to make sewing even easier!
Key Takeaways
- Start by lifting the needle and presser foot to their highest positions for easier access to the needle area.
- Place the spool of thread on the thread pin and guide the thread through the machine's thread guide.
- Wrap the thread around the take-up lever and pull it down toward the needle, ensuring proper tension.
- Thread the needle by passing the thread through the needle's eye from front to back, using a needle threader if needed.
- Lower the presser foot and check that the thread flows freely before starting to sew.
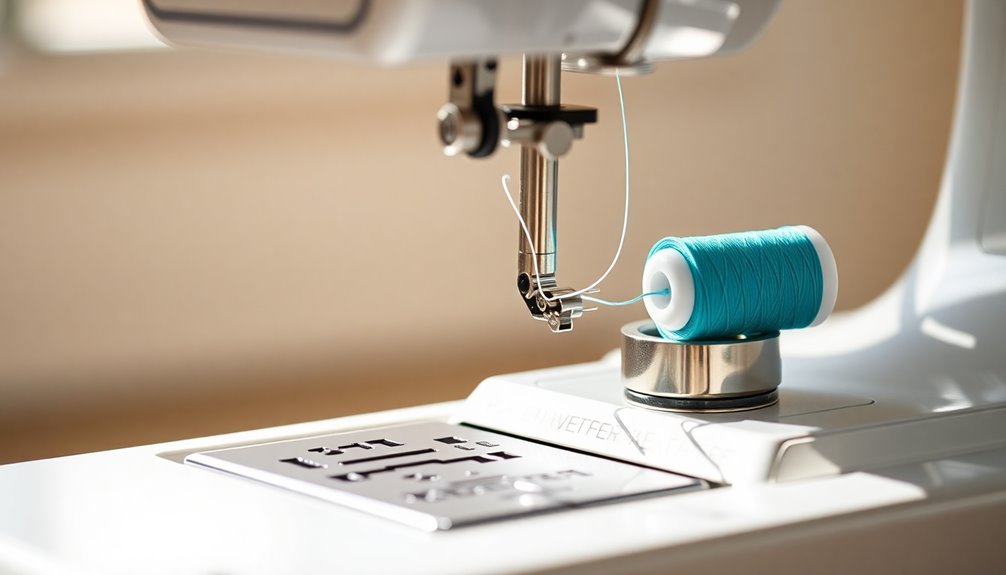
Preparing the Bobbin for Sewing
Before you start sewing, you need to prepare the bobbin, as a well-wound bobbin is essential for smooth stitching.
Begin by winding the top thread around the pre-tension disc and threading it through the holes in an empty bobbin. Make sure it's securely attached before placing it on the bobbin winder pin.
To create a stable starting point, wind the thread around the center pillar of the bobbin several times. Then, press the foot pedal until the bobbin is full, keeping an eye on the process to prevent overfilling, which can lead to jams.
Once finished, remove the bobbin from the winder pin and cut the thread carefully.
Store unused bobbins safely to keep them organized for future projects.
Loading the Bobbin Into the Machine
To load the bobbin into your sewing machine, start by lifting the needle and presser foot to their highest positions.
Next, remove the bobbin cover and place the wound bobbin in the correct orientation, following the directional arrow.
Finally, thread the bobbin through the tension spring to guarantee it feeds properly while you sew.
Bobbin Preparation Steps
As you prepare to load the bobbin into your sewing machine, start by lifting the needle and presser foot to their highest position for easy access to the bobbin case.
Next, remove the bobbin cover to reveal the round slot where the wound bobbin will go. Insert the wound bobbin into this slot, ensuring you follow the directional arrow for proper thread unwinding. This step's essential for smooth operation!
Once the bobbin's in place, pull the bobbin thread through the machine's tension spring to make sure it's properly engaged for sewing.
Finally, secure the bobbin cover back in position to prevent any movement while you sew. You're now ready to start stitching!
Proper Bobbin Placement
With the bobbin prepared and securely in place, you're ready to focus on proper bobbin placement. Start by lifting the needle and presser foot to the highest position, then remove the bobbin cover to access the bobbin case. Place the wound bobbin into the round slot, ensuring the thread unwinds according to the directional arrow. Pull the bobbin thread through the tension spring, making sure it's properly seated for ideal tension during sewing. Once the bobbin is in place, securely replace the bobbin cover to prevent any movement or misalignment while you sew. Confirm that the bobbin thread is easily accessible for connecting with the upper thread.
| Step | Action |
|---|---|
| 1 | Lift the needle and presser foot |
| 2 | Remove the bobbin cover |
| 3 | Place the bobbin in the case |
| 4 | Pull the thread through tension spring |
| 5 | Replace the bobbin cover |
Threading Technique Tips
Although loading the bobbin into your sewing machine might seem straightforward, paying attention to details can make a significant difference in your sewing experience.
Start by lifting the needle and presser foot to the highest position, allowing easy access to the bobbin case. Remove the bobbin cover and place the wound bobbin in the round slot, ensuring the thread unwinds in the direction indicated by the arrow.
Pull the bobbin thread through the machine's tension spring, making sure it's seated correctly. After securing the bobbin cover, check that the thread flows freely without obstruction.
Always refer to your sewing machine manual for specific instructions, as designs can vary. This careful approach helps you avoid issues when threading the eye of the needle.
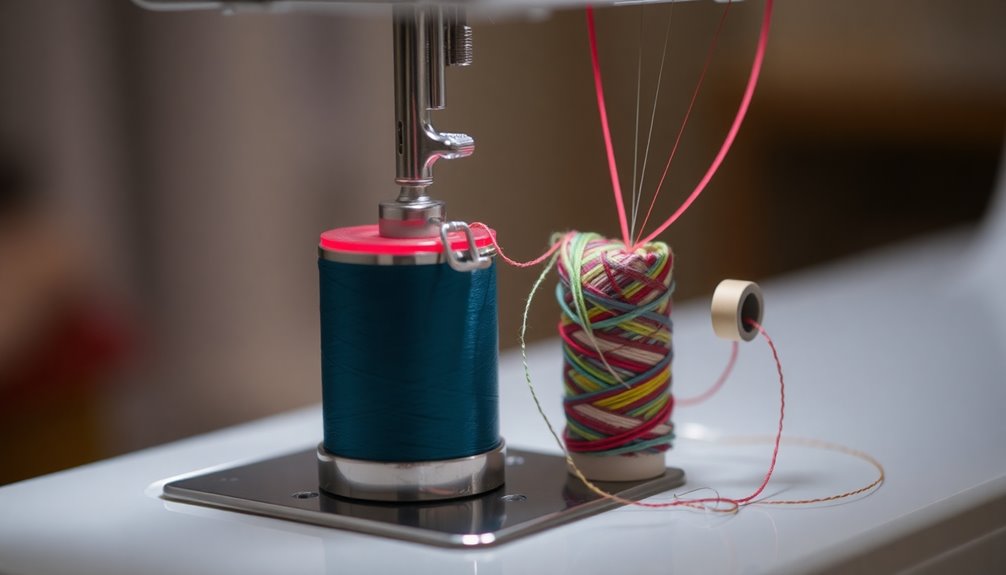
Setting Up the Upper Thread

To set up the upper thread on your sewing machine, start by placing a spool of thread onto the thread pin. This guarantees a steady supply of thread during sewing.
Next, pull the thread to the left and guide it through the thread guide at the top right, making sure it's securely in place to prevent any snags.
Then, pull it back down into the deep groove on the front of the machine to maintain proper tension.
Bring the thread back up into the second deep groove on the left, wrapping it around the take-up lever at the top for ideal threading.
Finally, pull the thread down toward the sewing machine needle, getting it ready for insertion.
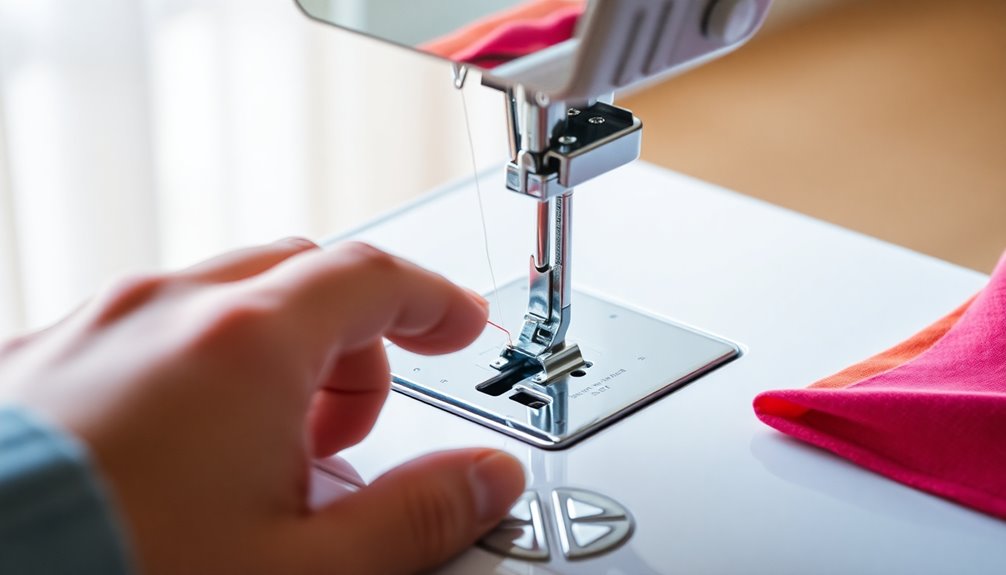
Threading the Needle With Ease
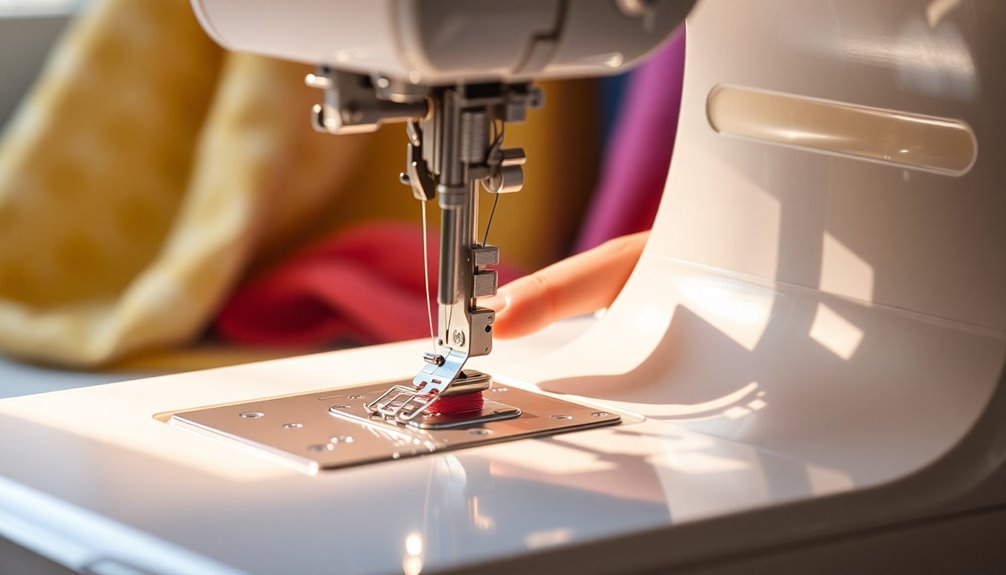
Threading the needle of your sewing machine can be a straightforward task when you follow the right steps. To begin, gather your materials and ensure you have the correct type of embroidery thread in sewing machines, as this will impact the overall quality of your work. Next, carefully guide the thread through the tension discs and the take-up lever, making sure it is properly seated. Once threaded correctly, you can easily begin stitching, knowing your machine is set up for optimal performance.
First, make sure your upper thread is correctly set up. Guide it through the thread guides and down to the needle area. If you're using quick threading needles, their notches make it easier for the thread to pop into the needle's eye, especially if you have vision challenges.
Always insert the needle with the flat back facing the right direction and tighten it securely. Remember to thread the needle from front to back, pulling several inches of thread through.
If your machine has an automatic needle threader, use it! This feature considerably streamlines the threading process, making it even more convenient.
Connecting the Threads for Seamless Sewing
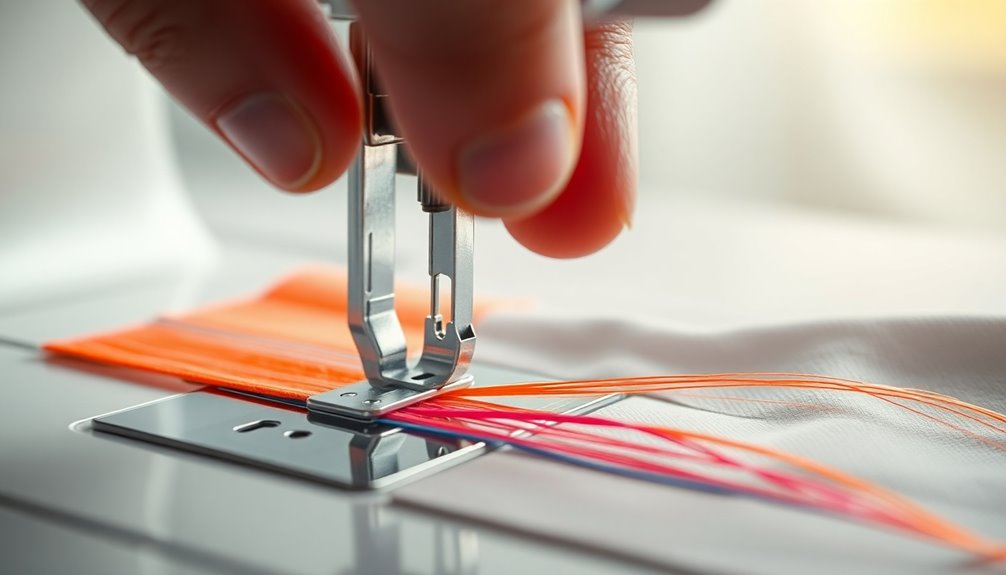
Once you've successfully threaded the needle, it's time to connect the threads for seamless sewing.
Start by lowering the needle using the position knob or button until it goes down and back up. This action helps the needle catch the bobbin thread and pull it out in a loop.
To make certain both threads are accessible, use a flat object like a ruler to grab them and pull them to the back of the sewing machine. Ascertain the bobbin thread is pulled through the tension spring and positioned correctly.
Keep the upper and bobbin threads separated and away from the stitching area to prevent tangling. Before you start sewing, confirm that both threads are ready for consistent stitches without obstructions.
Tips for Using Quick Threading Needles
Using quick threading needles can transform your sewing experience, especially if you struggle with traditional needles. These needles come with a handy notch that lets the thread pop into the needle's eye effortlessly.
When using quick threading needles, make sure the flat back is inserted correctly into your machine, facing the front side, and tighten it securely to prevent any slipping. Choose from sizes 80/12 or 90/14 based on your fabric type, ensuring compatibility with various sewing machines.
Additionally, maintain a slower sewing pace for better control, which can help reduce the risk of unthreading. These needles are particularly beneficial for those with vision challenges or arthritis, making your sewing tasks much easier and more enjoyable.
Frequently Asked Questions
How to Thread a Sewing Machine Step by Step?
To thread a sewing machine step by step, you'll start by winding the bobbin and placing it in the machine.
Next, position a spool on the thread pin, guiding the thread through the thread guide and into the grooves.
Pull the thread down and insert it through the needle's eye.
Lower the needle to catch the bobbin thread, then pull both threads to the back, ensuring they're ready for sewing.
Double-check everything's correct!
How to Easily Thread a Needle on a Sewing Machine?
Threading a needle's not as tough as it seems! Start by securing a spool on the thread pin and guiding the thread through the machine's designated path.
If you've got vision issues, grab a self-threading needle—it's a game changer! Pull the thread down and insert it into the needle's eye from front to back.
Finally, lower the needle to catch the bobbin thread, ensuring everything's in place for a smooth sewing session!
How Do You Sew With a Needle and Thread for Beginners?
To sew with a needle and thread as a beginner, start by choosing the right needle and thread for your fabric.
Secure the fabric in place, then guide the needle through it at a steady pace for even stitches.
Always pull the thread from the left to avoid unthreading, keeping it taut but not too tight.
Practice on scrap fabric to build your skills before tackling your actual projects.
Enjoy the process!
What Is the Final Step for Threading a Basic Sewing Machine Response?
Threading a sewing machine is like setting the stage for a beautiful performance; every step matters.
Once you've threaded the upper thread, the final step involves lowering the needle to catch the bobbin thread. Pull it up, ensuring both threads are neatly positioned.
Use a flat object to guide them while checking for slack. Double-check that the threads are secure and the needle's threaded correctly—this'll set you up for smooth, flawless sewing.
Conclusion
Now that you've mastered threading your sewing machine, you're ready to weave your creativity into fabric! Like an artist with a brush, each stitch you make brings your vision to life. Remember, practice makes perfect, so don't hesitate to revisit these steps until threading feels as natural as breathing. With your needle threaded and ideas flowing, let your imagination run wild and transform ordinary materials into extraordinary creations. Happy sewing!