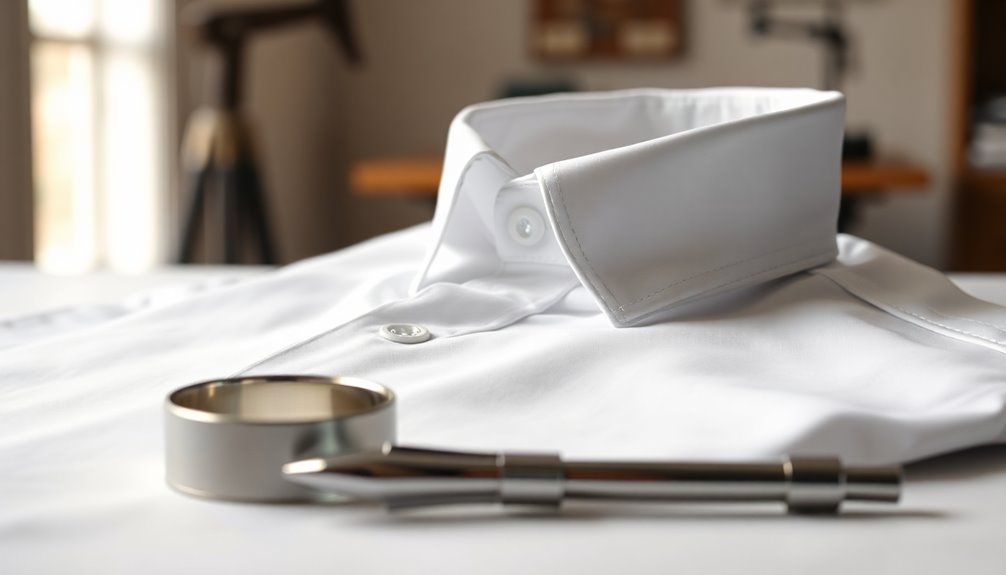

To make a collar stand up, start by selecting a collar pattern with a stand and fusible interfacing for support. Cut and prepare the collar pieces, ensuring you stay stitch the edges to prevent stretching. After sewing the collar to the stand, iron it properly to maintain its shape. Remember to keep the tips straight and store your collar flat. Discover more tips on collar styling and maintenance to enhance your look.
Key Takeaways
- Choose collar patterns with interfacing and a collar stand for added height and support.
- Use fusible interfacing to reinforce the collar for stiffness and shape retention.
- Iron the collar while popped up and use spray starch for enhanced crispness.
- Store collars flat and use collar stays to maintain their shape when not in use.
- Regularly check and maintain collar cleanliness to prevent curling and prolong its life.
Selecting the Right Collar Pattern
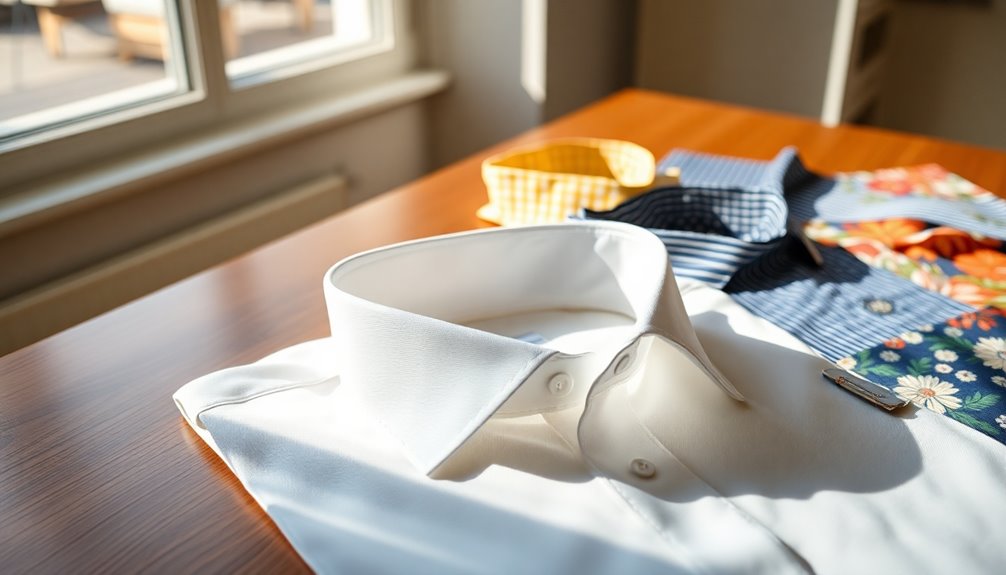
When you're selecting the right collar pattern, keep in mind that the style of your shirt or dress plays an essential role in how the collar will look and function.
Choose patterns that incorporate a collar stand, as this feature offers added height and support, making your shirt collars stand up nicely.
Look for designs that include collar interfacing, which adds stiffness and helps maintain the collar's shape over time.
Pay attention to the notches and markings on the pattern; these guarantee you align and sew the collar accurately to the garment, achieving a neat finish.
Finally, consider the fabric weight recommended by the pattern, since heavier fabrics may require a more structured collar pattern for effective shape retention.
Preparing the Collar Pieces
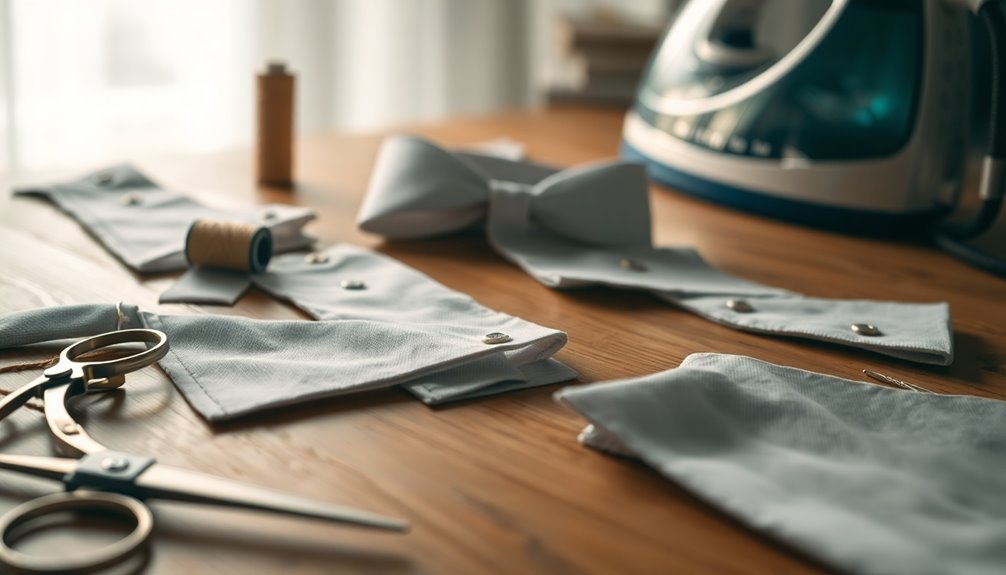
To prepare your collar pieces, start by cutting out the fabric and matching fusible interfacing for a stable base.
Next, you'll want to fuse the interfacing to the wrong side of each collar piece and press the lower edges neatly for a polished finish.
This sets you up for a crisp, structured collar that stands up beautifully.
Cutting Collar Fabric Pieces
Cutting collar fabric pieces is an essential step in creating a stand-up collar that looks sharp and professional. To guarantee you get it right, follow these steps:
- Trace the collar shape using a pattern, adding seam allowances of 1.5 cm (or 5/8 inch) where necessary.
- Cut out your collar pieces from your chosen fabric, including fusible interfacing for added structure.
- Match the interfacing shape to the collar pieces to reinforce without adding bulk.
- Mark notches on the collar pieces to help align them accurately during assembly.
After cutting, gently press the fabric pieces to remove wrinkles, making them easier to work with during sewing. A smooth surface will help ensure precise stitching and allow the fabric to feed evenly through the machine. Additionally, be sure to consult the sewing table insert instructions to properly set up your workspace for optimal performance during your projects. Taking the time to prepare your materials will lead to a more enjoyable and successful sewing experience.
This preparation sets the stage for a polished final look.
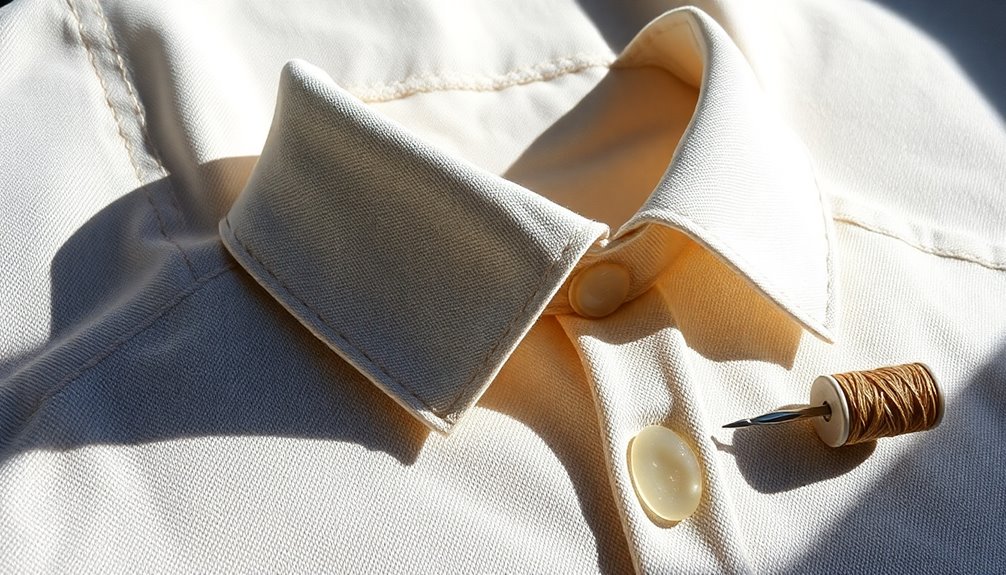
Applying Fusible Interfacing Correctly
Applying fusible interfacing is essential for ensuring your collar has the structure it needs to stand up nicely. First, cut fusible interfacing pieces to match your collar fabric, ensuring they're the same shape and size. Next, place the fusible side against the wrong side of the collar fabric for proper adhesion.
| Step | Action |
|---|---|
| 1 | Position fusible interfacing correctly |
| 2 | Use a dry iron at the right temperature |
| 3 | Press down firmly for 10-15 seconds |
| 4 | Avoid sliding the iron back and forth |
| 5 | Let the interfacing cool completely |
Pressing Collar Edges Neatly
Once you've applied the fusible interfacing, it's time to focus on pressing the collar edges neatly. This step is essential for a polished look.
Follow these guidelines to achieve a professional finish:
- Fold and press the lower edges of the collar stand under to the wrong side.
- Confirm the entire collar maintains its shape by pressing it thoroughly after turning it right side out.
- Clip the corners after stitching for crisp edges.
- Always check for any creases; a clean press sets the collar's shape perfectly.
Sewing the Collar Stand
To create a polished collar stand, start by cutting out the necessary collar pieces and matching them with fusible interfacing for added stability.
Next, fold and press the lower edges of the collar stand under to the wrong side before fusing the interfacing to the collar pieces.
Stitch the collar pieces together at the sides and top edge, leaving the lower edges open for attachment to the collar stand.
To prevent stretching, stay stitch the lower edges of the collar together and top stitch the side and top edges for a neat finish.
Finally, align the collar stand with the neckline of the shirt, matching center back marks, and pin the lower folded edge to the seam line before machine stitching for a secure fit.
Attaching the Collar to the Stand
To attach the collar to the stand, start by preparing the collar edges with stay stitching to keep their shape.
Next, pin the collar to the stand, aligning the circle marks for accuracy.
Once everything's in place, you'll move on to the final stitching steps to secure the layers together.
Preparing Collar Edges
Preparing the collar edges is an essential step in guaranteeing your collar stands up beautifully. Follow these steps to achieve a polished look:
- Stay Stitch the lower edges of the collar together to secure the shape and prevent stretching during assembly.
- Pin the lower edges of the collar to the collar stand, making sure the circle marks align for a precise fit.
- Start Stay Stitching the collar to the stand from the center back, which helps maintain even tension and alignment throughout.
- Stitch the remaining stand, right sides facing the collar, together to secure it in place.
Finally, turn the collar right sides out and press thoroughly. This will guarantee your collar maintains its shape and stands up properly when attached to your shirt.
Pinning Techniques
When you're ready to attach the collar to the stand, start by pinning the lower edges of the collar in place.
Make certain the circle marks on both pieces align for proper attachment. Use straight pins, beginning at the center back and working toward the front, to maintain evenness and prevent shifting.
Pay attention to matching the seam lines of the collar and collar stand accurately to guarantee a clean finish. Adjust the fabric as needed to avoid puckering, keeping the collar edges flat against the stand.
Finally, hand baste the pinned collar to the stand before machine stitching. This step guarantees precise alignment and prevents any movement while sewing, contributing to a polished final look.
Final Stitching Steps
After hand basting the collar in place, it's time to secure it with final stitching. Follow these steps to guarantee a professional finish:
- Stay stitch the lower edges of the collar together to maintain its shape before attaching it to the collar stand.
- Pin the lower edges of the collar to the collar stand, guaranteeing that circle marks align for proper positioning.
- Begin stay stitching the collar to the stand from the center back, which helps distribute the fabric evenly for a smooth look.
- Once pinned, place the remaining collar stand right sides facing on top and stitch together to secure the collar.
Finally, turn the collar right side out and press thoroughly for a crisp appearance before attaching it to the neckline.
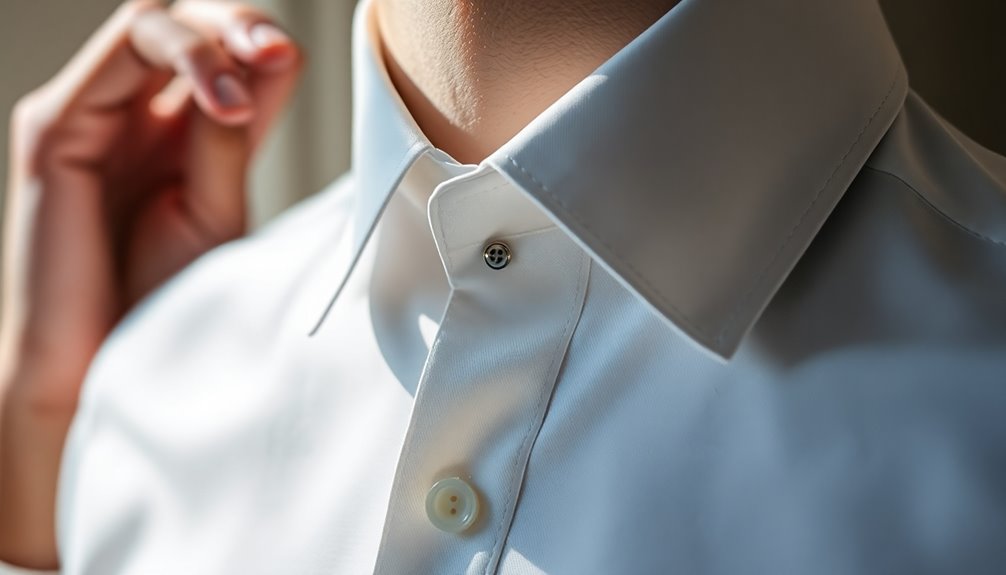
Ironing Techniques for a Crisp Finish
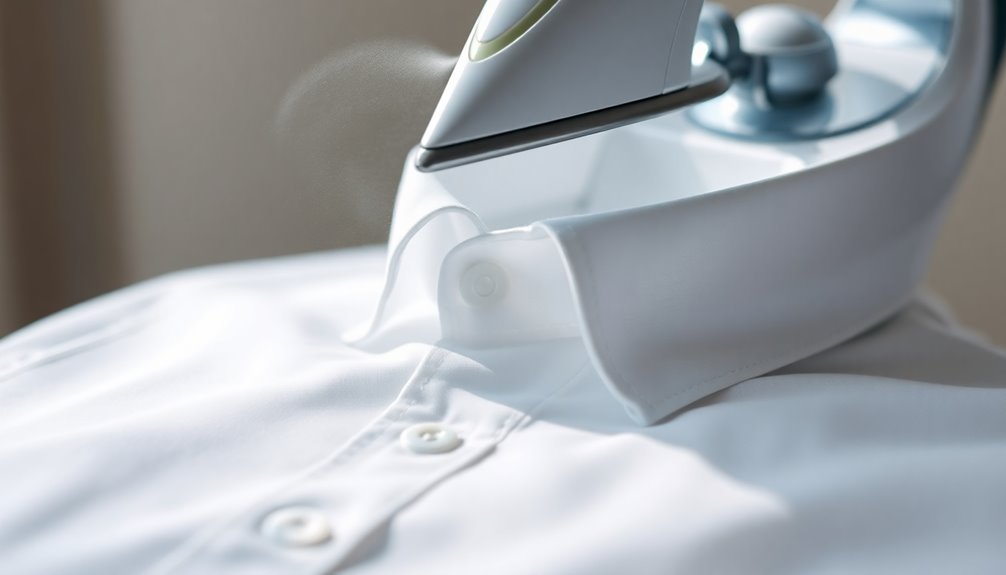
Achieve a crisp finish on your collar by ironing it while it's popped up, which sharpens the creases and maintains its structure.
To elevate your style, try ironing the collar to the inside for a unique look. This method gives your collar a fashionable angle when it's popped.
Before you begin, spritz some spray starch on the collar; it'll enhance stiffness and support, ensuring a well-defined shape.
While ironing, consider popping just the back of the collar to create a trendy twist that adds character to your outfit.
After you're done, let the collar cool completely to set the shape and prevent it from collapsing.
A little effort goes a long way in perfecting your collar's finish!
Maintaining Collar Structure and Support
To maintain the structure and support of your collar, it's essential to use quality materials and techniques. Implementing these strategies will keep your collar looking sharp and prevent sagging:
- Choose Reinforced Collars: Opt for collars with additional fabric layers to help retain their shape.
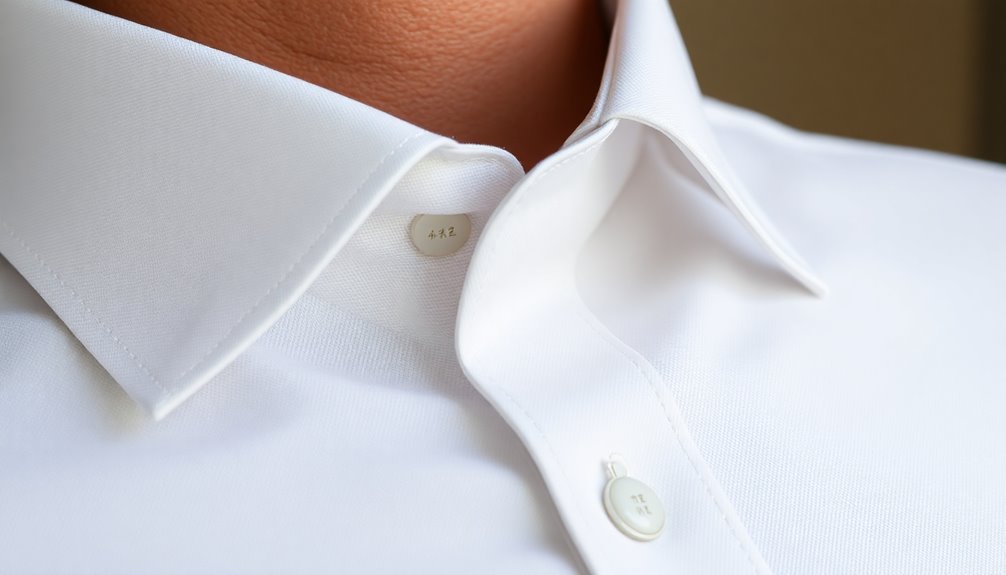
- Use Collar Stays: Invest in collar stays made from plastic, metal, or bone to keep the tips straight and prevent curling.
- Consider Adjustable Supports: Try the Slick Collar for adjustable support that fits various styles while allowing natural movement.
- Iron Properly: Iron your collar after washing and fold it into position to enhance its crispness.
Frequently Asked Questions
How Do I Keep My Collar Standing Up?
To keep your collar standing up, start by using spray starch to stiffen the fabric.
Make sure you apply it evenly to both the collar and yoke before you press it. Incorporate collar stays in the stay pouches to maintain straight tips and prevent sagging.
After ironing, let the collar cool completely to set its shape.
When you're not wearing the shirt, hang it with the collar popped up to maintain its structure.
What to Use to Make a Collar Stand Up?
You might think it's complicated to keep a collar standing up, but it's really straightforward.
To achieve that crisp look, you can use collar stays—plastic or metal ones work great. A little spray starch before ironing also helps maintain stiffness.
If you're looking for extra support, consider a Slick Collar for discreet reinforcement.
Plus, fusing interfacing during assembly gives your collar the structure it needs to stay sharp throughout the day.
How to Fix a Floppy Collar?
If your collar's floppy, you can easily fix it.
Start using collar stays, which you slide into the collar's pouches to keep it straight.
Consider a Slick Collar support for overall stability.
After washing, iron the collar properly to restore its crispness.
If you're sewing, add fusible interfacing to strengthen the collar.
Finally, check for warped plastic inserts in the collar placket and replace them to maintain its shape effectively.
How Do You Starch a Collar to Stand Up?
Imagine your collar as a proud soldier standing tall against the elements.
To starch it effectively, lay it flat on an ironing board and give it a generous spray of starch. Press it with a hot iron, following its natural creases.
Once it's crisp, let it cool while flat, then pop it up and hang it.
Regularly applying starch after washes will keep your collar sharp and ready for any occasion.
Conclusion
With the right techniques, you can transform a floppy collar into a sharp statement piece. Just as a well-tailored suit can elevate one's confidence, a stand-up collar can add a touch of sophistication to your look. By following these steps, you not only enhance your garment but also embrace the art of sewing. So grab your fabric, channel your creativity, and let your collar stand tall—because every detail counts in making a lasting impression.