Fastening off your crochet is essential for a polished, secure finish. To start, always complete your last stitch, then cut a 6-12 inch yarn tail. Pull the tail through the last loop and tighten it gently. Explore the invisible join method for seamless shifts, especially during color changes. Weaving in your yarn ends using a tapestry needle guarantees durability. With practice, you can elevate your crochet skills, and there's more to discover about perfecting your techniques.
Key Takeaways
- Fasten off by cutting yarn after the last stitch, leaving a 4-12 inch tail for secure weaving.
- Pull the tail through the last loop on the hook to create a tight knot.
- Use a tapestry needle to weave in ends securely, ensuring no unraveling occurs.
- Consider using the invisible join method for a seamless finish, especially during color changes.
- Regularly practice these techniques to enhance your skills and achieve a polished look in your crochet projects.

Bupete 25 Pcs Yarn Needles Set, Metal Tapestry Needle, Crochet Needles for Yarn, Large Eye Sewing Needles, Curved Darning Needles, Knitting Needles for Sewing, Knitting, Crochet
You will get: 15 Pcs plastic large eye sewing needles(3 sizes); 8 Pcs bent tapestry needles(randomly colors); 2…
As an affiliate, we earn on qualifying purchases.
As an affiliate, we earn on qualifying purchases.
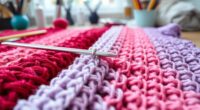
Why Fastening off Crochet Is Essential
Fastening off your crochet is vital because it secures your hard work, preventing any unraveling after you've invested so much time and effort.
When you fasten your stitches, you guarantee that the final piece remains intact and maintains its shape. This step isn't just about finishing; it enhances the durability of your crochet project, allowing it to withstand wear over time.
Once you've reached the end of your row or round, it's time to cut the tail and secure it properly. A well-executed fastening off technique provides a polished, professional finish that elevates your work.
Mastering this skill is essential for every crocheter, as it contributes greatly to the overall success and longevity of your creations.
Crochet Blocking and Finishing Guide: Step-by-Step Wet, Steam, Mist Methods for Flat Edges, Invisible Seams, Motif Joins, Secure Ends
As an affiliate, we earn on qualifying purchases.
As an affiliate, we earn on qualifying purchases.
When to Fasten Off Crochet
Knowing when to fasten off your crochet project is key to guaranteeing its longevity and integrity. You should fasten off your crochet when you finish the last stitch of a row or round, or when you're done with your design and don't plan any further adjustments. Fastening off helps lock your work in place, preventing unraveling.
- Always cut the yarn at a sufficient length.
- Leave a tail for weaving in ends, ideally 4-12 inches.
- Remember that a professional finish enhances the overall look of your crochet piece.
When crocheting amigurumi, it's essential to maintain the integrity of multiple pieces by securely fastening off.
Cutting the yarn correctly guarantees your project remains intact.

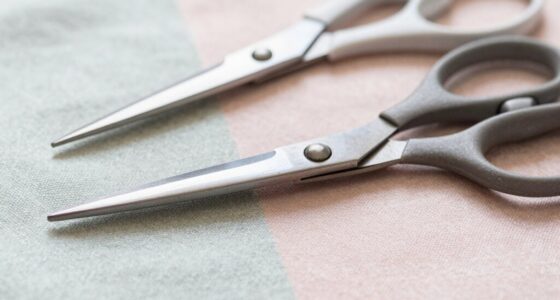
Embroidery Scissors with Cover – Antique Bronze Vintage Small Crochet Scissors, Sharp Wing Design Craft Scissors for Yarn Thread Sewing Needlework, Pretty Gift for Crocheter Quilter, 4.6 Inch
Razor-Sharp Stainless Steel Blades – Cuts yarn, thread, and embroidery floss in one clean snip with no fraying…
As an affiliate, we earn on qualifying purchases.
As an affiliate, we earn on qualifying purchases.
Basic Method to Fasten Off Crochet

To fasten off your crochet project using the basic method, start by cutting the yarn, leaving a 6-inch tail.
Then, yarn over and pull the tail through the last loop on your hook to secure that final stitch.
This simple step helps prevent unraveling and keeps your work intact.
Cutting Yarn Length
When you're ready to fasten off your crochet project, cutting the yarn correctly is essential for a polished finish. A good rule of thumb is to leave a longer tail of about 6 inches. This length helps with secure weaving into your project and prevents unraveling.
Always check the crochet pattern for any specific yarn tail lengths required. To achieve a clean finish, focus on cutting excess yarn rather than leaving it too short. Remember to cut the yarn end only after confirming your project is complete.
- Leave a longer tail for secure weaving
- Check the crochet pattern for yarn tail lengths
- Cut excess yarn, not too short
- Confirm the project is complete before cutting
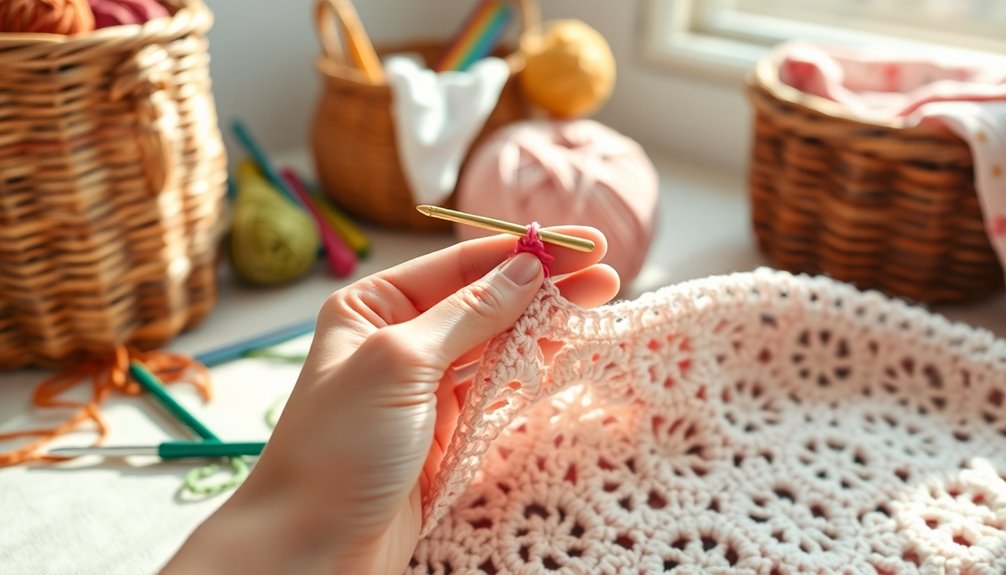
Securing Last Stitch
Before you wrap up your crochet project, securing the last stitch is vital for a neat finish. Start by cutting the yarn, leaving a 6-inch tail for later weaving in the ends.
Yarn over and pull the yarn tail through the last loop on the hook to create a secure knot that prevents unraveling. Gently tug on the yarn tail to guarantee the knot is tight, but be careful not to distort your work.
Once you've fastened off crochet, use a tapestry needle to weave in the ends, hiding the tail within the stitches for a polished finish.
Bupete 25 Pcs Yarn Needles Set, Metal Tapestry Needle, Crochet Needles for Yarn, Large Eye Sewing Needles, Curved Darning Needles, Knitting Needles for Sewing, Knitting, Crochet
You will get: 15 Pcs plastic large eye sewing needles(3 sizes); 8 Pcs bent tapestry needles(randomly colors); 2…
As an affiliate, we earn on qualifying purchases.
As an affiliate, we earn on qualifying purchases.
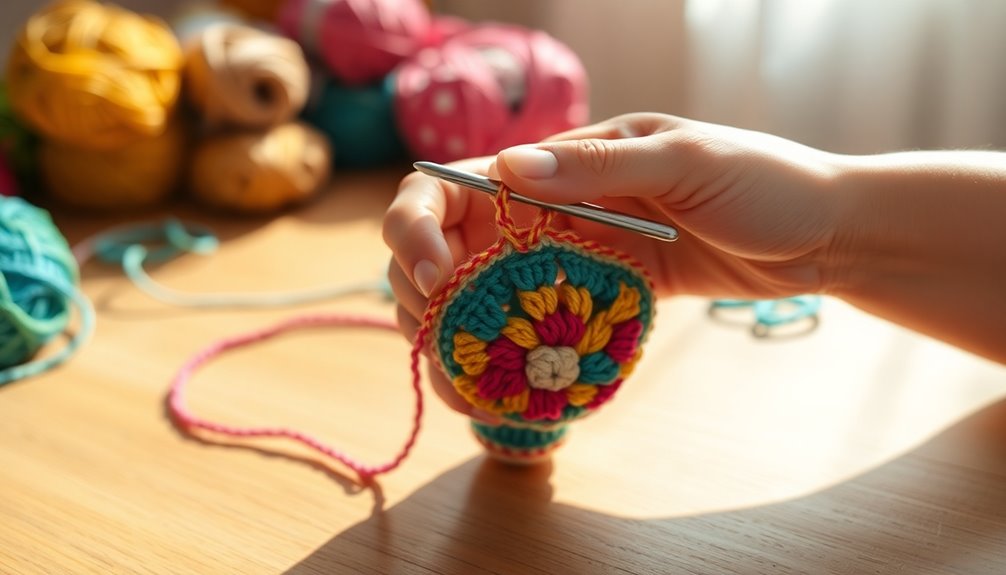
Invisible Join Method

If you're looking for a clean finish in your crochet projects, the Invisible Join Method is your go-to technique.
It not only provides a seamless progression between rounds but also enhances the overall look of your work.
Let's explore the steps to execute this method, its benefits, and common mistakes to avoid.
Steps for Invisible Join
The Invisible Join Method is a fantastic technique for finishing off your crochet projects seamlessly.
To execute it, follow these steps:
- Finish your last stitch and cut the yarn, leaving a 6-inch yarn tail for later.
- Insert your hook under the first stitch of the row or round, with the right side facing you.
- Pull the yarn tail through the first stitch to create a slip knot, locking the last stitch without a visible knot.
- Weave in the yarn end with a needle through several nearby stitches to secure it, ensuring it's hidden for a polished finish.
Benefits of Seamless Finish
Using the Invisible Join Method not only provides a clean finish but also enhances the overall look of your crochet projects. This technique creates a seamless shift between stitches, making it perfect for crochet patterns where an invisible finish is essential.
By carefully inserting the hook under the first stitch, you minimize visible knots, which offers a polished look that elevates your work. It's especially beneficial for color changes, preventing gaps that disrupt your design's flow.
Additionally, this method helps guarantee your crochet items are durable, as it reduces the likelihood of unraveling at the joins. Ultimately, employing the Invisible Join Method can enhance longevity, making your creations look professional and well-crafted.
Common Mistakes to Avoid
While mastering the Invisible Join Method can elevate your crochet projects, there are common mistakes that can undermine your efforts.
To achieve a secured finish, pay attention to these pitfalls:
- Confirm the last stitch is completed properly to prevent gaps.
- When inserting the hook for the invisible join, pull the yarn through slowly and evenly.
- Avoid pulling the yarn too tightly, which can distort the edge.
- Remember to weave in the ends securely after finishing to avoid unraveling.
To gain confidence, practice the technique on scrap yarn first.
By avoiding these common mistakes, you'll create a clean, seamless look that enhances your crochet work.
Happy crocheting!
Clean Edge Technique

To achieve a polished look in your crochet projects, mastering the Clean Edge Technique is essential.
Start each new row with a chain of 3, which creates a smooth shift and helps maintain consistent stitch height. When you reach the end of the row, use a slip stitch to secure your last stitch, ensuring a neater finish.
This technique minimizes gaps and unevenness, making it particularly beneficial for projects where visible edges matter. For best results, practice on scrap yarn until you feel confident.
Remember these tips and tricks: work your yarn close and back under both loops for a clean edge. With practice, you'll elevate your projects to a professional standard!
Seamless Joining for Color Changes
Achieving a seamless join when changing colors in crochet can elevate your projects and minimize visible gaps. To start, work to the last yarn over of your final stitch before the color change.
Then, drop the old color and pull yarn through the last loop on your hook with the new color. This technique guarantees a seamless join, creating a smoother shift. Remember to match the tension of the new color with the previous yarn for the best results.
- Practice on scrap yarn to build confidence
- Use a consistent tension for a polished look
- Insert your hook at the right spot for accuracy
- Enjoy the vibrant color changes in your crochet projects!
Fastening Off in the Round

When you're ready to fasten off in the round, complete the last stitch according to your pattern before cutting the yarn. After you cut the end, pull the yarn tail through the last loop on your hook to secure it and prevent unraveling.
Make sure to leave a long tail for weaving, about 6-12 inches, especially if you plan to join pieces later. For a seamless finish, consider using the invisible join method. To do this, insert your hook under the first stitch of the round and pull it tight.
Finally, always check for any gaps or uneven edges in the round to maintain the integrity of your crochet piece before finishing.
Weaving in Yarn Ends

Weaving in yarn ends is essential for securing loose threads and ensuring your crochet project holds together beautifully.
To effectively bury your yarn tail, follow these steps:
- Use a tapestry needle to weave the needle through adjacent stitches.
- Insert the needle into the previous stitch, going back and forth to secure loose threads.
- For flat projects, weave the tail for sewing into the last row, skipping a stitch for added security.
- Repeat the process on the starting yarn tail to keep both ends hidden and secure.
Tips for a Professional Finish
To achieve a professional finish in your crochet projects, focus on the details that enhance the overall appearance.
Start by cutting the yarn with a tail length of about 6-12 inches to allow for secure weaving. Utilize the invisible join method to create a seamless look, ensuring your crochet stitches maintain their aesthetic appeal.
When you weave in yarn ends, thread them through stitches in the last row for a clean finish without bulky knots. Choose a fastening off technique that suits your project, like the clean edge technique for polished transitions.
Regularly practice these methods to enhance your skills and consistently achieve professional-quality finishes that elevate your crochet work to the next level.
Frequently Asked Questions
How to Fasten off Crochet Invisibly?
To fasten off your crochet invisibly, finish your last stitch and cut the yarn, leaving a 6-inch tail.
Insert your hook under the first stitch of the previous row and pull the tail through.
Then, use a tapestry needle to weave the tail through the back loops of the last few stitches.
Keep your tension consistent to avoid gaps, ensuring a neat finish that hides all ends within the stitches for a polished look.
How to Tie off Amigurumi Without Leaving a Hole?
To tie off amigurumi without leaving a hole, complete your last stitch and pull the yarn tail through the loop on your hook, securing it tightly.
Use the drawstring method by threading the yarn tail through the front loops of the last stitches and pulling them together.
Make certain you leave a 6-12 inch tail for weaving.
Finally, weave the tail into adjacent stitches to guarantee a seamless finish.
Is There a Faster Way to Crochet?
Sure, you can definitely crochet faster—if you think slowing down is the secret!
By using a larger hook, you'll zip through projects, though your stitches might loosen. Practicing rhythmic techniques keeps you in the zone, while familiarizing yourself with basics boosts muscle memory.
Choose smooth yarn to minimize friction, and tackle multiple pieces at once for efficiency.
Embrace these tips, and you'll find your crocheting speed surprisingly quick!
How to Fasten off a Crochet Chain?
To fasten off a crochet chain, you'll want to cut the yarn, leaving about a 6-inch tail.
Yarn over and pull the tail through the loop on your hook, creating a secure knot. This prevents any unraveling.
If you're working in a round, insert your hook into the first chain and pull the tail through for a seamless finish.
Always check your pattern for specific instructions, as they may vary.
Conclusion
As you finish your crochet project, picture the vibrant colors and intricate stitches coming together in harmony. Fastening off isn’t just a chore; it’s the final brushstroke on your masterpiece. Each method you’ve learned adds a touch of professionalism, transforming loose threads into a polished creation. So, take a moment to appreciate your handiwork, knowing that with each secure knot and woven end, you’re not just completing a piece—you’re crafting a legacy of creativity and love. As you look at your finished work, consider how to stiffen crochet snowflakes to make them truly stand out. A simple solution can elevate your creation, allowing those delicate patterns to hold their shape and sparkle with every glimmer of light. Remember, each piece you create not only showcases your skills but also adds to the rich tapestry of your artistic journey.