
To stiffen your crochet snowflakes, start by cleaning them in a mild detergent solution. Gently squeeze out excess water, then dip the snowflakes into a stiffening solution like diluted white glue or fabric stiffener. Pin the wet snowflakes onto a blocking board, shaping them as you go. Make sure to let them dry for up to 24 hours before removing the pins. If you want more tips and techniques, there's plenty more to explore!
Key Takeaways
- Clean crocheted snowflakes in a mild detergent solution and gently squeeze out excess water before stiffening.
- Dip snowflakes in a stiffening solution, such as fabric stiffener or diluted glue, for full saturation.
- Pin wet snowflakes to a blocking board, starting at the center and moving outwards to shape them.
- Allow the snowflakes to dry for up to 24 hours before carefully removing the pins.
- Store stiffened snowflakes in a climate-controlled environment, separated by parchment paper to prevent warping.

Fabric Stiffening Spray, Quick Drying Clear Spray for Stiffening, Draping and Shaping Fabric, DIY Crafts & Hat Stiffener Spray for Ribbons, Lace, Crochet, Bows, Doilie, Micrame -120ml
- Quick Drying Formula: Dries rapidly for efficient crafting
- Supports Hat Shaping: Restores structure to fabric hats and caps
- Clear, Washable Finish: Ensures neat, natural-looking results
As an affiliate, we earn on qualifying purchases.
As an affiliate, we earn on qualifying purchases.
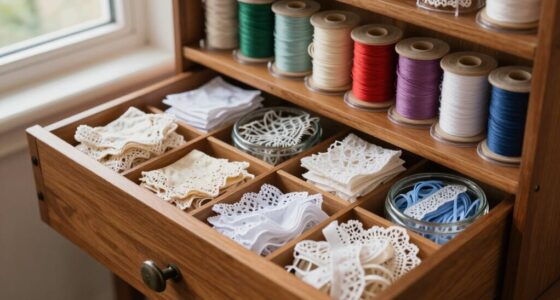
Materials and Tools for Stiffening
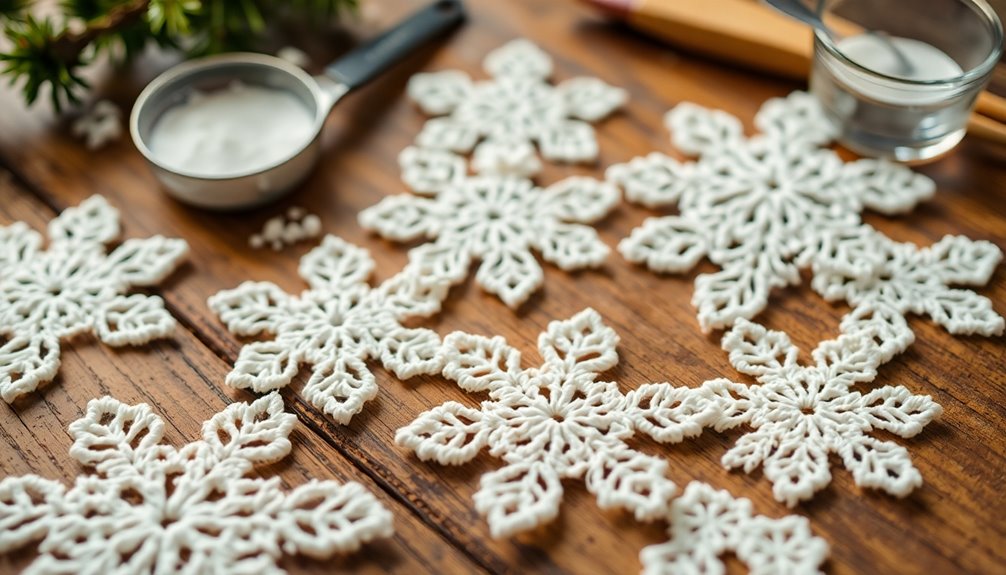
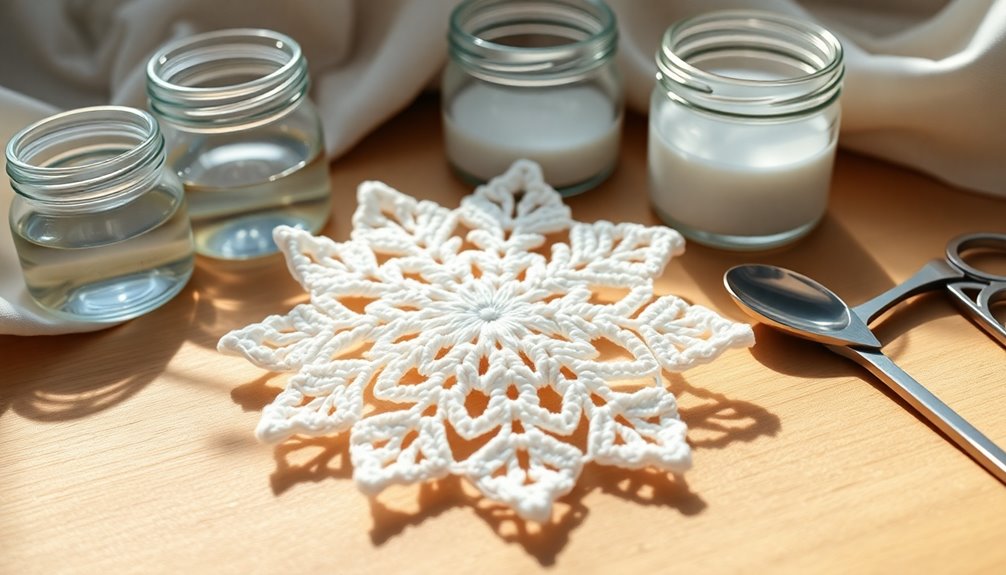
To stiffen your crochet snowflakes effectively, you'll need a few essential materials and tools. First, gather your completed crocheted snowflakes and some rust-proof pins; these will help avoid rust marks during the process.
A blocking board is vital for shaping your snowflakes while they dry. You'll also need a stiffening solution, which can be Aleenes Fabric Stiffener or a diluted mix of white school glue and water in a 1:1 ratio.
For pinning, use a piece of cardboard wrapped in plastic wrap to prevent sticking. If you want uniform shapes, consider using templates beneath your pinned snowflakes for added support.
Don't forget to wet your snowflakes with clean water before applying the stiffening solution for better adherence.
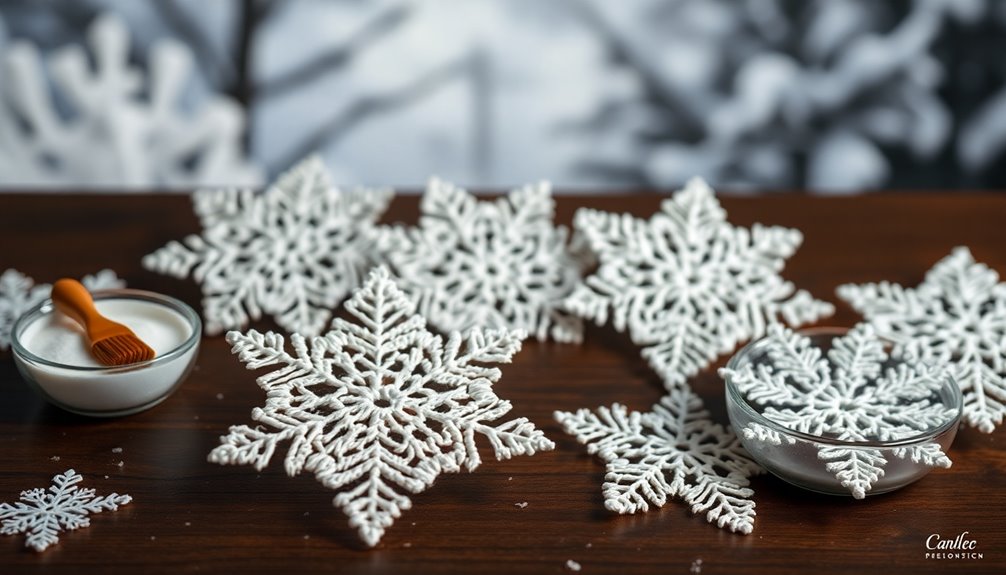
Stiffening Process for Crochet Snowflakes

To start the stiffening process, you'll want to clean your crocheted snowflakes in a mild detergent solution and gently squeeze out the excess water.
Next, dip each snowflake in your chosen stiffening solution, making sure it's fully saturated for the best results.
Once you've done that, it's time to blot any wet areas and move on to pinning your snowflakes for shaping.
Preparation and Cleaning Steps
Before you start the stiffening process for your crochet snowflakes, it's vital to clean them properly.
Begin by soaking your snowflake patterns in a mild detergent solution to remove any dirt or oils. After cleaning, gently squeeze out any excess water without twisting or wringing the snowflakes to avoid distortion.
Next, wet the snowflakes in clean water to guarantee they're fully saturated. This step is essential before applying the stiffening solution.
Once saturated, dip the snowflakes into the stiffening solution for complete coverage, and then squeeze off any excess solution back into the container.
Remember to maintain clean hands throughout this process to prevent transferring dirt onto your delicate crochet snowflakes during the stiffening and pinning stages.
Stiffening Solution Application Techniques
When you're ready to stiffen your crochet snowflakes, using the right application technique is essential for achieving that perfect shape. You can choose between a glue solution or spray starch, depending on your preference.
Here are three effective methods:
- Glue Method: Mix equal parts craft glue and water, dip the snowflake, and squeeze out excess before pinning it to a blocking board.
- Starch Method: Prepare a thin starch paste, dip your snowflakes, and shape them on a blocking surface.
- Pinning: Use rust-proof pins to secure the snowflakes, starting from the center and working outward for symmetry.
Remember to allow them to dry completely, which can take up to 24 hours, before carefully removing the pins.
Pinning Techniques for Shaping
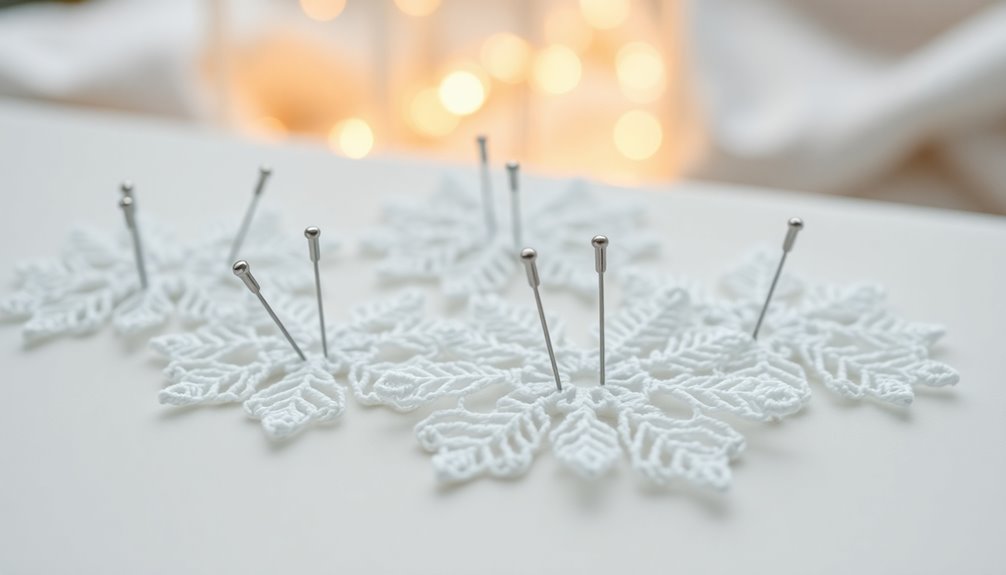
Pinning your crochet snowflake correctly is vital for achieving a beautiful, defined shape.
Start by laying your wet snowflake on a blocking board protected with plastic wrap or waxed paper. Pin the center first to secure it, then pin the longest points to designated template lines for symmetry.
Use concentric circles as guidelines to guarantee each point is equidistant from the center. While pinning, maintain slight tension on the snowflake to allow for proper drying expansion, helping you achieve that flat, defined shape you're after.
Make certain to use rust-proof pins to avoid any rust marks, assuring a clean, aesthetic final product for your crochet projects.
These pinning techniques are essential for effective stiffening crochet.
Maintenance and Storage of Stiffened Snowflakes
After you've meticulously pinned and shaped your crochet snowflakes, proper maintenance and storage are key to preserving their beauty.
To protect your creations from damage and discoloration, follow these guidelines:
- Store snowflakes in a box or tin with parchment paper between each piece to prevent sticking.
- Avoid warm areas; humidity can warp your snowflakes, so a climate-controlled environment is ideal.
- If they become misshapen, gently steam them to soften the stiffening solution, allowing for reshaping as they cool.
Routine maintenance, like dusting, is essential to combat discoloration, especially with PVA glue solutions.
Alternative Stiffening Methods

If you're looking for alternative ways to stiffen your crochet snowflakes, you might consider using a homemade sugar solution or the Epsom salts technique.
The sugar method is simple but can attract pests, while the Epsom salts provide a sparkly finish that's reusable.
Let's explore how these methods can work for your crafting needs.
Homemade Sugar Solution
A homemade sugar solution can be a handy alternative for stiffening crochet snowflakes when you're in a pinch. To create this sugar solution, mix equal parts sugar and water.
While this method can effectively stiffen snowflakes, keep in mind a few considerations:
- It has a slow drying time.
- It may leave a sticky residue.
- It can attract pests, especially in humid areas.
Simply dip your snowflake in the sugar solution, squeeze out the excess, shape it, and let it dry.
However, be cautious—this method may result in a heavier finished product and potential discoloration over time. It’s essential to weigh the benefits against these drawbacks, especially when considering the longevity of your creation. By incorporating upcycling old materials techniques, you can not only mitigate some of these issues but also give a unique character to your project, ensuring it stands out while being environmentally conscious. Embracing innovative methods can lead to beautiful results that honor both the materials and the craft.
While it works in emergencies, consider other options for a more durable finish!
Epsom Salts Technique
One effective alternative for stiffening crochet snowflakes is the Epsom salts technique, which not only adds firmness but also a touch of sparkle. To create your stiffening solution, dissolve Epsom salts in boiling water until saturation. Immerse your crochet snowflakes in this solution, ensuring they're fully saturated. After soaking, place them on a blocking board to dry, allowing crystals to form for a unique finish. You can reuse any leftover solution by reheating it, making this method efficient and eco-friendly. Plus, by adjusting the amount of Epsom salts, you can customize the crystal effects to suit your style.
| Step | Action |
|---|---|
| 1. Create Solution | Dissolve Epsom salts in boiling water |
| 2. Soak Snowflakes | Immerse until fully saturated |
| 3. Dry | Place on blocking board |
Community Engagement and Sharing Experiences

How can engaging with fellow crafters enhance your crochet experience?
By diving into the crochet community, you can gain invaluable tips on how to stiffen your snowflakes using various methods. Sharing experiences helps you discover the best stiffening solutions, like diluted white glue or craft glue.
Here are a few ways to participate:
- Join online forums to discuss stiffening techniques.
- Share your successes and challenges with different stiffening methods.
- Ask for advice on maintaining the shape and color of your finished snowflakes. Engaging with others can also help you understand the importance of emotional regulation in managing frustrations that may arise during crafting.
Frequently Asked Questions
How Do You Make Crocheted Snowflakes Stiff?
To make your crocheted snowflakes stiff, you've got a few options.
You can use a diluted PVA glue solution for a permanent hold. If you prefer homemade methods, try a starch solution made from uncooked starch or rice flour.
In a pinch, mix sugar and water, but be cautious of pests.
Dip your snowflake, squeeze out excess, and pin it to shape while it dries for the best results.
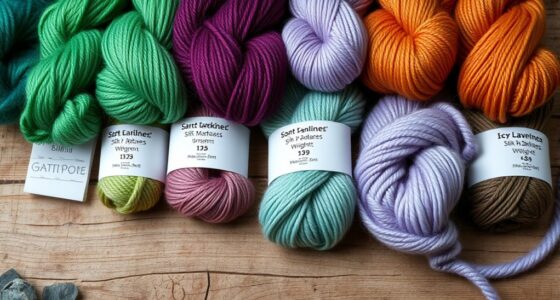
What Is the Best Stiffener for Crochet?
Imagine a delicate butterfly landing on a flower, its wings perfectly shaped and vibrant. That’s what you want for your crochet. As you dive into your project, think about how each stitch can mimic the butterfly’s intricate patterns. By exploring various crochet techniques for machine use, you can achieve the same level of detail and beauty with greater efficiency. With a blend of creativity and precision, your creations will flutter to life, capturing the essence of nature’s artistry.
The best stiffener for your projects really depends on the material. If you're using cotton, diluted PVA glue offers permanent stiffness without fuss.
For cellulose fibers, starch works well but needs multiple applications.
How Do You Permanently Stiffen Crochet?
To permanently stiffen your crochet items, you can mix PVA glue with water in a 2:1 to 1:1 ratio.
Dip your piece in the solution, squeeze out the excess, and pin it into shape while it dries.
If you're working with cotton or bamboo, starch works well, but you might need multiple applications.
For acrylic fibers, consider using acrylic varnish, though be mindful of its strong odor during application.
Can You Use Spray Starch to Stiffen Crochet Snowflakes?
Yes, you can use spray starch to stiffen crochet snowflakes.
It's an easy and effective method that allows your creations to maintain their shape. Just pin your snowflake to a cardboard base, spray it generously, and let it dry completely.
The starch provides a non-yellowing finish, making it a popular choice. While it may need reapplication for lasting stiffness, it's a quick solution for your crochet decorations.
Give it a try!
Conclusion
By following these steps, you can transform your delicate crochet snowflakes into stunning, shimmering decorations that catch the light like freshly fallen snow. Picture your creations glistening on a windowsill, their intricate patterns suspended in perfect form, bringing a touch of winter magic to your home. With proper care and storage, these stiffened beauties will grace your space for seasons to come, reminding you of the joy and creativity woven into each stitch.