
To achieve a professional finish with topstitching and edge stitching, focus on adjusting your sewing machine settings based on fabric type—use longer stitches for topstitching and shorter for edge stitching. Match your thread and needle to fabric, and always test on scrap first. Keep your stitches even and close to the edge for a clean look. Paying attention to these details guarantees durability and a polished appearance, and if you keep exploring, you’ll master these techniques with confidence.
Key Takeaways
- Use appropriate stitch length: longer (3.0–3.5 mm) for topstitching, shorter (2.0–2.5 mm) for edge stitching.
- Match thread and needle to fabric type for durability and a clean finish.
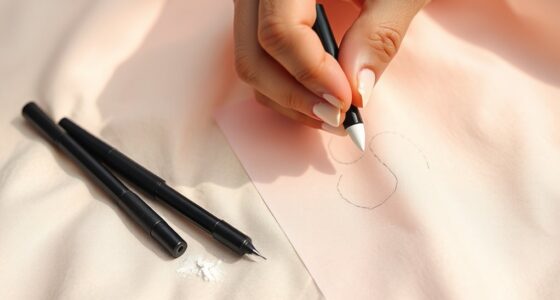
- Test machine settings on scrap fabric before sewing to prevent puckering or slipping.
- Adjust tension and stitch style based on fabric thickness and stretch to ensure professional results.
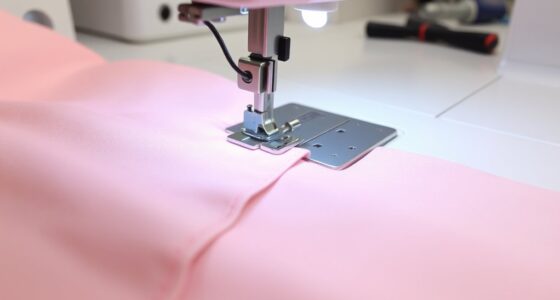
- Maintain consistent stitching lines and use proper positioning for a neat, polished appearance.
Ever wondered what sets topstitching apart from edge stitching? While both techniques involve sewing lines on fabric edges, they serve different purposes and require distinct approaches. To achieve a professional finish, you need to understand how to set your sewing machine correctly and verify fabric compatibility. These factors are essential whether you’re aiming for durability, decorative appeal, or a clean, polished look.
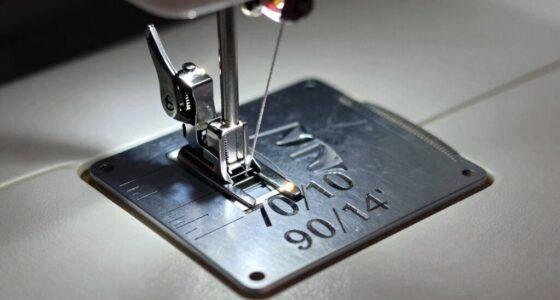
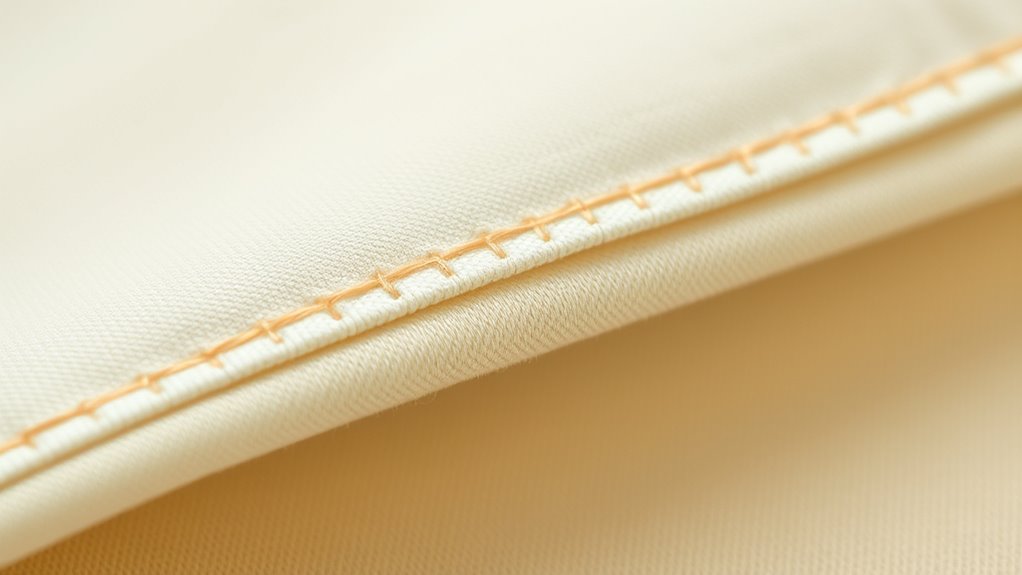
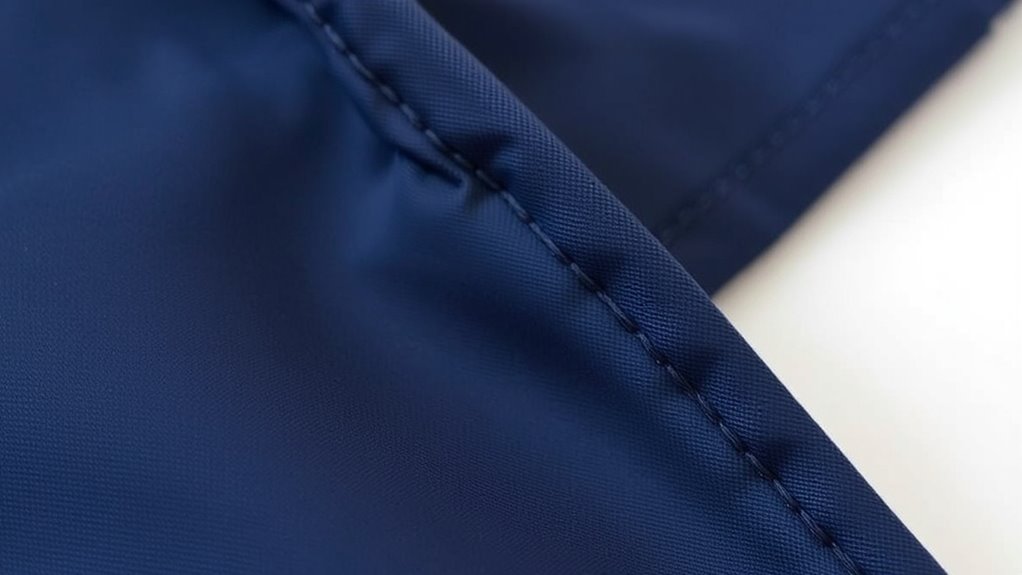
When it comes to sewing machine settings, precision is key. For topstitching, you typically want a slightly longer stitch length—around 3.0 to 3.5 mm—to create a visible, even line that stands out on your fabric. You might also need to adjust the tension to keep the stitches balanced, especially for thicker or layered fabrics. Using a straight stitch with a sharp, fine needle usually produces the best results. For edge stitching, a shorter stitch length—around 2.0 to 2.5 mm—is often preferred to secure the edge neatly without puckering. Some machines feature specific stitch options, like a topstitch or edge stitch setting, which can help achieve consistent results. Always test your settings on scrap fabric to avoid surprises on your finished project.
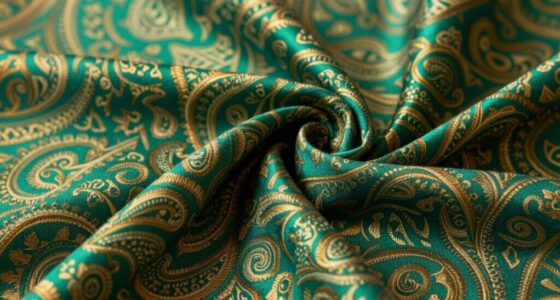
Fabric compatibility plays an essential role in both techniques. Thinner fabrics like silk or lightweight cotton require delicate stitches and careful tension adjustments to prevent puckering or slipping. Heavier fabrics such as denim or canvas demand stronger stitches and possibly a heavier needle to handle the thickness. For topstitching, you might want to choose a slightly thicker thread or even decorative thread to add visual interest. Edge stitching, on the other hand, focuses on securing raw edges or seams, so you’ll want to match your thread and needle to the fabric to guarantee durability and a seamless appearance. If you’re working with stretchy fabrics, consider using a stretch stitch or a stretch needle to maintain flexibility and prevent skipped stitches.
Ultimately, mastering these details ensures your topstitching or edge stitching looks professional and holds up over time. Take the time to adjust your sewing machine settings based on your fabric type, and always test on scrap material first. This way, you’ll develop a keen understanding of how different fabrics respond to various settings, enabling you to produce clean, precise stitches every time. Whether you’re adding decorative topstitching or securing edges, paying attention to sewing machine settings and fabric compatibility will give your project that polished, professional finish you’re aiming for.

Cutex Left Edge Topstitch Foot Part Nummber #4127842-45 Compatible with Husqvarna Viking Sewing Machine
Left Edge Topstitch Foot Compatible with Husqvarna Viking Sewing Machines.
As an affiliate, we earn on qualifying purchases.
As an affiliate, we earn on qualifying purchases.
Frequently Asked Questions
Can Topstitching Be Used on All Fabric Types?
Yes, you can use topstitching on many fabric types, but fabric compatibility varies. Thinner or delicate fabrics may require special needles or stitches to prevent damage, while thicker fabrics can handle more prominent topstitching. It also offers decorative options, so choose fabrics that highlight your stitching. Always test on scrap material first to guarantee your topstitching looks professional and holds well without compromising the fabric’s integrity.
What Thread Weight Is Best for Edge Stitching?
For edge stitching, a fine thread weight like 70 or 80 is ideal to keep it subtle and precise. You should adjust your thread tension and use a small needle size, such as 70/10 or 80/12, to prevent puckering. These settings help achieve a clean, professional finish, especially on lightweight fabrics. Test on scraps first to make certain your tension and needle size work perfectly with your chosen thread.
How Do I Prevent Puckering With Topstitching?
To prevent puckering with topstitching, you need to keep the fabric’s smooth journey. Adjust your sewing machine tension to find the right balance, ensuring stitches are even and relaxed. Use fabric stabilizers or interfacing to give your fabric extra support, especially on delicate or stretchy materials. Keep your stitches consistent and sew slowly, maintaining steady pressure. These steps help achieve a polished, professional topstitch without puckering.
Is Topstitching More Durable Than Edge Stitching?
Topstitching is generally more durable than edge stitching because it offers better fabric strength due to its placement and multiple stitches. You’ll notice that topstitching provides a prominent, professional stitch appearance, which enhances both durability and visual appeal. Edge stitching, while neat, tends to be less resilient over time. So, if you want your sewing to last longer and look sharp, opt for topstitching for increased durability and a polished look.
Can I Combine Both Stitching Techniques in One Project?
Yes, you can combine both stitching techniques in one project. Consider fabric combinations and design considerations to guarantee the stitches complement each other. Use topstitching for added durability and a decorative touch, while edge stitching can secure raw edges neatly. Balancing both techniques enhances the overall look and functionality of your project, giving it a professional finish. Just plan carefully to match the stitching styles with your fabric choices.

Stitch in Ditch Foot/Edge Joining Foot Sewing Machine Presser Foot – Fits All Low Shank Snap-On Singer, Brother, Babylock, Janome, Kenmore, White, Juki, New Home, Simplicity, Elna etc.
High Quality Sewing Stitching in the Ditch Foot
As an affiliate, we earn on qualifying purchases.
As an affiliate, we earn on qualifying purchases.
Conclusion
Ultimately, mastering topstitching and edge stitching lets you add that polished touch to your projects. With a little practice, you’ll find each stitch becomes a subtle signature of your craftsmanship, elevating your work from good to exceptional. Remember, even the most refined finish starts with patience and a keen eye. So, embrace the journey—each stitch brings you closer to creating pieces that truly stand out. Your efforts will quietly speak volumes about your skill and dedication.

Brother Sewing Machine, XM2701, Lightweight Machine with 27 Stitches, 6 Included Sewing Feet
27 Unique built-in stitches: The XM2701 includes 27 built-in stitches including decorative, blind hem, zigzag, and stretch stitches…
As an affiliate, we earn on qualifying purchases.
As an affiliate, we earn on qualifying purchases.

Original Tajima Thread Tension Gauge TTG-CM76907 for Embroidery Factory Tools 912500110000
TOWA Bobbin Tension Gauge fit for TAJIMA, RICOMA Embroidery Machine
As an affiliate, we earn on qualifying purchases.
As an affiliate, we earn on qualifying purchases.