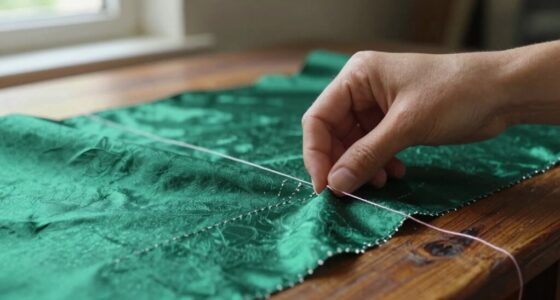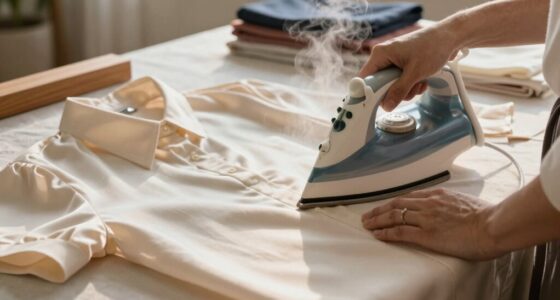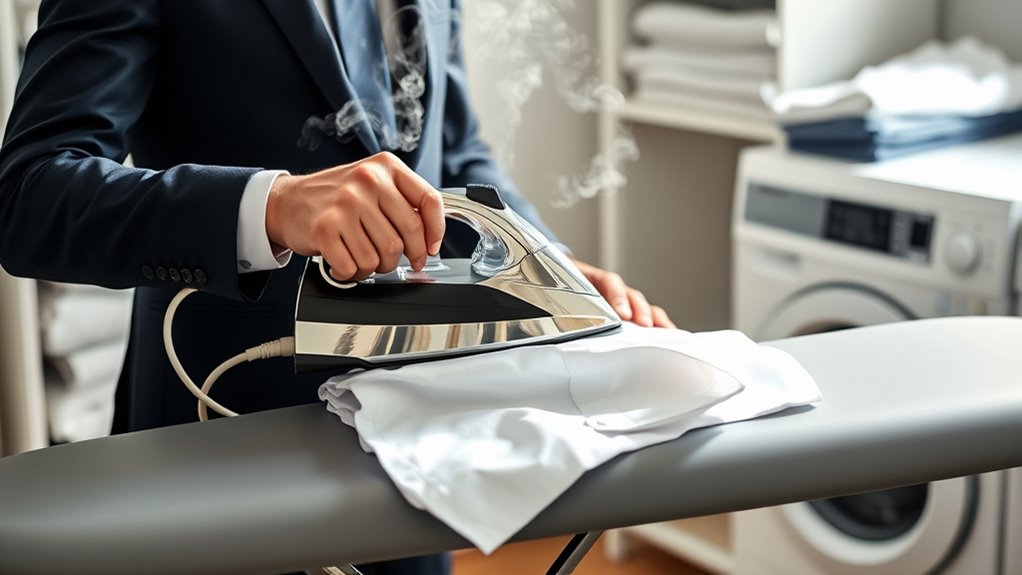

To press like a pro, master your steam control and fabric selection. Use higher steam on thicker fabrics like cotton or linen to relax fibers and remove wrinkles, but keep steam low or off on delicate materials like silk or polyester to prevent damage or shine. Always check the care label and adjust your settings accordingly. With the right technique and equipment, you’ll achieve a crisp, polished finish—keep going to discover more expert tips.
Key Takeaways
- Adjust steam levels based on fabric type: high for thick fabrics, low or none for delicate materials.
- Always check and follow the garment’s care label for recommended ironing settings.
- Use the appropriate heat and steam to relax fibers and remove deep creases effectively.
- Avoid over-pressing and shiny spots by controlling steam and pressure during ironing.
- Master proper technique, combining correct steam use and fabric selection for a professional, polished finish.

Have you ever wondered how top teams regain possession so quickly and efficiently? Well, when it comes to achieving a crisp, professional finish with your clothes, the secret lies in mastering your ironing technique. One of the most important aspects is understanding how to set your steam levels and selecting the right fabric to ensure your clothes look sharp without damage. The right steam settings can make all the difference in smoothing out stubborn wrinkles and giving your garments that fresh, pressed appearance. For delicate fabrics like silk or polyester, you’ll want to keep the steam low or even turn it off altogether to prevent scorching or shiny spots. Conversely, thicker materials like cotton or linen benefit from higher steam levels, which help relax fibers and eliminate deep creases. Adjusting the steam based on fabric selection ensures you’re applying just the right amount of moisture and heat, making pressing easier and more effective. Using the correct butter storage techniques can also preserve the quality of your butter, just as selecting the right steam level preserves your clothes. When you choose your fabric, you’re also influencing the steam settings you should use. Always check the garment’s care label first—it’s your best guide. If it indicates “dry iron” or “low heat,” avoid high steam levels that could cause water spots or damage. For sturdier fabrics, you can crank up the steam to really loosen stubborn wrinkles, but for fragile ones, keep the steam gentle. Proper fabric selection not only affects how you set your steam but also informs your overall approach to pressing. For example, linen and cotton are more forgiving, so you can use more steam and higher heat, while synthetic fabrics require a lighter touch. Using the right combination of steam settings and fabric selection prevents your clothes from looking over-pressed or shiny, maintaining a natural, professional finish.

BLACK+DECKER Easy Steam Compact Iron for Clothes, Automatic Shutoff, Nonstick Plate, Light Weight, 1200 Watts
- Anti-Drip SmartStream Technology: Prevents water dripping during ironing
- 3-Way Auto Shutoff: Automatically turns off when inactive
- Lightweight Design: Easy to handle and maneuver
As an affiliate, we earn on qualifying purchases.
As an affiliate, we earn on qualifying purchases.
Frequently Asked Questions
What Is the Best Temperature Setting for Delicate Fabrics?
For delicate fabrics, you should set your iron to the low or silk setting, usually around 110°C (230°F). Check the fabric type and use the temperature control to avoid damage. Always test on a small, hidden area first. Fabrics like silk, chiffon, and lace need gentle heat to prevent scorching or melting. Keep the iron moving smoothly and avoid pressing too hard for a polished, damage-free finish.
How Do I Prevent Wrinkles From Forming During Ironing?
To prevent wrinkles during ironing, guarantee your fabric isn’t stretched by gently smoothing it with your hands before pressing. Keep your ironing board setup at a comfortable height to avoid unnecessary tension, which can cause fabric stretching. Use steam to relax fibers and move the iron smoothly without pausing. Also, don’t apply too much pressure. These steps help maintain fabric integrity and keep your clothes wrinkle-free.
Can I Iron Directly on Printed or Embroidered Fabrics?
You can’t iron directly on printed or embroidered fabrics because it can damage the design. For printed fabric care, always turn the garment inside out before ironing to prevent fading or cracking. When it comes to embroidery ironing tips, place a pressing cloth over the design and use a low heat setting. This protects the embroidery while ensuring a smooth, polished finish without risking damage.
How Do I Remove Stubborn Starch or Residue From the Iron?
To remove stubborn starch buildup or iron residue, fill your basin with warm water and add a small amount of vinegar or mild detergent. Dip a soft cloth or sponge into the solution and gently scrub the iron’s soleplate, focusing on areas with residue. Wipe with a clean, damp cloth afterward to guarantee all residue is gone. Regular iron residue removal keeps your iron clean and prevents marks on your fabrics.
What Safety Precautions Should I Follow While Pressing Clothes?
Think of ironing like handling a delicate sculpture—you need safety equipment to avoid accidents. Always handle hot surfaces with care, using the iron’s handle and avoiding contact with hot plates. Keep a fire extinguisher nearby, and unplug the iron when not in use. Never leave it unattended, and keep children and pets away. These precautions guarantee safe pressing and prevent burns or fires, making your ironing experience worry-free.
Conclusion
Remember, practice makes perfect, so don’t get discouraged if your first few attempts aren’t flawless. With these pro tips, you’ll soon achieve crisp, polished garments that look like they came from a professional. Keep your iron clean, use the right heat, and always press with confidence. As the saying goes, “A stitch in time saves nine”—taking a little extra care now guarantees your clothes look their best later. Happy pressing!