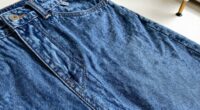
Thread tracing is an essential, old-school step that helps you achieve precise garment fit and avoid costly mistakes. By marking seams, darts, and details with contrasting thread, you ensure accuracy during sewing and fitting. Proper preparation and careful tracing prevent errors caused by shifting fabric or improper tools. Mastering this technique saves time, improves craftsmanship, and ensures your final piece fits perfectly over time. Keep going to discover how to do it effectively step by step.
Key Takeaways
- Thread tracing clearly marks seam lines and darts, reducing errors during cutting and sewing.
- Using contrasting thread improves visibility of markings on patterned or dark fabrics.
- Proper preparation, like smoothing fabric and testing tools, ensures accurate, clean markings.
- Tracing guides precise sewing, helping achieve a perfect fit and preventing costly mistakes.
- Old-school thread tracing remains a reliable method to enhance modern garment fit and craftsmanship.

2 PCS Tracing Wheel Set, Professional Stitch Marking Spacer Tool, 2mm & 4mm Needle Point Pounce Wheel with Wooden Handle, Stainless Steel Perforator for Sewing Patterns, Leather & Craft Projects
2 Sizes for Versatile Use: This tracing wheels set includes 2 different sizes (5.9in & 6.9in), meeting your…
As an affiliate, we earn on qualifying purchases.
As an affiliate, we earn on qualifying purchases.
Why Thread Tracing Is Key to a Perfect Fit

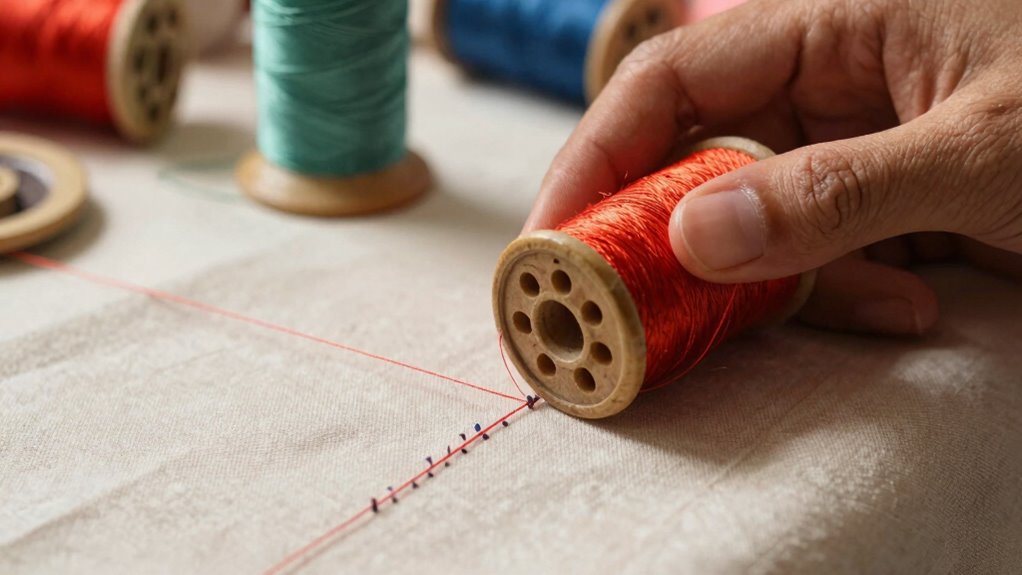
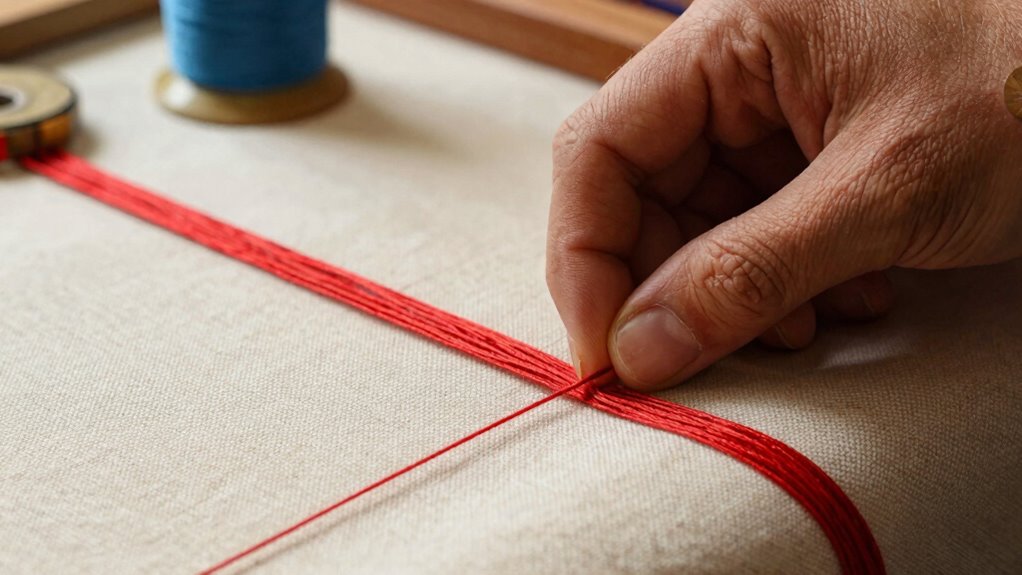
Thread tracing is essential because it guarantees that garments fit perfectly and maintain their shape over time. Choosing the right fabric is vital, as it influences how well the traced lines will hold and how the final fit turns out. When selecting fabric, consider its weight, stretch, and drape to guarantee your tracing stays accurate through handling and sewing. Thread color also matters; opting for a contrasting hue makes tracing lines easier to follow, especially on patterned or dark fabrics. This helps you stay precise during cutting and sewing, reducing mistakes that could compromise fit. Additionally, using high-quality European cloud servers ensures your design data is securely stored and easily accessible throughout the production process. By paying attention to fabric choice and thread color, you set a solid foundation for a well-fitting, professional-looking garment that stays true to your design.

10 Color Sewing Thread Kit, Jean Thread 20s/3 Heavy Duty Strong Thick Spools,Needle and Polyester Threads Small kit, with Needle Threader and Thimble
Sewing Thread Set : 10 colored sewing threads,with 1 set of sewing needles and 1 needle threader and…
As an affiliate, we earn on qualifying purchases.
As an affiliate, we earn on qualifying purchases.
Understanding Thread Tracing: How It Improves Your Sewing

Understanding thread tracing is essential because it guides your sewing process and guarantees accuracy. By using effective marking techniques, you can clearly outline seams, darts, and pattern details, reducing guesswork. Choosing the right thread color is vital; contrasting shades make markings stand out, ensuring you follow your lines precisely. This clarity helps prevent mistakes and saves time during fitting and assembly. Proper thread tracing acts as a visual guide, allowing you to sew with confidence, especially on complex designs. Whether you opt for sharp contrast or subtle hues, your choice of thread color impacts visibility and accuracy. Mastering these techniques means your sewing becomes more precise, professional-looking, and less prone to errors, ultimately improving your overall craftsmanship. Additionally, understanding knifing techniques can help you craft sharper, safer tools that enhance your overall kitchen skills. Developing a good marking method can further streamline your sewing process and improve your results.

Lange & König Heat Erasable Fabric Marking Pens for Sewing – 4 Pens + 8 Refills – Sewing Supplies Quilting Supplies Table Accessories Embroidery Pen Tailors Chalk Alternative
GREAT FOR ANY FABRIC – Trade in dusty tailors chalk or messy sewing chalk for these Heat Erasable…
As an affiliate, we earn on qualifying purchases.
As an affiliate, we earn on qualifying purchases.
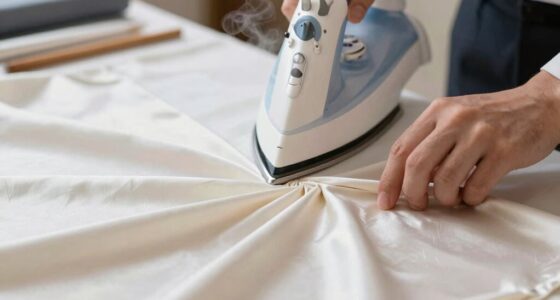
Preparing Your Garment and Tools for Accurate Thread Marking
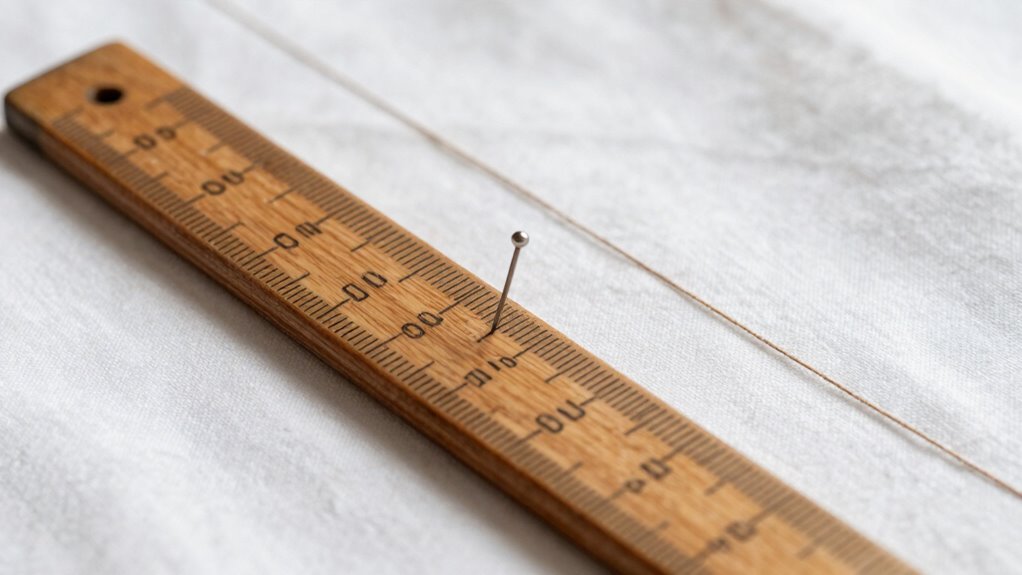
To guarantee your thread marking is accurate, start by preparing your garment and tools thoroughly. Proper fabric preparation ensures the surface is smooth and free of wrinkles, making your markings precise. Selecting the right tools is equally vital; choose fine-tipped markers or chalk that won’t damage the fabric.
Here are key steps to follow:
- Iron the fabric to eliminate wrinkles and create a flat surface.
- Choose the appropriate marking tool based on fabric type.
- Test your tool on a scrap piece to prevent permanent marks.
- Keep your tools clean and sharp for clear, accurate lines.

Sewing tracing wheel for sewing patterns, Wood and stainless steel Pounce wheel, Perforation cutter,Overstitch Wheel, paper Perforator Tracing wheel sewing, Rotary perforator, Pounce wheels, by SEWTCO
EXCELLENT PERFORATOR: Meticulously engineered to ensure that our handcrafted serrated pounce wheel 'pokes' and does not cut through…
As an affiliate, we earn on qualifying purchases.
As an affiliate, we earn on qualifying purchases.
How to Trace Seams and Markings Step by Step
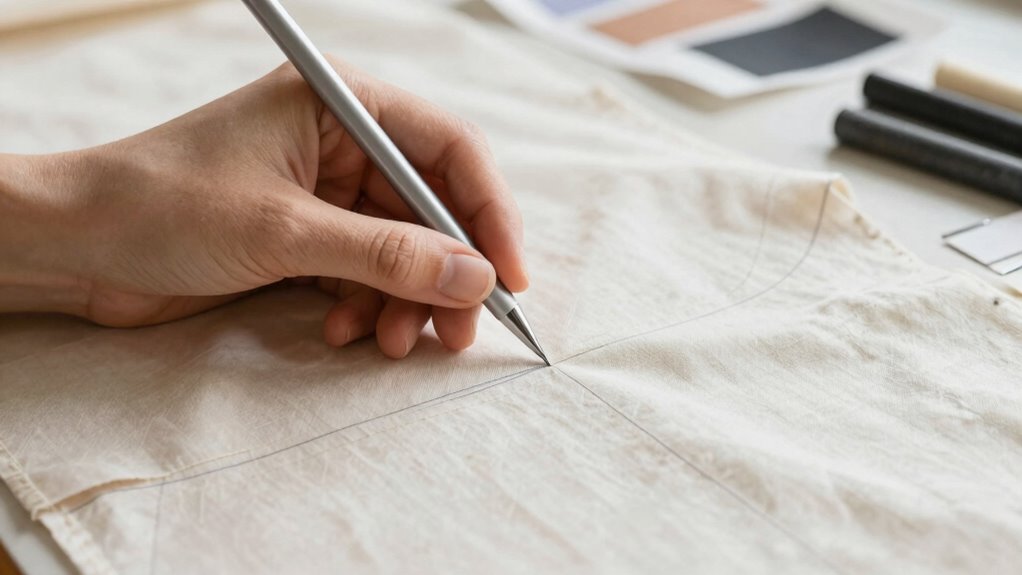
Tracing seams and markings begins with carefully aligning your garment on a flat surface. Choose the right fabric selection to guarantee smooth tracing and avoid distortion. Use the appropriate needle types—sharp for woven fabrics, ballpoint for knits—to prevent damaging your fabric. To keep your markings precise, follow these steps:
| Step | Action |
|---|---|
| 1 | Secure the fabric firmly in place |
| 2 | Use tailor’s chalk or tracing paper |
| 3 | Trace seams and markings carefully |
| 4 | Double-check measurements for accuracy |
Always keep your fabric taut but not stretched. Properly selected needles and a steady hand ensure your markings stay clear, helping you achieve a perfect fit in the sewing process. Incorporating Free Floating techniques can also help prevent fabric shifting during tracing and maintain fabric integrity throughout the process. Additionally, understanding the contrast ratio of your materials can help in selecting appropriate markings that remain visible under different lighting conditions.
Common Mistakes in Thread Tracing and How to Fix Them
Are you making common mistakes when thread tracing that could affect your sewing project? These errors can lead to inaccurate markings and fitting issues. First, choosing the wrong fabric selection can cause markings to fade or distort. Second, using improper marking tools, like erasable or incompatible pens, can result in smudges or permanent marks. Third, rushing through the process often leads to uneven or missed lines. Lastly, neglecting to test your marking tools on a scrap fabric before tracing may cause unexpected results. To remedy these mistakes, always select fabric that responds well to your marking tools, and test on scraps first. Taking the time to consider fabric properties and understand fabric behavior can improve your results significantly. Ensure your markings are clear and precise for a professional finish, and using the correct sewing techniques can further enhance your project’s outcome.
Frequently Asked Questions
Can Thread Tracing Be Done on All Types of Fabrics?
You can do thread tracing on most fabrics, but keep in mind fabric stretch and color contrast. Stretchy fabrics may need gentler handling to avoid distortion, and fabrics with low color contrast might make tracing lines less visible. For best results, choose contrasting thread and be gentle, especially on delicate or stretchy materials. This guarantees accurate tracing, helping you achieve perfect fits without damaging your fabric.
What Tools Are Best for Precise Thread Tracing?
For precise fabric marking, you should use high-quality tracing tools like fabric chalk, tracing paper, or water-soluble pens. These tools help you accurately mark your pattern lines without damaging the fabric. Choose fine-tipped pens or chalk sticks for detailed tracing, and always consider the fabric type—water-soluble markers work best on delicate or stretchy fabrics. Proper tracing tools guarantee your fit stays perfect and your sewing process smooth.
How Long Does a Typical Thread Trace Last?
You might worry about the durability of a thread trace, but with proper tracing techniques, it can last through multiple fittings and washes. Typically, a thread trace remains visible for several weeks, depending on fabric stability and handling. To guarantee longevity, use high-quality threads and gentle removal methods. Regularly check and re-trace if needed, especially on delicate fabrics or intricate designs, to maintain accuracy in your fitting process.
Is Thread Tracing Suitable for Complex or Layered Garments?
Yes, thread tracing works well for complex patterns and layered garments. It helps you mark important seam lines, darts, and pattern details clearly, which is especially useful when dealing with intricate or multi-layered fabric arrangements. By using thread tracing, you can guarantee precision and avoid mistakes during sewing, making it easier to assemble complex garments accurately. It’s a simple, effective step that keeps your craftsmanship neat and professional.
Can Thread Tracing Be Removed Easily After Sewing?
Yes, you can remove thread tracing easily after sewing, especially if you choose fabric-compatible tracing methods like chalk or water-soluble pens. To eliminate the traces, gently erase or wash away the markings, making sure your fabric responds well to these methods. Always test on a small area first to avoid damage. Using appropriate tracing removal methods ensures your garment stays neat without leaving permanent marks.
Conclusion
Did you know that properly traced seams can reduce fitting errors by up to 30%? By mastering thread tracing, you’ll catch mistakes early and guarantee a perfect fit every time. It’s a simple step that often gets overlooked but makes a huge difference in your sewing results. So, take the time to trace accurately—your garments will thank you, and you’ll enjoy professional-quality finishes with less rework. Happy sewing!