To create your own fabric collection at home, start by mastering color mixing—blend primary hues to achieve vibrant or subtle shades and experiment with metallic or transparent inks for special effects. Carve precise patterns into your blocks and plan your arrangements for seamless repeats and unique layouts. Use consistent ink application and gentle pressure to guarantee clean prints. With attention to detail and ongoing experimentation, you’ll develop stunning designs—continue exploring these techniques to open even more inspiring tips.
Key Takeaways
- Develop a personalized color palette through strategic mixing of primary inks for vibrant and subtle fabric designs.
- Carve detailed, precise blocks to ensure sharp, clean patterns that translate well onto fabric.
- Plan and experiment with pattern arrangements and repeats for seamless, professional-looking fabric designs.
- Use consistent, gentle pressure and proper ink application to achieve even, smudge-free prints.
- Practice layering colors and mastering techniques to create unique, eye-catching fabric collections at home.
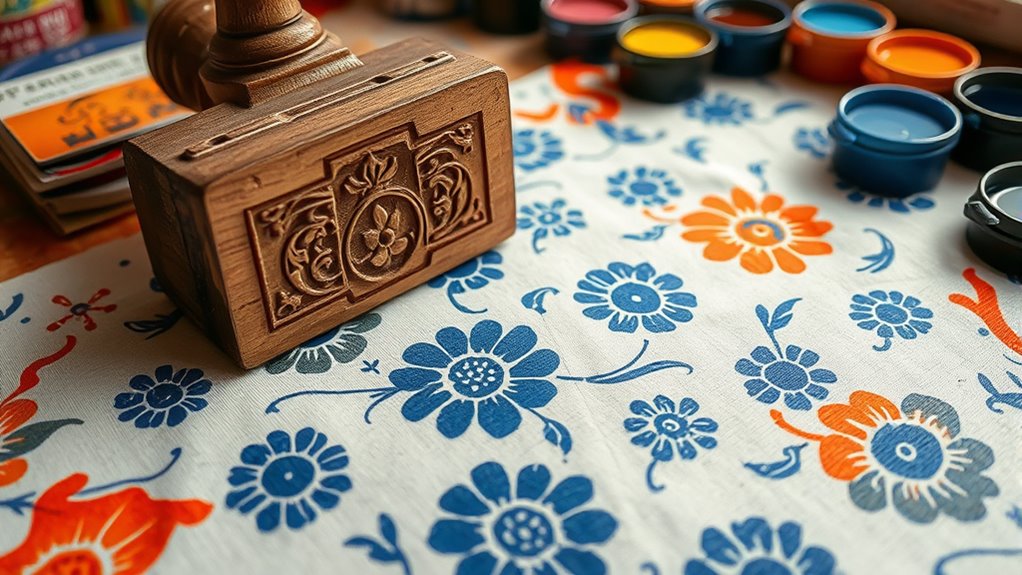
Have you ever wondered how intricate patterns are created so precisely on fabric and paper? It’s a fascinating process that combines artistry with technique, and at the heart of it lies the art of block printing. When you start exploring this craft, you’ll quickly realize that mastering color mixing and design patterns is essential to producing stunning, unique pieces. Color mixing allows you to develop a palette tailored to your vision, giving you control over the vibrancy or subtlety of your prints. Whether you want bold, contrasting colors or soft, harmonious shades, understanding how to blend and layer inks will make your patterns come alive. With a little practice, you can experiment with primary colors to create endless shades, and even incorporate metallic or transparent inks for special effects.
Mastering color mixing and design patterns transforms simple blocks into stunning works of art.
Design patterns serve as the foundation of your block printing projects. You can choose from traditional motifs or craft your own. The key is to sketch out your ideas beforehand, considering how each pattern will repeat and interact when stamped onto fabric or paper. Once you have your designs, carving the blocks becomes a precise task—each line and detail must be carefully carved to ensure clarity and sharpness. When you ink your carved block, you want to avoid excess paint that could smudge or blur the pattern. Instead, gentle, even coating will produce crisp, clean impressions. As you press the block onto your surface, applying consistent pressure helps maintain uniformity across your design.
Creating effective design patterns also involves understanding how to arrange your blocks for seamless repeats or complementary motifs. Think about spacing and alignment—these elements determine whether your fabric will look professionally finished or amateurish. Don’t be afraid to experiment with different layouts, overlapping patterns, or combining multiple blocks in one piece. This experimentation will help you develop a unique style and refine your skills.
Another secret to successful block printing is patience. Allow each layer of ink to dry thoroughly before adding another color or detail. This prevents smudging and blending where you don’t want it. When mixing colors, keep track of your recipes—mix small batches first to see how they look when dried. You’ll find that the right combination of hues can elevate your entire fabric collection, making your designs more vibrant and mesmerizing. Additionally, understanding color accuracy can help ensure your printed fabrics match your intended palette and overall aesthetic.
In the end, mastering color mixing and designing intricate patterns transforms simple blocks into works of art. Practice, attention to detail, and a willingness to experiment will turn your home-based block printing efforts into a professional-looking fabric collection that reflects your personal style and creativity.
Frequently Asked Questions
What Types of Fabric Are Best for Block Printing at Home?
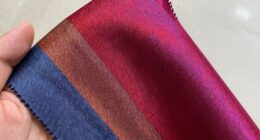
When choosing fabric for block printing, you’ll want to consider fabric dye options and textile preparation techniques. Natural fabrics like cotton, linen, and silk work best because they absorb dye well and hold the print details. Make certain to pre-wash and dry your fabric to remove sizing or chemicals. Using smooth, tightly woven fabrics ensures clean, crisp prints, making your block printing process more successful and your designs more vibrant.
How Do I Clean and Maintain My Carved Blocks?
To keep your carved blocks in top shape, focus on proper block cleaning and carved block preservation. After each use, gently wash your blocks with warm water and a soft brush to remove paint residue. Avoid harsh chemicals that can damage the carving. Dry them thoroughly and store in a cool, dry place. Regularly inspecting and caring for your carved blocks guarantees they stay detailed and vibrant for future projects.
Can I Mix Different Ink Colors in One Design?
Did you know that mixed media artists often use up to five ink layers in their designs? Yes, you can mix different ink colors in one design through color blending and ink layering. Just guarantee your carved blocks are clean between colors to avoid unwanted mixing. Experiment by layering light colors first, then add darker shades for depth. This technique creates vibrant, multi-dimensional designs that truly stand out.
What Safety Precautions Should I Take During Printing?
When printing, you should prioritize safety by wearing appropriate safety gear like gloves and masks to protect your skin and lungs from ink fumes and splashes. Guarantee proper ventilation requirements are met by working in a well-ventilated area or near open windows. Keep your workspace clean, avoid inhaling fumes, and wash your hands thoroughly afterward. Taking these precautions helps you stay safe while enjoying your creative process.
How Long Does Homemade Fabric Ink Typically Last?
Did you know homemade fabric ink can last anywhere from several weeks to months? Its shelf life depends on ingredients and storage. To maximize ink shelf life, store it in an airtight container away from direct sunlight and extreme temperatures. Proper storage tips include stirring before use and keeping the lid tightly sealed. With good care, your homemade ink can stay fresh longer, ensuring vibrant prints for all your fabric projects.
Conclusion
Now that you’ve uncovered the secrets of block printing, your fabric collection is ready to bloom with personality. Think of each print as a brushstroke in your personal masterpiece, turning plain textiles into vibrant stories. With a little practice and patience, you’ll transform your home into a gallery of handcrafted beauty. So go ahead, let your creativity run wild—your fabric journey is just beginning, and the possibilities are as endless as a sky full of stars.