
To sew a reversible bucket hat, select lightweight, durable fabrics that complement each other. Carefully cut pattern pieces, matching patterns for a cohesive look. Sew with right sides together, using straight stitches and finishing raw edges for durability. Attach the brim securely, leaving an opening to turn the hat right side out. Press and topstitch for a polished finish. If you keep going, you’ll discover detailed steps and helpful photos to guide your crafting journey.
Key Takeaways
- Select lightweight, durable fabrics with contrasting or complementary patterns for each side of the reversible hat.
- Carefully cut all pattern pieces, ensuring mirror alignment and precise measurements for a symmetrical fit.
- Sew fabric pieces with right sides together using a straight stitch, then finish raw edges with zigzag or serger.
- Attach the brim securely, leaving an opening for turning, then turn the hat right side out and press all seams flat.
- Topstitch around seams and the brim for a polished look, checking seam strength to ensure long-lasting wear.
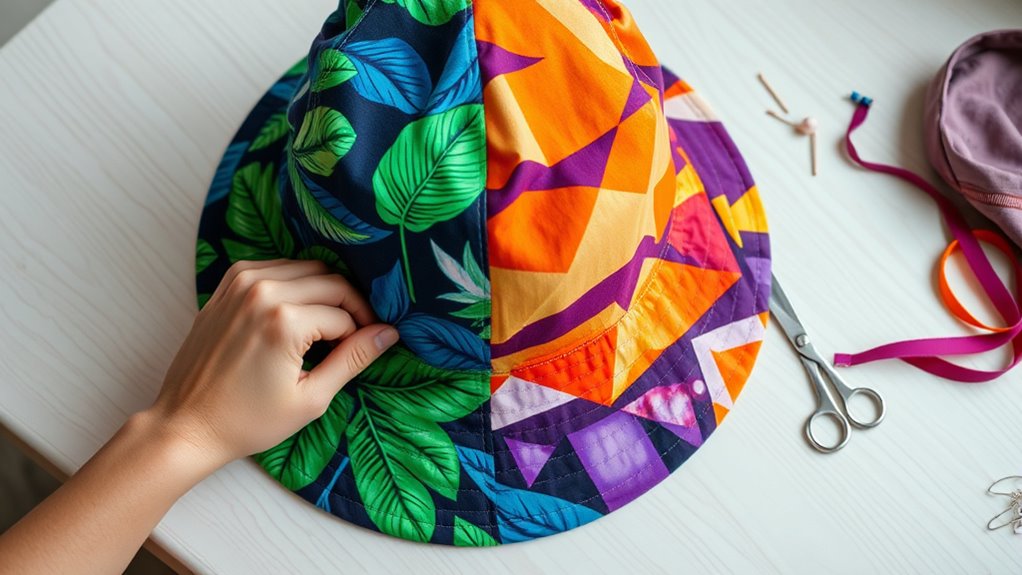
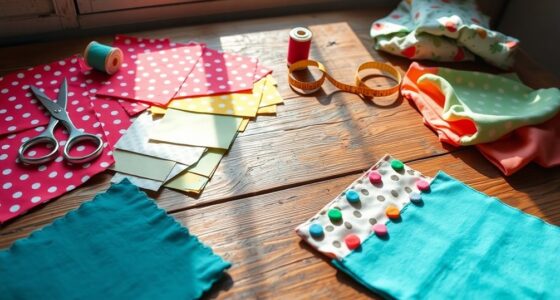
Have you ever wished for a versatile accessory that offers two styles in one? A reversible bucket hat is just that—a fun, functional piece that lets you switch up your look effortlessly. To create one, your first step is choosing the right fabric. The fabric selection is essential because it determines the hat’s durability, comfort, and style. Opt for lightweight cotton or canvas for a casual, breathable feel, or go for a water-resistant fabric if you want something more practical for outdoor adventures. Make sure the fabrics you pick complement each other in color or pattern, so the hat looks intentional on both sides. When selecting fabrics, think about the weight and texture—lighter fabrics are easier to sew and wear, while heavier ones give a more structured look.
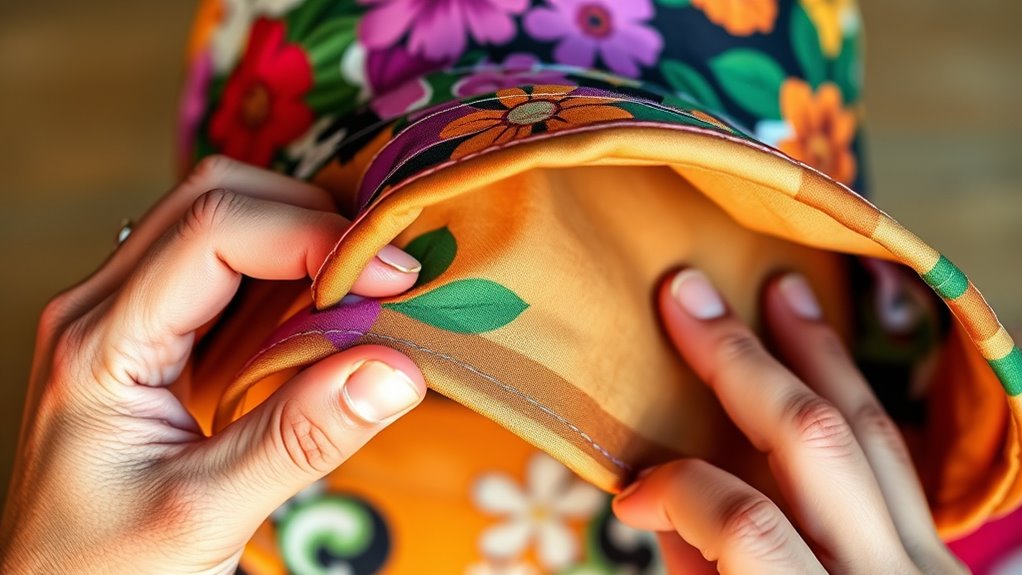
Once you’ve picked your fabrics, it’s time to focus on sewing techniques that will guarantee your reversible hat looks professional and holds up over time. Start by cutting out your pattern pieces carefully, paying attention to mirror the pattern on each fabric if needed. When sewing, use a straight stitch with a slightly shorter length to keep your seams sturdy yet neat. To make the hat reversible, you’ll need to sew the two fabric pieces together with right sides facing each other, leaving an opening to turn it right side out later. When sewing curved seams, go slowly and use pins or clips to keep everything aligned—curves can be tricky, but taking your time ensures a clean finish. Additionally, proper seam finishing is crucial for a durable, professional look, especially since the hat will be reversible and subjected to frequent wear and washing.
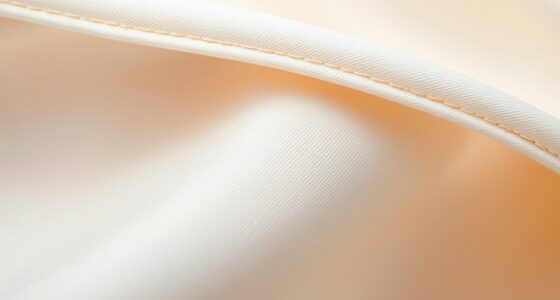
A key sewing technique for a reversible hat is to finish the raw edges with a zigzag stitch or a serger, preventing fraying and extending the hat’s lifespan. When attaching the brim, sew it to the main body of the hat, making sure to align the seams carefully. To keep the hat reversible, press all seams flat and topstitch close to the edge, which helps secure the seams and gives a polished look on both sides. Finally, when turning the hat right side out through the opening, use a point turner or a pencil to gently push out all the curves and seams—this step makes a significant difference in the final appearance.

McCall's M8497A Children's, Teens' and Adults' Bucket Hat Sewing Pattern Packet, Design Code M8497, All Sizes
- Includes pattern pieces and instructions: Complete sewing kit with guides
- All sizes included: Sizes from 9" to 24"
- Family-friendly design: Fits children, teens, and adults
As an affiliate, we earn on qualifying purchases.
As an affiliate, we earn on qualifying purchases.
Frequently Asked Questions
What Types of Fabric Are Best for Reversible Bucket Hats?
When choosing fabrics for reversible bucket hats, you want ones with good fabric durability and colorfast qualities. Cotton or cotton blends are ideal because they’re sturdy and hold color well, ensuring your hat lasts through wear and washes. You might also consider polyester or nylon for added durability and water resistance. Make sure both sides have complementary or contrasting colors and patterns to make your reversible hat stylish and functional.
How Do I Ensure the Hat Maintains Its Shape After Washing?
Think of your hat as a loyal companion, needing care to stay strong. To guarantee it keeps its shape after washing, choose fabrics with good durability tips like cotton or canvas. Use gentle fabric care, avoid high heat, and consider adding interfacing or stabilizer during sewing. This way, you protect your hat’s structure and style, making it a lasting accessory that stands up to daily adventures.
Can I Customize the Hat With Embellishments or Embroidery?
You can definitely customize your hat with embellishment ideas or embroidery techniques. Use fabric-safe glue or hand stitches to add embellishments like patches, beads, or appliqués. For embroidery, select simple stitches like satin or backstitch to create designs that stand out. Just remember to choose embroidery threads that match your fabric and secure all embellishments well, so they stay intact through washing and wear.
What Size Pattern Should I Use for Different Head Measurements?
When choosing a pattern size, you should start with your head measurement using a flexible tape measure. Use the pattern sizing chart to find the closest match to your measurement, ensuring a comfortable fit. Remember, head measurement techniques are key—measure around your widest part, usually above the eyebrows and around the back of your head. Adjust the pattern if needed for a perfect, comfortable fit.
Are There Tips for Sewing a Reversible Hat by Hand?
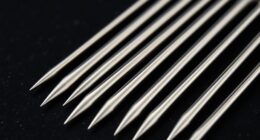
You might think hand sewing a reversible hat is intimidating, but with some tips, it’s manageable. Focus on good hand sewing tips like using sharp needles and matching thread to fabric for smooth stitches. Fabric selection matters; choose lightweight, breathable materials for comfort and durability. To keep seams neat, pin fabric carefully and sew slowly, especially around curves. With patience and precision, you’ll create a professional-looking, reversible hat by hand.
Conclusion
Now that you’ve sewn your reversible bucket hat, you can enjoy two stylish looks in one accessory. Did you know that bucket hats have made a huge comeback, with sales increasing by over 30% in the last year? Not only are they trendy, but they’re also versatile and practical. With your new skills, you can customize more hats and accessories, turning sewing into a fun, eco-friendly hobby. Happy crafting and rocking your unique style!