
To join in the round without twists, start by carefully aligning your yarn ends and checking stitch orientation before joining. Guarantee your tension is even and keep the yarn relaxed yet controlled. Lay your stitches flat, avoiding twists, and secure the yarn ends while maintaining a consistent tension. By following these setup tricks, you’ll create seamless, professional-looking projects. Keep going to discover the proven techniques that make twist-free joining effortless every time.
Key Takeaways
- Ensure yarn tension is even before starting to prevent twists during the join.
- Lay the yarn flat and check stitch orientation to align stitches properly before joining.
- Use a slip knot or loose loop to start, keeping yarn relaxed to avoid tension issues.
- Position the yarns side by side, carefully aligning ends to prevent twist formation.
- Periodically check the circle for twists, adjusting stitches and yarn positioning as needed during the process.
Why It’s Important to Join in the Round Without Twists

Joining in the round without twists is essential because twists can cause uneven tension and make the project look messy. When you have twists, it’s harder to maintain consistent stitch size and tension, which impacts the overall appearance and durability of your work. Twist prevention is key to achieving a smooth, professional finish. Using proper join techniques helps you align your yarn seamlessly, ensuring your project stays twist-free from start to finish. If you don’t address twists early, they can become difficult to fix later, leading to frustration and uneven results. By carefully checking your work as you join, and employing effective join techniques, you set a solid foundation for a neat, uniform project that looks polished and professional. Additionally, understanding the importance of tension control can help prevent twists from forming in the first place, leading to a more consistent and aesthetically pleasing outcome. Practicing proper tension from the beginning is vital for consistent results throughout your project. Recognizing the role of dreams in emotional healing can also inspire patience and mindfulness during the crafting process, promoting a more relaxed and focused approach. Developing techniques for tension management can make a significant difference in keeping your work twist-free and ensuring your project looks its best. Maintaining mindful tension management during your work supports even stitches and reduces the risk of twists.
How to Prepare Your Yarn for a Seamless, Twist-Free Join

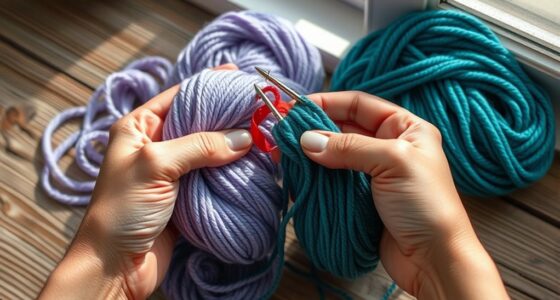
Preparing your yarn correctly is essential to achieving a seamless, twist-free join. Start by ensuring your yarn tension is even, so the strands lay smoothly without pulling or bunching. This helps prevent twists and creates a clean join. Before joining, check your yarn’s color coordination; matching shades or carefully blending colors ensures the transition remains invisible. Keep your yarn relaxed but controlled, avoiding tight pulls that could cause twists later. When you’re ready to join, hold the yarns side by side, maintaining consistent tension, and align the ends carefully. Proper preparation minimizes twists and irregularities, making your project look polished. Taking these steps ensures your yarn joins are as smooth and professional-looking as possible, setting a solid foundation for your round knitting or crochet.
How to Find the Right Starting Point to Avoid Twists
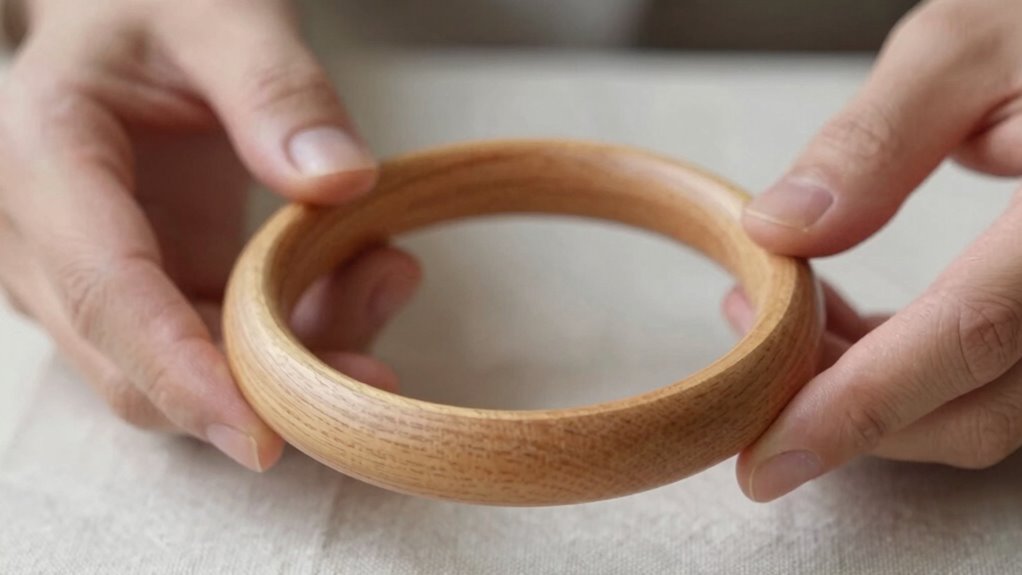
Have you ever finished a round project only to find it twisted out of shape? The key is choosing the right starting point. Begin by aligning your yarn tension consistently before starting. Keep your tension even as you work, so the yarn feeds smoothly without slack or tight spots. When selecting your starting stitch, consider your color matching—pick a spot where the yarn color blends seamlessly with your pattern, reducing the risk of twisting. Position your initial stitches carefully, ensuring they’re snug but not tight, and place your starting point where the yarn’s tension is balanced. This careful placement helps prevent twists from forming as you work through the round, keeping your project neat and flat from the start. Additionally, understanding the importance of project structure can help you choose the best starting location for a twist-free finish. Maintaining consistent fabric tension, which is crucial for achieving a smooth and even appearance, also plays a vital role in avoiding twists and ensuring an even, professional appearance. Being mindful of tension control techniques can further help you maintain the desired tension throughout your project.
Step-by-Step: Setting Up Your Yarn for a Smooth Join
To guarantee a smooth join, start by preparing your yarn ends carefully. Next, align the strands properly so they sit flat and don’t twist as you work. Finally, secure everything in place before making the join to keep your tension even and your project neat. Incorporating proper tension during the process ensures a seamless connection and a professional finish.
Prepare Your Yarn Ends
Before you join your yarn, it’s important to tidy up the ends to guarantee a smooth transition. Trim both yarn ends neatly, leaving about 6 inches of tail. Slightly loosen the yarn tension at the ends to prevent tight spots that could disrupt your stitches. Check that the yarn color is consistent, especially if you’re using different skeins, to ensure a uniform look once joined. If the yarn has multiple plies, gently align and smooth them to avoid tangles or unevenness. These small preparations help maintain even tension across the join, avoiding puckering or gaps. Proper tension control during setup is essential for a flawless finish. Taking the time to prepare your yarn ends now sets the stage for a seamless, twist-free join that looks professional and feels comfortable. Additionally, using water-resistant or quick-drying yarns can help maintain the integrity of your work in various conditions. Ensuring your workspace is well-lit and free of tangles also contributes to a more precise and smooth joining process. Being mindful of fiber type can further improve your results and prevent issues during the joining. Paying attention to yarn thickness can also help create a consistent and polished final piece.
Align the Strands Properly
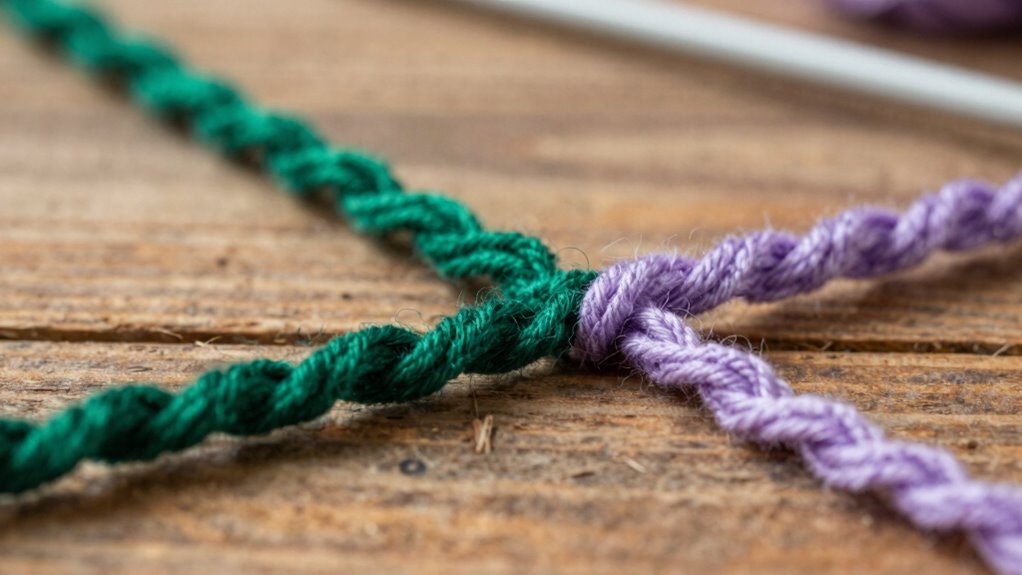
Properly aligning your yarn strands is essential for a clean, secure join. Start by ensuring both ends have consistent yarn tension, preventing unevenness that could cause gaps or puckering. Lay the strands side by side, checking that the colors match seamlessly for ideal color continuity. Keep the yarns flat and parallel, avoiding twists or tangles that could complicate the join. Gently stretch the ends to even out any slack, making sure they sit smoothly against each other. By aligning the strands carefully, you create a stable foundation for the join, which helps it stay neat and secure. Consistent tension during setup ensures the yarns remain aligned as you work, resulting in a more professional-looking finish. Additionally, taking these steps minimizes the risk of repetitive strain on your hands and wrists, making the knitting process more comfortable. Taking these steps ensures your finished project looks polished, with the yarns blending effortlessly without unwanted twists or color disruptions.
Secure Before Joining
Once your yarn strands are aligned and tensioned correctly, the next step is to secure them in place. This prevents slipping or shifting as you prepare to join in the round. To guarantee a smooth join, double-check that your yarn tension remains consistent, avoiding tight or loose spots that could cause uneven stitches. Securing the strands also helps maintain color consistency, especially if you’re working with variegated or multi-colored yarns. You can tie a loose knot or use a temporary clip to hold the strands together, but avoid tightening too much, which might distort your tension. Proper tension control is key to a professional-looking finish and to prevent frustration during your knitting or crocheting. Additionally, using hand tools can help keep your workspace organized, ensuring your yarn stays untangled and ready for seamless joining. Keeping your workspace organized minimizes the risk of accidental snags and helps you work more efficiently. Once secured, gently adjust to confirm the tension stays even, ensuring a seamless join and preventing unraveling during your project.
The Easy Technique to Join in the Round Without Twists

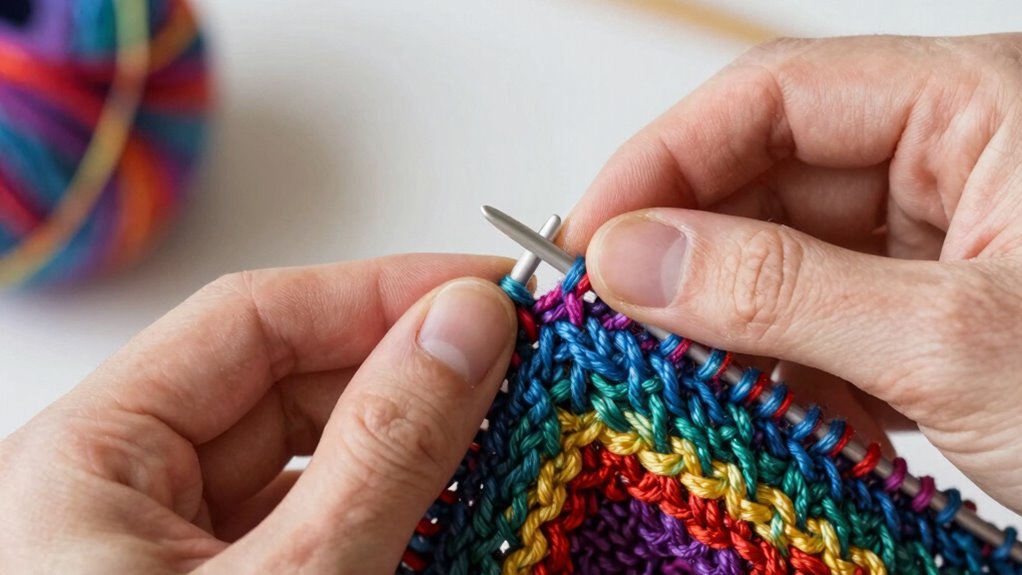
Joining your work in the round without twists is simpler than you might think, and the key is to position your stitches carefully from the start. First, align your stitches so that the color blending flows smoothly, avoiding abrupt color changes that can highlight twists. Next, maintain consistent yarn tension; loose or uneven tension can cause the join to shift or twist. Finally, before joining, lay your working yarn flat and check that all stitches face the same direction. This helps ensure the join remains neat and twist-free.
Here’s a quick overview:
- Carefully align your stitches for smooth color blending.
- Keep yarn tension even throughout the process.
- Flatten and check stitches before joining.
Following these steps guarantees a twist-free, professional-looking join.
Common Mistakes That Cause Twists and How to Prevent Them

Many common mistakes can lead to twists in your work, and understanding these pitfalls is key to preventing them. One major cause is twisted joins, which happen when you don’t align your yarn and stitches properly. If your yarn tension is uneven or too tight, it can cause the fabric to twist as you join rounds. Make sure to maintain consistent yarn tension throughout your work, especially when making joins. Another mistake is not checking the orientation of your stitches before joining, leading to twists that are hard to fix later. Always double-check that your stitches are aligned correctly and that your yarn flows smoothly to avoid uneven tension. Being mindful of these issues helps you create a seamless, twist-free join every time.
How to Check Your Join Before You Start Knitting or Crocheting
Before you begin, make sure you’ve chosen the right yarn for your project, as this can affect how smoothly your join functions. Next, create a small test loop to check for twists or tight spots that could cause problems later. Taking these quick steps helps ensure your join stays neat and twist-free from the start. Additionally, understanding the fiber content of your yarn can help you select the best joining method for a secure and lasting connection.
Choose the Right Yarn
Choosing the right yarn is essential to guarantee a smooth and secure join. To assure your project turns out perfectly, consider these factors:
- Color selection – pick a yarn color that matches or complements your project to avoid visible joins.
- Yarn texture – choose a smooth, even texture to make joining easier and prevent snagging.
- Yarn weight – use the same weight for both yarn sections to ensure uniform tension and avoid lumps.
Testing your join with the chosen yarn helps you spot potential issues early. If the color blends well and the texture feels consistent, you’re more likely to achieve a seamless, secure connection. Taking these steps ensures your join won’t stand out and your project stays neat.
Make a Small Test Loop
To guarantee your join is secure and smooth, make a small test loop before starting your project. This quick step helps you check your yarn tension and how the colors will behave, especially if you’re working with variegated or patterned yarns. Create a tiny loop with your yarn, then join it in the round as you plan to do for your project. Observe how the yarn tension feels—if it’s too tight or loose, adjust before proceeding. Proper tension is essential for even stitches and a polished finish. Additionally, inspecting your knives and tools for sharpness and cleanliness ensures a safe and efficient knitting process. Also, check for color pooling to see if the pattern or color distribution looks the way you want. This simple test prevents surprises later, ensuring your finished piece has even tension and a beautiful, consistent color flow. It’s a small step that saves time and frustration down the line. Regular gear inspection can help catch issues early and keep your knitting smooth.
What to Do if You Notice a Twist After Joining

If you notice a twist after joining a round without a twist, it’s important to act quickly to prevent discomfort or imbalance. The first step is a gentle twist correction: carefully untwist your work and align the stitches properly. Next, do a join adjustment by slightly repositioning your slip knot or starting point to ensure the join sits flat and seamless. Finally, double-check your initial stitches to confirm no twist remains.
Here’s what to do:
- Carefully untwist your work and realign stitches for twist correction.
- Adjust your join point to sit flat and prevent future twists.
- Recheck the first few stitches to confirm everything is smooth and even.
Taking these steps helps keep your project neat and comfortable.
Tips and Tricks for Seamless, Twist-Free Circular Projects
Ensuring your circular projects stay twist-free starts with mindful techniques during setup and work. Begin by carefully aligning your color coordination and pattern matching from the start. When joining, double-check that your yarns or stitches are aligned evenly, avoiding twists. To envision your progress, imagine this:
| Pattern Match | Color Coordination |
|---|---|
| Aligning stripes or motifs | Keeping colors consistent |
| Ensuring edges match | Maintaining even hues |
| Avoiding twisted joins | Preventing misaligned shades |
| Consistent tension | Coordinated palette flow |
| Flat, smooth joins | Seamless color transitions |
Use these visual cues to stay alert as you work, adjusting immediately if you notice any twists. This proactive approach keeps your project seamless and professional, making circular knitting or crochet straightforward and satisfying.
Frequently Asked Questions
Can I Join in the Round With Multiple Yarn Colors?
Yes, you can join in the round with multiple yarn colors, but you need to think about color blending and yarn compatibility. Make sure the yarns have similar thickness and fiber content to avoid tension issues. When joining, carefully blend the colors or switch yarns seamlessly, so your project looks smooth. This technique adds visual interest and helps manage color transitions effectively, making your work more vibrant and professional-looking.
Is There a Specific Needle Size Recommended for Twist-Free Joining?
For twist-free joining, choose a needle size compatible with your yarn, usually a size slightly larger than your usual needle. This helps prevent tension issues and guarantees smooth transitions. Make sure your needle matches your yarn’s weight and fiber type—using the right needle size and yarn compatibility minimizes twisting. Always test with a small swatch to find the perfect fit before starting your project, guaranteeing a seamless, twist-free join.
How Do I Fix a Twist if I Discover It Mid-Project?
Think of fixing a twist mid-project like untangling a knot in a delicate necklace. To correct the twist, gently unpick the stitches where the twist appears, then rejoin using proper joining tips. Carefully smooth out the stitches, ensuring the yarn flows evenly. This twist correction requires patience but keeps your project seamless. Always double-check your tension and join carefully to prevent future twists, making your finished piece flawless.
Does the Type of Yarn Affect the Ease of Joining Without Twists?
Yes, the type of yarn affects how easily you can join without twists. Smooth, plied yarns with a consistent texture make it simpler to align stitches properly. Natural fiber types like wool or cotton tend to be easier to work with compared to textured or novelty yarns, which can be more challenging to join seamlessly. Choosing the right yarn texture and fiber type can help you achieve a clean, twist-free join effortlessly.
Can This Technique Be Used for Both Crochet and Knitting Projects?
Yes, this technique’s versatility makes it suitable for both crochet and knitting projects. You can easily adapt it to different stitch types and project styles, ensuring smooth joins without twists. Its compatibility with various yarns and textures enhances your crafting experience. Whether you’re working on a cozy blanket or a delicate hat, this setup trick helps maintain consistent tension and seamless joins, making it a must-know skill for all fiber artists.
Conclusion
By mastering the art of joining in the round without twists, you’ll create flawless projects that flow smoothly, stitches that stay aligned, and circles that stay true. With patience and practice, you’ll turn tangled beginnings into tidy, seamless cycles. Embrace the technique, watch twists disappear, and enjoy the confidence that comes with each twist-free loop. Let your creativity spin freely, knowing your work is perfect from start to finish.