
Yes, you can embroider over existing embroidery, but you need to take some important factors into account. Check the original stitches for compatibility and evaluate the fabric type to avoid damage. Testing on similar fabric can help too. Use stabilizers to support both the new and old designs, and adjust your embroidery density for smooth integration. If you want to know more about techniques and troubleshooting common issues, there's plenty more to explore!
Key Takeaways
- Yes, you can embroider over existing embroidery, but assess the original stitches' thickness and texture for compatibility.
- Use a stabilizer underneath the fabric to support both the new and old embroidery, preventing distortion.
- Test your new design on a similar fabric to ensure compatibility and adjust density to avoid excessive bulk.
- Consider color contrast; lighter threads may not effectively cover darker existing stitches, so choose thread colors wisely.
- Remove or trim any old embroidery that interferes with the new design for a seamless integration.

New brothread Tear Away Machine Embroidery Stabilizer Backing 8"x8" – 100 Precut Sheets – Medium Weight 1.8 oz- Fits 4×4 and 6×6 Hoops
- Temporary Stabilizer: Supports embroidery projects temporarily
- Suitable for Natural Fabrics: Ideal for woven and natural fibers
- Versatile Applications: Use for hooping, applique, and lace
As an affiliate, we earn on qualifying purchases.
As an affiliate, we earn on qualifying purchases.
Considerations Before Embroidering Over Existing Designs
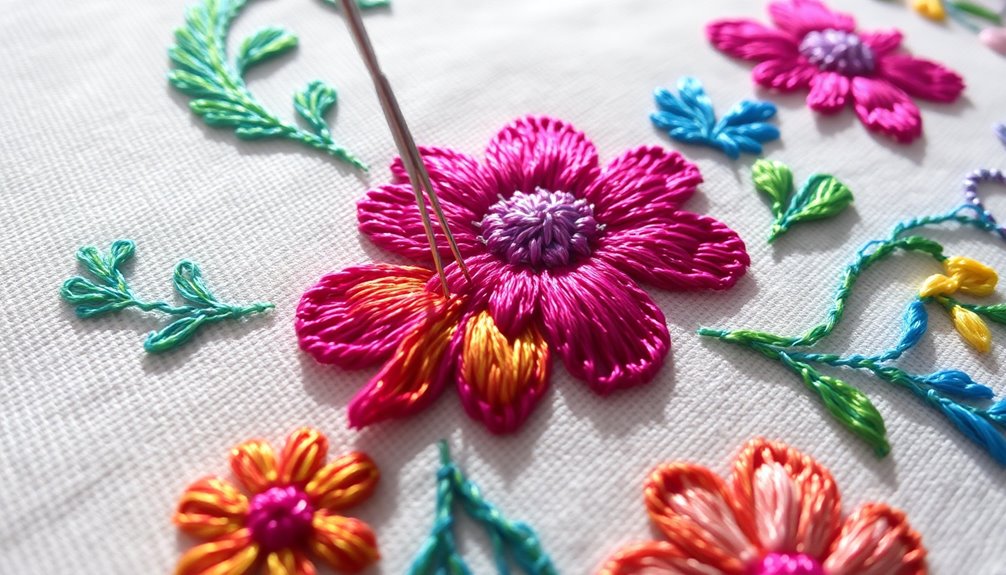
Before you start embroidering over existing designs, it's important to assess the original stitches' thickness and texture. You need to make certain these won't interfere with your new embroidery stitches.
Consider the color contrast as well; lighter colors may struggle to adequately cover darker stitches. Evaluating the fabric type is vital too—some materials can't handle multiple layers without weakening or puckering.
If you're working with delicate or stretchy fabrics, be extra cautious. You should also test your new design on a scrap piece of similar fabric to see how well it adheres and covers the previous embroidery.
Testing and Preparation for Successful Results

To achieve successful results when embroidering over existing designs, testing your new thread and design on similar fabric is essential. This step helps guarantee compatibility and appearance before you begin.
Adjust the embroidery density of your new design to avoid excessive bulk, which could lead to unsatisfactory results over the old stitches. Stabilizing the fabric adequately is vital to prevent distortion and maintain design integrity.
Using a contrasting thread color can make your new design stand out against the existing embroidery, enhancing the overall look. If the old embroidery interferes considerably with your new design, you may need to remove or trim those parts to guarantee a clean and professional finish.
Proper preparation leads to better outcomes.
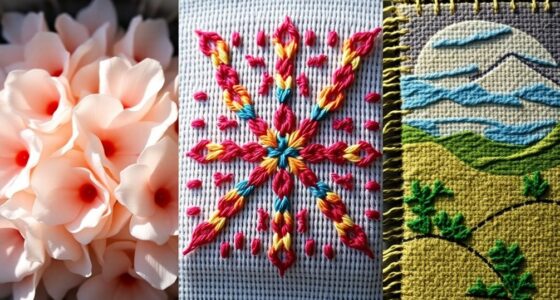
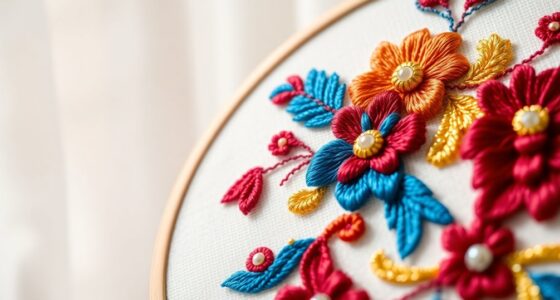
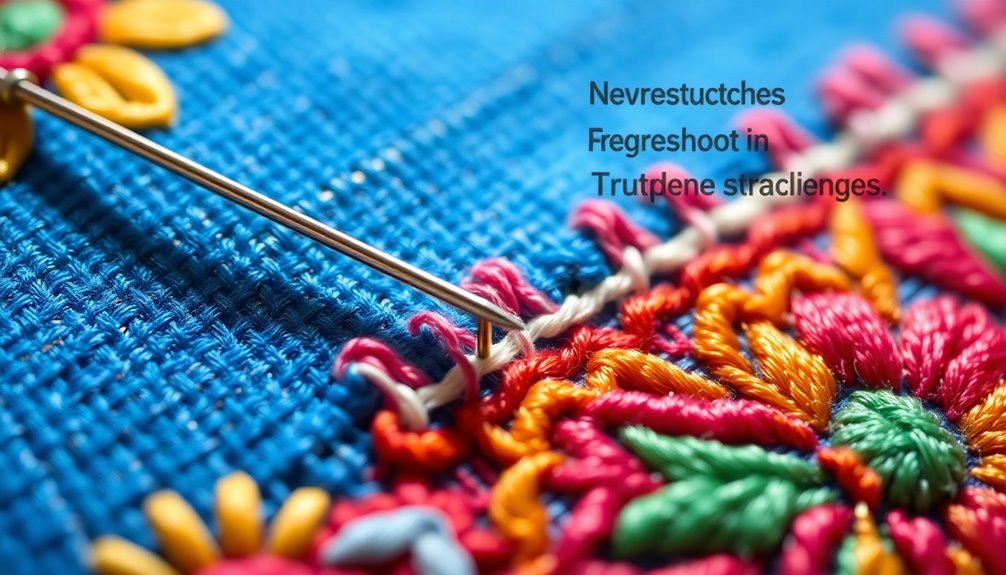
Techniques for Effective Overlapping Embroidery

While guaranteeing the stability of the underlying stitches is essential, employing effective techniques can greatly enhance your overlapping embroidery projects.
First, using a stabilizer underneath your fabric provides vital support, helping maintain its integrity during the process. Additionally, adjust the density of your new design to prevent excessive bulk and guarantee smoother integration.
When selecting thread colors, aim for shades that complement or match the existing embroidery, creating a cohesive look and minimizing visibility of the old design.
Also, don't skip the testing phase—practice your overlapping technique on a scrap piece of fabric similar to your garment.
These helpful tips can make a significant difference, ensuring your embroidery looks polished and professional.
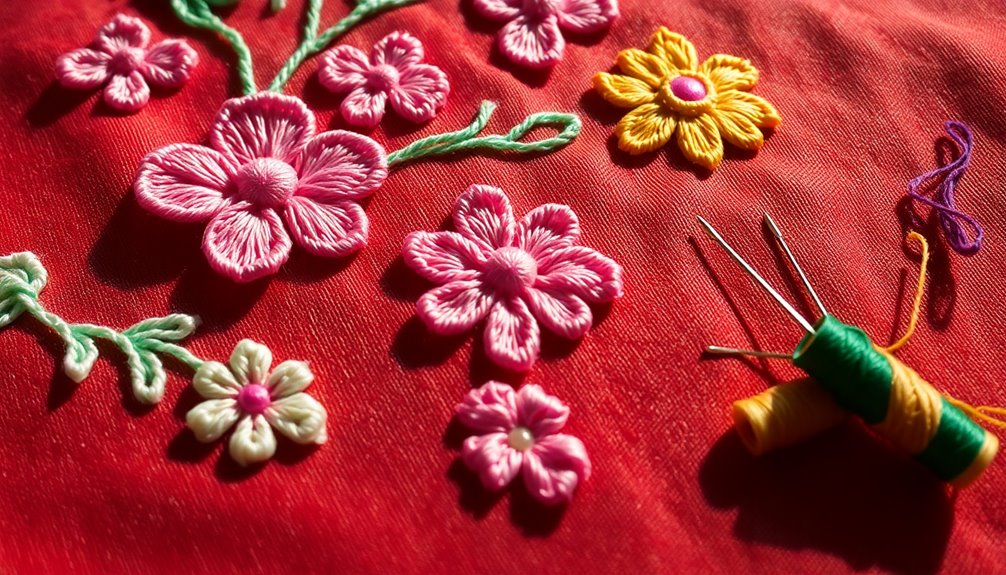
Tools and Materials for Seamless Integration

When you're diving into overlapping embroidery, having the right tools and materials can make all the difference in achieving a seamless integration.
Here are three essentials you shouldn't overlook:
- Stabilizer: Place a stabilizer beneath the fabric to support the existing embroidery and prevent puckering when adding new stitches.
- Embroidery Thread: Choose thread colors that match or complement the original design for a cohesive look and to minimize visible differences.
- Seam Ripper: This handy tool allows you to carefully remove any parts of the original design that might interfere with your new embroidery placement.
Lastly, always test your new design on similar fabric to guarantee it integrates seamlessly with the existing embroidery.
Happy stitching!
Troubleshooting Common Issues With Over Embroidery
As you commence on the journey of embroidering over existing designs, it's vital to anticipate and troubleshoot common issues that may arise. Here are some tips to help you succeed:
| Issue | Solution |
|---|---|
| Uneven stitches | Verify original stitches are secure and not too thick. |
| Thread breakage | Adjust density and tension settings on your machine. |
| Puckering | Use an appropriate stabilizer for your fabric type. |
| Bulkiness in design | Opt for a lighter weight thread if the existing embroidery is textured. |
For more guidance, check out hand embroidery tutorial videos that walk you through these challenges step-by-step. By preparing and testing on scrap fabric, you'll enhance your final outcome effectively! Additionally, ensure that your stabilizer type is suitable for the fabric to prevent further complications during the embroidery process.
Frequently Asked Questions
How to Cover up Old Embroidery?
To cover up old embroidery, start by selecting a background fill stitch that matches your fabric color. This creates a smooth base for your new design.
Choose a larger motif to effectively mask the old stitches, and consider using overstitching for better concealment. Appliqué can also add a stylish flair.
Make sure your stabilizer is securely hooped and adjust the thread tension properly to prevent puckering over the previous embroidery.
Can You Overlap Embroidery?
Imagine painting a vibrant sunset over a faded landscape; you can definitely overlap embroidery!
Just be cautious with your placement to avoid bulk or distortion. Test your technique on a scrap fabric first, and consider the thickness of those existing stitches. Experimenting with different pressures and methods can lead to better results when applying your patches. By taking the time to practice, you’ll gain confidence and ensure that your final pieces look professional. Remember, with a little patience, sewing Velcro patches made easy can transform your projects and add functionality to your fabric items.
Choose thread colors that harmonize, like notes in a melody, and adjust your new design's density to keep everything flat and smooth.
With care, you'll create a stunning layered effect!
Can You Embroider Over Stitching?
Yes, you can embroider over stitching, but it's crucial to take into account a few factors.
Check the thickness and density of the existing stitches, as they might cause issues like skipped stitches or uneven results.
Using a stabilizer can help create a smoother surface for your new embroidery.
Test on similar fabric first to guarantee you achieve the desired outcome.
If you're concerned about visibility, choose a thread color that closely matches the original.
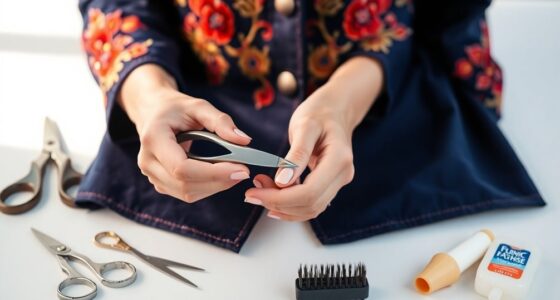
Can You Remove and Redo Embroidery?
They say, "If at first you don't succeed, try, try again."
Removing and redoing embroidery can definitely be a necessary step when things don't turn out as you envisioned. Using a seam ripper makes it easier to unpick stitches, while tweezers help with any leftover threads.
Just be cautious, as some fabrics may not recover well. Communicating with your customers about potential risks guarantees everyone's on the same page before you start over.
Conclusion
In the world of embroidery, overlapping designs can weave a tapestry of creativity and transformation. By carefully preparing and testing your materials, you'll blend the old with the new like a painter layering colors on a canvas. Embrace the challenge, and let your needle dance over the threads, creating a beautiful harmony. With the right techniques and tools, you'll turn a simple piece into a vibrant masterpiece, proving that even existing designs can bloom anew.