
Hanging embroidery hoops can add flair to your space. Start by choosing the right hoops based on your fabric type and desired design size. Arrange them in a gallery style, mixing shapes and sizes for visual interest. You can use washi tape or twine for a quirky touch, and don't forget to incorporate elements like greenery for depth. If you want tips on maintaining your hoops or personalizing your display, there's so much more to explore!
Key Takeaways
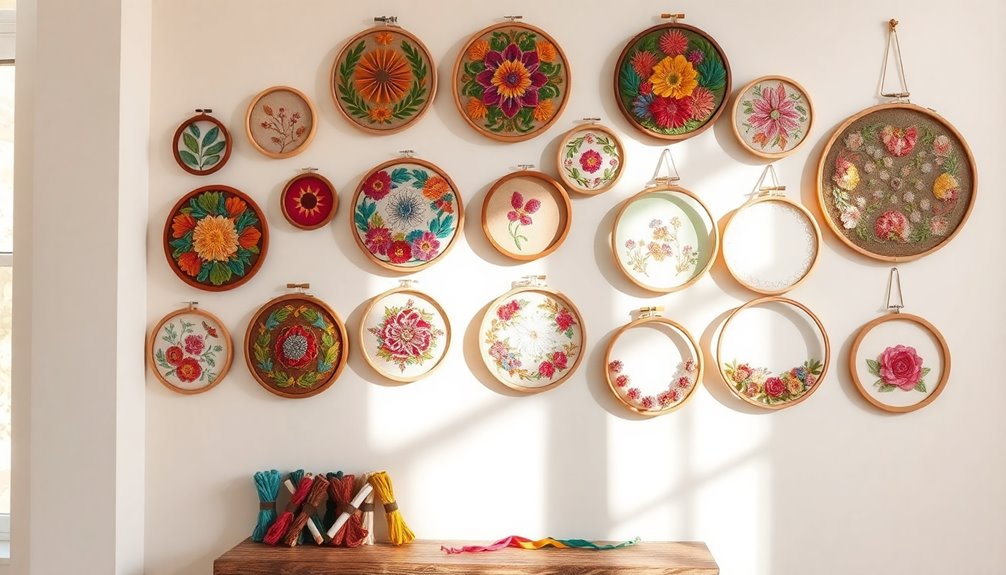
- Create a gallery wall by mixing different sizes and shapes of hoops for a visually appealing display.
- Use decorative washi tape or twine to add a playful touch when hanging your hoops.
- Group hoops by color palette or theme to establish a cohesive look in your decor.
- Layer hoops at various depths or place them on shelves to enhance dimensionality.
- Incorporate additional elements like greenery or framed photos to complement and elevate your embroidery art.
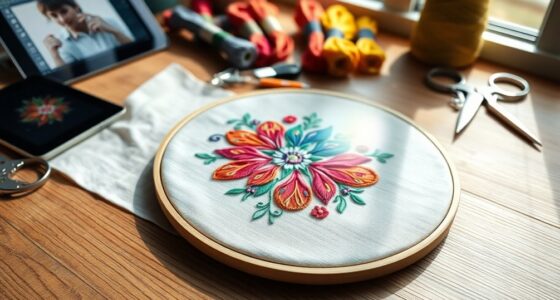
Choosing the Right Embroidery Hoops for Your Project
When selecting the right embroidery hoop for your project, how do you know which one fits best? Start by considering the type and weight of your fabric. Thicker fabrics need sturdier hoops to keep the fabric taut while you stitch.
Screw tension hoops are excellent for adjusting tightness, ensuring your fabric stays secure. Choose a hoop size that comfortably accommodates your design; larger outer hoops can lead to excess fabric, making movement tricky.
For beginners, plastic hoops are affordable and easy to use, while wooden hoops offer durability and smooth edges.
Don't forget to explore different shapes—round, oval, or square—at craft stores to find the perfect fit for your style and project needs.
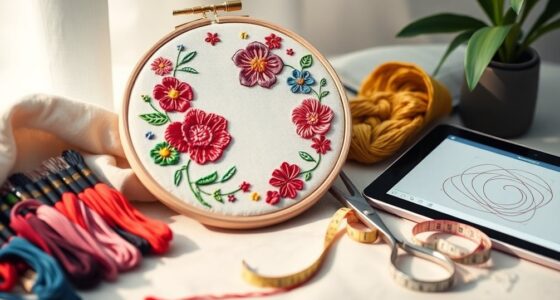
Techniques for Preparing and Protecting Your Fabric
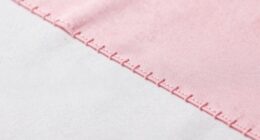
Preparing and protecting your fabric is essential for achieving beautiful embroidery results. Start by holding the fabric and preventing fraying with an overlock stitch, zig-zag stitch, or a whipstitch on the edges.
When using an embroidery hoop, secure fabric properly to avoid shifting, which can disrupt your stitching accuracy. Consider binding the edges with sewing instead of low-tack tape for better manageability.
While working on a project, employ basting techniques to attach two fabrics together, adding stability and reducing movement that could affect your design. Additionally, using muslin masks can offer protection from dirt and oil, ensuring your previously stitched areas remain untouched during the embroidery process.
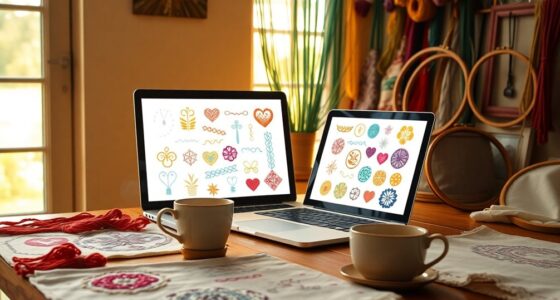
Creative Ways to Arrange and Hang Your Hoops
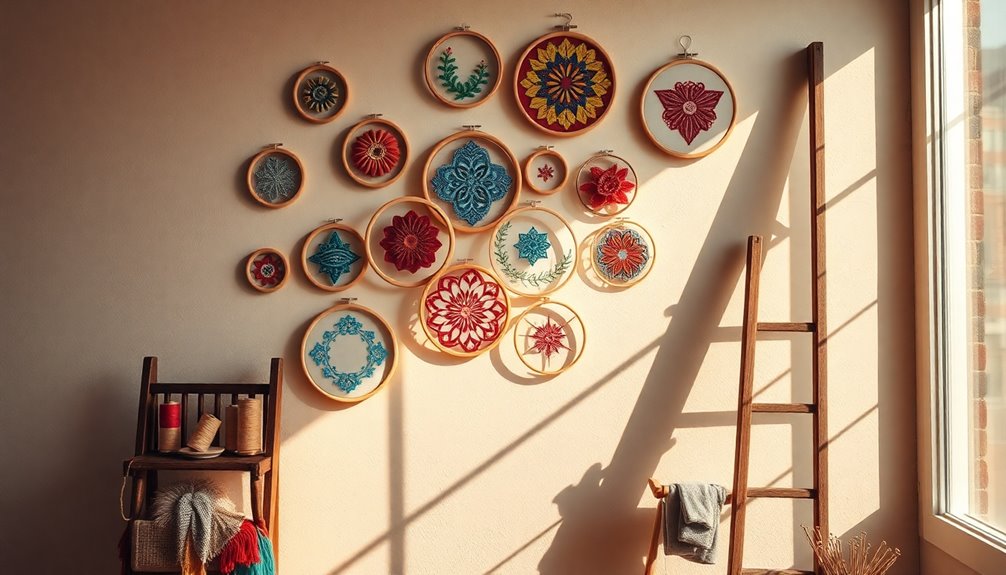
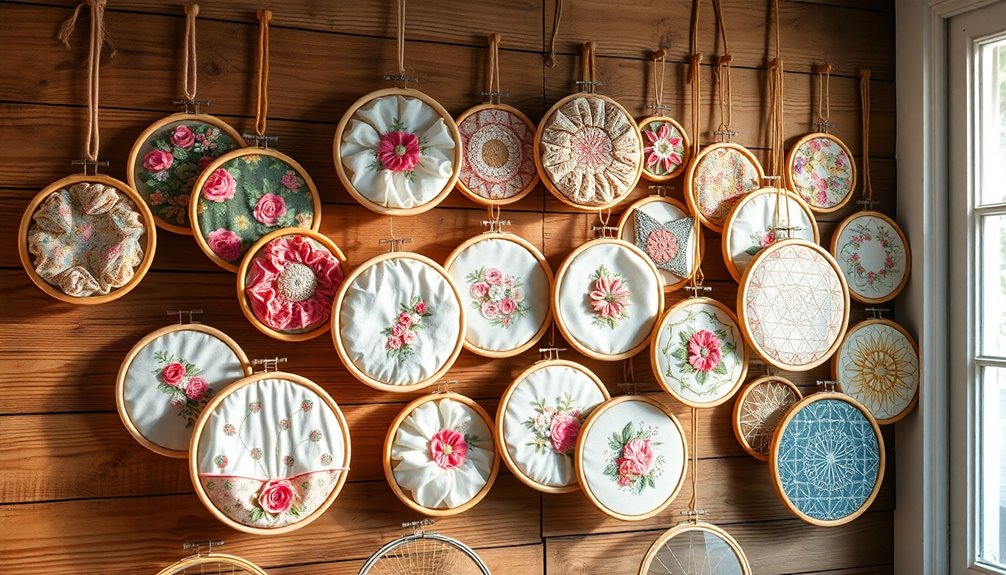
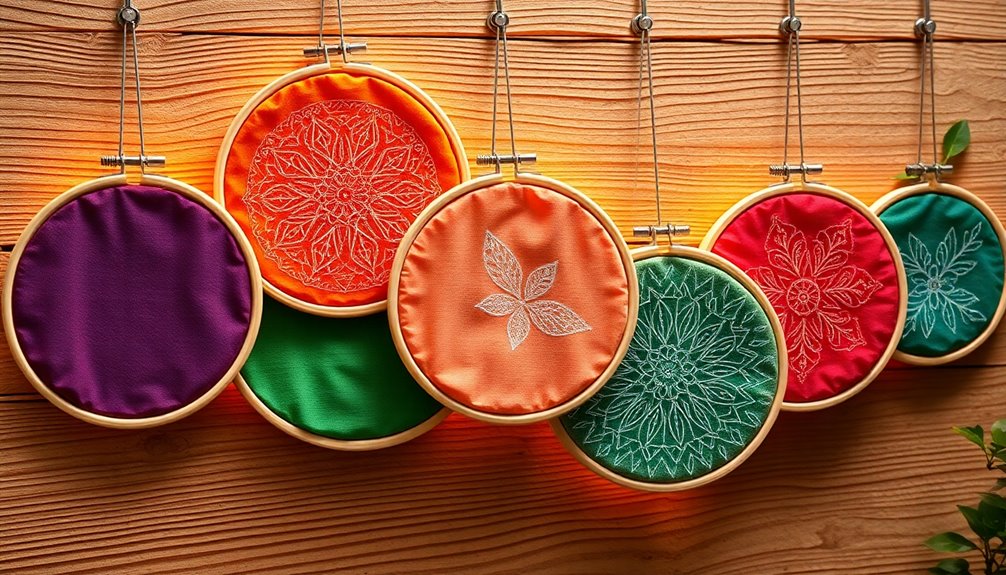
Arranging and hanging your embroidery hoops can transform your space into a personalized showcase of your creativity. You can hold attention with a gallery wall style, mixing different sizes and shapes for visual interest.
If you're going for a playful aesthetic, use decorative washi tape or twine to hang your hoops, making repositioning easy. When working on a large display, consider grouping hoops by color palette or theme for cohesion.
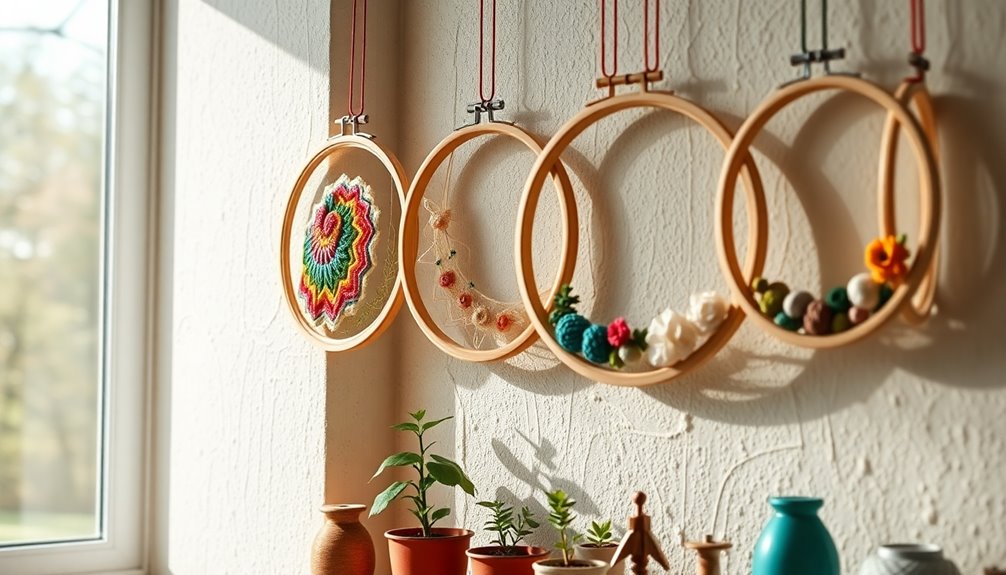
To create a much bigger impact, layer hoops at varying depths or place them on shelves for added dimension. Don't forget to incorporate additional elements like greenery or framed photos alongside your hoops, as these often used touches complement your embroidery and enhance the overall visual appeal. Additionally, consider integrating natural elements from local markets to further enrich your decor.
Tips for Maintaining and Caring for Your Hoops
Once you’ve showcased your embroidery hoops in a stunning arrangement, keeping them in top shape is important for preserving your artwork. To maintain their beauty, regularly dust the hoops and avoid placing them in direct sunlight, which can cause fading. Additionally, consider experimenting with reusable embroidery hoop ideas to refresh your display while reducing waste. By swapping out designs or incorporating new colors, you can keep your home decor vibrant and dynamic, ensuring that your embroidery collection continues to inspire and delight.
Make sure to remove the fabric in the hoop after each session to prevent permanent marks and fabric distortion. Store your hoops in a dry, cool place to avoid rust or wear, especially for metal ones.
Regular inspection of wooden hoops is essential; look for signs of wear or splinters and sand them with fine sandpaper if necessary. Clean metal hoops with a damp cloth to remove dirt and prevent staining.
While stitching, adjust hoop tension as needed to keep the fabric taut, and don't forget to tighten the screw to hold the fabric securely in place.
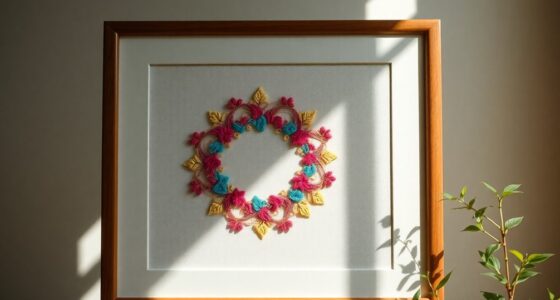
Personalizing Your Embroidery Display With Color and Texture
Transforming your embroidery display into a personalized masterpiece starts with the thoughtful use of color and texture.
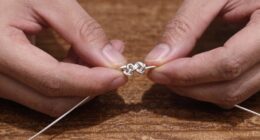
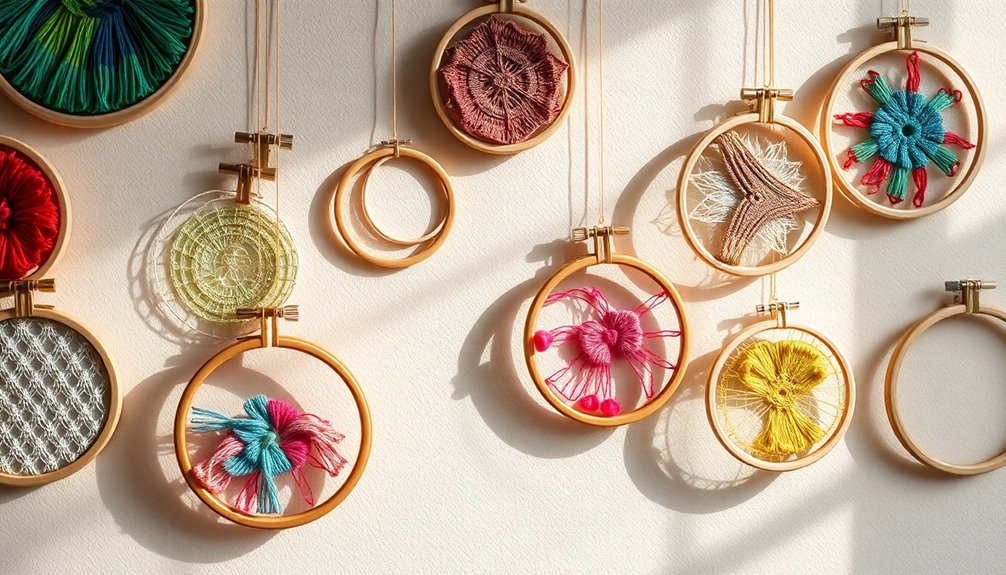
Wrap the outer ring of your hoop with cotton yarn for a cohesive background that complements your chosen fabric and inner ring. Then, weave various colors of crochet thread around the hoop in a figure 8 pattern.
This technique not only enhances the texture but also allows you to get creative with patterns or gradients that reflect your style. Whether you're showcasing a large project or a simple hand embroidery piece, incorporating these elements makes your display a unique focal point.
With strategic color selections, your embroidery can beautifully match existing decor or seasonal themes, showing off your crafting skills! Additionally, consider incorporating natural materials like wood to further enhance the rustic charm of your display.
Frequently Asked Questions
How Do You Hang Embroidery Hoops?
To hang your embroidery hoops, start by picking a suitable wall space and plan your arrangement.
You can use adhesive hooks for a damage-free option or small nails for a more traditional approach. Make sure the hooks or nails can support the weight of the hoops.
Vary the heights and spacing for visual interest, but avoid direct sunlight to keep your fabric looking fresh and prevent fading over time.
How Do You Place an Embroidery Hoop?
To place an embroidery hoop, start by loosening the screw and separating the inner and outer hoops.
Lay the inner hoop flat and drape your fabric over it, right side facing up. Center your design, then slide the outer hoop over the fabric.
Tighten the screw slightly to secure it, but don't overdo it yet. Adjust the fabric for even tension, then fully tighten the screw so it feels tight like a drum.
How to Make Hoop Wall Hanging?
Imagine transforming your wall into a tapestry of color and creativity.
To make a hoop wall hanging, start by selecting a variety of sizes and colors of embroidery hoops. Wrap them in soft yarn or fabric for texture.
Weave crochet thread through the hoops for intricate designs, securing them with a dab of glue.
Finally, arrange and hang your beautiful creations on the wall, letting your artistic spirit shine bright!
How to Hang an Embroidery Hoop on a Wall Without Drilling?
To hang an embroidery hoop on a wall without drilling, use adhesive wall hooks or removable strips like Command Strips.
They're perfect for holding the weight of your hoops and won't damage your walls.
For lighter hoops, try double-sided tape or poster putty, ensuring the surface is clean.
If you have metal hoops, magnetic strips can work wonders.
Just be sure any adhesive is suitable for your wall type to avoid damage.
Conclusion
In the end, hanging embroidery hoops isn't just about displaying your art; it's a way to express your unique style. Remember, the theory that "less is more" doesn't always apply—sometimes, a bold arrangement can make a powerful statement. So, go ahead and mix textures and colors to create a vibrant showcase! With a little creativity and care, your embroidery hoops can transform any space into a personal gallery that tells your story. Enjoy the process!