Common embroidery mistakes like knots, tension issues, and puckering happen when your technique isn’t quite right but are easy to fix. Check your tension—tighten or loosen as needed on scrap fabric to prevent puckering and uneven stitches. Use quality threads suited to your fabric and adjust stitch density for smooth designs. Practice proper tension and stitch length, and troubleshoot knots with correct threading. Keep exploring, and you’ll master these adjustments for perfect embroidery results.
Key Takeaways
- Adjust tension and stitch length carefully, testing on scrap fabric to prevent puckering and uneven stitches.
- Use the appropriate thread type and quality to ensure smooth, consistent stitches and reduce knots.
- Maintain proper stitch density; avoid excessive stitches per inch to prevent fabric stiffness and puckering.
- Regularly check and fine-tune tension settings to prevent loose stitches, puckering, and thread breakage.
- Practice consistently on scrap fabric to master tension, thread selection, and stitch settings for professional results.
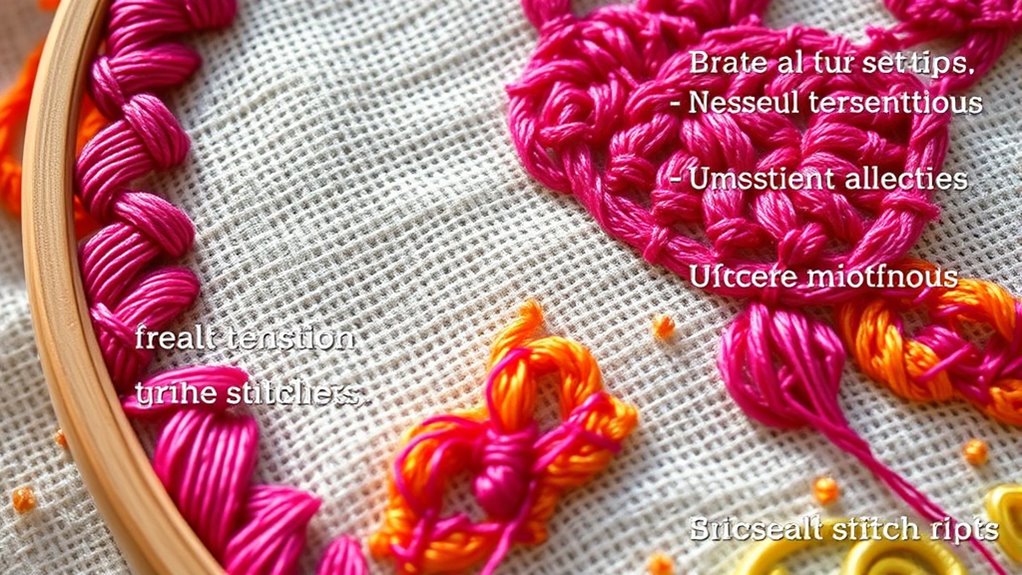
Have you ever wondered why your embroidery projects don’t turn out as perfect as you’d like? One common culprit is uneven stitch density. When your stitches are too tight, your fabric can pucker, and the design may look distorted. Conversely, if your stitches are too loose, your embroidery can appear sloppy and may even come apart over time. Achieving the right stitch density requires paying close attention to your tension and stitch length. Too much tension pulls the fabric tight, causing puckering, while too little slack results in loose stitches that lack definition. Adjust your sewing machine’s tension settings or your hand tension accordingly, and make a few test stitches on scrap fabric to find the sweet spot.
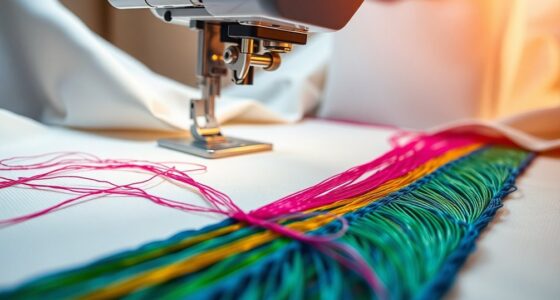
Thread selection also plays a significant role in embroidery quality. The type of thread you choose impacts how stitches sit on the fabric and influences overall stitch density. For example, using a thread that’s too thick or too shiny can make stitches appear bulky or uneven. Conversely, a thinner thread might not provide enough coverage, causing gaps in your design. Opt for high-quality embroidery threads that match the weight of your fabric and the complexity of your design. When selecting thread, consider the fiber content and finish—silk, polyester, and cotton all behave differently under tension. Using a thread that’s compatible with your fabric and machine will produce more consistent stitches and reduce the risk of puckering or loose areas.
Properly setting your stitch density involves understanding how tight or loose your stitches are and adjusting accordingly. If your embroidery looks stiff or puckered, try decreasing your stitch density by reducing the number of stitches per inch or slow down your sewing speed. This gives your stitches more room to breathe and prevents the fabric from bunching up. On the other hand, if your design looks sparse or the stitches seem to be spaced too far apart, increase your stitch density by adding more stitches per inch, but be cautious not to overdo it, as this can cause stress on the fabric and thread. Finding the right balance between stitch density and thread selection ensures your embroidery stays smooth, even, and professional-looking.
Additionally, understanding resources and tools available to you can help improve your embroidery technique and troubleshoot common issues effectively. In the end, mastering stitch density and thread selection takes practice, but once you get the hang of it, your embroidery projects will look cleaner and more polished. Paying close attention to tension and choosing the appropriate thread for your fabric will help you avoid puckering, knots, and uneven stitches. Keep experimenting on scrap fabric until you find the perfect combination, and your finished projects will reflect your skill and attention to detail.
Frequently Asked Questions
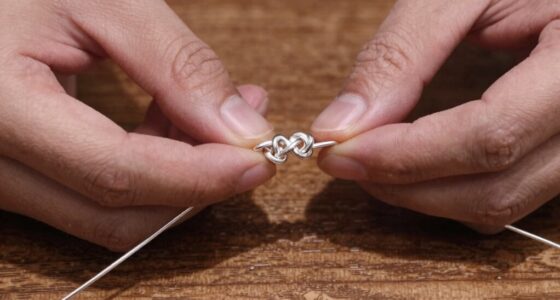
How Can I Prevent Embroidery Knots From Forming?
To prevent embroidery knots, start with high-quality thread that’s smooth and consistent, reducing snags. Make sure to prepare your fabric properly by ironing it and using a stabilizer if needed, which helps keep the fabric taut. When threading your needle, pull the thread gently and avoid pulling too tight, as this can cause knots. Taking these steps keeps your stitches neat and minimizes knots during your embroidery project.
What Tools Help Fix Puckered Embroidery?
To fix puckered embroidery, you need the right tools. Start by choosing a hoop that’s properly sized for your project, as a good fit helps keep fabric taut. Use a seam ripper or small scissors to carefully loosen puckered stitches, and a pressing iron with a pressing cloth to smooth out wrinkles. Also, select thread color that matches your fabric to blend imperfections seamlessly, ensuring your embroidery looks polished and professional.
How Do I Adjust Tension for Different Fabrics?
To adjust tension for different fabrics, start by considering the fabric stretch. Use your machine’s tension calibration to find the right balance—tighten it for stable, less stretchy fabrics and loosen for more elastic ones. Test on scrap pieces first, then gradually tweak the tension until your stitches are even and smooth. This way, you prevent puckering and guarantee your embroidery looks professional on any fabric type.
Why Does My Embroidery Thread Keep Breaking?
If your embroidery thread keeps breaking, check if your thread color matching is accurate and that you’re using the right type for your fabric. Also, make certain your tension is properly adjusted to prevent stress on the thread. Follow embroidery design tips like threading your needle correctly and not pulling too tight. Using high-quality thread and maintaining your machine can also reduce breakage, making your embroidery process smoother.
Can Incorrect Needle Size Cause Tension Issues?
Choosing the right needle size is like finding the perfect fit for your favorite pair of shoes; it directly affects your tension. If your needle is too thick or thin for the fabric, it can cause tension issues, leading to puckering or uneven stitches. Always match your needle selection to your fabric’s thickness and type for smooth sewing and consistent tension. Proper needle choice helps your embroidery look professional and neat.
Conclusion
By recognizing common embroidery mistakes like knots, tension issues, and puckering, you can troubleshoot and improve your skills. For example, Sarah struggled with puckering on her floral design until she adjusted her fabric tension and used stabilizers. Now, her stitches are smooth and professional-looking. Remember, patience and practice are key. With a little attention to detail, you’ll turn those frustrating errors into beautiful, polished embroidery projects that showcase your true talent.