
Embroidery on hats needs different planning because their curved surfaces require careful placement and size adjustments to prevent distortion. You must select suitable materials and stitches that work well on fabric that stretches and bends. Managing tension is essential to avoid puckering or loose threads. Testing on scrap fabric helps you visualize the final look and make necessary tweaks. Keep exploring to discover expert tips that make your hat embroidery look professional and last longer.
Key Takeaways
- Curved surfaces on hats cause distortion, requiring careful design placement and size adjustments.
- Thread tension must be precisely managed to prevent puckering or loose stitches on rounded areas.
- Material choice impacts embroidery durability and appearance on curved fabric, unlike flat projects.
- Testing on similar fabric helps visualize how designs will flow along the crown or brim curves.
- Different stitching techniques are needed to maintain design integrity on curved hat surfaces.
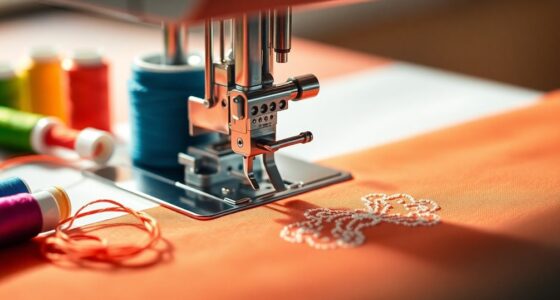
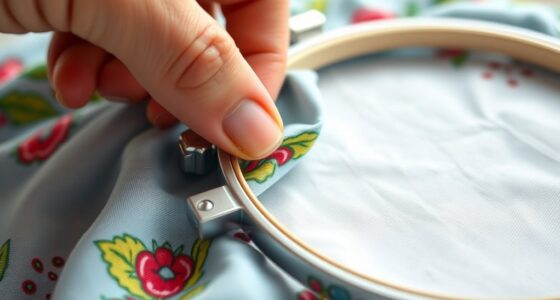
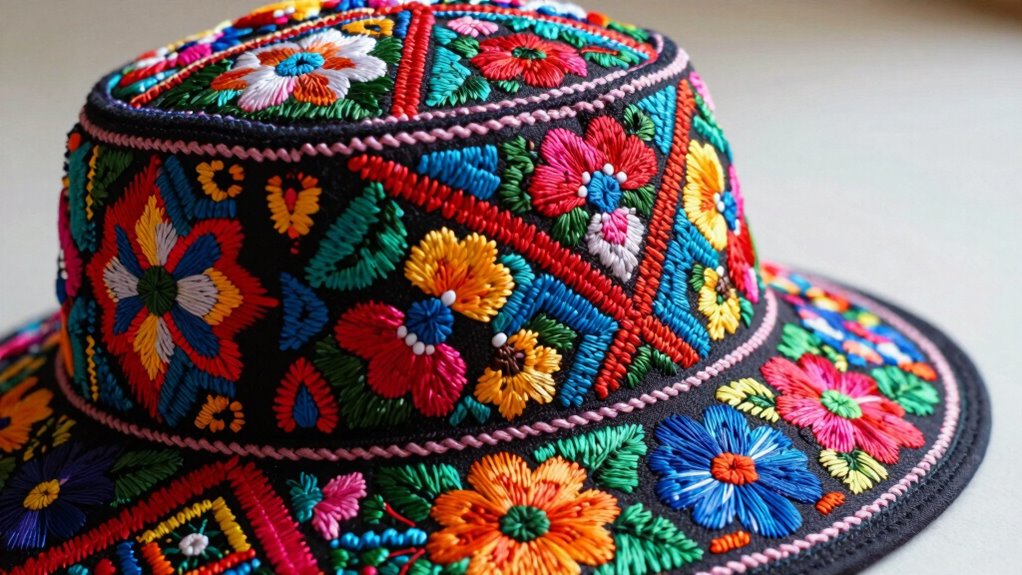
Thread color is another vital aspect that demands attention. Since hats are often worn outdoors or in casual settings, your color choices should complement the hat’s base color and the intended message or aesthetic. Bright, contrasting thread colors can make your design pop, while more subdued tones lend a subtle, sophisticated look. Think about how the thread will stand out against the fabric and whether it aligns with your overall design concept. Keep in mind that on curved surfaces, certain thread colors will be more visible and impactful than others. You might need to experiment with a few shades before settling on the perfect combination. Also, consider the type of thread—polyester, rayon, or metallic—each has different sheen and durability, which can affect the final appearance and longevity of your embroidery. Paying attention to biodiversity in your material choices can help ensure your supplies are sustainably sourced. Additionally, understanding fabric properties can guide you in selecting the most suitable materials for curved surfaces, ensuring your embroidery remains intact and visually appealing. Because hats have a rounded shape, planning your embroidery involves more than just choosing the right materials and colors. You need to think about how your design will flow along the curve of the crown or brim. This may require adjusting the size or placement of your motifs to avoid distortion or misalignment once stitched. Proper tension is essential, as too tight stitches can cause puckering, while too loose ones might lead to loose threads or incomplete designs. Testing your design on a scrap piece of similar fabric can help you visualize how it will look and allow you to make necessary adjustments. Furthermore, considering thread tension as part of your planning can prevent common stitching issues and improve overall quality. Being aware of embroidery techniques suitable for curved surfaces can also enhance the professional look of your finished project. Incorporating design mock-ups or sketches before stitching can help you visualize the final outcome and make precise adjustments. By paying close attention to material selection and thread color, and considering the hat’s shape, you guarantee your embroidery turns out professional and durable, elevating your project beyond simple decoration to a true piece of art.

New brothread Tearaway Embroidery Stabilizer Backing for Caps and Hats – 4" x 8" 125 Precut Sheets – Heavy Weight 3oz
- ▶ Fit Perfectly For Cap Hoops: The precut size 4" x…
- ▶ Heavy Weight For High Stitch Counts: It is heavy weight 3oz…
- ▶ Obvious Production Benefits: Use tearaway cap backing to…
As an affiliate, we earn on qualifying purchases.
As an affiliate, we earn on qualifying purchases.
Frequently Asked Questions
How Does Fabric Type Affect Hat Embroidery Planning?
Fabric type substantially impacts your hat embroidery planning because different fabrics have varying stretch and stability. For instance, stretchy fabrics require stabilizers to prevent distortion, and you must choose thread compatibility carefully to avoid puckering or breakage. You should test your design on scrap material to verify the fabric’s stretch won’t cause issues. Adjust your tension and hooping techniques accordingly to achieve a clean, professional look.
What Tools Are Best for Curved Embroidery on Hats?
For curved embroidery on hats, you’ll want a hoop designed for curved surfaces, like a domed or hat hoop. Use high-quality embroidery thread to guarantee smooth stitching, and choose a sharp needle, such as a ballpoint or embroidery needle, to navigate the fabric’s curve without damage. These tools help you maintain even stitches and detail, making your design stand out beautifully on the curved hat surface.
How Do I Ensure Embroidery Stays Durable on Hats?
Think of your embroidery like a knight’s armor—durability depends on strong defenses. Use high-quality embroidery thread suited for hats and focus on the hat’s construction, ensuring it’s stable and well-supported. Keep stitches tight but not too tight, and choose a backing that matches your hat’s material. Proper tension and consistent stitching, like a well-fortified castle, will keep your embroidery enduring through wear and washing.
Can I Use the Same Hooping Techniques for All Hats?
You can’t use the same hooping techniques for all hats because different hat styles require different approaches. For structured caps, you might need a specialized hat hoop or a flat surface for stability. Soft or unstructured hats often need a different method to prevent shifting. Always consider the embroidery thread and the hat’s material and style. Adjust your hooping technique accordingly to guarantee your design stays perfect and durable.
How Does Hat Size Influence Embroidery Design Choices?
Your hat size greatly influences embroidery design choices, especially regarding hat shape and embroidery placement. Larger hats, like cowboy or trucker styles, provide ample space for intricate designs and allow for more detailed embroidery. Smaller or more rounded hats, such as baseball caps, require simpler, centered designs to fit comfortably without distorting. Always consider the hat shape and ideal embroidery placement to guarantee your design looks professional and fits well.
Conclusion
So, next time you pick up that embroidery needle, remember—planning a hat isn’t just a small task; it’s like orchestrating a symphony where every stitch can make or break your masterpiece. If you don’t tailor your approach, your design might end up looking like a wild tornado instead of a polished work of art. Embrace the unique challenges, because with the right plan, your hat embroidery will stand out like a shining star in a sky full of clouds.