You'll be surprised at how easy it is to master machine embroidery! By familiarizing yourself with your machine and gathering essential supplies, you can jump into exciting projects. Start small with basic techniques like hooping and using tearaway stabilizer. As you gain confidence, check out online communities and local workshops for support and inspiration. With practice, you'll create beautiful designs in no time. Keep going, and you'll discover even more tips and tricks to enhance your skills!
Key Takeaways
- Start with your machine manual to understand functions and capabilities, making the learning process smoother.
- Invest in essential supplies like tearaway stabilizer and sharp scissors to ensure neat and accurate stitching.
- Practice hooping techniques using stencils for centering designs, which simplifies the setup and enhances results.
- Engage with online communities and social media for support, inspiration, and troubleshooting tips from experienced embroiderers.
- Attend local workshops for hands-on experience and personalized advice, boosting your skills through collaboration and shared learning.
Getting Started With Machine Embroidery
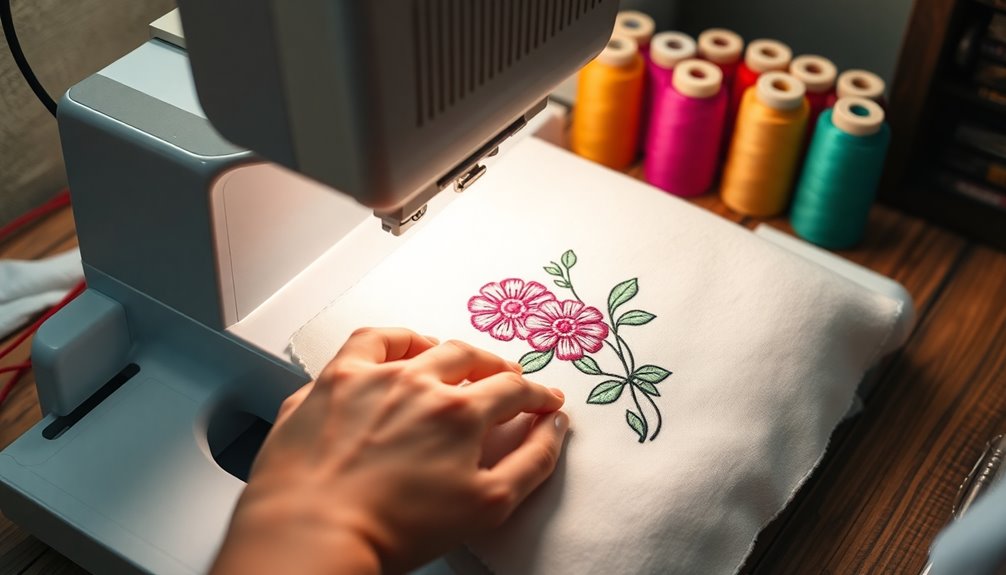
Getting started with machine embroidery can feel overwhelming, but once you understand your machine's functions and capabilities, you'll be well on your way to creating beautiful projects.
The first thing you should do is familiarize yourself with your specific machine. This knowledge helps you avoid common pitfalls.
Invest in essential supplies like tearaway stabilizer and sharp fabric scissors; they'll make all the difference.
Practice hooping techniques by securing your fabric properly and using a stencil for centering designs.
Begin with simple projects, like a makeup towel, to build your confidence. As you progress, experiment with different fabrics and stabilizers.
Don't forget to engage with online communities for support and inspiration; they can provide invaluable tips and resources.
Essential Supplies for Success
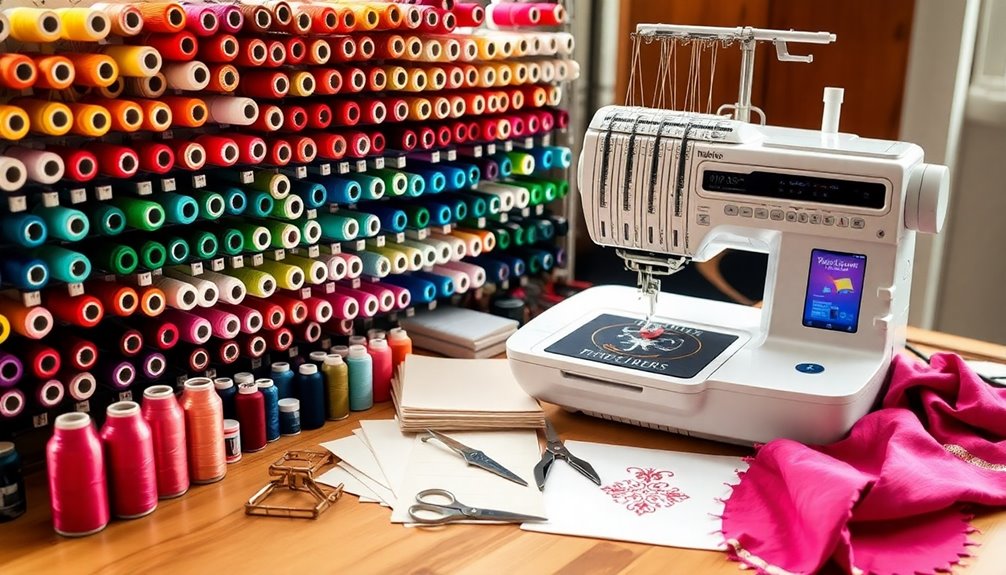
To achieve success in machine embroidery, having the right supplies is vital. A tearaway stabilizer supports your fabric during the embroidery process, guaranteeing clean and crisp designs. Sharp scissors are essential for cutting threads and fabric accurately, contributing to a polished final product.
Here's a quick reference table of essential supplies:
| Supply | Purpose | Importance |
|---|---|---|
| Tearaway Stabilizer | Supports fabric during stitching | Guarantees neat designs |
| Sharp Scissors | Cuts threads and fabric | Creates a professional finish |
| Temporary Adhesive | Secures layers for floating projects | Keeps everything in place |
| Fabric Marking Pen | Aligns and centers designs | Guarantees precise placement |
Practicing with basic fabrics helps you build confidence before tackling specialty items.
Understanding Your Embroidery Machine
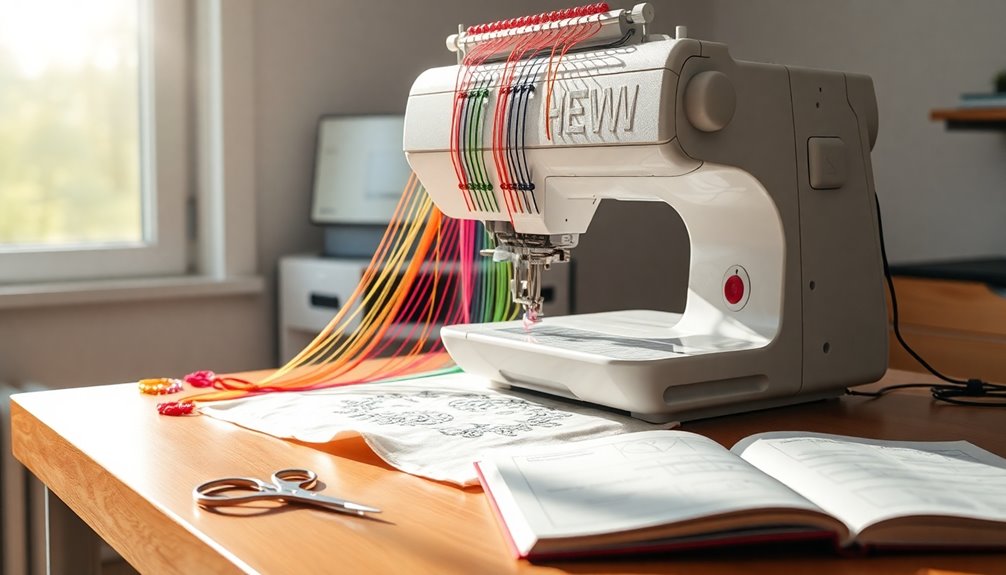
Understanding your embroidery machine is fundamental for achieving stunning results. Each machine has unique functionalities, so reading the manual specific to your model is essential.
Familiarize yourself with the threading process, as proper threading is critical for clean and successful embroidery. Knowing the various hoop sizes available can also expand the range of projects you can undertake, so choose a machine with larger hoop options if possible.
Regular maintenance, like cleaning the bobbin area and changing needles, helps guarantee your machine's longevity and performance.
Finally, learning to use design centering features will assist you in positioning your embroidery designs accurately, enhancing the overall quality of your projects.
With this understanding, you're well on your way to mastering machine embroidery!
Techniques for Perfect Hooping
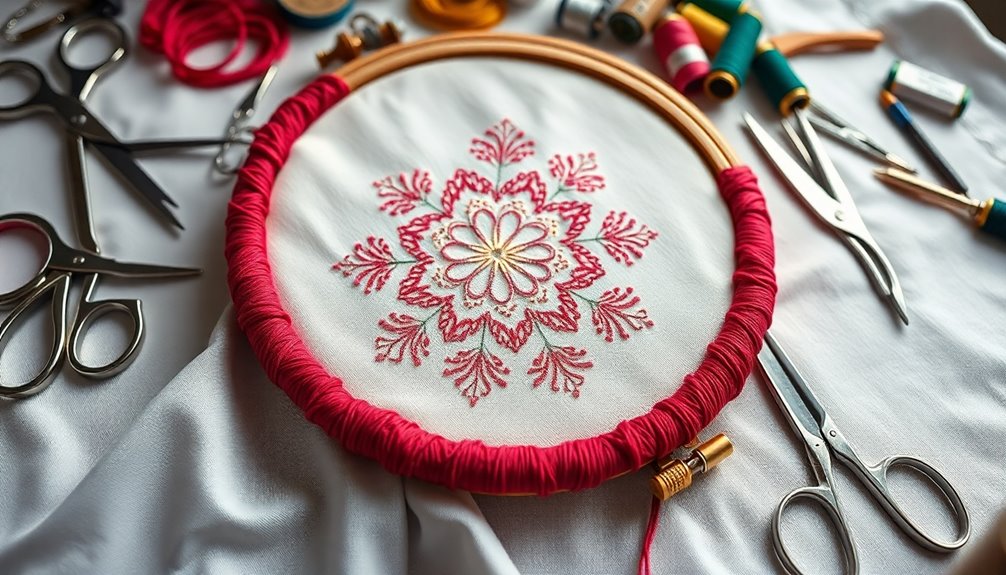
When it comes to perfect hooping, you'll want to master the essentials of stabilizer selection and centering techniques.
Ensuring your stabilizer is larger than the hoop size and marking the center point on your fabric are key steps.
With these tips, you'll set yourself up for precise and successful embroidery every time.
Hooping Essentials Explained
Achieving perfect hooping is essential for successful machine embroidery, as it guarantees your fabric and stabilizer stay securely in place throughout the stitching process.
First, make sure your stabilizer is cut larger than the hoop size to prevent misalignment. Use a stencil or marking tool to center your design within the hoop, giving you a clear reference point.
When you insert the hoop into the machine, utilize the home position function to align the needle with the marked dot on the fabric for precise placement. Don't forget to lower the presser foot before starting the machine; this holds the fabric firmly in place.
Throughout the stitching, monitor for proper alignment and tension to maintain a clean finish. Additionally, understanding key trends in automation can enhance your embroidery efficiency and creativity.
Stabilizer Selection Tips
Selecting the right stabilizer is essential for guaranteeing your embroidery projects turn out flawlessly. For most projects, a tearaway stabilizer is going to help provide excellent support while being easy to remove after stitching.
Always cut the stabilizer larger than the hoop size to guarantee complete coverage and stability during the embroidery process. When hooping, use a stencil to center your design accurately within the hoop, which prevents misalignment.
For floating projects, consider using a temporary adhesive to secure both the stabilizer and fabric, keeping everything in place while you embroider.
Finally, handle your fabric and stabilizer with care during hooping to prevent any shifting, which can lead to distorted designs and stitching errors.
Centering Techniques Simplified
Getting your design centered accurately is key to a successful embroidery project. To do this, go ahead and use a stencil to mark the exact center on both the fabric and the stabilizer before hooping.
Always verify the hoop's oriented correctly in the machine so that the needle aligns with your marked center. After inserting the hoop, utilize the home position function on your machine to confirm that the needle matches the marked dot.
When hooping, cut the stabilizer larger than the hoop size for proper stabilization and to prevent any shifting.
After embroidering, carefully remove the hoop and tear away the stabilizer to keep your design centered and beautifully finished. Trust me, it makes all the difference!
Step-by-Step Project Walkthrough

To successfully complete your machine embroidery project, follow these essential steps to confirm a smooth process from start to finish.
- Prepare your fabric and stabilizer, confirming the stabilizer's larger than your hoop for support.
- Use a stencil to center your design before hooping for precise alignment.
- Insert the hoop into the machine and use the home position function to align the needle with your marked dot.
- Monitor the stitching closely to confirm everything stays aligned throughout the process.
Finishing Touches for a Polished Look
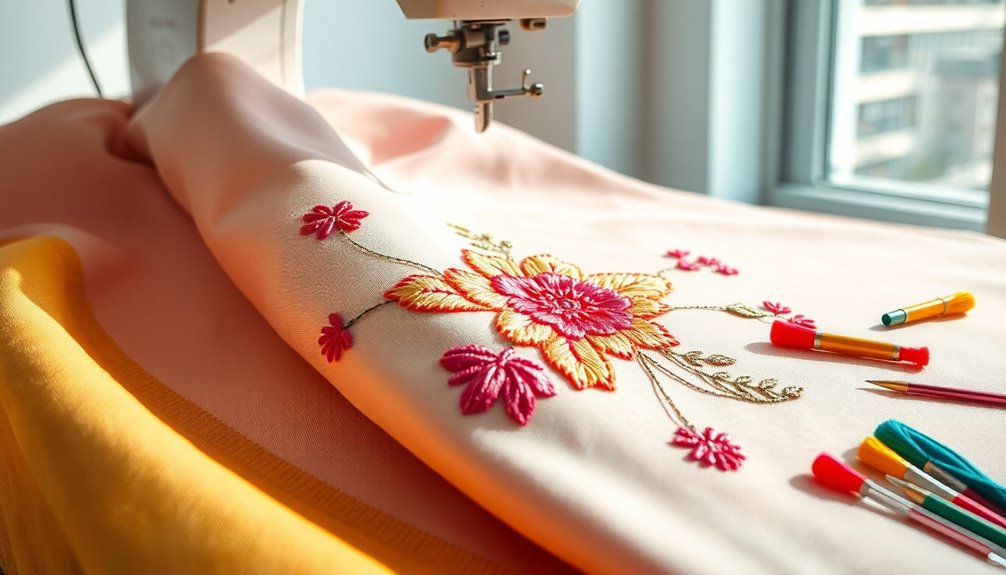
Once you've finished your embroidery, it's important to pay attention to the finishing touches that can elevate your project from good to great.
Start by carefully removing the hoop and tearing away the stabilizer to guarantee a clean finish without damaging your design.
Next, trim any tie-offs and loose threads with sharp scissors for a polished look.
After that, inspect your design for alignment and stitching quality, making adjustments as needed to maintain a neat finish.
Washing the finished item will help eliminate any remaining stabilizer pieces and enhance the overall appearance.
Finally, use a lint roller to remove stray threads or fuzz from the fabric, guaranteeing a crisp presentation of your beautiful embroidery.
Choosing the Right Machine for You

Choosing the right embroidery machine can feel overwhelming, especially with so many options available.
To find the perfect fit, consider what you're actually going to go for in your projects. Here are some key factors to think about:
- A larger hoop size for versatile designs
- Avoiding 4×4 frame models to prevent future upgrades
- Multiple hoop sizes for expanding project capabilities
- Additional software like InBrilliance for resizing and editing
Joining the Embroidery Community
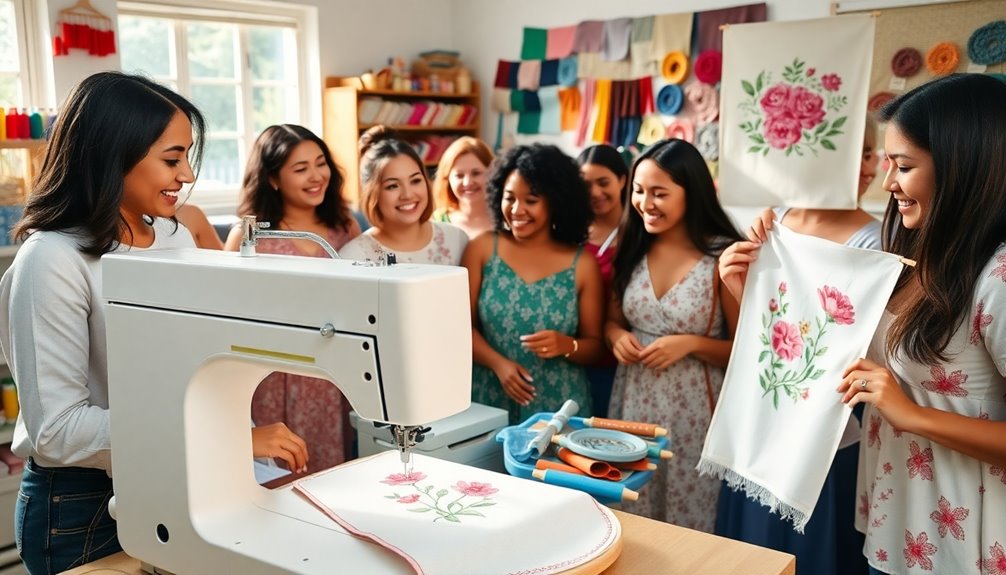
Joining the embroidery community opens up a world of support and inspiration.
Whether you connect through online support groups, find local workshops, or explore social media, you'll discover a wealth of knowledge and creativity.
Engaging with others not only enhances your skills but also fosters friendships that can last a lifetime.
Online Support Groups
Whether you're a seasoned embroiderer or just starting out, online support groups can be an invaluable resource for enhancing your skills and connecting with like-minded individuals.
These vibrant communities, like the Craft Crazy Facebook group, are going to take your embroidery journey to the next level.
You'll find a lot of things to help you grow, including:
- Troubleshooting tips for common machine issues
- Favorite resources like tutorials and design links
- Group challenges that encourage trying new techniques
- Personalized advice from experienced members
Local Workshops Nearby
Have you considered how local workshops can elevate your embroidery skills? Joining these workshops can provide hands-on experience with various embroidery machines, letting you grasp the specific functionalities of your model.
With expert instructors leading the sessions, you'll gain valuable tips and techniques that self-study simply can't match. Many local craft stores and community centers host these workshops, making it easy to find classes nearby and connect with fellow enthusiasts.
They often cover essential topics such as stabilizer selection, hooping techniques, and machine setup, offering a solid foundation for beginners. Plus, participating in local workshops helps you build a network of like-minded individuals, opening doors for collaboration, inspiration, and ongoing community support.
Social Media Inspiration
How can social media elevate your embroidery journey? Joining online communities like the Craft Crazy Facebook group can be a game-changer.
You'll find invaluable support and inspiration from fellow enthusiasts at all skill levels. Platforms like Instagram and Pinterest are treasure troves for discovering machine embroidery projects, techniques, and design ideas.
Here's what you can gain by engaging with social media inspiration:
- Access to diverse techniques and styles
- Participation in challenges that motivate you
- Opportunities to connect with creative individuals
- Tips for troubleshooting and enhancing your skills
These connections are really helpful for accelerating your learning curve.
Frequently Asked Questions
How Hard Is It to Learn Machine Embroidery?
Learning machine embroidery isn't as hard as it seems! By starting with the basics, like hooping and using stabilizers, you'll quickly see improvement in your projects.
Familiarizing yourself with your machine's manual will help you avoid mistakes. Regular practice on scrap fabric builds your confidence, and online communities can offer valuable support and tips.
With dedication and some patience, you'll progress from simple designs to more complex ones in no time!
What Is the Easiest Embroidery to Learn?
Learning embroidery can feel like stepping into a world of color and creativity. The easiest designs to start with are simple shapes and monograms. These allow you to focus on mastering basic techniques without getting overwhelmed.
Use a tearaway stabilizer for support, and practice on cotton or towels to build your confidence. Starting with projects like a makeup towel makes your new skills feel practical and rewarding.
Familiarizing yourself with your machine's manual is key, too!
Why Is Embroidery so Hard?
Embroidery can seem hard because you're juggling various machine functionalities and techniques.
Selecting the right stabilizers, threads, and fabrics for your projects adds to the challenge. Hooping and centering designs correctly is critical, and misalignment can lead to frustrating mistakes.
You also need to master tools like sharp scissors and temporary adhesives. With practice and experimentation, you'll build confidence, but it can feel overwhelming at first.
Don't let that discourage you!
What Is the Best Program to Digitize Embroidery?
When choosing the best program to digitize embroidery, consider your skill level and needs.
For beginners, InBrilliance offers a user-friendly interface perfect for resizing and editing.
If you're more advanced, Wilcom Hatch provides detailed customization features.
Embrilliance Essentials strikes a balance for both beginners and experienced users.
For a budget-friendly option, SewArt lets you convert images into embroidery files with basic editing tools.
Always check compatibility with your machine and available support.
Conclusion
Now that you've got a taste of machine embroidery, you're ready to jump in! Did you know that nearly 80% of embroiderers say they find it incredibly relaxing? By joining this creative community, you'll not only master the techniques but also discover a fun and fulfilling hobby. So gather your supplies, choose a project, and let your imagination run wild. With a little practice, you'll be amazed at what you can create! Happy stitching!
