To make fluffy embroidery in 2025, start by using regular six-stranded embroidery cotton floss—three strands work best for fluffiness. Opt for a #5 needle and plush wool felt in matching colors. Use a stable hoop and apply a water-soluble topping for visibility. Choose bold, chunky designs like satin stitches or appliqué for added texture. Finally, secure all strands well and trim excess materials for a polished look. Keep going to discover more techniques for stunning results!
Key Takeaways
- Use three or more strands of six-stranded embroidery cotton floss for a fluffier appearance in your embroidery designs.
- Select bold and thick designs, like chunky satin stitches, to ensure visibility against the plush fabric.
- Hoop a thin, floppy fabric tightly with a stable hoop to prevent shifting during stitching for clean results.
- Apply a larger piece of water-soluble topping while stitching to keep stitches visible and maintain the design's clarity.
- Finish your project by trimming excess stabilizer and topping carefully for polished edges and enhanced overall appearance.

DMC 117-310 Mouline Stranded Cotton Six Strand Embroidery Floss Thread, Black, 8.7-Yard
- Six-strand divisible thread: Six-strand embroidery floss
- Made in France: French-made quality
- Colorfast and fade resistant: Resistant to fading
As an affiliate, we earn on qualifying purchases.
As an affiliate, we earn on qualifying purchases.
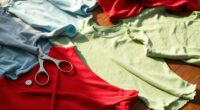
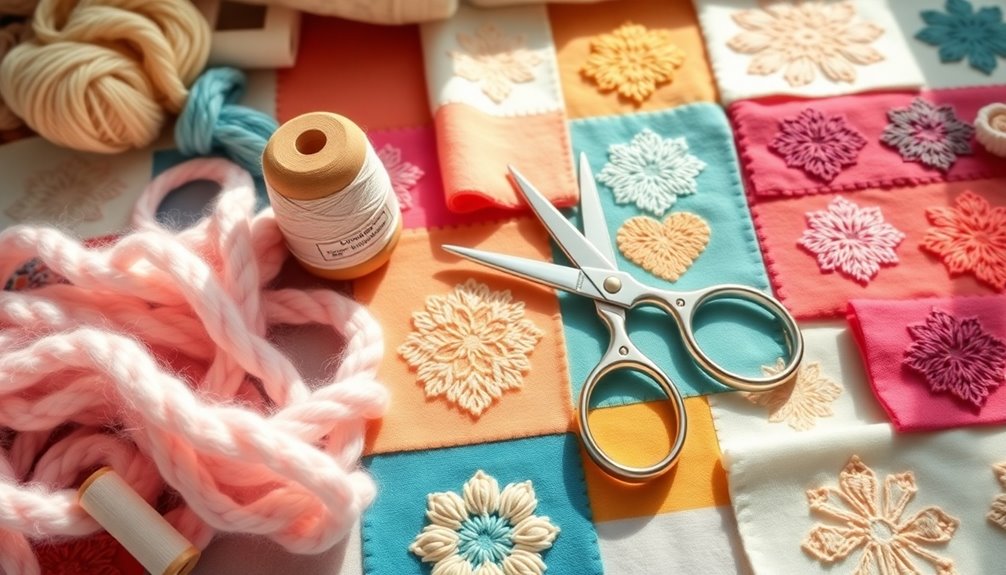
Supplies Needed for Fluffy Embroidery
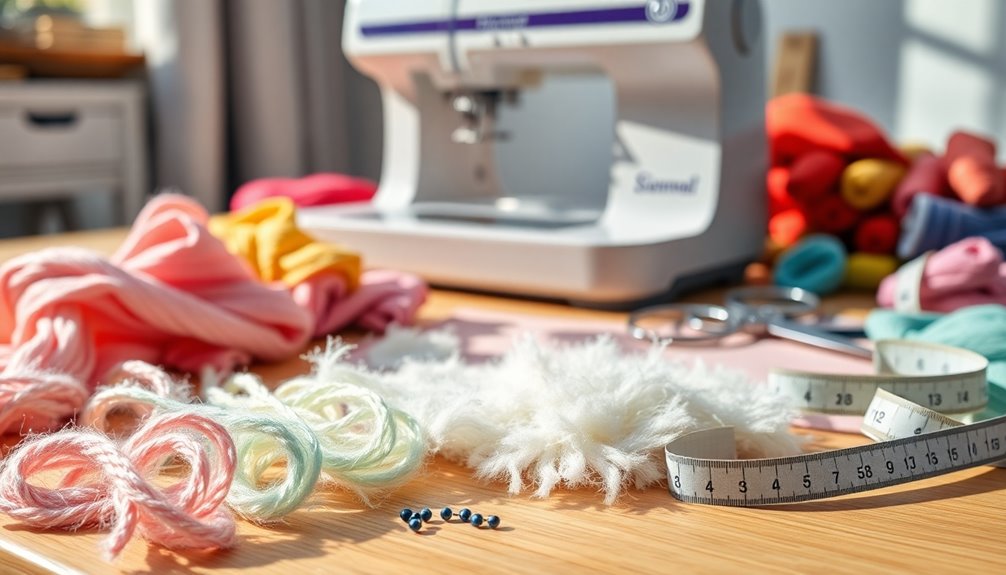
To create fluffy embroidery, you'll need a few essential supplies that make all the difference. Start with regular six-stranded embroidery cotton floss, and use three or more strands for that extra fluffiness.
Don't forget to grab a #5 embroidery needle, which makes it easier to work with all those strands. For effective padding, select wool felt in colors similar to your thread; this adds dimensionality to your design.
Mark your fabric with water-soluble or heat erasable pens for precise stitch placement.
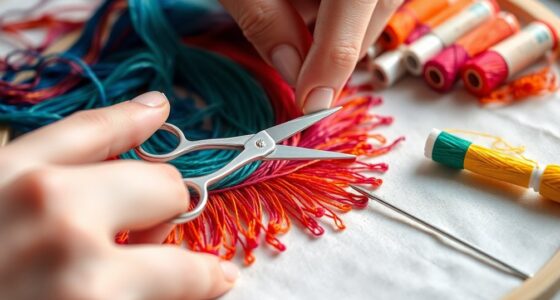
Once you've stitched using these techniques, use fine embroidery scissors or a nap brush to fluff and trim the threads. This final touch will help you achieve the perfect texture and shape for your fluffy embroidery project.
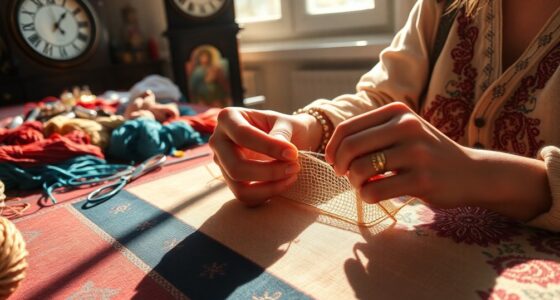
Hooping Techniques for Fluffy Fabric
Hooping fluffy fabric requires a careful approach to ascertain your design turns out beautifully.
Start by choosing a thin, floppy fabric that allows for proper hooping, which helps maintain the integrity of the stitches. Use a stable hoop to support the fabric, preventing it from flopping or shifting during the stitching process.
Make certain the stabilizer is tightly secured while letting the fabric sit naturally to avoid distortion. Position the fabric correctly within the hoop to prevent bunching or misalignment that can affect your final design.
Keep the fabric snug but not stretched; this balance is essential for effective hooping and achieving clean, even stitches on fluffy materials.
With these techniques, you'll guarantee stunning results every time.
Applying Water Soluble Topping
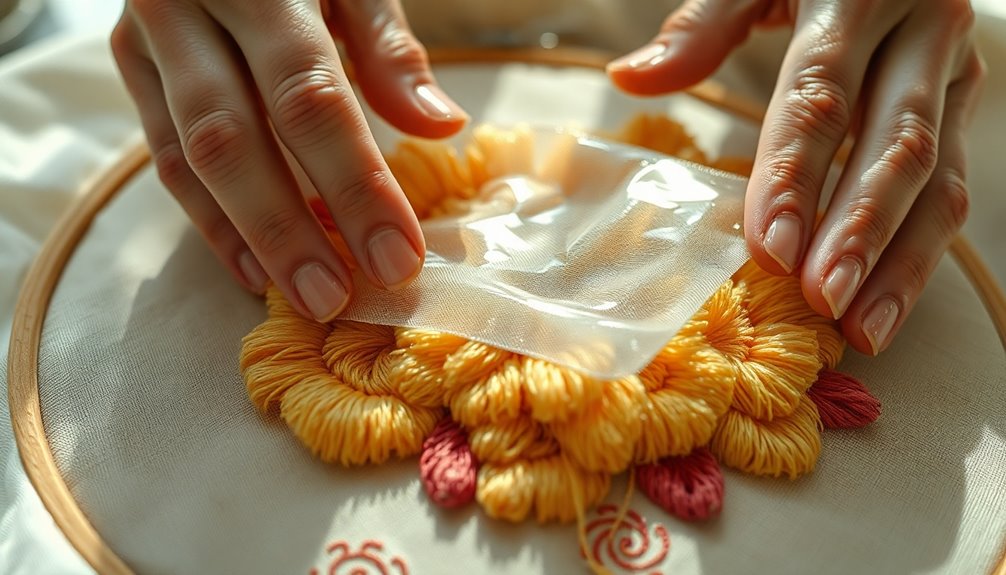
Once you've successfully hooped your fluffy fabric, the next step is applying a water-soluble topping. This topping enhances the visibility of your stitches and stabilizes the design during embroidery.
Here's how to do it effectively:
- Cut the water-soluble topping larger than your design to guarantee complete coverage.
- Hold the topping in place initially until the stitches grip it, preventing any shifting.
- Avoid getting the topping wet before use, as moisture can reduce its effectiveness.
Using a thicker water-soluble topping is ideal for fluffy fabrics, making your stitches stand out beautifully.
Plus, you can add it while stitching without needing to hoop it, giving you flexibility throughout the embroidery process.
Enjoy creating your fluffy masterpiece!
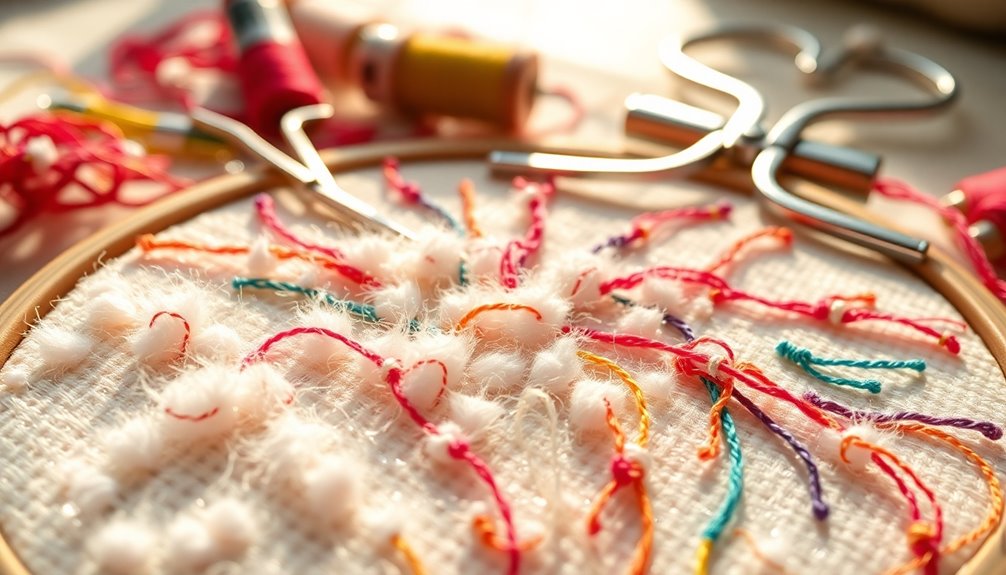
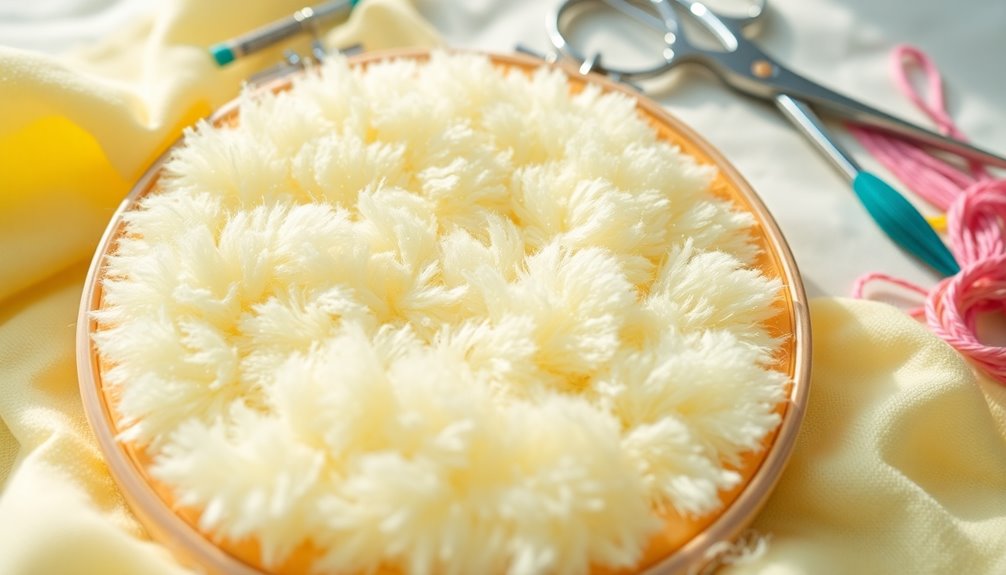
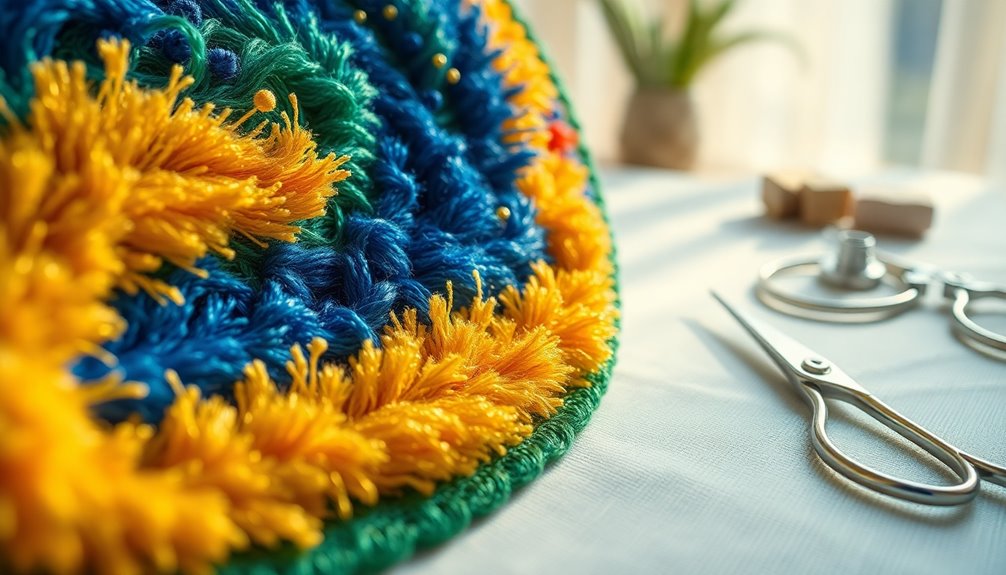
Choosing the Right Design for Fluff
How can you guarantee your embroidery design pops on fluffy fabric? Start by choosing bold, thick patterns that stand out against plush textures. These designs won't get lost in the fluff, ensuring your work remains vibrant and eye-catching.
Chunky satin stitch designs work particularly well, adding a striking visual element that enhances the overall impact. Steer clear of delicate, thin designs; they often lack definition on fluffy fabrics, leading to a muddled appearance.
For names or monograms, opt for thicker fonts to maintain clarity and presence. Don't forget about applique techniques, which can introduce additional texture and visual interest to your design, making it even more appealing on fluffy surfaces.
Finalizing Your Fluffy Embroidery Project
As you wrap up your fluffy embroidery project, it's essential to guarantee everything looks polished and professional.
Start by ensuring you used a thick stabilizer throughout the stitching process to maintain your design's shape. Additionally, a water-soluble topping helps keep your stitches visible amidst the fluff.
Here are some final steps to reflect on:
- Trim any excess stabilizer and topping carefully for refined edges.
- Opt for bold designs, using chunky satin stitches or appliqué techniques to elevate your work.
- Check that all strands of floss are secured, enhancing the overall appearance.
Frequently Asked Questions
How to Make Puffy Embroidery?
To make puffy embroidery, start with the Turkey Work technique, which involves creating long loops of thread secured with locking stitches.
Use three or more strands of embroidery cotton for a fuller look, and consider variegated floss for added texture.
Place felt padding beneath your work to enhance dimension.
After filling the area, fluff the threads with a nap brush or fine comb, then trim the loops to achieve your desired shape and length.
What Is Fluffy Embroidery Called?
Fluffy embroidery is often called Turkey Work or Ghiordes Knot.
When you create this textured effect, you're using long loops of thread secured by locking stitches, which gives your work a delightful three-dimensional appearance.
This technique adds depth and character to your designs, making it perfect for embellishing stuffed animals or floral motifs.
You might also encounter it referred to in relation to Bunka embroidery or needle punch, both of which achieve a plush finish.
What Is the Easiest Embroidery Technique?
When you think of intricate designs, the running stitch might seem too simple, yet it's actually the easiest embroidery technique for beginners.
You'll find that this straightforward method, with its evenly spaced stitches, is perfect for outlines and basic patterns.
In contrast, techniques like backstitch or chain stitch add complexity but are still beginner-friendly.
Can a 7 Year Old Do Embroidery?
Absolutely, a 7-year-old can do embroidery!
You'll want to start with simple, age-appropriate projects that keep them engaged. Use larger needles and thicker threads for easier handling. Introduce basic stitches like the running stitch or backstitch to build their confidence.
Supervise them to guarantee safety and teach proper techniques. With fun kits designed for kids, they'll find learning embroidery enjoyable and rewarding!
It's a great way to spark creativity!
Conclusion
In 2025, you’ll find that incorporating fluffy embroidery into your projects is easier than ever! Did you know that 60% of crafters say they prefer working with textured fabrics because they add depth and dimension to their creations? By following the steps outlined earlier, you can create stunning, fluffy designs that pop. So, gather your supplies, experiment with different techniques, and watch your embroidery skills flourish. You’re just a few stitches away from your next masterpiece! As you dive into the world of fluffy embroidery, don’t be afraid to explore various color palettes and patterns to make your designs truly unique. Whether you’re embellishing clothing or creating eye-catching home decor, the possibilities are endless. So, take the plunge and transform your embroidery skills today; the journey to creating beautiful, textured art is waiting for you!