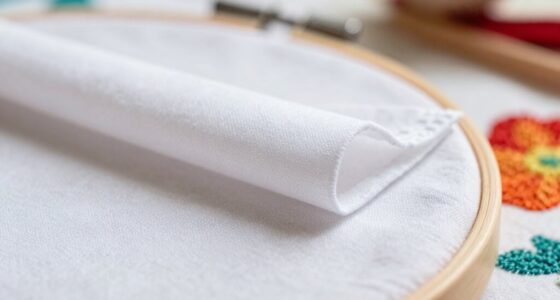

To line up split embroidery designs, start by creating your full design and ensuring it fits your hoop. Use your software's splitting feature, aiming for natural breaks. Add alignment lines at the center of each section and monitor their placement as you stitch. For precision, hoop each section securely and double-check your alignment before stitching the second half. With the right techniques in place, you can achieve flawless results, and there's even more to master ahead!
Key Takeaways
- Utilize natural gaps in the design for optimal split locations, ensuring ease of alignment during stitching.
- Incorporate alignment lines and positioning crosses in your design to enhance precision during the stitching process.
- Hoop the first section of fabric tightly and monitor alignment line placement as you stitch.
- Rehoop the second section using flathead thumbtacks for secure alignment and double-check grid alignment before stitching.
- Review both stitched sections post-completion to ensure seamless integration and accuracy of the overall design.

Sew Tech Embroidery Hoops for Brother PE900 PE800 SE2000 SE2100DI SE1900 PE770 780D PE750 750D PE700 700II NS1250E NS1150E NS2750D NS2850D Brother Innovis 1250 700 Babylock Embroidery Machine Hoop
This hoop set is compatible with Brother SE1900 SE2000 SE2100DI PE900 PE800 NS1250E NS1150E NS2750D NS2850D PE770 PE780D…
As an affiliate, we earn on qualifying purchases.
As an affiliate, we earn on qualifying purchases.
Preparing Your Design for Splitting
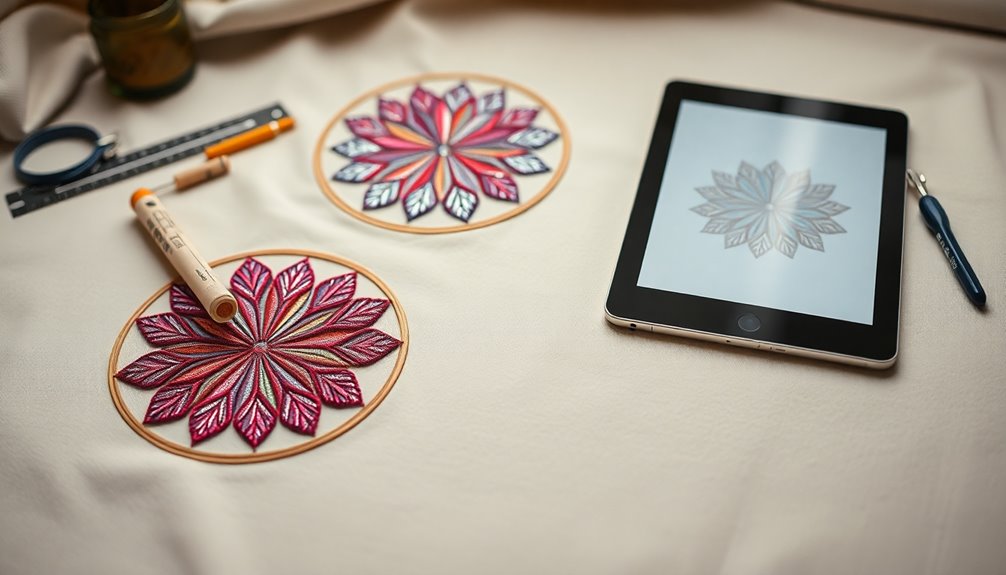
When you're ready to prepare your design for splitting, start by creating your full embroidery design at the desired finished size. Confirm all elements are properly aligned and fit within your selected hoop size.
Utilize your embroidery software's splitting features to find the best locations for your split design, aiming for natural gaps that'll make alignment easier during stitching. Adjust your thread list to reflect the split sections, and consider using different colors for each part to simplify the stitching steps.
Incorporate alignment lines by adding positioning crosses at the top and bottom of the split design. Save the split design as two separate stitch files, and print paper templates to verify stitching placement before proceeding.

Embrilliance Enthusiast Embroidery Software for Mac & PC
Automatic Knockdown Stitches let any embroidery design run on toweling, faux fur, fleece, sherpa, and heavy knits.
As an affiliate, we earn on qualifying purchases.
As an affiliate, we earn on qualifying purchases.
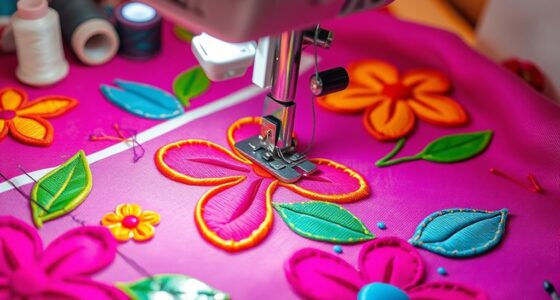
Techniques for Splitting the Design

Splitting your embroidery design effectively involves strategic planning and some handy techniques to guarantee a smooth stitching process. One key aspect is to carefully determine where to divide your design so that each section aligns perfectly when stitched together. Understanding how to transfer embroidery patterns onto your fabric is also essential, as it allows for accurate placement and ensures that each part seamlessly connects. Additionally, using appropriate stabilizers can make a significant difference in maintaining the integrity of your design throughout the embroidery process.
When you split your design, aim for natural gaps or breaks in the artwork. This makes alignment during stitching easier. Use the auto-split tool in your embroidery software to divide the design based on color changes or set parameters.
Ascertain each split part fits within your chosen hoop size to prevent errors. After splitting, adjust your thread list to reflect the new color sequences for each section.
Finally, incorporate alignment lines or positioning crosses in your split design to help with precise alignment of the two halves during stitching. These techniques will result in a seamless embroidery experience.

Vowlove Tshirt Ruler Guide for Vinyl Alignment, T Shirt Ruler to Center Designs Alignment Tool for Embroidery Left Chest Logo Placement Tee Shirt Guide Ruler for Heat Press T-Shirt Printing Guide Set
Game Changer For Shirt Making: Make placing your HTV and sublimation easier & more consistent. Simply line it…
As an affiliate, we earn on qualifying purchases.
As an affiliate, we earn on qualifying purchases.
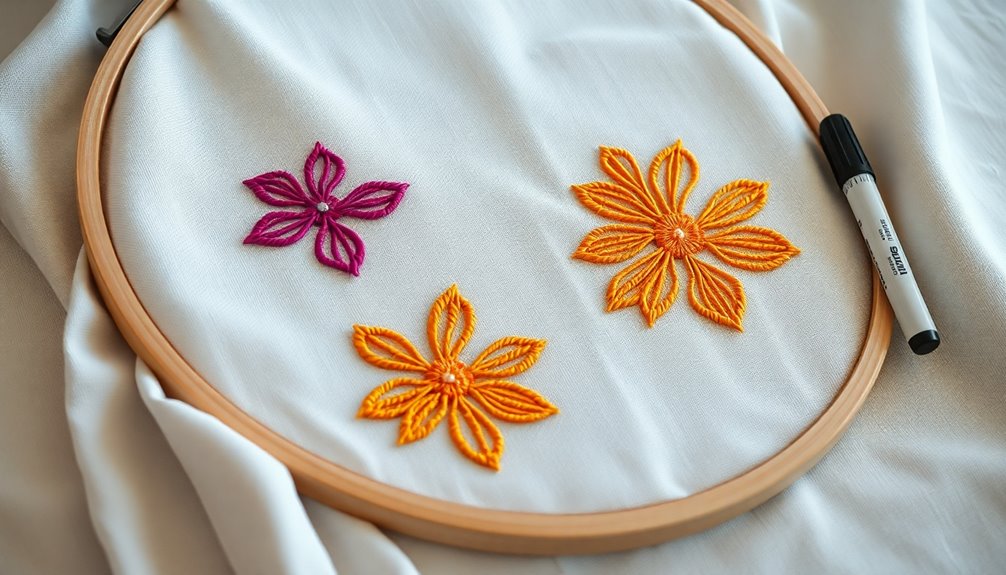
Utilizing Alignment Lines for Precision

When you use alignment lines, you're setting yourself up for a precise embroidery experience.
Placing these lines at the center points of each split section guarantees everything lines up perfectly.
It's vital to keep the alignment lines visible during the setup and remove them afterward for a polished final look.
Importance of Alignment Lines
To achieve a professional finish in split embroidery designs, utilizing alignment lines is essential for precision.
These lines guarantee that your split embroidery aligns perfectly during stitching, preventing any misalignment that could ruin your project. Properly placed alignment lines help you center split sections accurately, making it easier to match up designs when you rehoop.
Adding basting boxes around these lines can minimize fabric shifting, maintaining stability throughout the stitching process. By combining alignment lines with positioning crosses, you enhance overall design stability, assuring every stitch is placed accurately.
The strategic use of alignment lines greatly reduces the chances of errors, making them an indispensable tool for achieving high-quality embroidery results.
Placement Techniques for Accuracy
Achieving accurate placement in split embroidery designs hinges on effective use of alignment lines. Start by adding these lines to your design, ensuring each split section is perfectly centered before you begin stitching.
Position alignment lines at the edges of your split designs to create clear reference points for aligning both halves during and after embroidery. Utilize basting boxes around the split sections to prevent fabric shifting, which can lead to misalignment.
Verify your placement using the grid feature in your embroidery software, checking both horizontal and vertical alignments. After stitching the first half, rehoop the fabric and use the alignment lines again to guide the placement of the second half, ensuring seamless integration of your split designs.

H.B.I. Wash Away Water Soluble Stabilizer for Embroidery Roll, Stabilizer for Embroidery Machines, 12" x 25 Yards, 1.5 oz, Backing for Machine & Hand Embroidery.
LEAN WASH-AWAY SUPPORT Water-soluble stabilizers for embroidery dissolve completely after use. An ideal wash-away stabilizer for embroidery to…
As an affiliate, we earn on qualifying purchases.
As an affiliate, we earn on qualifying purchases.
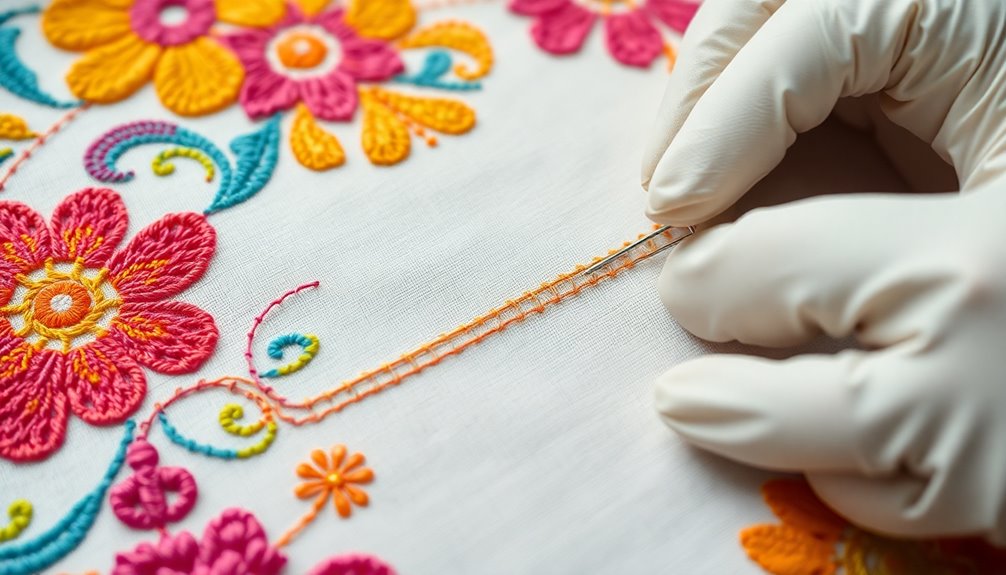
Stitching the First Half of the Design

Start by hooping the left side of your fabric, guaranteeing it's taut and aligned properly within the hoop to prevent any shifting during stitching.
Next, load the first half of the split embroidery design onto your machine, making sure to include the necessary alignment lines for precise positioning.
As you stitch, keep a close eye on the machine to confirm that the alignment line is correctly placed on the stabilizer.
Remember to:
- Insert an adhesive stabilizer for easier removal later.
- Avoid removing any stabilizer until stitching is complete.
- Regularly check for any fabric shifting.
- Maintain the fabric's alignment throughout the process.
Following these steps will help guarantee a clean and accurate first half of your design!
Aligning and Stitching the Second Half
Once you've completed the first half of your split embroidery design, it's time to align and stitch the second half.
Start by loading the second design file and stitching the alignment line onto the stabilizer. Place your fabric back in the hoop, using flathead thumbtacks to secure it in place, ensuring it aligns perfectly with the previous stitched line.
Before you proceed, double-check the horizontal and vertical alignment against the grid on your embroidery software. Once everything looks good, carefully remove the thumbtacks to avoid disturbing the fabric.
Now, you can continue with the stitching process. After finishing the second half, review both parts to confirm they fit seamlessly, making note of any adjustments for future designs.
Tips for Successful Multi-Hooping
How can you guarantee flawless alignment when multi-hooping your embroidery designs? Follow these tips for successful multi-hooping:
- Repeat Software Steps: Confirm consistent alignment and stitching order by repeating software steps for each additional design.
- Stitch Alignment Lines Last: Always stitch the alignment lines on the fabric last but first on the stabilizer for clear guidelines.
- Use Flathead Thumbtacks: Secure your fabric with flathead thumbtacks while aligning it with the stabilizer to enhance precision.
- Remove Thumbtacks Before Stitching: Always remove thumbtacks before returning the hoop to the machine to avoid any damage or interference.
Practice your rehooping technique to boost your skills and confidence in achieving perfect alignment for your multi-hooping projects.
Frequently Asked Questions
How Do You Line up Split Embroidery Designs?
To line up split embroidery designs, start by adding positioning crosses at the top and bottom of each split section.
After stitching the first part, use these crosses to accurately guide the placement of the second part.
Utilize your embroidery software's grid feature to confirm horizontal and vertical alignment.
Before adjusting your fabric, make sure to stitch the alignment lines into the stabilizer first, ensuring everything fits perfectly before proceeding.
Why Are My Embroidery Designs Not Aligning?
Your embroidery designs aren't aligning because fabric shifts like a dance gone wrong!
If your hooping's off, it's like trying to fit a square peg in a round hole. Misplaced alignment lines can throw everything off-kilter, creating chaos in your masterpiece.
And don't even get me started on stabilizers; the wrong type can warp your fabric like a pretzel!
Always check that grid alignment in your software first, or you're just asking for trouble!
How to Do the Split Stitch in Embroidery?
To do the split stitch in embroidery, start by bringing your needle up through the fabric.
Then, insert the needle back down a short distance ahead. Pull it back up through the center of your last stitch, creating a smooth, textured line.
Keep your tension consistent to avoid puckering. You can use various threads like cotton or silk for different finishes, making your design more dynamic and visually appealing.
How to Line up Machine Embroidery?
To line up machine embroidery, start by hooping your fabric securely.
Make sure to stitch alignment lines first; they'll guide you later. Use flathead thumbtacks to hold your fabric in place while checking its alignment with the stabilizer.
Don't forget to verify horizontal and vertical alignment on your embroidery software.
Finally, incorporate positioning crosses to enhance accuracy, and keep the stabilizer intact until you finish stitching the second design for best results.
Conclusion
By following these steps, you'll transform your embroidery experience, turning what could be a frustrating task into an artistic adventure. Picture your design coming to life in perfect alignment, each stitch weaving together like a tapestry of creativity. With practice, you'll master the art of multi-hooping, crafting stunning pieces that showcase your skill and vision. So, grab your materials, trust the process, and let your imagination guide you—your masterpiece is just a few stitches away!