To finish the back of your embroidery hoop with the clean edge method, start by choosing high-quality, tightly woven fabric and strong, smooth threads for a neat look. Carefully apply a matching tape along the hoop’s edge, pressing firmly to eliminate air bubbles. Stitch securely along the tape’s edge, trimming any excess fabric or tape for smooth, professional borders. Keeping consistent tension and proper technique guarantees a flawless finish—if you want detailed steps, keep going.
Key Takeaways
- Use high-quality, tightly woven fabric and secure it tightly in the hoop to prevent shifting and puckering.
- Apply clean edge tape carefully along the hoop’s inner edge, smoothing out air bubbles for a neat finish.
- Stitch along the tape’s edge with matching, durable thread, maintaining even tension for a secure, tidy back.
- Trim excess fabric and tape neatly, folding edges for a smooth, professional-looking backside.
- Ensure consistent fabric tension and proper hoop setup during finishing to achieve a flawless, polished back.
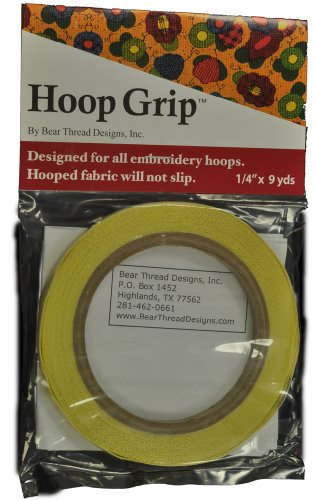
Bear Thread Hoop Grip Strip for Embroidery – 1/4in x 9yds, Non-Slip Fabric Grip Tape for Hoops, Prevents Fabric Slipping – Adhesive, Easy to Apply & Remove, Fits Most Embroidery Hoops
Non-Slip Hoop Grip Strip for Embroidery: Adhesive fabric grip tape designed to prevent slipping and improve tension for…
As an affiliate, we earn on qualifying purchases.
As an affiliate, we earn on qualifying purchases.
How to Finish Your Embroidery Hoop With a Clean Edge
To achieve a polished and professional look, finishing your embroidery hoop with a clean edge is essential. Start by choosing the right thread selection; opt for sturdy, high-quality threads that match your fabric’s durability. Stronger threads prevent fraying and ensure your edges stay neat over time. When securing the fabric to the hoop, pull the thread tightly but evenly, avoiding slack or puckers. Use a backstitch or a similar secure stitch to anchor the fabric firmly in place. Be mindful of the tension, as too tight can distort the fabric, and too loose can cause edges to unravel. Proper tension management is a fundamental kitchen fundamental that also applies to embroidery work. Additionally, practicing consistent tension during stitching helps maintain a clean edge and prevents puckering. Ensuring your fabric is correctly positioned in the hoop before stitching is another crucial step for achieving a professional finish. Maintaining consistent tension during stitching is also vital for preventing distortion and achieving a smooth, even appearance. Paying attention to embroidery techniques can further enhance your ability to produce a crisp, polished edge, ensuring your finished piece looks refined and well-crafted. Finishing with careful stitching preserves the clean edge, giving your embroidery a tidy, professional appearance that lasts.

Ordeonrus 1 Pcs Laying Tool for Needlepoint Wooden Laying Tool Embroidery Aid Multipurpose Precision Thread Guide Sewing Guide for Beginners Professionals
【Premium Handcrafted】This laying tool for needlepoint is expertly crafted from solid, splinter-free wood, offering a smooth, natural texture…
As an affiliate, we earn on qualifying purchases.
As an affiliate, we earn on qualifying purchases.
Picking the Best Materials for a Flawless Finish
Choosing the right materials is key to achieving a flawless finish on your embroidery hoop. You need quality thread choices, durable fabrics, and a good sense of color coordination to make your project stand out. Let’s explore how selecting these elements carefully can elevate your work. Additionally, understanding the importance of free floating techniques can help ensure your embroidery remains smooth and well-aligned without unnecessary tension. Using proper ventilation during your work can also improve comfort and prevent fabric damage over time.
Quality Thread Choices
Selecting the right thread is essential for achieving a smooth, professional embroidery finish. Your choice of thread impacts both the appearance and the durability of your work. Look for high-quality thread that matches your fabric’s durability; weaker threads can break or fray over time, compromising the finish. Opt for threads that are smooth and even, avoiding those with uneven thickness or loose fibers. Polyester or rayon threads are popular for their strength and sheen, but make sure they suit your fabric type. Using the proper thread guarantees your stitches stay secure and your edges remain neat. Remember, the right thread choice not only enhances the visual appeal but also helps your embroidery withstand regular use without deterioration. Additionally, selecting quality thread can improve the overall durability of your embroidery project. Choosing the right thread also involves considering thread sheen, as it can affect how light reflects off your stitches and contributes to the overall look. Furthermore, paying attention to fiber composition ensures that your thread performs well under different conditions and maintains its integrity over time.
Selecting Durable Fabrics
Using durable fabrics is essential for achieving a professional, long-lasting embroidery finish. When selecting textiles, prioritize fabric durability to guarantee the backing remains intact over time. Strong, tightly woven fabrics like linen, cotton canvas, or heavy-weight muslin provide excellent support and resist fraying or stretching. Your textile selection should match the embroidery’s purpose and surface, offering stability without adding bulk. Avoid lightweight or flimsy materials that can shift or warp, compromising the clean edge finish. Check the fabric’s quality and weave before stitching, ensuring it can withstand handling and laundering. Additionally, incorporating modern sewing techniques can help reinforce the edges and improve overall durability. By choosing the right fabric, you set a solid foundation for a flawless finish, making your embroidery more durable, attractive, and professional-looking.
Color Coordination Tips
To achieve a seamless and professional embroidery finish, paying attention to color coordination is crucial. Focus on color harmony by selecting threads and fabrics that complement each other, creating a cohesive look. Shade matching plays a significant role; choose thread colors that match or subtly contrast with your fabric to enhance the overall design. Consider the mood or theme you’re aiming for—soft pastels for a gentle feel or bold hues for a striking statement. Keep in mind that subtle variations in shade can add depth, so test different options before finalizing. By carefully matching colors and maintaining harmony, you’ll ensure your embroidery project looks polished and intentional from back to front. This attention to detail elevates your craftsmanship and results in a flawless finish.
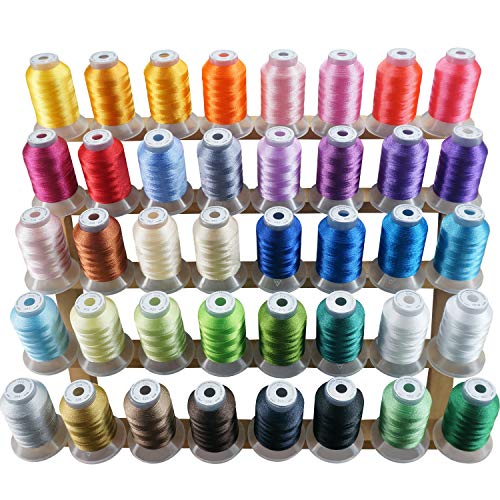
New brothread 40 Colors Compatible with Brother Polyester Embroidery Machine Thread Kit 500M (550Y) Each Spool Compatible with Brother Babylock Janome Singer Pfaff Bernina Embroidery & Sewing Machine
★ 40 SPOOLS PER KIT + COLOR CHART – 40 spools great assorted bright and beautiful colors Polyester…
As an affiliate, we earn on qualifying purchases.
As an affiliate, we earn on qualifying purchases.
Step-by-Step Guide to Applying the Clean Edge Method

To achieve a clean finish, you’ll start by preparing the hoop edge carefully, ensuring it’s smooth and free of debris. Next, you’ll apply the clean edge tape precisely along the prepared area, avoiding bubbles or wrinkles. To ensure durability, it’s important to adhere the tape firmly and smooth out any air pockets or creases before securing it in place. Proper surface preparation helps prevent issues like tape lifting or peeling, ensuring a longer-lasting finish. Incorporating techniques from auditory feedback therapy, such as consistent reinforcement and careful attention to detail, can also enhance the overall application process. Additionally, paying close attention to proper surface compatibility can make a significant difference in the quality of the finish. Being mindful of wood movement and environmental factors can help maintain the integrity of the application over time. Finally, you’ll finish by securing the tape and any extra material to keep everything in place.
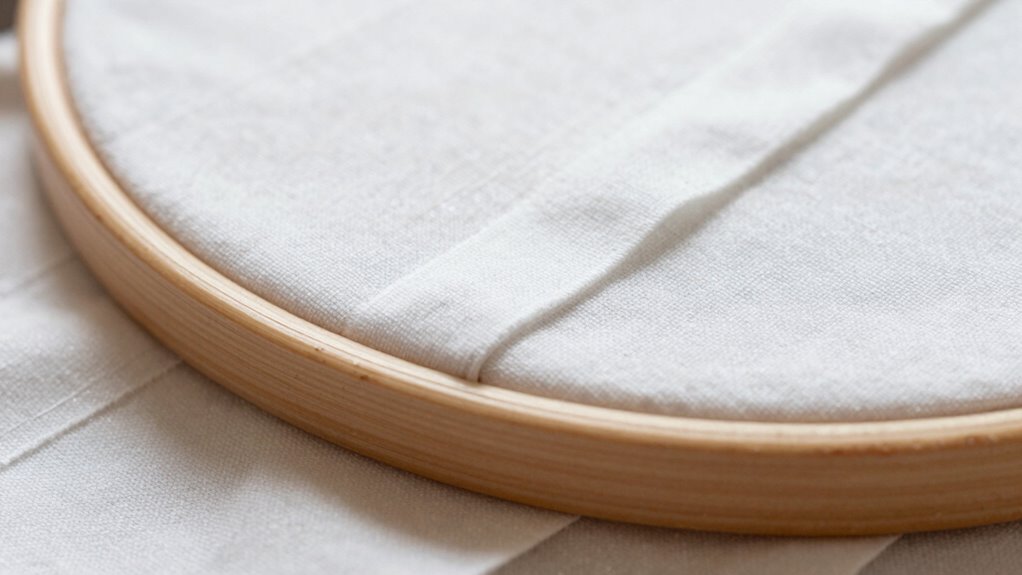
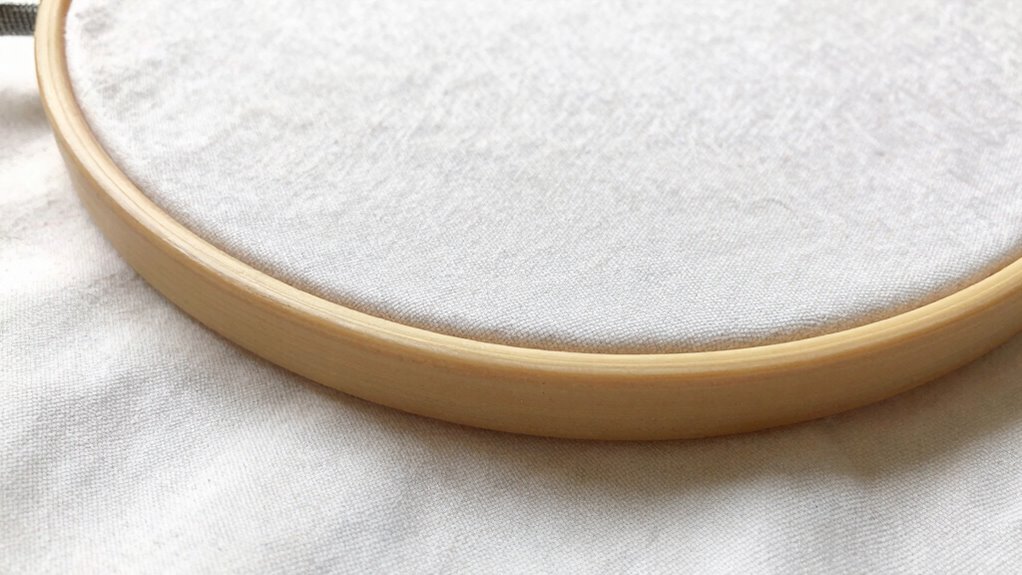
Preparing the Hoop Edge
Before you begin applying the Clean Edge Method, it’s important to prepare the hoop edge properly. Start by checking the hoop tension, ensuring it’s snug but not overly tight, which helps maintain fabric tension and prevents slipping. Gently lift the fabric away from the hoop’s edge to inspect for any uneven folds or wrinkles. Smooth out the fabric, pulling it taut to create uniform tension across the hoop. This ensures a clean, even surface for the tape application. If the fabric is loose or wrinkled, re-adjust the tension by tightening the hoop slightly. Proper preparation of the hoop edge guarantees a smooth finish, making it easier to apply the tape seamlessly and achieve a professional look. Additionally, understanding the importance of proper tension can help you avoid common issues and ensure your project turns out perfectly. Maintaining consistent alignment during setup further contributes to a polished final product. Ensuring the fabric is free of irritants or debris can also prevent complications during the finishing process. Incorporating connected technology tools, such as tension gauges or alignment apps, can assist in achieving optimal setup conditions.
Applying the Clean Edge Tape
Once you’ve prepared the hoop edge, it’s time to apply the clean edge tape. Start by selecting a fabric that complements your embroidery, ensuring it’s smooth and free of wrinkles. When choosing the tape, opt for a color that matches your fabric or embroidery thread for a seamless look. Carefully peel the backing from the tape, then align it along the edge of the hoop, making sure it extends evenly on both sides. Press down firmly as you go, smoothing out any air bubbles or wrinkles. Using your fingers or a tool, work from the center outward to secure the tape in place. Proper fabric selection and color matching make the finished edge look neat and professional, setting the stage for the final finishing steps. Paying attention to art care and proper finishing techniques helps preserve and showcase your embroidery work effectively. Ensuring the tape adheres well can also help prevent air bubbles and wrinkles from forming during the process. Additionally, choosing the right adhesive quality ensures a durable, clean finish over time. To achieve the best results, it’s helpful to understand the science behind adhesives, which guides the selection of tapes that stick well without damaging the fabric. Knowing how different adhesives interact with various fabrics can further improve your finishing techniques and overall project durability.
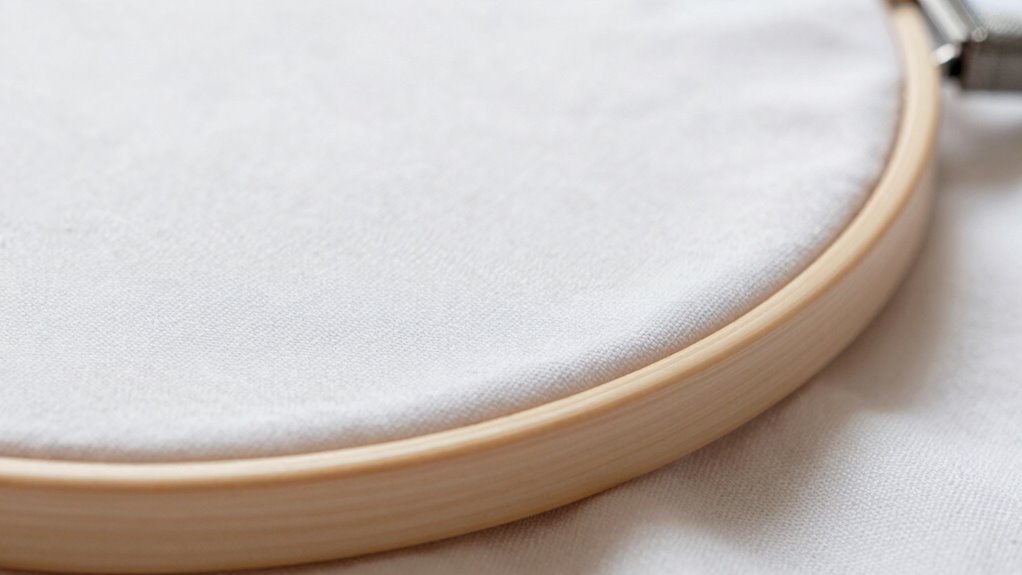
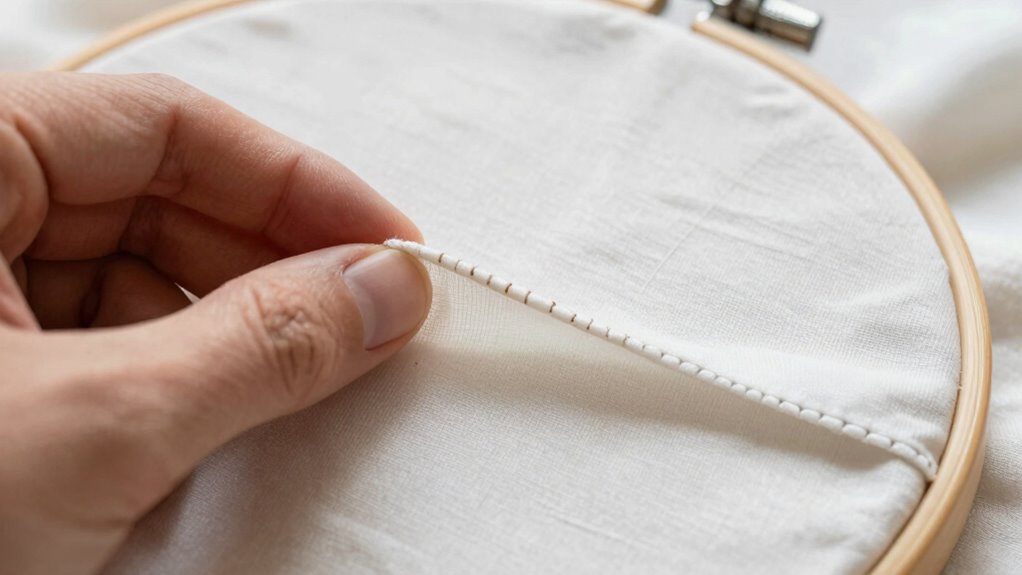
Finishing and Securing
With the tape in place, it’s time to secure it firmly and finish the edges for a polished look. Choose a thread that matches your fabric’s color and has enough strength to hold the edges securely. Carefully stitch along the tape’s edge, ensuring the fabric stays stable and flat underneath. Keep your stitches even and tight, avoiding puckering or gaps. If necessary, use a sewing machine for a cleaner finish, but hand-stitching can also work well. Once you’ve secured the tape with a few stitches, gently trim any excess fabric or tape for a smooth, professional edge. This step guarantees your embroidery back remains neat, durable, and ready for framing or display.

FIVEIZERO Seam Rippers for Sewing – 2 Big and 2 Small Stitch Remover Tools, Thread Ripper, Embroidery Removal Tool, with Needle Threaders, Thimbles, Tape Measure, Tailors Awl and Thread Snips
Complete Accessories Set – The FIVEIZERO kit includes two large and two small seam rippers, six plastic needle…
As an affiliate, we earn on qualifying purchases.
As an affiliate, we earn on qualifying purchases.
Avoid These Common Mistakes When Finishing Your Hoop

Finishing your embroidery hoop might seem straightforward, but many crafters make simple mistakes that can compromise the final look. One common error is neglecting proper sewing machine maintenance, which can lead to uneven stitches or skipped threads that affect the edge finish. Additionally, choosing the wrong embroidery hoop selection can cause uneven tension or difficulty securing the fabric properly. Rushing the process or skipping careful trimming can result in uneven or bulky edges, detracting from a professional finish. To avoid these mistakes, guarantee your sewing machine is well-maintained and threaded correctly before starting. Select the right hoop size and type for your project, and take your time to secure your fabric neatly. Attention to these details guarantees a cleaner, more polished result.
Troubleshooting Tips for a Neat, Professional Back
Achieving a neat, professional back on your embroidery project requires attention to detail and proper techniques. If your back looks messy, check your thread tension—loose or uneven tension can cause puckering and uneven stitches. Adjust your machine’s tension settings or rethread to guarantee smooth, consistent stitches. Also, consider your fabric choice; lightweight or slippery fabrics can be tricky to manage and may lead to gaps or uneven edges. Use stabilizers if necessary to keep the fabric taut and secure during stitching. When finishing, make sure you trim excess fabric neatly and fold edges precisely to avoid bulk or visible stitches. These small adjustments help create a cleaner, more professional back, elevating your overall embroidery quality.
Easy Variations of the Clean Edge Technique for Different Projects
Adapting the clean edge technique to various projects can make your embroidery look more polished and tailored to different fabric types and design complexities. You can modify the method to suit lightweight linens or thick denim, achieving neat, professional results. For delicate fabrics, use finer stitches or double-fold edges for added security. When adding decorative accents, incorporate subtle trims or metallic threads along the edge to enhance visual interest. Visualize these variations:
Customize your embroidery with versatile edging techniques for a polished, professional finish.
- Using a narrow hem for soft, flowing fabrics
- Applying a topstitch for a crisp finish on sturdy materials
- Embellishing with decorative stitches for intricate designs
- Combining contrasting thread for a bold, modern look
These embroidery techniques elevate your project’s overall appearance, making each piece uniquely refined and visually appealing.
Final Tips for Maintaining a Perfect Finish Every Time

To guarantee your embroidery projects look polished every time, paying attention to final finishing touches is key. Use proper embroidery techniques to neatly secure loose threads and ensure even tension around the edges. When applying finishing tips, take your time to press your work carefully; a gentle iron helps set stitches and smooth the fabric. Always check for stray threads or uneven seams before finalizing. Keep your workspace clean to avoid dust or debris from marring your clean edge finish. Consistent tension and precise stitching are essential for a flawless look. By following these finishing tips, you’ll maintain a professional appearance and ensure each project remains durable. Remember, the effort you put into these details elevates your embroidery from good to exceptional.
Frequently Asked Questions
Can the Clean Edge Method Be Used on All Types of Embroidery Hoops?
Yes, you can utilize the clean edge method on most embroidery hoops, but it depends on the hoop material and project size. For plastic or wooden hoops, it works well, especially with smaller projects. However, larger hoops or those made from flexible materials might need different finishing techniques. Always consider the hoop’s durability and your project’s dimensions to guarantee a smooth, professional finish.
How Do I Choose the Right Thread Color for a Seamless Finish?
Ever wonder how to choose the right thread color for a seamless finish? You should focus on color matching your thread to your fabric or embroidery design. Consider the overall look you want—blend for subtlety or contrast for emphasis. When selecting thread, think about your project’s color palette and use thread selection to enhance or subtly complement your work. This guarantees a polished, professional appearance every time.
Is the Clean Edge Technique Suitable for Large or Complex Embroidery Projects?
Yes, the clean edge technique works well for large or complex embroidery projects. You should use scaling techniques to guarantee your design fits within the hoop size considerations, preventing bunching or uneven edges. When working on bigger projects, choose a larger hoop and carefully align your fabric to maintain a neat finish. This method keeps your project looking professional, even with intricate or extensive embroidery.
What Tools Are Essential for Achieving the Perfect Clean Edge?
You’ll need sharp scissors to neatly trim excess fabric and a seam roller to smooth out edges for a flawless finish. These tools help you achieve a professional look, even on intricate designs. Sharp scissors ensure clean cuts without fraying, while the seam roller presses down seams for a smooth, polished edge. Together, they make finishing your embroidery back effortless, giving your project a tidy, professional appearance.
How Long Does the Finished Project Typically Last Without Fraying?
Your finished project typically lasts several years without fraying if you’ve used the clean edge method properly. This technique helps improve project durability and fabric longevity by sealing the edges securely. Properly finished edges resist wear and tear, maintaining a clean appearance over time. Keep in mind that gentle handling and avoiding excessive stretching also contribute to the overall durability and longevity of your embroidery work.
Conclusion
And there you have it, your secret weapon for a perfectly polished embroidery hoop—because who wants a messy back when you can impress with a clean edge? With these tips, you’ll be the envy of every stitcher, even if your thread tension isn’t. So go ahead, finish with flair, and remember: a neat back isn’t just for show—it’s your new signature. Happy stitching, perfectionist!