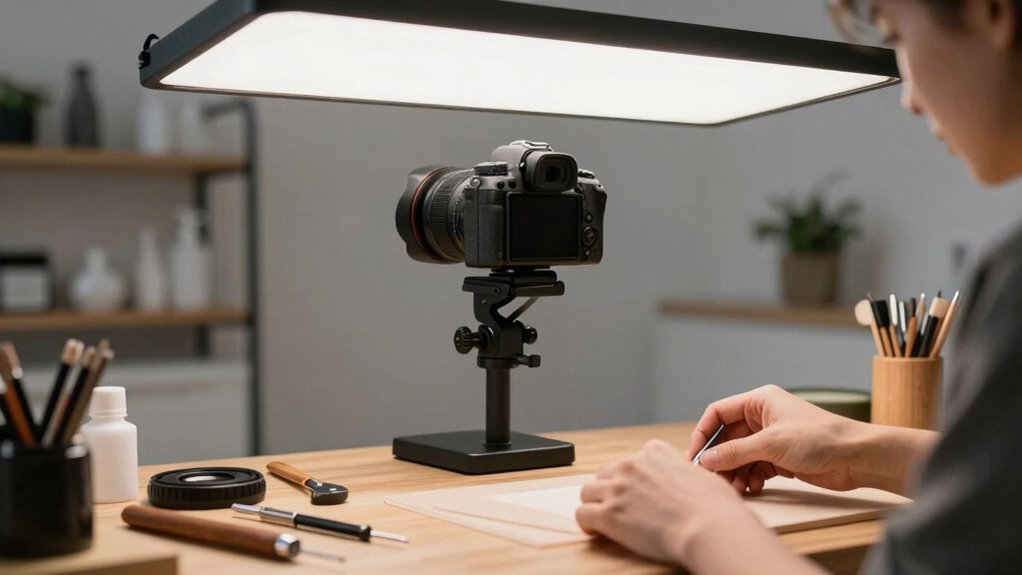

An overhead camera setup is useful for tutorials because it gives you a clear, unobstructed view of your workspace, making it easier for viewers to follow along. It enhances professionalism and clarity by capturing intricate details of your tasks, whether you’re cooking, crafting, or working on technical projects. Proper lighting and camera placement further improve visual quality and engagement. Keep exploring, and you’ll discover how to optimize your setup for even better results.

Get business pricing on tools and workshop supplies
- Business-only prices and quantity discounts
- Tax-exempt purchasing
- Multiple users, one account, clear invoices
Key Takeaways
- Provides a clear, unobstructed top-down view of the workspace for better demonstration.
- Enhances video professionalism with consistent, well-lit visuals.
- Facilitates detailed step-by-step instructions for intricate tasks.
- Combines optimal camera angles and lighting for improved clarity.
- Ensures stable footage, reducing shakiness and improving viewer engagement.
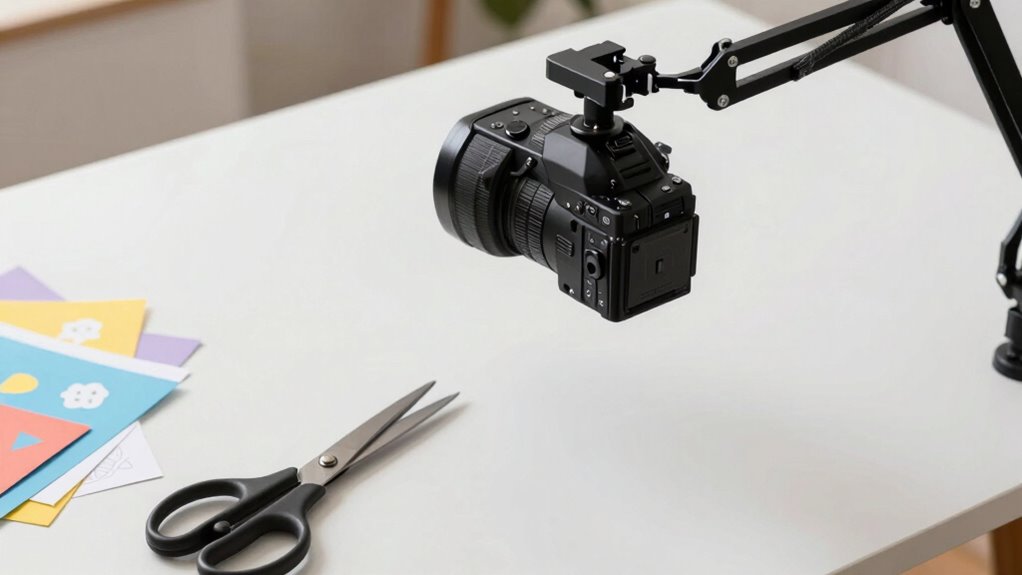
Setting up an overhead camera for tutorials can substantially enhance the clarity and professionalism of your videos. When you position your camera directly above your workspace, it provides a clear, unobstructed view of what you’re doing, making it easier for viewers to follow along. This perspective is especially valuable for demonstrating intricate tasks like cooking, crafting, or technical work, where detail matters. The key to making this setup effective lies in mastering lighting techniques and camera angles. Proper lighting ensures your footage is bright, even, and free of shadows, which is vital for viewers to see every detail clearly. Soft, diffused light sources work best to eliminate harsh shadows and glare, so consider using ring lights or softboxes positioned around your workspace.
Your choice of camera angles plays a significant role in how engaging and easy to follow your tutorials are. When setting up an overhead camera, aim for a straight, top-down view that captures the entire workspace without distortion. This angle allows viewers to see exactly what you’re doing without confusion, especially when demonstrating step-by-step processes. Experiment with the height and distance of your camera to find the perfect balance between a wide shot that shows context and a close-up that reveals finer details. Keep in mind that a slight downward tilt can sometimes help prevent the camera from casting shadows on your work surface, which can be distracting or obscure important elements. Additionally, understanding camera placement is crucial to achieving the best visual results for your tutorials. Proper lighting environment is equally important, as it influences how well your footage appears to viewers. It’s best to supplement natural light with artificial sources to achieve consistent illumination. Avoid overly bright or dim settings, as fluctuating light levels can make your footage appear unprofessional. Using adjustable lighting allows you to fine-tune the brightness and angle, ensuring your workspace remains well-lit from every camera angle you choose. Incorporating proper camera setup techniques can further improve the overall quality of your videos. When you combine well-considered lighting techniques with ideal camera angles, your tutorial videos become more visually appealing and easier for viewers to follow, increasing their engagement and comprehension. Additionally, paying attention to camera stability can help prevent shaky footage, making your tutorials appear more polished. Employing stabilization equipment such as tripods or gimbals can significantly enhance the smoothness of your recordings.
Popular right now

Dyson Cyclone V10 Origin Cordless Vacuum

Bose QuietComfort Ultra Earbuds (2nd Gen), Deep Plum

Shark AI Ultra Robot Vacuum with Self-Empty Base
As an affiliate, we earn on qualifying purchases.
Frequently Asked Questions
What Is the Ideal Camera Resolution for Overhead Tutorials?
The ideal camera resolution for overhead tutorials is at least 1080p, ensuring clear, detailed shots. Your camera angles should be set to minimize distortion, and a focal length around 50mm helps keep the subject sharp while maintaining a natural perspective. Higher resolution allows for better zooming and cropping without quality loss, making your tutorials more professional and engaging. Keep these factors in mind for an effective overhead setup.
How Do I Prevent Glare on Reflective Surfaces?
Imagine your reflective surfaces as mirrors to the world, but glare can distort their beauty. To prevent glare, position your overhead camera at a slight angle, avoiding direct light sources. Use diffused lighting or softboxes to achieve glare reduction, and consider anti-reflective coatings or matte surfaces on tricky objects. These steps help you capture clear, professional footage, ensuring your tutorials shine without unwanted reflections distracting your viewers.
Can Overhead Cameras Be Used Outdoors Effectively?
Yes, overhead cameras can be used outdoors effectively if you consider outdoor weather and daylight consistency. You need to protect your equipment from rain, wind, and dust, maybe with weatherproof covers. Additionally, shoot during times when natural light is steady, like overcast days or during the golden hours, to maintain consistent lighting. This way, your tutorials stay clear and professional, even outside.
What Lighting Is Best for Overhead Filming?
You should use soft, diffused lighting techniques for overhead filming to minimize shadows and glare. Avoid harsh direct lights; instead, opt for LED panels with diffusers or softboxes. For reflective surfaces, tips include angling lights away from shiny objects and using matte finishes to reduce reflections. Proper lighting guarantees clear visuals, making your tutorials more professional and easier for viewers to follow.
How Do I Stabilize the Camera to Avoid Shaky Footage?
To prevent shaky footage, you’ll want to stabilize your camera with steady support. Use camera positioning techniques like mounting your camera on a sturdy tripod or overhead rig. Pair this with equipment accessories like vibration dampeners or gimbals to guard against vibrations. Secure all equipment tightly, double-check connections, and make certain your setup is stable before filming. This way, your footage stays smooth, professional, and perfectly focused on your tutorial.
Conclusion
In summary, an overhead camera setup transforms your tutorials into clear, engaging guides that even a 19th-century inventor like Nikola Tesla would admire. You’ll appreciate the precision and hands-free convenience it offers, making complex tasks easier to follow. Whether you’re crafting a recipe or a craft project, this setup guarantees your audience stays tuned in. Embrace this modern marvel, and watch your tutorials shine brighter than a Victorian lantern.