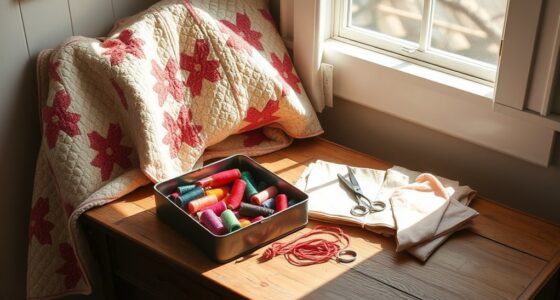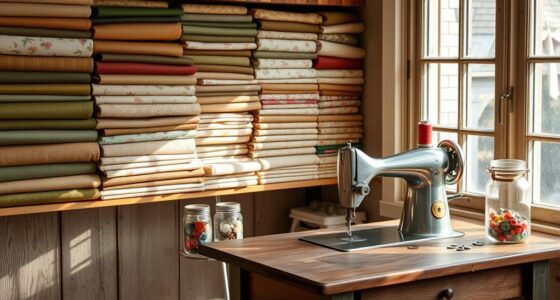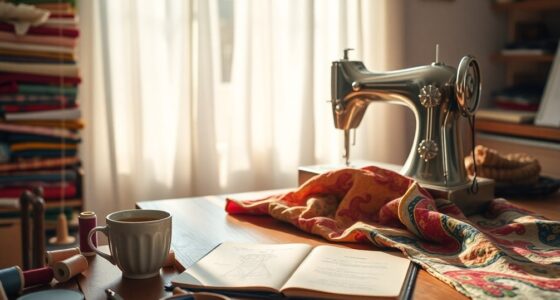
To photograph your handmade clothes for progress tracking, use natural light near large windows with sheer curtains to soften the illumination. Keep your background simple and neutral to keep the focus on the garment, maintaining consistency across photos. Use the same camera angle and avoid harsh midday sunlight or direct flash to prevent shadows and color washout. Focus on good lighting and setup to capture details clearly. Continue exploring these techniques for even better results.

Get business pricing on tools and workshop supplies
- Business-only prices and quantity discounts
- Tax-exempt purchasing
- Multiple users, one account, clear invoices
Key Takeaways
- Use natural, soft light near large windows to evenly illuminate garments and avoid harsh shadows.
- Choose simple, neutral backgrounds to keep focus on the clothing and maintain consistency across photos.
- Keep the camera angle consistent and at the same distance to accurately track progress over time.
- Diffuse light sources or use sheer curtains to soften light and highlight textures without glare.
- Regularly review and adjust your setup to ensure uniformity and professional-looking, comparable images.
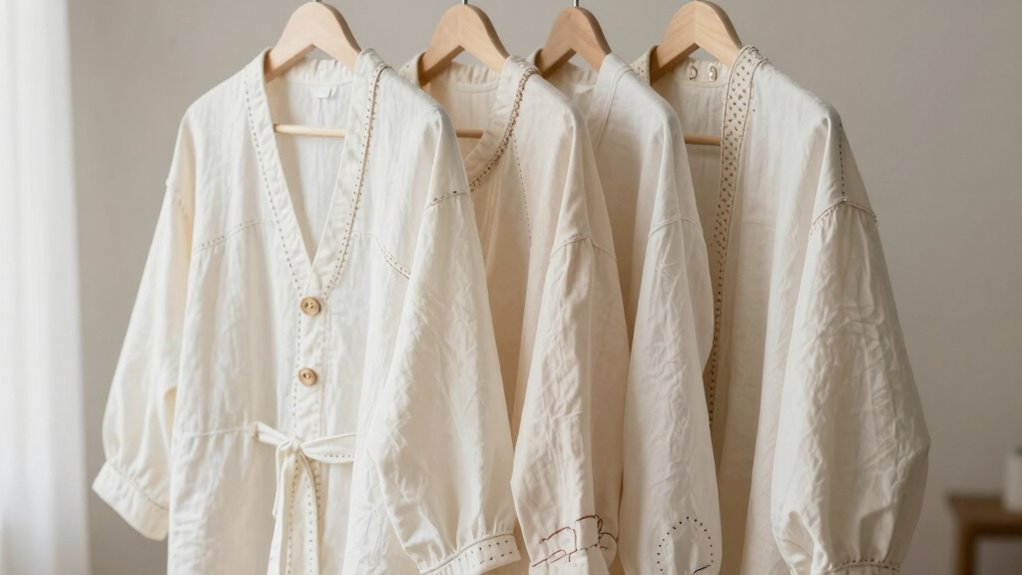
Documenting your handmade clothes is essential for tracking your progress and celebrating your improvements over time. When you photograph your creations, the way you handle lighting and background choices can make a significant difference in capturing their true essence and details. Good lighting highlights the texture, color, and intricate stitches, while a well-chosen background keeps the focus on your garment without distractions. To get the best results, start by paying close attention to your lighting techniques. Natural light is your best friend; shoot during the day when sunlight is soft and diffused, avoiding harsh midday rays that can create unwanted shadows. If you’re indoors, position your garment near a large window with sheer curtains to soften the light. Avoid using direct flash, as it can wash out colors and flatten the fabric’s texture. Instead, opt for continuous lighting or diffuse your light source with a white cloth or paper to create an even, flattering glow. Proper lighting techniques can significantly enhance the clarity and detail of your photos, making them easier to compare over time. Consistency in your lighting setup will help you create a cohesive visual record of your progress. Paying attention to lighting consistency ensures your photos remain uniform, making it easier to observe improvements and changes in your work. Additionally, maintaining a consistent camera angle can further enhance the comparability of your photos. Incorporating proper photography techniques can also help you achieve more professional-looking results.
natural light photography for clothing
As an affiliate, we earn on qualifying purchases.
As an affiliate, we earn on qualifying purchases.
Frequently Asked Questions
How Often Should I Update Progress Photos During a Project?
You should update progress photos every few days or weekly, depending on your project timeline. This frequency helps you track fabric texture changes and maintain color accuracy over time. Regular updates allow you to catch any issues early and guarantee your handmade clothes match your vision. Keep your photos consistent in lighting and background for accurate comparisons, and focus on capturing details like stitch work and fabric details.
What Camera Settings Are Best for Detailed Clothing Photos?
You should set your camera to a low ISO (around 100-200) for clarity, use a small aperture (f/8 to f/11) to guarantee sharp details, and choose a proper shutter speed to prevent blur. Use consistent studio lighting to highlight fabric textures, and experiment with camera angles—eye-level or slightly above—to showcase craftsmanship. This approach captures detailed clothing photos that accurately reflect your progress.
Should I Photograph Clothes on a Mannequin or Flat?
You should photograph clothes on a mannequin to showcase fabric texture and fit better. Use a natural mannequin pose to highlight how the garment drapes and moves, emphasizing details like seams and fabric flow. Flat photos are great for capturing overall shape, but mannequins provide depth and realism. Adjust lighting to enhance fabric texture, and take multiple angles to document progress effectively.
How Can I Ensure Consistent Lighting Across Multiple Photos?
To guarantee consistent lighting across multiple photos, set up a dedicated studio space with controlled lighting. Use a consistent studio setup, including soft light sources with ample light diffusion to minimize harsh shadows and glare. Position your lights at the same angles and distances each time, and photograph in the same environment. This consistency helps maintain uniform lighting, making your progress tracking clear and professional-looking.
What Background Color Works Best for Showcasing Handmade Clothes?
Think of your background as a canvas—white or neutral tones serve as a blank slate, allowing your handmade clothes to shine like stars against the night sky. For maximum color contrast, choose a background that highlights your garments without overpowering them. Ambient lighting works like a gentle moonlight, softly illuminating the scene and showcasing the true colors of your creations without distortions. This setup guarantees your photos reveal every detail beautifully.
Conclusion
By following these simple tips, you’ll turn your progress photos into a beautiful story of your craftsmanship. Think of each shot as a snapshot of your growth, like a blooming flower opening its petals to the sun. Keep your photos consistent, clear, and true to your work, and you’ll have a visual diary that motivates and inspires you every step of the way. Your handmade clothes deserve to be celebrated—capture them with care and passion!
Fall yard work Picks
leaf blowers
As an affiliate, we earn on qualifying purchases.