
To effectively document your projects, start with soft, natural light near windows to avoid harsh shadows and glare. Use a tripod and manual focus to guarantee sharp images, and keep your ISO low for clarity. Compose your shots using the rule of thirds, showing enough space around your craft. Experiment with different angles and review your photos often to improve. Keep practicing these techniques to capture your work beautifully—more tips await to help you perfect your craft photography.
Key Takeaways
- Use natural, diffused lighting near large windows to highlight details without glare.
- Set your camera to low ISO and a small aperture (f/8–f/11) for sharp, well-exposed images.
- Apply the rule of thirds and ensure enough space around your craft for an appealing composition.
- Focus manually on intricate details to make your projects stand out clearly.
- Review and adjust lighting or settings during shooting to improve overall image quality.
Capturing your craft projects beautifully can make a big difference when sharing your work online or creating a portfolio. To do this effectively, you need to pay attention to your lighting techniques and camera settings. Good lighting is the foundation of a great photo. Natural light is often your best option because it’s soft and evenly dispersed, reducing harsh shadows and highlighting your craft’s details. Position your project near a large window during the day, and avoid direct sunlight that can cause overexposure or glare. If natural light isn’t available, consider using diffused artificial lighting. You can soften harsh light sources with a sheer white curtain or a light diffuser, which helps create a consistent, flattering glow.
Use natural or diffused light to beautifully showcase your craft projects.
Once your lighting is sorted, focus on your camera settings. Keep your ISO as low as possible to prevent grainy images, especially in well-lit conditions. Use a smaller aperture (higher f-stop number) to increase depth of field, ensuring more of your project stays in sharp focus. For instance, an aperture of around f/8 or f/11 works well for most craft photography. Adjust your shutter speed to prevent motion blur—if you’re shooting handheld, try to keep it at 1/125 seconds or faster. If your setup is stationary, you can slow it down slightly with a tripod, allowing more light in and capturing finer details.
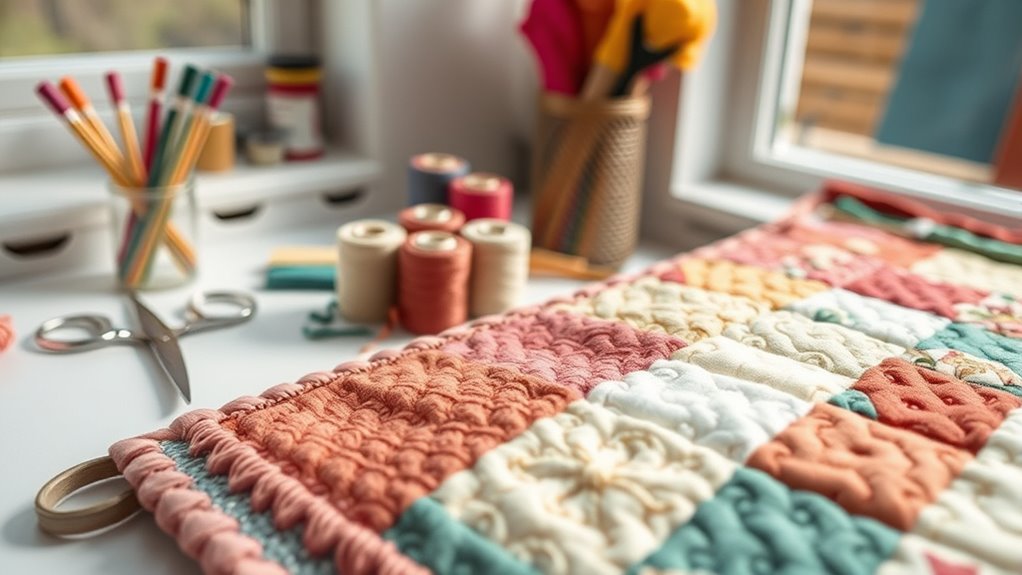
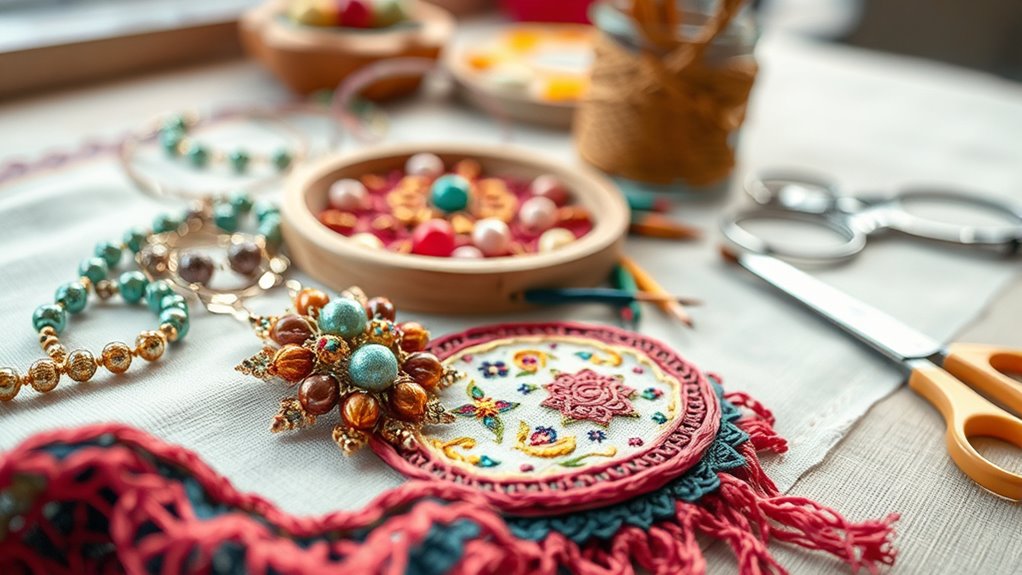
Composition plays a crucial role too. Use the rule of thirds to position your craft in an appealing way, and make sure there’s enough space around it so it doesn’t look cramped. Shooting from different angles helps highlight different aspects of your work, whether it’s the intricate stitching on a quilt or the delicate details of jewelry. Focus carefully on your main subject, especially if it’s small or detailed, to ensure it pops in the shot. Use manual focus if your camera allows, so you have control over what’s sharp. Additionally, understanding the importance of contrast ratio can help you achieve images with richer blacks and whites, making your crafts stand out more vividly.
Lastly, don’t forget to review your images on your camera’s screen before finishing. Check for exposure issues, sharpness, and framing. Small adjustments to lighting or camera settings can considerably improve your photos. Practice regularly, experiment with different setups, and soon you’ll be capturing your projects in a way that truly showcases your craftsmanship. High-quality photos will help your work stand out and inspire others to appreciate your talent.
Frequently Asked Questions
How Can I Photograph Textured or Glossy Craft Surfaces Effectively?
To photograph textured or glossy surfaces effectively, use macro photography to capture fine details and bring out the surface textures. Control surface reflections by adjusting your lighting; diffuse light with a softbox or white cloth to prevent harsh glare. Experiment with different angles to find the best reflection-free shot, and consider using a polarizing filter to minimize unwanted surface reflections, ensuring your craft’s details shine through beautifully.
What Camera Settings Are Best for Capturing Detailed Craft Work?
To capture detailed craft work, you should use macro focus to highlight intricate textures and fine details. Adjust your camera’s settings to guarantee good color balance, which makes your craft’s true colors stand out. Use a small aperture for depth of field, and keep your ISO low to avoid grain. Steady your camera with a tripod if possible, and review your photos to ensure sharpness and accurate color representation.
How Do I Photograph Projects in Low-Light Conditions Without a Professional Setup?
Think of your camera as a flashlight in a dim room. To brighten your projects, use simple lighting techniques like placing a lamp nearby or bouncing light off a wall. You can also boost your camera’s capabilities with accessories such as a tripod and a remote shutter. These tools help steady your shot and prevent blur. Adjust your camera settings for low light, like increasing ISO, to capture clear, detailed images even in darkness.
What Are Some Creative Composition Ideas for Showcasing Multiple Craft Items?
When showcasing multiple craft items, try creative framing by arranging pieces at different angles or using natural elements like plants or fabrics to add depth. Play with color harmony by selecting backgrounds and props that complement your craft colors, creating a cohesive look. Use varying distances and perspectives to guide the viewer’s eye across your collection, making your display dynamic and engaging. This approach highlights each item’s unique charm while maintaining visual balance.
How Can I Ensure Consistent Lighting Across Different Photo Shoots?
Consistent lighting is like keeping a steady beat in music—you want rhythm in your photos. To achieve this, use diffuse lighting to soften shadows and prevent harsh contrasts. Always calibrate your camera’s color settings for true-to-life colors, especially when shooting in different locations or times. Investing in adjustable light sources or lightboxes helps maintain uniform lighting, making your photos look professional and cohesive, no matter when or where you shoot.
Conclusion
Capturing your craft projects boosts their appeal and shares your creativity with the world. Did you know that listings with high-quality photos sell 50% faster? By applying these photography tips, you’ll showcase your work beautifully and attract more viewers. Remember, good lighting, clear focus, and thoughtful composition make all the difference. Keep practicing, stay patient, and watch your craft photos transform into eye-catching images that truly highlight your talent.