
To change the needle in your Singer sewing machine, first, turn it off and raise the presser foot. Loosen the needle clamp screw and carefully remove the old needle. Insert the new needle with the flat side facing the back, pushing it up until it stops. Tighten the screw securely but don't overdo it. Don't forget to test the stitch on a scrap fabric before starting your project. You'll discover more tips for needle maintenance and selection as you continue.
Key Takeaways
- Turn off the sewing machine and raise the presser foot for safe needle access before starting the change.
- Loosen the needle clamp screw with a screwdriver, holding the needle for stability as you remove the old needle.
- Insert the new needle with the flat side facing the back, pushing it up until it reaches the stopper.
- Tighten the needle clamp screw securely, ensuring the needle is stable and properly aligned to avoid sewing issues.
- Power on the machine, adjust settings, and test stitch on scrap fabric for proper needle function before starting your project.

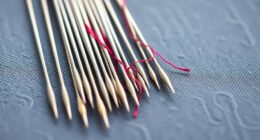
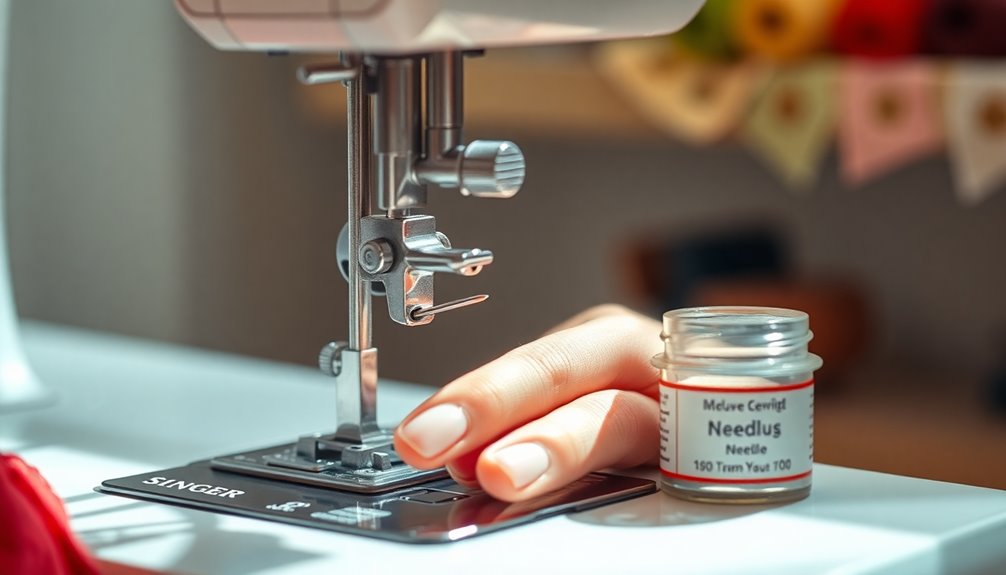
Singer 10-Pack Universal 2020 Sewing Machine Needles, Size 90/14
- Pack of 10 Singer Needles: Genuine Singer sewing machine needles
- Size 90/14: For medium-weight knits and synthetics
- Needle System 2020: Compatible with Singer 2020 system
As an affiliate, we earn on qualifying purchases.
As an affiliate, we earn on qualifying purchases.
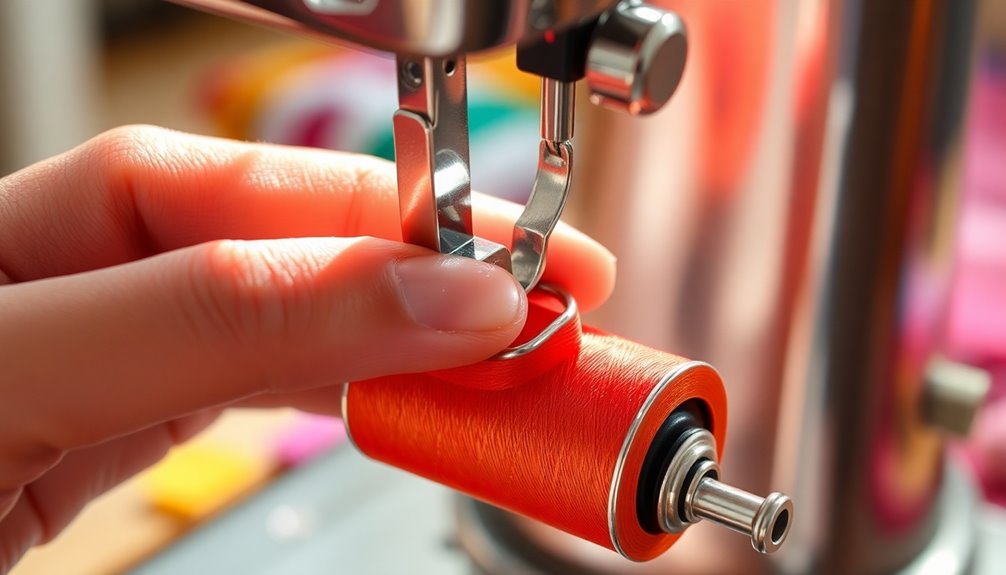
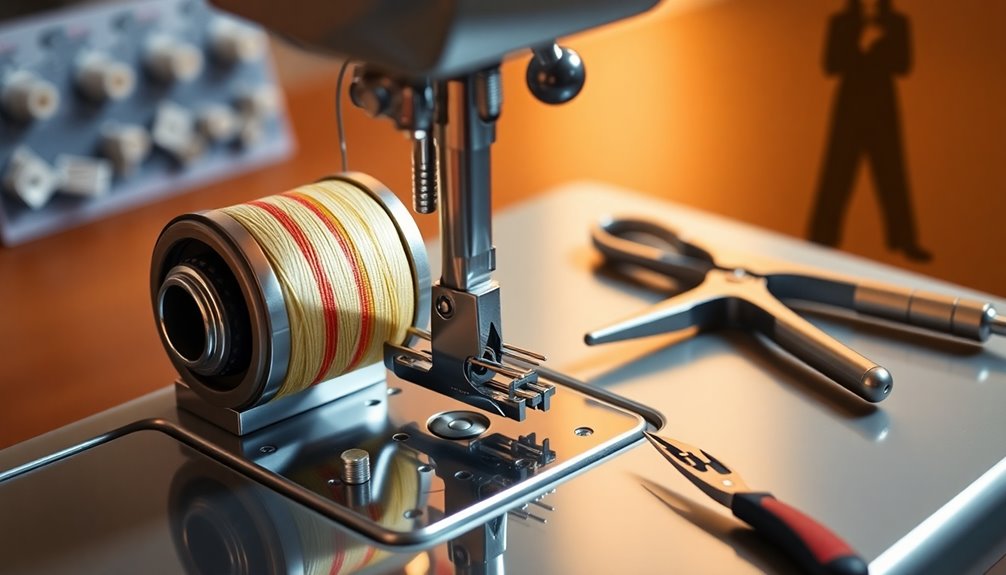
Preparation for Needle Change
Before you change the needle in your Singer sewing machine, there are a few important steps to prepare.
First, make sure to turn off the sewing machine to prevent any accidental activation that could lead to injury.
Next, raise the presser foot; this gives you easy access to the needle and keeps everything in a safe position.
To avoid losing the needle, place a piece of fabric or paper under the needle area to catch any dropped items.
After that, lower the presser foot again to stabilize the area while you prepare for the needle change.
Finally, make sure the needle is at its highest position by turning the hand wheel towards you, which simplifies the process of removing and inserting the needle.
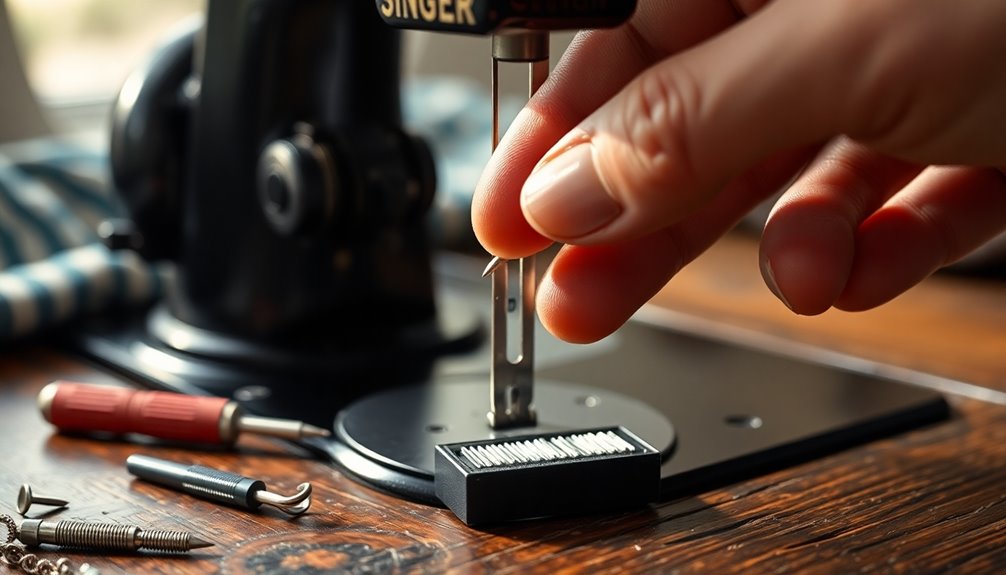
Removing the Old Needle
Before you start removing the old needle, make sure you're taking safety precautions to avoid any injuries.
Position your hands correctly by holding the needle with your left hand for stability while loosening the clamp screw with your right.
Once the screw is loose, you can carefully pull the needle out and dispose of it safely.
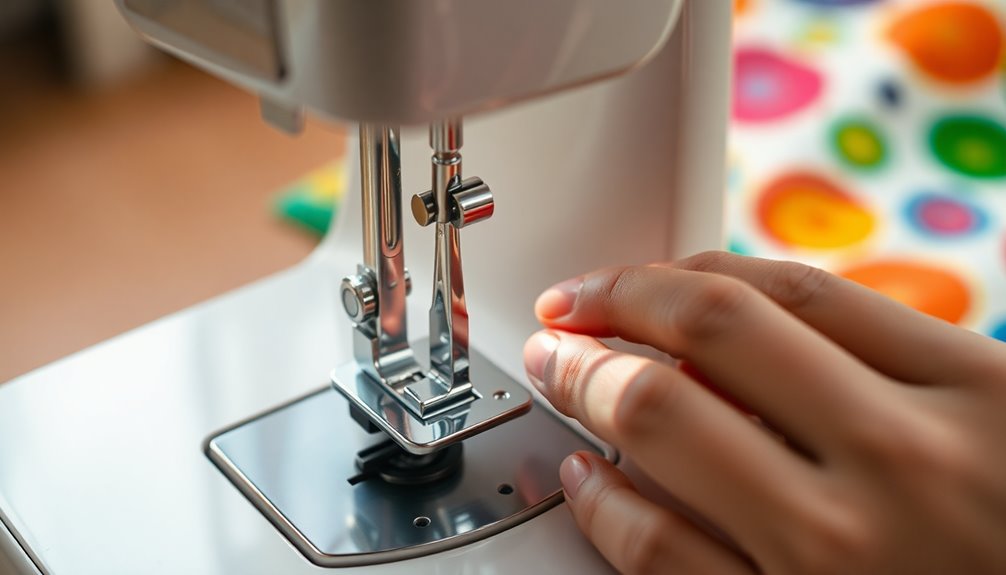
Safety Precautions First
To guarantee your safety while removing the old needle from your Singer sewing machine, it's crucial to turn off the machine first to prevent any accidental activation. Next, raise the presser foot for easier access and reduced tension on the needle holder. Placing a piece of fabric or paper underneath will catch the needle if it falls, preventing loss or injury.
| Step | Action |
|---|---|
| 1. Turn Off the Machine | Always turn off the sewing machine first. |
| 2. Raise the Presser Foot | This guarantees easier access to the needle. |
| 3. Position the Needle | Turn the hand wheel to raise the needle. |
Hold the needle securely while loosening the screw with a screwdriver for stability during this process.
Proper Hand Positioning
Proper hand positioning is essential when removing the old needle from your Singer sewing machine. Start by holding the needle with your left hand to stabilize it while loosening the screw with your right hand. Make sure you have a secure grip to prevent slippage.
Position your left thumb underneath the needle for added support and leverage during removal. Use your fingers to gently pinch the needle as you turn the screwdriver, which gives you better control and minimizes the risk of dropping the needle.
Maintain a steady hand throughout the process to avoid damaging either the needle or the machine. Finally, keep your hand away from the needle's sharp point to prevent any accidental injury.
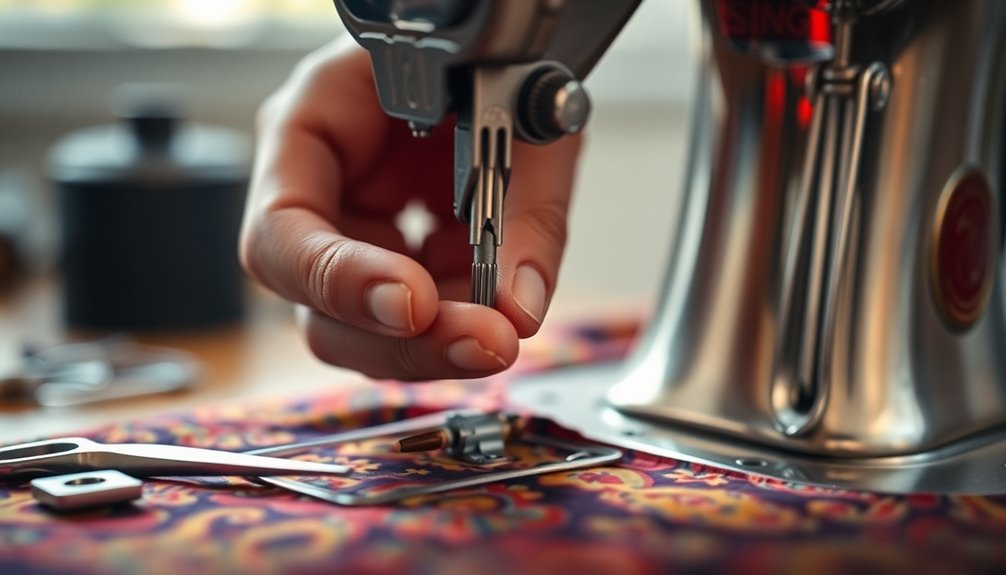
Needle Removal Techniques
Start by ensuring your Singer sewing machine is turned off and the presser foot is raised. This gives you easy access to the needle.
Next, turn the hand wheel towards you to raise the needle to its highest position. With your left hand, hold the needle securely to prevent it from moving.
Use a screwdriver in your right hand to loosen the needle clamp screw by rotating it toward you. Once the screw is loose, you can pull the needle out smoothly.
After removing the old needle, dispose of it safely to avoid any injury from its sharp edges.
Now you're ready to insert a new needle and get back to sewing!
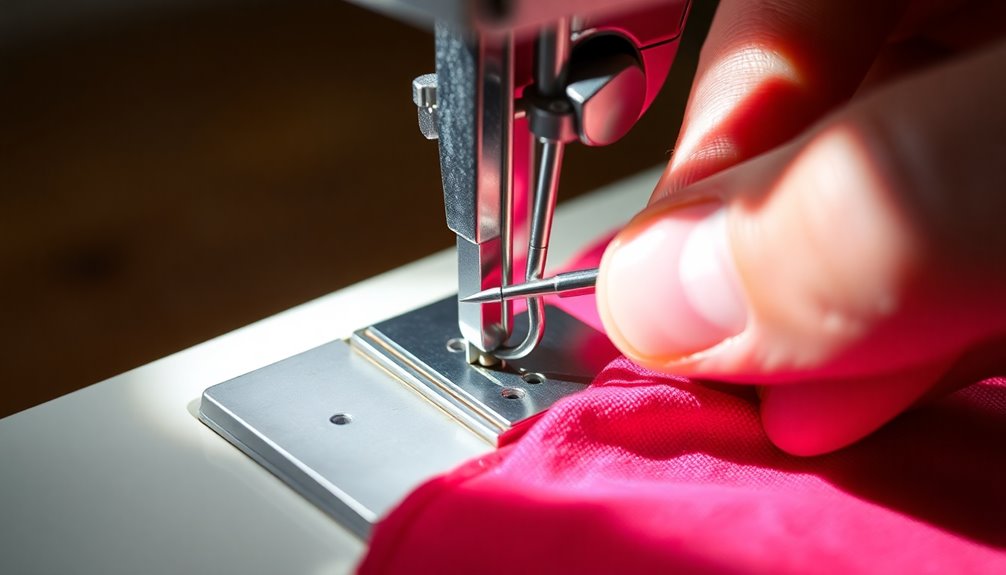
Inserting the New Needle
Inserting a new needle into your Singer sewing machine is a straightforward process that's important for achieving ideal sewing results.
First, confirm the flat side of the needle faces the back of the machine for proper alignment. Carefully push the needle all the way up into the needle holder until it reaches the needle stopper. This step is essential for securing the needle in place.
Make sure the needle aligns correctly with the needle clamp to avoid any sewing issues. After inserting, double-check that the needle is securely positioned before moving on to tighten the screw.
Properly inserting the needle is critical for optimal sewing performance, so always verify its stability before starting your sewing project.
Securing the New Needle
Now that you've inserted the new needle, it's essential to secure it properly.
Tighten the needle screw clockwise with your screwdriver, ensuring it's snug to prevent any wobbling.
After that, give the needle a gentle tug to confirm it's stable and ready for use.
Proper Screw Tightening Techniques
Securing the new needle in your Singer sewing machine is essential for best performance.
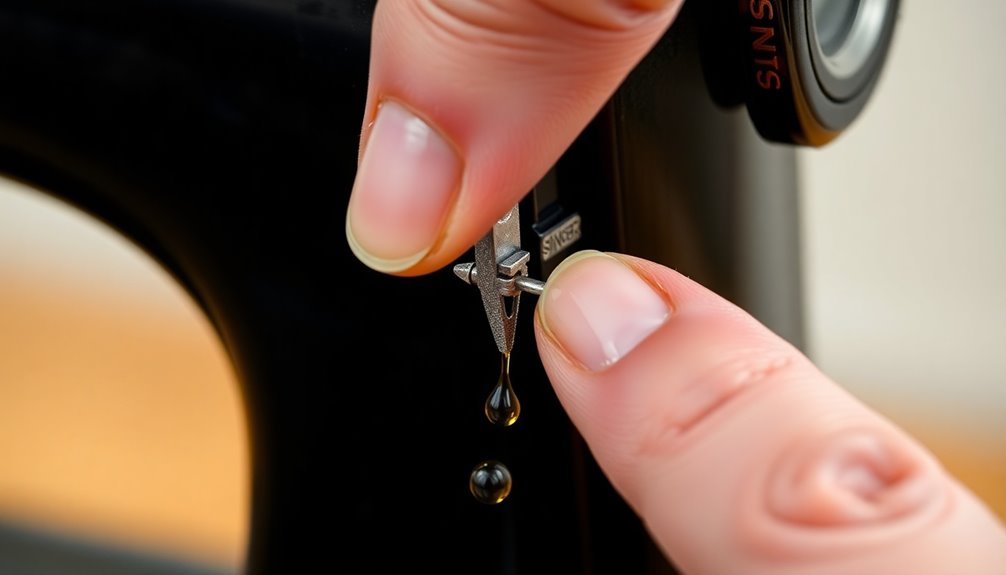
Always use the correct size screwdriver to guarantee a secure grip on the needle screw and prevent slippage while tightening. Firmly tighten the screw, but be careful not to over-tighten, as this can strip the screw or damage the needle holder.
After tightening, gently tug on the needle; it shouldn't move or wobble. If you frequently change needles, consider using a drop of thread locker on the screw to help maintain tightness over time.
Regularly check the screw tightness during your sewing sessions, especially if you notice skipped stitches or unusual machine behavior. This will keep your needle secure and your sewing smooth.
Needle Stability Check
Making certain your new needle is stable is essential to achieving smooth, consistent stitching. Follow these steps to secure your needle properly:
- Push the Needle Up: Insert the needle all the way until it hits the needle stopper for ideal stability.
- Tighten the Screw: Use a screwdriver to firmly tighten the screw, securing the needle in place.
- Check Alignment: Make sure the flat side of the needle is facing the back of the sewing machine for proper alignment.
- Test Stability: Gently tug on the needle to confirm it doesn't move or wobble; a stable needle is vital for consistent stitching.
Always test the new needle with a scrap piece of fabric before resuming regular sewing to confirm everything is functioning smoothly.
Final Steps

After you've replaced the needle, it's important to double-check a few things before diving back into your sewing projects. First, verify the presser foot is correctly positioned for smooth fabric feeding. Then, confirm your sewing machine is powered on and all settings are adjusted for your fabric type.
| Step | Action | Notes |
|---|---|---|
| Check Presser Foot | Adjust as needed | Verifies smooth feeding |
| Power On Machine | Confirm it's plugged in | Avoids interruptions |
| Test Stitch | Use a scrap piece of fabric | Check needle function |
| Adjust Tension | Modify if necessary | Perfect your stitches |
| Dispose of Old Needle | Place in sharps container | Prevents injury |
Once satisfied with your test stitch, you're ready to sew with confidence!
Importance of Needle Maintenance
While you might be tempted to overlook it, needle maintenance plays an essential role in your sewing success. Regularly checking and changing your needle keeps your projects on track and your machine running smoothly.
Here are four key reasons why needle maintenance matters:
- Quality Stitching: A sharp needle guarantees clean, even stitches and prevents fabric damage.
- Skip Prevention: Regular changes reduce the chances of skipped stitches that can ruin your work.
- Safety First: A bent or broken needle can cause injuries or harm your machine.
- Optimal Performance: Changing the needle every 6-8 hours helps maintain efficiency and prolongs your machine's life.
Choosing the Right Needle for Your Project

Choosing the right needle for your sewing project can considerably impact the outcome of your work, as each fabric type requires a specific needle design to achieve the finest results.
For instance, use universal needles for most fabrics, ballpoint needles for knits, and denim needles for heavier materials. Needle sizes also matter; opt for a 60/8 for lightweight fabrics and a 110/18 for heavier ones.
Don't overlook specialty needles like twin needles for decorative stitching or quilting needles for layered fabrics, as they can elevate your projects.
Remember to replace needles regularly, as dull ones can lead to skipped stitches and fabric damage. Always check your sewing machine's manual for compatibility to guarantee peak performance. Additionally, understanding the importance of needle types can help you select the best option for your specific fabric needs.
Common Issues With Sewing Needles
When you're sewing, common issues with needles can disrupt your creative flow and lead to frustration. Here are some key problems to watch for:
- Bending or Breaking: Using the wrong needle type for your fabric or sewing through thick layers can cause breakage.
- Dull Needles: A dull needle leads to skipped stitches and uneven sewing, so replace them regularly.
- Incorrect Insertion: If the needle's not inserted correctly, you may experience thread jams or misalignment.
- Size Mismatch: Using a needle that's too small for the thread can cause fraying, while a larger needle can create holes in the fabric.
Tips for Safe Needle Disposal
After addressing common issues with sewing needles, it's important to contemplate how to handle them safely once they've reached the end of their life. Always place used needles in a designated sharps container to prevent injury. If you don't have one, wrap the needle in thick cardboard or tape before discarding it. Avoid throwing loose needles in the trash to minimize risks for sanitation workers. Check local regulations for disposal guidelines, as some areas have specific drop-off locations. Consider using needle disposal products like tip protectors for added safety.
| Disposal Method | Safety Level |
|---|---|
| Sharps container | Very High |
| Wrapped in cardboard or tape | High |
| Loose in trash | Low |
| Local drop-off locations | Moderate |
| Needle tip protectors | High |
Frequently Asked Questions
How Do You Change the Needle on a Singer Sewing Machine?
To change the needle on your sewing machine, first, turn it off and raise the presser foot.
Next, turn the hand wheel towards you to lift the needle to its highest position.
Loosen the needle screw with a screwdriver, remove the old needle, and insert the new one with the flat side facing the back.
Tighten the screw securely, then check the presser foot position before testing the new needle on scrap fabric.
Is It Necessary to Turn the Power off When Changing the Sewing Needle?
Yes, it's necessary to turn off the power when changing the sewing needle.
Doing so prevents accidental starts that could lead to injury. By powering down the machine, you guarantee the motor isn't engaged, reducing the risk of the needle moving unexpectedly.
This simple step promotes a safer sewing environment and protects you from any electrical hazards.
Always prioritize your safety during maintenance tasks by turning off the machine before you start.
How to Change Needle in Sewing Machine?
To change the needle in your sewing machine, first, turn it off and raise the presser foot for safety.
Next, turn the hand wheel towards you to lift the needle, hold it firmly, and loosen the screw with a screwdriver.
Remove the old needle and insert the new one with the flat side facing the back.
Tighten the screw securely, then check the presser foot before testing the new needle on scrap fabric.
How to Change Needle on Singer Sewing Machine 4423?
To change the needle on your Singer Sewing Machine 4423, start by turning it off and raising the presser foot.
Use the hand wheel to lift the needle to its highest position. Hold it steady with your left hand while loosening the screw with your right.
Remove the old needle and insert the new one with the flat side facing the back.
Tighten the screw, check the needle's stability, and test it with scrap fabric.
Conclusion
Changing the needle in your Singer sewing machine isn't just a routine task; it's essential for ideal performance. Did you know that using the wrong needle can cause up to 50% of sewing machine problems? By regularly maintaining your needle and choosing the right one for your project, you can avoid frustration and achieve better results. So, don't overlook this simple step—your sewing experience will thank you for it! Happy sewing!