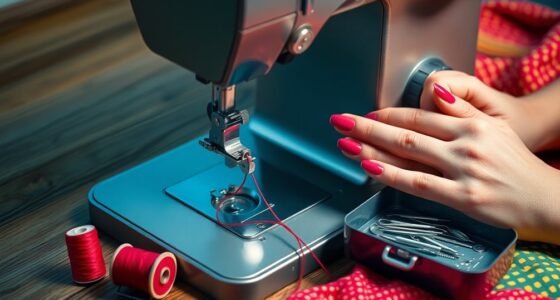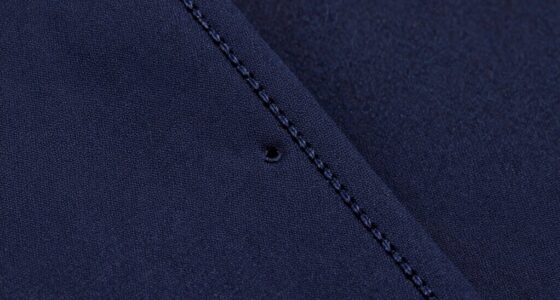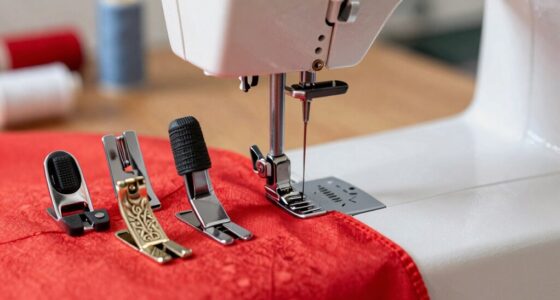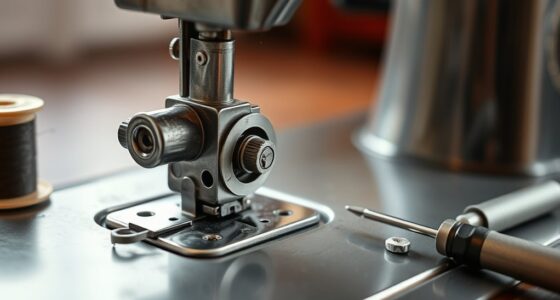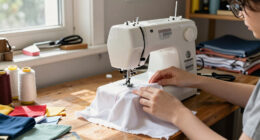
Adjusting the needle position is key to achieving precise, professional stitches. It allows you to control where your stitches land on the fabric, making seams cleaner and topstitching more accurate. By customizing the needle placement, you can sew close to edges, insert zippers, or work on layered and delicate fabrics without puckering or skipped stitches. These small adjustments can greatly improve your sewing results. Keep exploring to discover how mastering this technique elevates your sewing projects.

Get business pricing on tools and workshop supplies
- Business-only prices and quantity discounts
- Tax-exempt purchasing
- Multiple users, one account, clear invoices
Key Takeaways
- Proper needle positioning ensures stitches land accurately, resulting in precise, professional-looking seams and topstitching.
- Adjusting needle position helps sew close to edges, zippers, and piping with greater control and accuracy.
- Correct needle alignment prevents fabric puckering and skipped stitches, improving overall stitch quality.
- Flexible needle positioning allows detailed sewing on layered or lightweight fabrics without distortion.
- Consistent needle placement enhances sewing precision, reduces errors, and ensures durable, high-quality finishes.
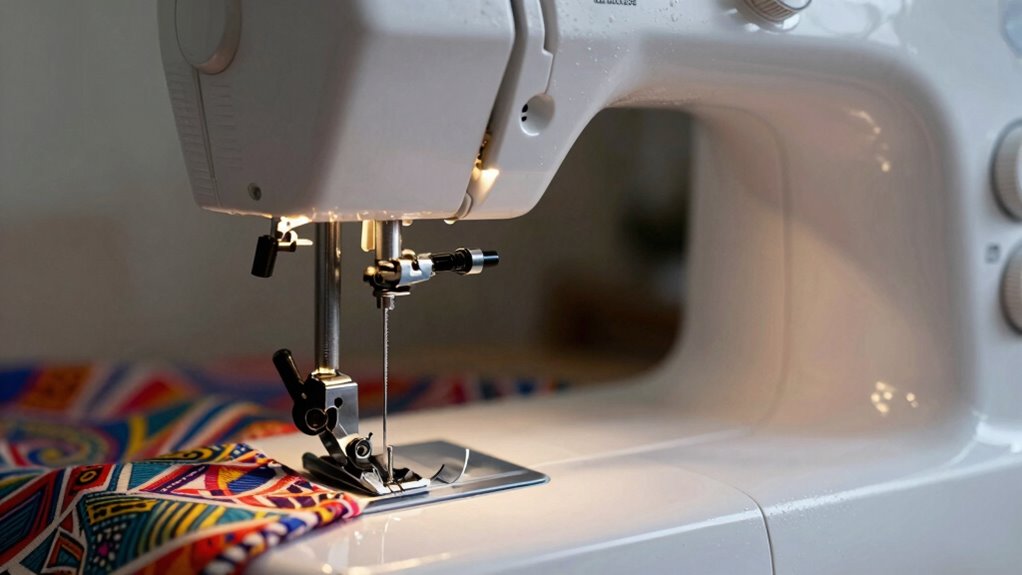
Adjusting the needle position on your sewing machine is a vital step to achieving precise stitches and professional-looking seams. When you shift the needle, you’re effectively controlling where the stitch lands on the fabric, which impacts the overall quality of your sewing project. Proper needle positioning helps you sew close to edges, accurately topstitch, or insert zippers and piping with ease. This adjustment becomes especially important when working with different fabric types, each demanding specific settings for optimal results. Thin, delicate fabrics like silk or chiffon require a different needle placement than heavy denim or canvas. By tailoring the needle position, you ensure that your stitches are evenly spaced and secure, preventing puckering or skipped stitches. Additionally, understanding fabric-specific adjustments can help you achieve the best results for each project. Experimenting with adjustments for fabric types can significantly enhance your sewing quality and efficiency. Thread tension also plays a crucial role in how well your stitches turn out, and it interacts closely with needle positioning. When the needle is correctly aligned, the thread tension works harmoniously to produce balanced stitches—neither too tight nor too loose. If your tension is off, adjusting the needle position can help compensate for fabric or thread inconsistencies. For example, shifting the needle slightly can help you troubleshoot issues like looping or puckering, providing a simple solution before adjusting tension settings. Conversely, if you’re sewing multiple fabric types, changing the needle position allows you to fine-tune your stitching without constantly readjusting tension settings, which can be time-consuming. Different fabric types demand different needle positions to prevent damage and achieve clean seams. For lightweight fabrics, a slightly offset needle position might prevent the fabric from puckering or distorting. When working with thicker or layered fabrics, moving the needle closer to the edge can help you sew more precisely along seams or hems. This flexibility makes your sewing more accurate and reduces the risk of mistakes, especially when working on detailed projects or intricate topstitching. It’s important to experiment with small adjustments to see what works best for each fabric type—sometimes, even a slight change can dramatically improve stitch quality. Proper needle positioning is also an essential factor in achieving consistent results across different sewing machines and projects.
sewing machine needle position adjustment
As an affiliate, we earn on qualifying purchases.
As an affiliate, we earn on qualifying purchases.
Frequently Asked Questions
How Often Should I Check My Needle Position During Sewing?
You should check your needle position whenever you change thread tension or presser foot pressure, or if your stitches look uneven. Regularly inspecting the needle alignment guarantees precision, especially after sewing different fabrics or switching projects. Also, check the needle position if you notice skipped stitches or fabric bunching. Keeping an eye on these adjustments helps maintain consistent quality, making your sewing projects look professional and polished.
Can Incorrect Needle Position Cause Fabric Damage?
Think of your sewing machine as a tightrope walker; if the needle alignment is off, it risks damaging your fabric like a misstep on a wire. Incorrect needle position can cause skipped stitches, uneven seams, or even fabric tears. Proper needle alignment guarantees the thread tension stays balanced, preventing fabric damage. When your needle is correctly positioned, your stitches stay smooth and your fabric stays safe, just like a confident walk across the wire.
Does Needle Position Affect Stitch Length?
Yes, needle position affects stitch length because it influences how the fabric feeds through your machine. When you adjust the needle position, it can change the distance between stitches. Keep in mind that proper thread tension and needle size also play roles in achieving consistent stitch length. If the needle is too far left or right, your stitches may become uneven, so fine-tuning needle position helps maintain a professional, uniform look.
Are There Specific Needle Positions for Different Fabrics?
Yes, there are specific needle positions for different fabric types. You should adjust the needle alignment based on the fabric you’re sewing; for delicate fabrics, position the needle closer to the center to prevent damage. For thicker or layered fabrics, move the needle outward for better stitch placement. Changing the needle position helps you achieve precise stitches and prevents fabric puckering or skipped stitches, ensuring professional results every time.
How Do I Troubleshoot Skipped Stitches Related to Needle Placement?
To troubleshoot skipped stitches related to needle placement, first guarantee your needle is properly aligned and securely in place. Check that your thread tension isn’t too tight or loose, as improper tension can cause skipping. Also, verify that your presser foot is correctly lowered and adjusted for your fabric. Adjusting the needle position slightly can help improve stitch quality, especially if the needle hits the presser foot or fabric inconsistencies.
Conclusion
By adjusting your needle position, you gain control, precision, and confidence with every stitch. You improve your technique, refine your projects, and elevate your craftsmanship. You adapt to challenges, explore new designs, and push your boundaries. Each adjustment becomes a step toward mastery, a reminder that attention to detail matters. So, embrace these changes, master your machine, and sew with purpose—because every stitch counts when you’re committed to excellence.
Fall yard work Picks
leaf blowers
As an affiliate, we earn on qualifying purchases.