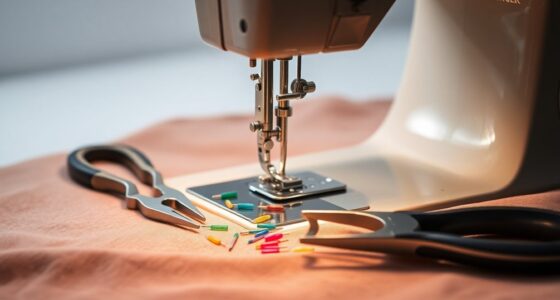
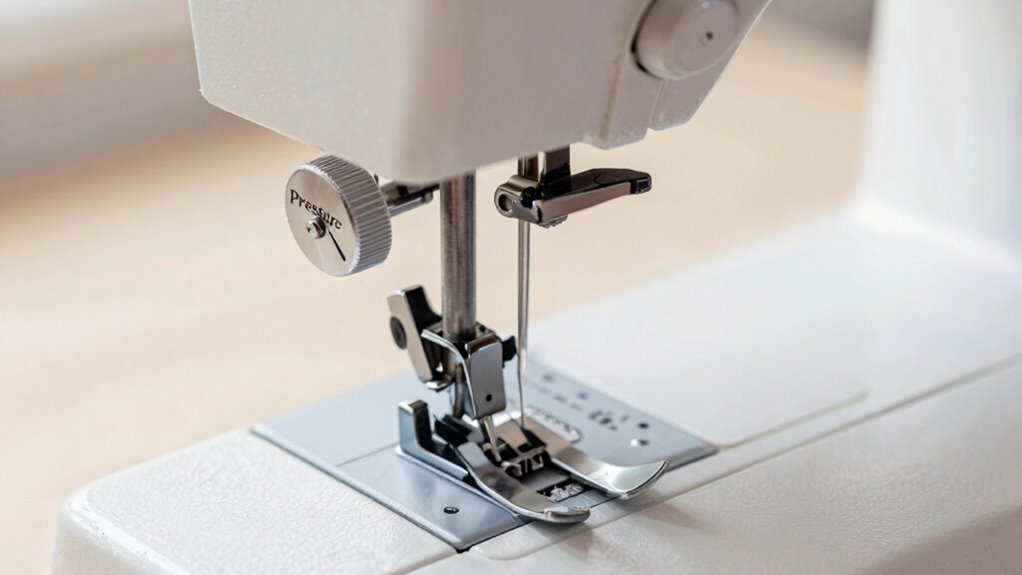
Presser foot pressure is a hidden but essential setting on your sewing machine that controls how firmly the presser foot presses down on fabric. Proper adjustment affects stitching quality, fabric handling, and prevents issues like puckering or slipping. Different fabrics require different pressures for perfect results. If you’re curious how to fine-tune this setting for various projects, you’ll find useful tips and instructions to help you sew more confidently and consistently.
Key Takeaways
- The presser foot pressure dial adjusts how firmly the presser foot presses against fabric for optimal feeding.
- Proper adjustment prevents puckering, slipping, and uneven stitches across different fabric types.
- Fine-tuning the pressure is essential for handling delicate, heavy, or layered fabrics effectively.
- Always test adjustments on scrap fabric to ensure stitch quality and prevent damage.
- Regularly checking and adjusting the dial helps maintain consistent sewing results and machine performance.
What Is Presser Foot Pressure and Why Is It Important?
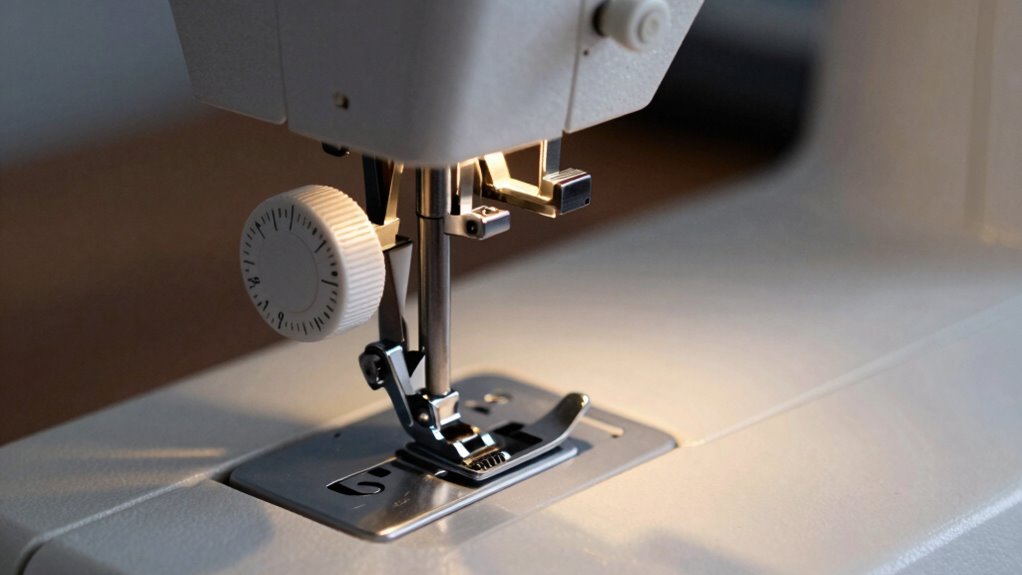
Presser foot pressure refers to the force exerted by the sewing machine’s presser foot onto the fabric as you sew. Proper pressure ensures your stitches are even and consistent. If the pressure is too high, it can cause puckering or stretch the fabric, while too little pressure might lead to slipping or uneven stitches. Adjusting presser foot pressure helps your machine handle different fabric types and project needs. It also works hand-in-hand with thread tension and needle selection to produce quality stitches. For lightweight fabrics, reduce pressure to prevent puckering. On thicker fabrics, increase pressure for better control. Correct presser foot pressure makes it easier to manage thread tension and choose the right needle, resulting in professional-looking results every time. Additionally, understanding your sewing machine’s features allows for precise adjustments and optimal performance to achieve the best sewing outcomes. Being aware of fabric types and their specific needs can greatly improve your sewing experience and finished project quality, especially when you utilize fabric-specific settings. Recognizing how adjustable presser foot pressure interacts with various sewing techniques can further enhance your control over the stitching process.
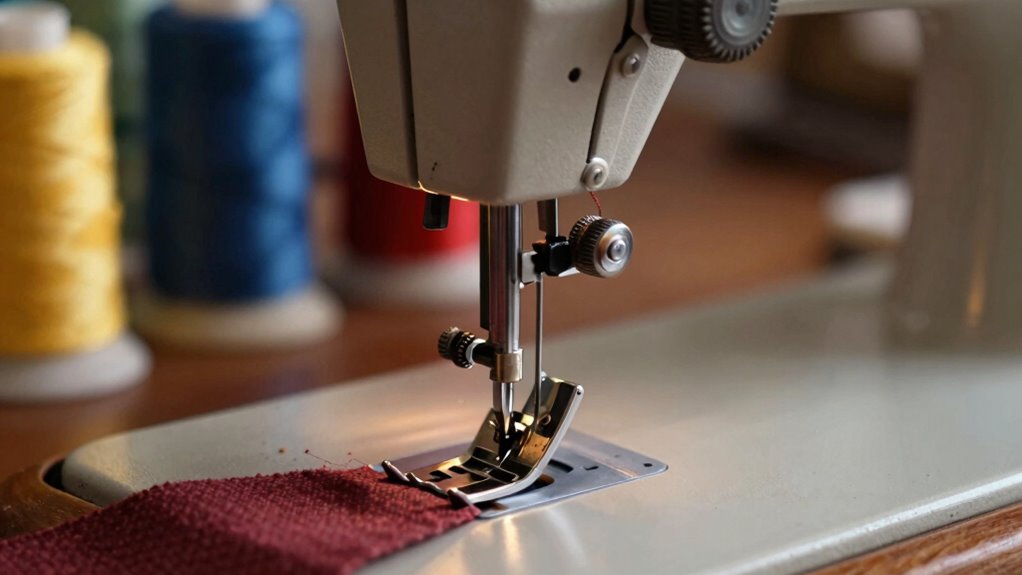
How Presser Foot Pressure Affects Different Fabrics and Projects

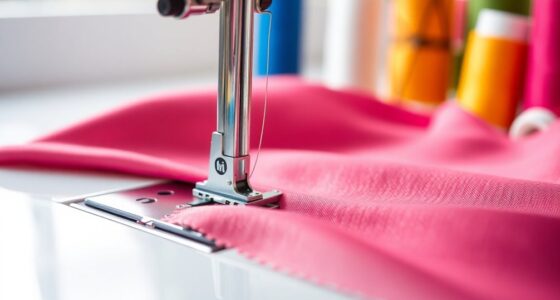
Adjusting presser foot pressure directly impacts how well your sewing machine handles different fabrics and projects. For delicate fabrics with significant stretch, like jersey or silk, lower pressure prevents puckering and allows for smoother seams. Heavier materials like denim or canvas require higher pressure to keep fabric steady, especially at higher sewing speeds. Proper pressure ensures consistent stitches and avoids skipped stitches or fabric slippage. Additionally, presser foot pressure can be fine-tuned to optimize sewing outcomes for a wider range of fabric types and project requirements. Understanding the fabric stretch helps in selecting the appropriate pressure setting. When working with multiple layers or tricky textures, adjusting the pressure dial can help maintain control and precision. Properly setting the pressure can make a significant difference in achieving professional-looking results across diverse sewing projects. Being aware of machine calibration can further help in maintaining optimal tension and stitch quality.
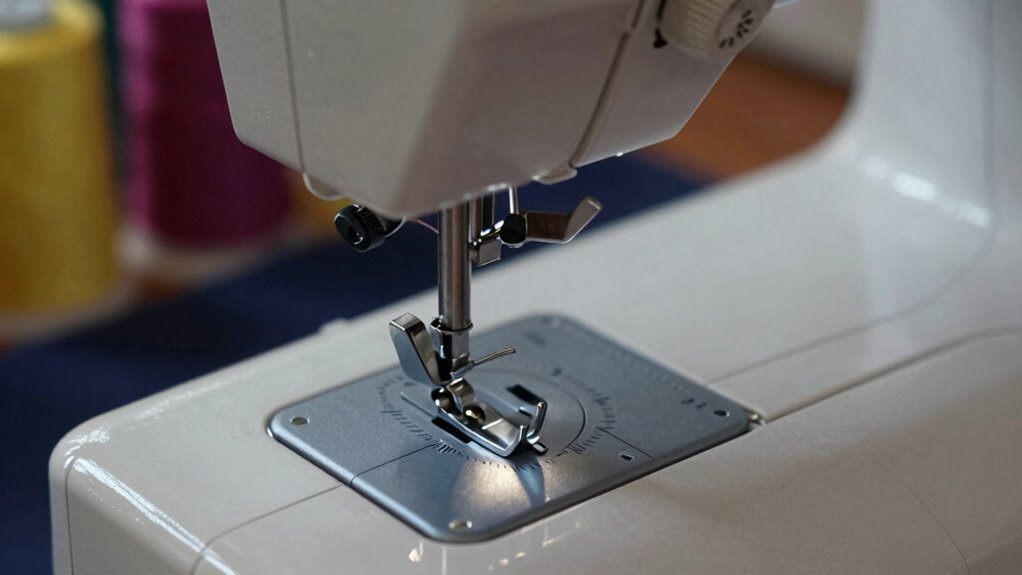
How to Check If Your Presser Foot Pressure Is Correct
To guarantee your sewing machine is working at its best, it’s important to check if the presser foot pressure is set correctly. Start by sewing a few test stitches on scrap fabric, paying attention to the thread tension and stitch quality. If the stitches are uneven or puckered, the pressure might be off. Adjust the pressure so the fabric feeds smoothly without puckering or slipping. Make sure the needle size matches your fabric and thread tension, as mismatched settings can affect your results. When testing, observe how the fabric moves under the presser foot. If it drags or slips, the pressure needs to be increased or decreased accordingly. Regularly checking these factors ensures ideal sewing performance and professional-looking results. Additionally, understanding the presser foot pressure adjustment can help prevent damage to delicate fabrics and improve overall stitch consistency. Knowing how to properly adjust presser foot pressure can extend the lifespan of your sewing machine and enhance your sewing experience. Paying attention to the fabric feeding process can also prevent common sewing issues and help maintain consistent stitch quality. Incorporating automation features into your sewing routine can further optimize the process and reduce manual adjustments.
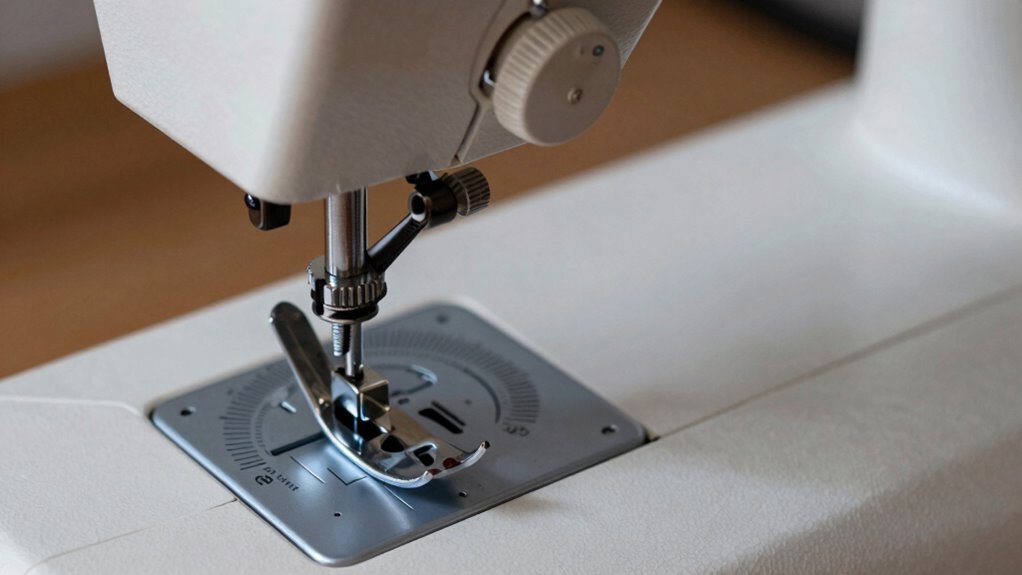
Step-by-Step: How to Safely Adjust Presser Foot Pressure
Before making any adjustments, verify your sewing machine is turned off and unplugged for safety. To safely adjust presser foot pressure, start by locating the adjustment dial or screw on your machine. Loosen or tighten it gradually while considering your thread tension and needle size. Use the following guide:
| Presser Foot Pressure | Recommended For | Adjustment Tip |
|---|---|---|
| Light | Thin fabrics | Slightly loosen |
| Medium | Standard fabrics | Default setting |
| Firm | Heavy fabrics | Slightly tighten |
Check your stitch quality after each adjustment. Proper presser foot pressure ensures even stitches and reduces fabric puckering, especially when matching thread tension and needle size. Additionally, understanding the fabric type helps in setting the correct presser foot pressure for optimal sewing results. Recognizing the machine type can also influence how you adjust the pressure for different projects. Being aware of the sewing techniques involved can further optimize your machine’s performance and fabric handling. It’s also helpful to consult your machine’s user manual for specific guidance on pressure adjustments to prevent damage. Moreover, adjusting presser foot pressure appropriately can improve overall sewing efficiency and fabric control.
Common Sewing Problems Caused by Incorrect Presser Foot Pressure
Incorrect presser foot pressure can lead to a variety of sewing issues that compromise your project’s quality. When the pressure is too high or too low, it affects how fabric feeds through the machine, causing uneven stitches or puckering. Poor presser foot pressure can also disrupt thread tension, leading to loose or tight stitches that ruin the seam. Additionally, improper pressure might cause bobbin misalignment, resulting in skipped stitches or thread jams. These problems make sewing frustrating and can ruin your fabric or project. Ensuring the presser foot pressure is correctly set helps maintain consistent fabric feeding, proper thread tension, and correct bobbin alignment. Proper presser foot pressure is essential for consistent sewing performance and achieving professional-looking, durable stitches. This consistency is crucial for achieving professional-looking, durable stitches and a smooth sewing experience.
Tips for Fine-Tuning Presser Foot Pressure for Specific Fabrics

When fine-tuning your presser foot pressure, start by adjusting for the fabric’s thickness to prevent puckering or slipping. Consider the specific type of fabric you’re sewing—lighter materials need gentler pressure, while thicker fabrics require more force. Always test your settings on scrap pieces first to make certain of smooth, even stitches before working on your actual project. Additionally, understanding fabric care can help you select the appropriate tension and pressure settings for different textiles.
Adjust for Thickness
Adjusting the presser foot pressure for different fabric thicknesses is essential to achieve smooth, even stitches. When working with varying fabric layers, you need to fine-tune the pressure to prevent puckering or slipping. Thicker fabrics, like denim or leather, require more pressure, while lightweight fabrics benefit from less. Keep in mind that fabric elasticity can also impact tension—stretchy materials need gentle pressure to avoid distortion. Regular sewing machine maintenance guarantees your adjustments are effective and consistent. Being aware of media literacy is important to recognize any online tutorials or guides that can assist with proper machine adjustments. Additionally, understanding sewing machine mechanics can help you troubleshoot issues that arise from incorrect pressure settings. Properly understanding machine settings can further improve your sewing results by ensuring all adjustments work harmoniously. To optimize your settings, consider these tips:
- Test on scrap fabric before sewing your project.
- Adjust pressure gradually for different thicknesses.
- Recheck tension after any presser foot adjustments.
Being familiar with fabric types can help you select the right pressure for each project. Recognizing proper technique can also prevent common sewing mistakes and enhance your overall results.
Consider Fabric Type
Different fabric types respond differently to presser foot pressure adjustments, so tailoring your settings can considerably improve stitch quality. For fabrics with high stretch, lower pressure helps prevent puckering and allows for better seam flexibility. Conversely, fabrics prone to shrinking require higher pressure to keep the fabric stable and avoid slipping. Consider these common fabric characteristics:
| Fabric Type | Pressure Adjustment |
|---|---|
| Stretch fabrics | Reduce pressure to prevent puckering |
| Woven fabrics | Moderate pressure for stability |
| Knits and stretchy | Lower pressure to accommodate stretch |
Adjusting pressure based on fabric stretch or shrinkage ensures cleaner stitches and less fabric distortion during sewing. Always test on scrap pieces to find the perfect setting for your project.
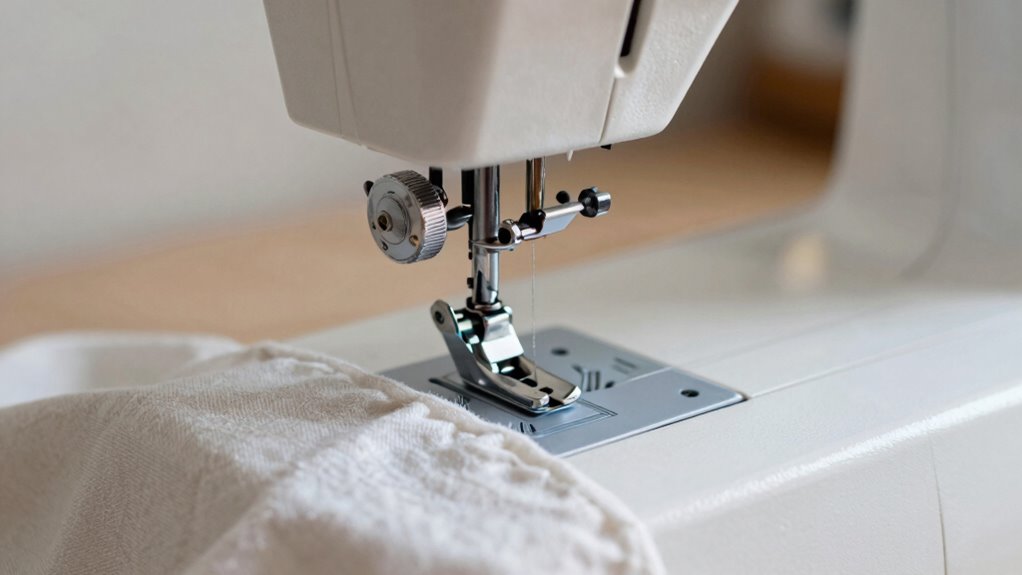
Test on Scrap Pieces
Have you tested your settings on scrap fabric before starting your project? Doing a quick test lets you fine-tune presser foot pressure for your specific fabric. Adjust thread tension if your stitches are puckering or loose, and experiment with different needle sizes to guarantee smooth sewing. Make sure to:
- Use the same fabric type and weight as your project for accurate results
- Check stitch quality and appearance, adjusting thread tension as needed
- Confirm that presser foot pressure isn’t causing fabric puckering or slipping
When Should You Adjust Presser Foot Pressure Instead of Other Settings?

You should consider adjusting the presser foot pressure when working with certain fabric types that require more or less grip, like delicate or thick materials. If you notice uneven stitches or puckering, changing the pressure might be the right move before tweaking other settings. Layered or bulky fabrics often need pressure adjustments to guarantee smooth, even sewing.
Fabric Type Considerations
When working with thick or textured fabrics, adjusting the presser foot pressure can be more effective than changing stitch length or tension settings. This is especially true when dealing with fabrics where durability is key, or when you want to maintain ideal sewing speed without causing puckering or fabric damage. Proper pressure ensures the fabric feeds smoothly, reducing skipped stitches and uneven seams.
Consider adjusting presser foot pressure if:
- Your fabric is particularly thick or bulky, risking uneven stitching or fabric bunching
- You notice fabric slipping or shifting during sewing
- You want to preserve fabric integrity without compromising sewing speed or stitch quality
Stitch Quality Issues
Stitch quality issues such as skipped stitches, uneven seams, or puckering can often be traced back to improper presser foot pressure. If your thread tension is correct but stitches still look off, adjusting the presser foot pressure might be the solution. When sewing at high speeds, too much pressure can cause fabric puckering, while too little can lead to loose stitches. Conversely, at slower speeds, insufficient pressure might cause fabric slipping, affecting stitch consistency. Instead of constantly tweaking thread tension, try adjusting the presser foot pressure first, especially if you’re working with tricky fabrics or multiple layers. This adjustment helps maintain consistent fabric feed and stitch quality, ensuring your seams stay even and professional-looking without compromising your thread tension or sewing speed.
Layered or Thick Materials
Adjusting presser foot pressure becomes particularly helpful when working with layered or thick fabrics. When sewing layered fabrics or thick textiles, your machine may struggle to feed the material evenly, causing skipped stitches or uneven seams. Increasing presser foot pressure can help hold these dense materials securely, ensuring smooth stitching. Conversely, if the fabric is too compressed, it can distort seams or damage delicate layers.
Consider adjusting presser foot pressure when:
- You notice skipped stitches on layered fabrics
- The fabric bunches or slips during sewing
- Seam accuracy is compromised with thick textiles
Troubleshooting Presser Foot Pressure Issues : Quick Fixes
Troubleshooting presser foot pressure issues can often be straightforward with a few quick fixes. First, check your thread tension; if it’s too tight or loose, it can cause uneven stitching or skipped stitches. Adjusting the tension dial can resolve these problems quickly. Next, verify your needle size—using the wrong size for your fabric can affect stitch quality and presser foot performance. If your needle is too small or too large, it may cause puckering or skipped stitches, making it seem like presser foot pressure is off. Sometimes, simply replacing the needle with the correct size for your fabric and ensuring your thread tension is properly set can fix many common issues. These quick adjustments can often restore smooth sewing without extensive troubleshooting.
Mastering Presser Foot Pressure for Perfect Seams Every Time
Mastering presser foot pressure is vital to achieving perfect seams every time you sew. When you adjust pressure correctly, your stitches stay even, and fabric feeds smoothly. To do this effectively, consider these essential factors:
- Thread tension: Proper tension ensures balanced stitches and prevents puckering or loose seams.
- Needle selection: Choosing the right needle thickness and type helps maintain consistent pressure and reduces skipped stitches.
- Fabric type: Heavier fabrics may require more pressure, while delicate materials need less to avoid distortion.
Frequently Asked Questions
Can Presser Foot Pressure Be Adjusted on All Sewing Machines?
Not all sewing machines let you adjust presser foot pressure, but many do, especially models designed for versatile pressure adjustment methods. To find out if your machine is compatible, check the user manual or look for a pressure adjustment dial or screw. If it’s adjustable, you can easily fine-tune the pressure for different fabrics, improving stitch quality and preventing puckering. Always guarantee your machine supports this feature before attempting adjustments.
How Does Presser Foot Pressure Impact Seam Strength?
Adjusting presser foot pressure directly impacts seam strength by maintaining proper fabric tension and stitch durability. When pressure is too high, it can cause puckering or uneven stitches, weakening the seam. Too low, and fabric may shift, leading to inconsistent stitches. By fine-tuning this pressure, you guarantee the fabric stays steady, resulting in stronger seams with better stitch durability and consistent quality throughout your sewing project.
Is There a Recommended Presser Foot Pressure for Delicate Fabrics?
For delicate fabrics, you should set your presser foot pressure lower to prevent damage. Always consider your fabric selection and adjust tension settings accordingly. Looser pressure helps avoid puckering and stretching, ensuring a smooth finish. Start with a gentle setting, then test on scrap fabric, increasing pressure slightly if needed. This careful adjustment helps you achieve clean seams without compromising the delicate material’s integrity.
What Are Signs Indicating Presser Foot Pressure Needs Adjustment?
You’ll notice fabric puckering or uneven stitches if your presser foot pressure needs adjusting. If the fabric bunches up or slips, increase the pressure. Conversely, if the fabric drifts or the stitches are loose, decrease it. Pay close attention as these signs help you find the right balance, ensuring smooth sewing and professional-looking results. Regular adjustments keep your machine working perfectly on various fabrics.
Can Incorrect Presser Foot Pressure Cause Machine Damage?
Yes, incorrect presser foot pressure can cause machine damage. When pressure is too high or low, it disrupts machine calibration, leading to uneven stitches or thread tension issues. Over time, this stress can strain internal parts, increasing wear and tear. Always adjust the presser foot pressure correctly to maintain proper thread tension and make certain your machine runs smoothly, preventing costly repairs and extending its lifespan.
Conclusion
Mastering your presser foot pressure puts control in your hands, turning tricky fabrics into smooth seams and perfect stitches. When you understand how to check, adjust, and fine-tune this hidden dial, you’ll navigate your projects with confidence, troubleshoot issues effortlessly, and create with precision. It’s the key to revealing flawless results, transforming your sewing experience from guesswork to mastery, and making every stitch a demonstration to your skill and attention to detail.