
Princess seams are your quickest route to a beautifully tailored, professional look at home. They shape fabric over curves from shoulder or armhole to waist or hips, creating a sleek silhouette. By carefully drafting, sewing, and pressing these curved seams, you can achieve a polished finish that flatters your body. With the right techniques, you’ll get a custom fit in less time—stay with us to learn how to master these seams effortlessly.
Key Takeaways
- Draft and sew gently curved princess seams to contour your body for a tailored, professional look at home.
- Use precise marking tools and French curves to ensure smooth, accurate seam lines.
- Sew with steady stitches and press seams carefully to enhance fit and shape.
- Adjust seam allowances gradually to customize fit for different body types and fabric behaviors.
- Incorporate princess seams into existing garments or ready-mades for a quick, polished, tailored appearance.
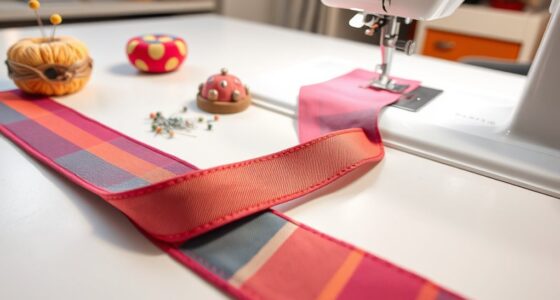
Top picks for "princes seam fastest"
Open Amazon search results for this keyword.
As an affiliate, we earn on qualifying purchases.
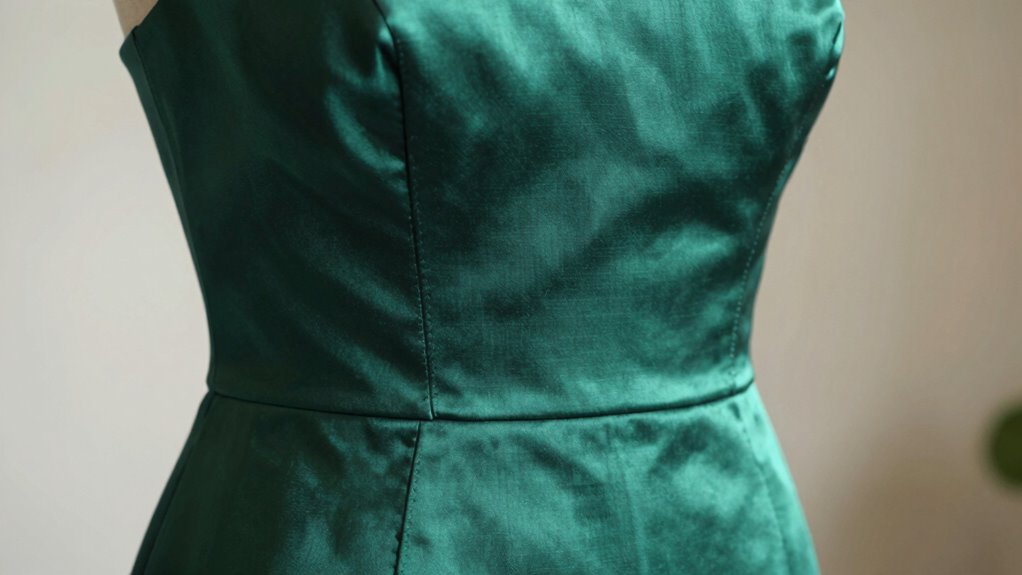
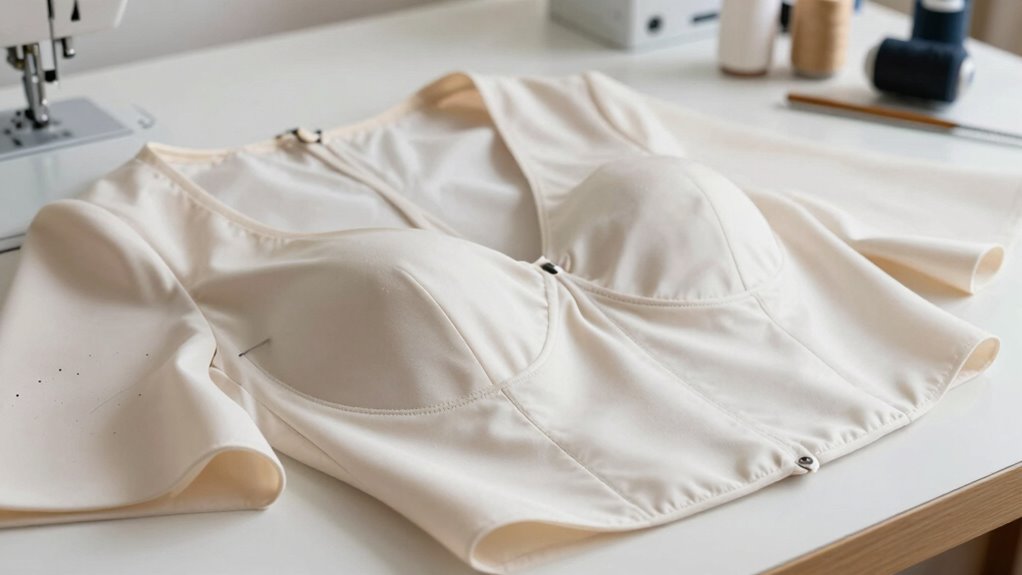
What Are Princess Seams and Why Do They Create a Tailored Look?
Have you ever wondered how some dresses seem to mold perfectly to your figure? That’s often thanks to princess seams. These seams run from the shoulder or armhole down to the waist or hips, shaping the garment to your curves. Fabric draping plays a big role, as princess seams allow the fabric to contour smoothly, creating a sleek, tailored look. The key is in the seam allowance, which provides just enough room to sew the seam accurately and press it flat, enhancing the fit. Unlike darts, princess seams distribute shaping more evenly, resulting in seamless, elegant lines. Additionally, understanding how Fabric draping interacts with seam placement can help you achieve a more professional finish. Proper seam allowances ensure your sewing projects are durable and precisely fitted. Furthermore, choosing the right fabric type can greatly influence how well the princess seams fit and drape over your body. When sewing princess seams, paying attention to seam alignment is crucial for a polished appearance. Mastering seam construction techniques can significantly improve the overall look of your garment. With proper technique, they can transform a simple fabric into a fitted, sophisticated dress that hugs your body beautifully, giving you that custom-tailored appearance at home.
How to Recognize and Draft Princess Seams in Your Patterns

To recognize princess seams in patterns, look for curved lines running from the shoulder or armhole down to the hem. Draftting these seams becomes easier when you understand how to trace smooth curves that fit your body’s contours. Once you master the curves, you can make adjustments for a flawless fit every time.
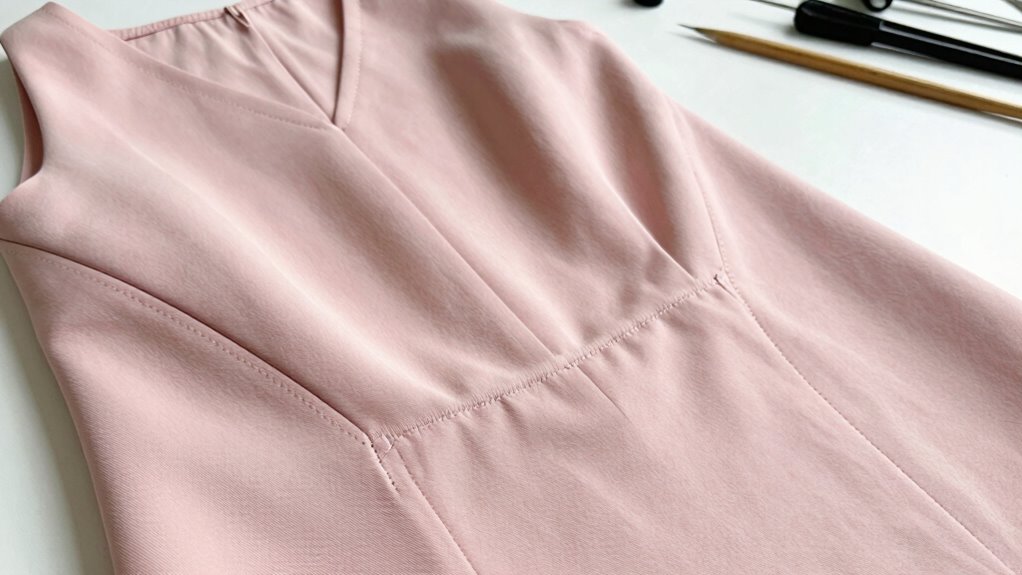
Spotting Princess Seam Lines
Wondering how to identify princess seam lines in a pattern? Look closely at the pattern pieces, especially the front and back bodices. Princess seams typically run from the shoulder or armhole down to the hem, shaping the garment to the body. They are often marked with a single, smooth curved line that contours the pattern. Check the pattern’s seam allowances; princess seams usually include seam allowances along the entire curve, making them easier to sew precisely. When examining fabric selection, remember that princess seams are often used in fitted dresses and blouses, so look for lines that create a slimming, tailored silhouette. Recognizing these lines helps in both pattern adjustments and fabric cutting, ensuring a perfect fit once sewn. Additionally, understanding the seam line placement can greatly improve your sewing accuracy and the overall fit of your finished garment.
Drafting Seam Curves Easily
Drafting smooth princess seam curves starts with understanding the natural contours of the body. To achieve seamless seam curvature, follow the body’s shape from the bust through the waist and hips. When pattern drafting, draw gentle, continuous lines that mirror these curves, avoiding sharp angles. Use your body as a guide, considering how the seam will flow and fit. Start by marking the bust point and waistline, then connect these points with a smooth, flowing line that tapers into the hips. Keep your hand steady, and make small adjustments as needed to maintain even curvature. Practice tracing these curves on your pattern paper until they feel natural, ensuring the princess seams will contour beautifully and create that tailored look you desire.
Adjusting for Perfect Fit
Recognizing and adjusting princess seams for a perfect fit require careful attention to body contours and pattern modifications. Start by examining your fabric choices; some fabrics, like stretch or drapey materials, may need different seam allowances for flexibility. When fitting, pin the princess seams closely along your bust, waist, and hips, checking for any pulling or gaping. If adjustments are needed, take in or let out the seam allowances accordingly, guaranteeing smooth curves. Remember to modify the seam lines gradually to maintain the seam’s integrity and shape. Accurate seam allowances are vital for a tailored look, so be precise. By paying close attention to fabric behavior and fitting carefully along the seam allowances, you’ll guarantee your princess seams contour perfectly to your body. Additionally, understanding seam allowance principles ensures your adjustments will hold and look professional. Being aware of how fabric type influences seam needs can further improve the final fit and durability.
How to Sew Princess Seams at Home: A Step-by-Step Guide
Sewing princess seams at home might seem intimidating, but with the right steps, you can achieve a smooth, professional look. Start by choosing fabric choices that suit your project and verify they’re stable enough to hold the seam shape. Pin your fabric pieces together, aligning the seam allowances—generally 1/4 to 3/8 inch—on both sides. Sew along the seam lines, carefully curving as you go to match the body’s natural contours. Press the seams open or to one side, depending on your fabric and pattern instructions, to create a sleek finish. Remember, accurate seam allowances are key to a perfect fit and seamless appearance. Take your time, maintain steady stitching, and you’ll craft beautifully tailored princess seams right at home. Understanding fabric stability can help you select the best materials for a polished result.
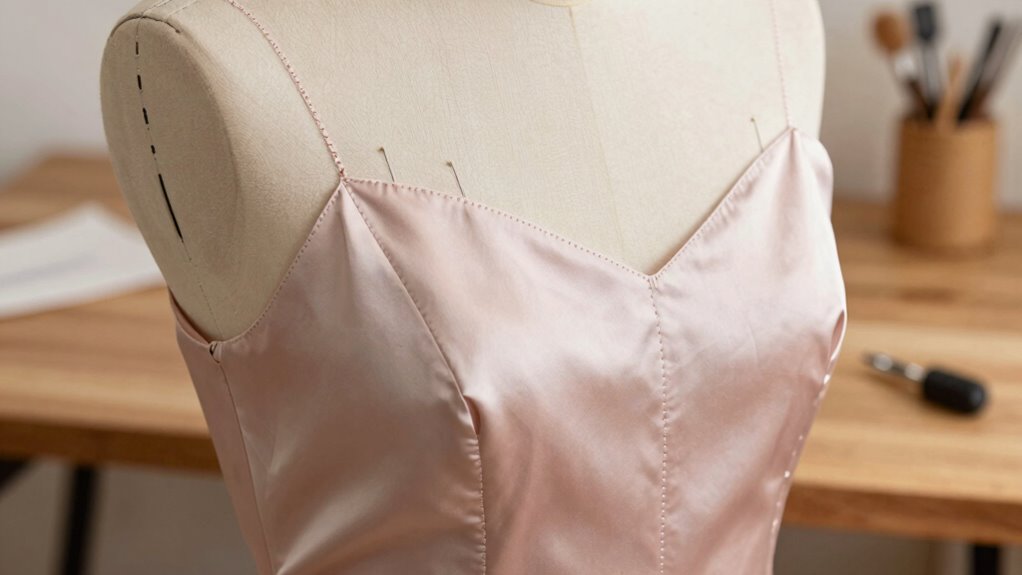
Tips for Sewing Smooth, Flattering Curved Princess Seams
To achieve smooth, flattering princess seams, start by marking the curves precisely on your fabric so they match your body’s contours. Using proper seam guides will help keep your stitching accurate and consistent along those curves. Don’t forget to press your seams carefully to enhance the natural, flattering shape of your finished garment. Incorporating traditional tailoring techniques can further improve the fit and elegance of your seams.
Marking Seam Curves Precisely
Accurately marking your seam curves is essential for achieving smooth, flattering princess seams. Start with a good fabric selection that holds its shape well to prevent distortion. When marking, use tailor’s chalk or a fabric pen to trace the seam lines carefully, ensuring you follow the natural curves precisely. Pay close attention to seam allowances; mark them consistently to avoid puckering or uneven seams. To get smooth curves, pin your fabric securely and use a French curve or tailor’s ruler for exact markings. Take your time, and don’t rush the process—precise markings make all the difference during sewing, helping your princess seams lay flat and look professionally finished. Proper marking sets the foundation for a sleek, tailored look.
Using Proper Seam Guides
Using proper seam guides can make all the difference in sewing smooth, flattering princess seams. Start by aligning your fabric along the grain to guarantee the seams hang correctly and don’t twist. Use tailor’s chalk or fabric marking tools to draw your seam lines, making sure they follow the natural curve of your design. When sewing, keep your seam allowances consistent, whether you’re pressing or sewing, to maintain an even shape. A clear seam guide—such as a ruler with seam allowances marked or a foot with a seam guide—helps you stay on track. This precision prevents puckering or uneven curves, giving your princess seams a sleek, professional look. Proper guidance ensures your seams contour beautifully without any distortions.
Pressing for Flattering Contours
Proper pressing techniques bring your princess seams to life by enhancing their smooth, curved shape. To achieve flattering contours, press carefully along the seam allowance, using a steaming iron to set the fabric draping beautifully. Avoid pulling or stretching the fabric, which can distort the curve. Press from the seam’s right side, gently rolling the seam allowance to one side for a polished finish. Use a pressing cloth if needed to prevent shine and protect delicate fabrics. For added precision, follow this quick guide:
| Technique | Benefit |
|---|---|
| Press with a steaming iron | Shapes fabric draping naturally |
| Roll seam allowance lightly | Creates smooth, flattering curves |
| Avoid stretching fabric | Maintains seam integrity and shape |
| Use pressing cloth | Protects fabric and seam details |
Master these steps for seams that contour perfectly and look professionally finished. Consistent pressing helps ensure your seams stay smooth and well-defined throughout your sewing project.
Common Mistakes When Sewing Princess Seams and How to Avoid Them
Sewing princess seams can be tricky, and it’s easy to make mistakes that affect the fit and finish of your garment. One common error is choosing the wrong fabric; lightweight or slippery fabrics can shift, making it hard to sew smooth, accurate seams. Always select stable fabric with good drape for clean lines. Another mistake is neglecting seam allowances—cutting or sewing them unevenly causes distorted seams and poor fitting contours. Be precise with seam allowances, and stay consistent throughout. Avoid rushing through sewing; take your time to pin or clip carefully, especially at curves. Proper pressing and trimming are essential to achieving that sleek, tailored look with princess seams. Additionally, understanding the importance of proper fabric selection can greatly influence the success of your sewing project. Paying attention to grain lines ensures that your seams align correctly and your garment maintains its shape over time. Using a quality sewing machine can also help produce more consistent stitches, reducing errors and improving seam accuracy. Being mindful of tension settings on your machine can further enhance seam quality and prevent puckering or uneven stitches.
How to Customize Princess Seams for Different Body Types
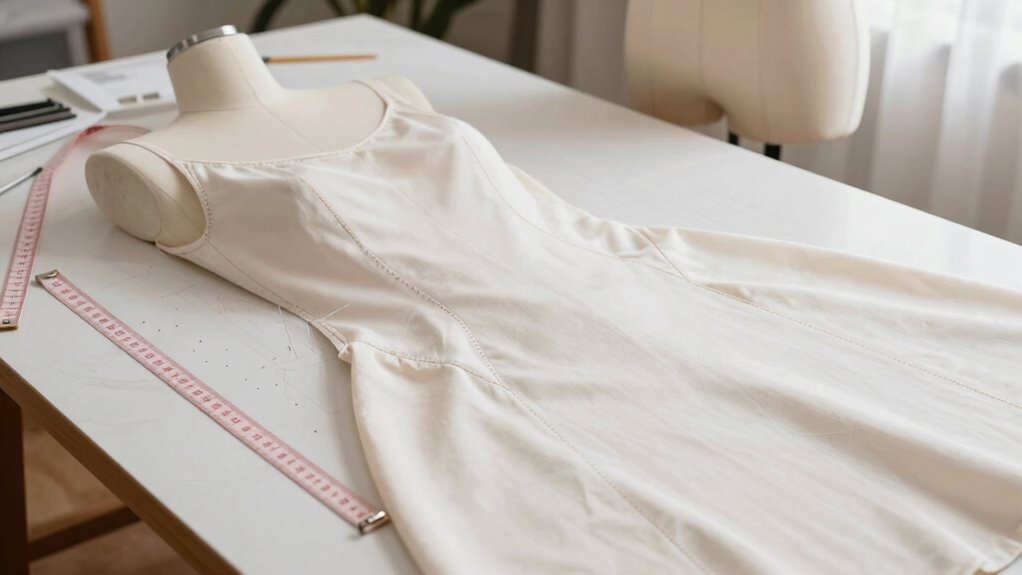
To guarantee princess seams flatter your unique body shape, you need to customize their placement and shaping accordingly. Start by considering your body’s proportions and where you want to emphasize or downplay features. Adjust seam variation—like adding more contouring or subtle curves—to suit your curves or straight frame. For fuller busts, create more shaping at the bust area, while for straighter figures, extend seams to add the illusion of curves. Fabric choice is vital; stretch fabrics may require less seam shaping, while stiffer fabrics benefit from more precise contouring. Always test your seam variations on muslin first, ensuring the seams follow your natural curves. Proper customization helps achieve a tailored look that complements your body, no matter your shape. Understanding body proportions can further enhance your ability to customize princess seams effectively. Additionally, considering sustainable sewing practices can help you select fabrics and techniques that are environmentally friendly and durable over time. Incorporating wave and wind patterns into your fabric selection can also add a unique, flowing aesthetic to your garments. Also, paying attention to fabric stretch properties can make a significant difference in how well your seams conform to your body. Exploring seam allowance adjustment techniques can further refine the fit and finish of your tailored garments.
Adding Princess Seams to Different Garment Styles
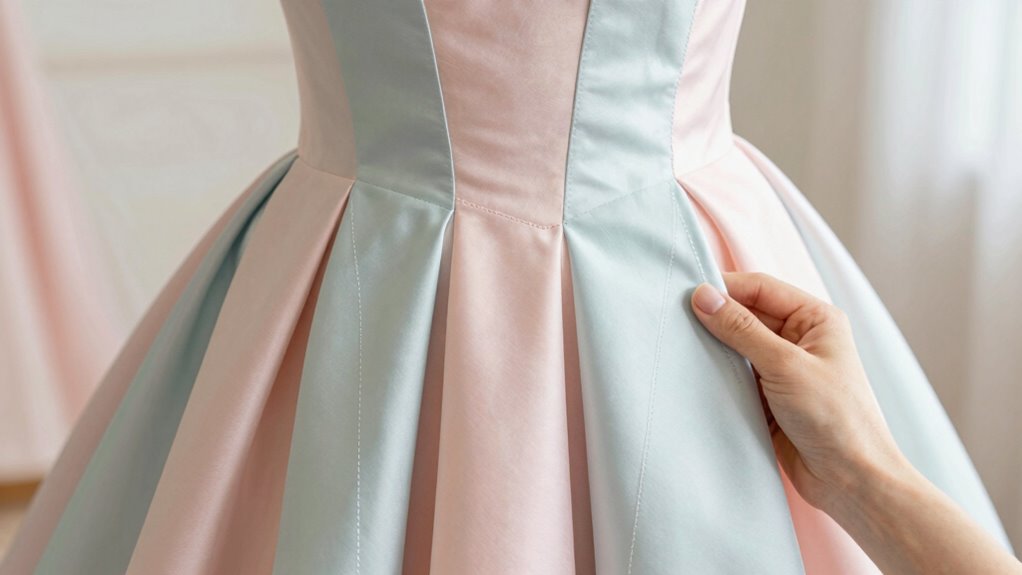
Ever wondered how to incorporate princess seams into various garment styles to enhance fit and style? The key is careful fabric selection and precise pattern alteration. Choose fabrics with good drape, like silk, chiffon, or stretch cotton, to guarantee the princess seams lie smoothly and flatteringly. When adding seams to different styles—such as A-line dresses, tops, or skirts—you’ll need to modify the original pattern carefully. This involves drawing in the princess seam lines and adjusting the side or center panels accordingly. Keep in mind that each garment style may require slight tweaks to seam placement or length for the best fit. Additionally, understanding fabric behavior can help you anticipate how seams will behave after construction, leading to better results. Paying attention to attention to detail ensures your finished garment looks polished and professional. Being aware of seam placement techniques can further improve the overall silhouette and comfort of your finished piece. Recognizing how pattern alterations impact the final fit allows for more precise and tailored results. For optimal results, consider the fabric stretch properties to ensure the seams contour smoothly with the body.
Quick Ways to Add Princess Seams to Ready-Made Clothing

Adding princess seams to ready-made clothing can be a quick and effective way to improve fit and style without starting from scratch. Start by carefully selecting fabric that matches or complements your garment’s material, ensuring it’s suitable for seam work. To add the seams, mark the seam lines along the bust, waist, and hips, then pin or baste the fabric to create smooth, precise lines. When sewing, remember to account for seam allowances—usually 1/4 to 1/2 inch—so your seams will lay flat and look professional. Use a sharp needle and stretch or zigzag stitch to accommodate the fabric’s stretch, if any. Proper handling of fabric grain alignment can help ensure your seams stay straight and durable. With patience and attention to detail, you can transform a simple piece into a tailored, princess-seamed masterpiece in no time.
Troubleshooting Fit Issues With Princess Seams

When princess seams don’t fit perfectly, pinpointing the specific issues can save you time and frustration. First, check the fabric stretch—if it’s too stretchy, seams may sag or pull. Second, ensure seam allowances are consistent; too narrow allowances can cause fitting problems. Third, compare the seam lines with your body curves—if they’re off, adjust the pattern or seam placement. Fourth, consider the fabric’s drape and how it interacts with the seams; stiff fabrics may need extra easing or slight adjustments. Always remember, proper seam allowances give room for fitting tweaks, and understanding fabric stretch helps prevent issues before they arise. Making small adjustments in these areas can dramatically improve the overall fit of your princess seams.
Why Princess Seams Are the Fastest Way to Achieve a Professional Finish
Princess seams are the quickest way to get a polished, professional look because they allow for precise seam placement that improves fit. They naturally flatter your body contours, enhancing your shape without extra effort. Plus, they’re easy to customize, giving you a tailored finish in less time.
Seam Placement Precision
Achieving a polished, professional finish with princess seams is all about precise seam placement. To do this effectively, you need to focus on how your fabric drapes and the seam allowance you leave. Here are key tips:
- Use tailor’s chalk or fabric markers to trace exact seam lines, ensuring consistent placement.
- Pin along the seam line carefully before sewing to maintain fabric draping and avoid shifting.
- Keep seam allowances even and accurate to prevent puckering and uneven fit.
- Sew slowly, checking your work frequently for precision, especially around curved areas.
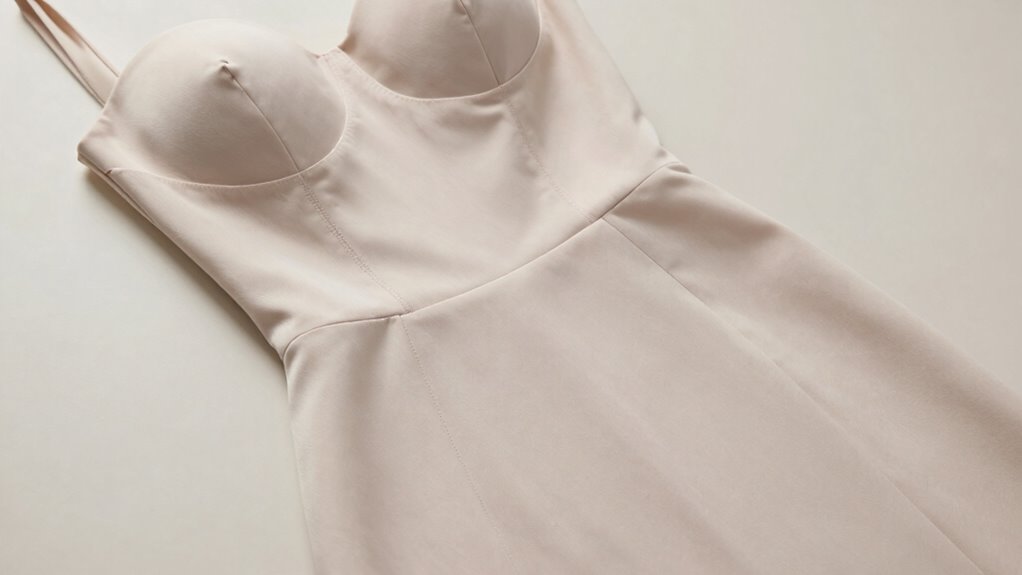
Flattering Body Contours
Because of their curved design, princess seams naturally contour your body, creating a smooth, flattering silhouette. Proper seam alignment guarantees that the curves follow your natural body lines, enhancing your figure without adding bulk. When pattern symmetry is maintained, the seams align perfectly on both sides, resulting in a balanced and professional look. This precise alignment allows the fabric to mold seamlessly around your curves, emphasizing your best features. Unlike straight seams, princess seams distribute fitting adjustments evenly, making them ideal for achieving a tailored, body-conscious shape. With careful attention to pattern symmetry and seam alignment, you’ll effortlessly craft garments that enhance your natural contours, giving you a polished, custom fit every time.
Easy to Customize
Have you ever wondered how to get a polished, professional look quickly? Princess seams are incredibly easy to customize because they adapt seamlessly to your body’s fabric draping. They also offer excellent pattern symmetry, making alterations straightforward. Here’s why they’re your go-to:
- You can tweak seam lines to better fit your curves without complicated pattern changes.
- Adjusting seam length or angle can change the overall silhouette easily.
- Fabric draping guides the seams naturally, giving your garment a smooth, tailored appearance.
- They allow for quick modifications, whether adding or removing ease, ensuring a perfect fit every time.
This flexibility means you can personalize your garment to your body shape, making princess seams the fastest route to a professional finish at home.
Frequently Asked Questions
Can Princess Seams Be Added to Knit Fabrics?
Yes, you can add princess seams to knit fabrics, but you need to take into account knit fabric flexibility. Knits stretch and move more than woven fabrics, so sew with a stretch stitch or serger to maintain flexibility. Use lightweight knits to prevent seam bulk and ensure smooth shaping. Carefully pin and baste the seams first, then sew slowly to keep the princess seams neat and comfortable, optimizing the tailored look at home.
What Tools Are Essential for Sewing Princess Seams?
Think of sewing princess seams like sculpting a masterpiece—you’ll need your toolkit. You should have a sewing machine for precision, a seam ripper for adjustments, tailor’s chalk to mark your lines, and a pressing ham to shape curves smoothly. These essential tools help you craft seamless, tailored curves at home, turning your fabric into a perfect fit. Without them, your project’s like a sculpture without definition.
How Do Princess Seams Affect Garment Durability?
Princess seams enhance garment durability by providing seam strength and maintaining fabric stretch. You’ll find that well-constructed princess seams distribute stress evenly, reducing the risk of tearing or puckering over time. When you sew with sturdy stitches and align fabric stretch properly, these seams stay resilient through wear and washing. This guarantees your tailored look lasts longer, offering both a sleek appearance and improved durability for your garment.
Are There Alternative Seam Styles for a Similar Effect?
You can explore seam alternatives like dart seams, princess seams, or princess seam-inspired curved seams to achieve a similar tailored effect. These shaping techniques contour your body, providing a fitted look while offering variety in style. Darts create precise shaping, while curved seams mimic princess seams’ elegance. By choosing different seam styles, you can customize your garment’s fit and look, giving you versatile options for a sleek, tailored appearance at home.
How to Adjust Princess Seams for Maternity Wear?
To adjust princess seams for maternity wear, you should add extra seam allowances at the bust, waist, and hip areas for flexibility as your body changes. Use fabric with good stretch to make certain of comfort. When sewing, leave wider seam allowances, and consider adding panels or gussets if needed. This way, your garment can expand smoothly, giving you a tailored, comfortable fit throughout your pregnancy.
Conclusion
So, next time you want that perfectly tailored look without a trip to the tailor, remember princess seams are your secret weapon. They’re the fastest way to turn simple fabric into a stunning, figure-flattering masterpiece—no magic required. Who knew that a few curved lines could transform your wardrobe? So go ahead, embrace those seams and watch your clothes go from basic to breathtaking—sometimes, all it takes is a little seam-agination.