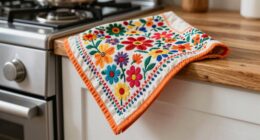
Using a sewing pattern is simple and fun! Start by choosing the right format, like paper or digital, based on your preference. Next, follow the size chart to pick your size, and gather all the necessary materials. Prepare your pattern pieces and lay them out for cutting. Once everything's ready, cut your fabric accurately and follow the included instructions for assembly. Stick around, and you'll find tips on making the process even smoother and enjoyable!
Key Takeaways
- Begin by selecting a pattern that matches your skill level and desired garment style for a smoother sewing experience.
- Take accurate body measurements and refer to the pattern's size chart to ensure a proper fit.
- Prepare your pattern pieces by circling necessary components and organizing them for easy access during cutting.
- Follow the cutting layout provided in the instructions to maximize fabric usage and ensure accurate cutting.
- Use markings like notches and darts for proper alignment during assembly, checking regularly to avoid errors.
What Is a Sewing Pattern and Why Do You Need One?

A sewing pattern is your roadmap to creating a garment, acting as a precise template for cutting fabric and guiding you through the assembly process.
It includes detailed pattern instructions that help you understand how to put together the various pattern pieces accurately. By using a pattern, you guarantee that your finished garment fits well, as it's designed based on standard body measurements.
Patterns also save you time and minimize fabric waste, as they provide a clear structure for your project. You'll find essential information like size charts and fabric recommendations, making your sewing experience smoother.
The Different Sewing Pattern Formats You Can Buy

When you're ready to start a sewing project, you'll find various pattern formats available to suit your needs.
Paper patterns offer a traditional approach with detailed instructions, while digital patterns provide the convenience of instant access and easy printing.
Understanding the benefits of each format can help you choose the best option for your sewing journey.
Paper Patterns Overview
While exploring the world of sewing patterns, you'll find that various formats cater to different preferences and needs. Paper patterns are a staple for many, especially complete beginners, as they come with detailed instructions and cutting layouts tailored for various fabric types. You can easily follow the instructions to create your garment step by step.
Here's a quick overview of the different paper pattern formats:
| Format | Description |
|---|---|
| Traditional | Printed on large sheets with detailed guides |
| Combination | Offers both paper and digital options |
| Camimade Patterns | Exclusively PDF, focusing on digital users |
| Projector Files | Allows cutting directly with a projector |
| DIY Patterns | Create your own from scratch |
Remember to follow our blog for more tips!
Digital Patterns Benefits
Exploring digital patterns opens up a world of convenience and flexibility for sewists of all levels. Here are some benefits you'll love:
- Instant Access: You can download patterns immediately, perfect for those last-minute projects.
- Multi-Size Options: Many digital patterns offer several sizes in one file, giving you great customization without extra costs.
- Adjust and Modify: Use software to easily tweak the patterns for a personalized fit or design before printing.
- Projector Files: Cut your fabric directly from a projected image, eliminating the need for paper patterns and saving time.
Additionally, digital patterns can be stored and accessed easily, ensuring you always have proper airflow around your workspace to enhance your sewing experience.
With digital patterns, you'll enjoy a seamless sewing experience that fits your needs perfectly!
The Different Pattern Levels
How do you know which sewing pattern level is right for you?
Start by evaluating your experience with different types of sewing. If you're new, beginner patterns are your best bet; they focus on simplicity and avoid complex closures.
Once you're comfortable, try confident beginner patterns that introduce elements like zips and sleeves, perfect for those with some sewing experience.
If you’ve tackled multiple garments, intermediate patterns will challenge you with more advanced sewing techniques. As you progress in your sewing journey, these intermediate patterns will not only enhance your skills but also introduce you to new techniques that can elevate your projects. For instance, you might learn how to align split embroidery designs, ensuring that your finished pieces have a polished and professional touch. Embracing these challenges will not only boost your confidence but also expand your creative repertoire, paving the way for more complex and rewarding sewing endeavors.
Finally, if you're ready to push your skills further, advanced patterns await, requiring significant experience and offering opportunities to learn new techniques.
Choose the level that matches your confidence and skills, and enjoy the sewing journey!
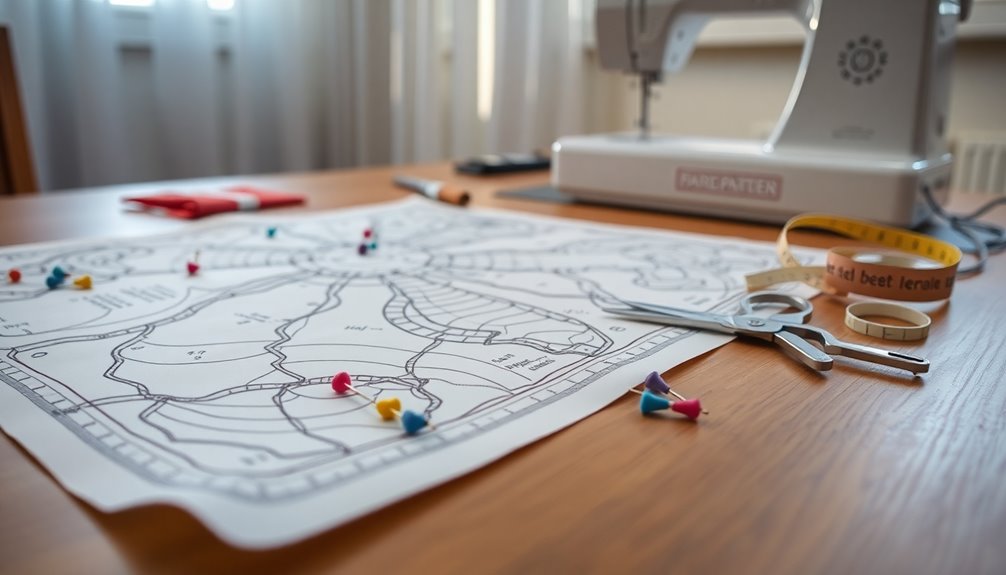
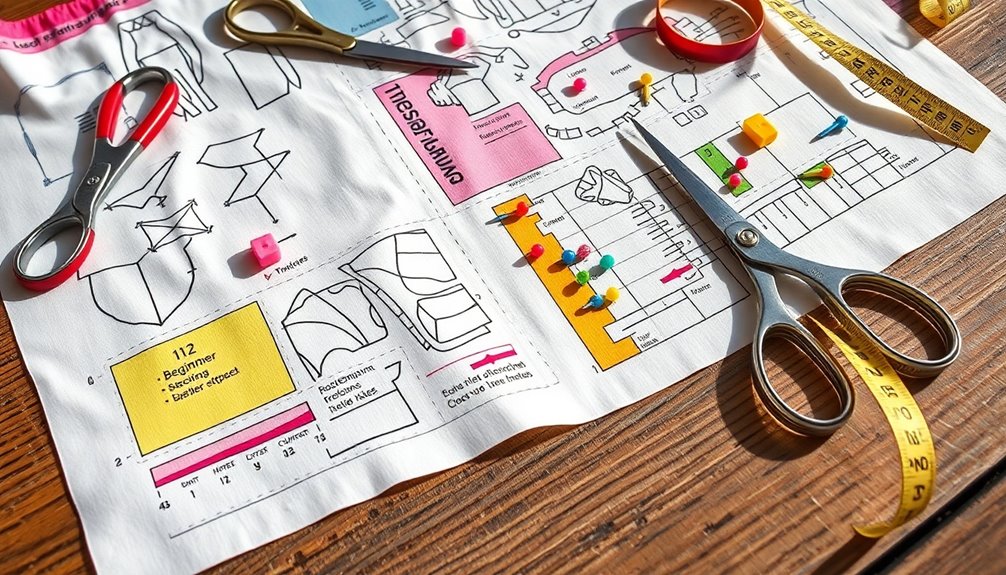
How to Discover the Pattern Content
To effectively discover the pattern content, start by carefully reviewing the pattern envelope or instruction booklet. This will help you understand what you need to cut and prepare for your project.
Here are four key steps to follow:
- Inventory List: Check the list of pattern pieces and their quantities provided by pattern companies.
- Seam Allowances: Look at the pattern for seam allowances, typically between 0.5cm and 1.5cm.
- Fabric Needs: Verify you check the fabric recommendations and quantities needed for your project.
- Notions: Familiarize yourself with any additional notions required, like zips, buttons, or interfacing.
How to Choose Your Size
Choosing the right size for your sewing project starts with taking accurate body measurements.
Always refer to the pattern's size chart instead of standard clothing sizes to find your best fit.
If you fall between sizes, opt for the larger one to guarantee comfort and ease in your garment.
Use Body Measurements
Selecting the right size for your sewing pattern is essential for achieving a well-fitting garment.
To do this effectively, focus on your body measurements. Here's how to choose the right size:
- Measure your bust, waist, and hips accurately.
- Check the pattern's size chart to find your corresponding size.
- Pay attention to finished garment measurements for a better fit assessment.
- If your measurements fall between sizes, opt for the larger size to guarantee comfort.
Refer to Size Chart
A size chart is your best tool for finding the right fit when using a sewing pattern. Always refer to the pattern's size chart instead of standard clothing sizes, as each brand has different sizing standards.
Start by comparing your bust, waist, and hip measurements against the size chart. If your measurements fall between two sizes, opt for the larger size for added comfort and ease of alterations later.
Don't forget to check the finished garment measurements, which show how the garment will fit once completed. For a more tailored fit, consider grading between sizes, particularly in areas like the bust, waist, and hips.
This guarantees your final piece fits perfectly to your unique shape.
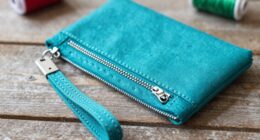
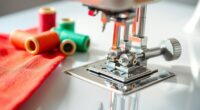
How to Gather the Required Materials
Gathering the required materials for your sewing project is essential to guarantee a smooth process.
Start by checking your sewing pattern for a list of what you need to buy, including the type of fabric and any notions like zippers or buttons.
Here's a quick checklist to help you:
- Fabric: Choose the best to choose based on the pattern and consider adding seam allowances.
- Notions: Gather zippers, buttons, or interfacing as specified.
- Tools: You'll need scissors, straight pins, tailor's chalk, and a tape measure.
- Extra Fabric: It's wise to buy a little more fabric around to account for mistakes.
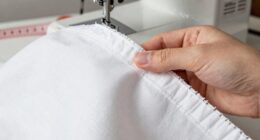
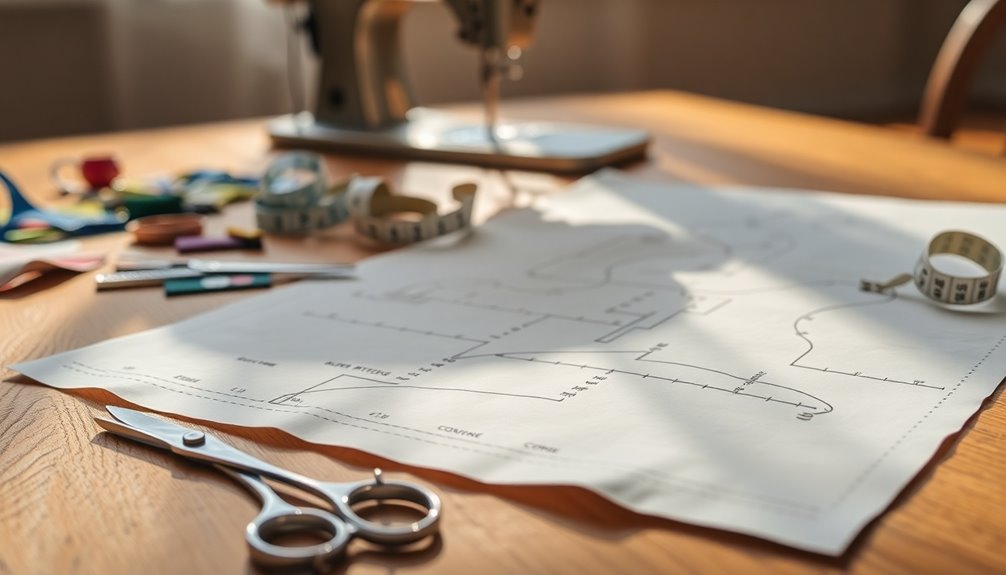
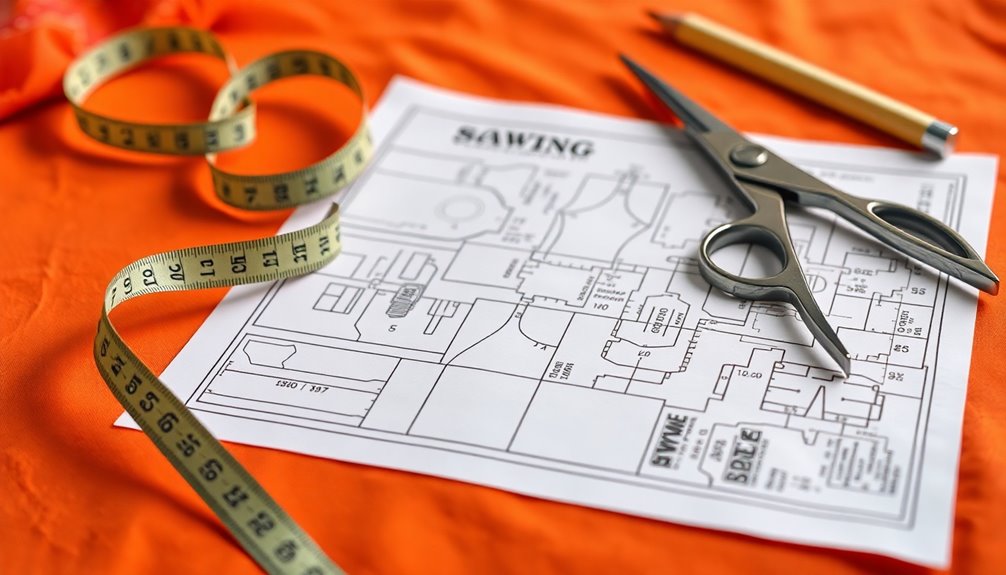
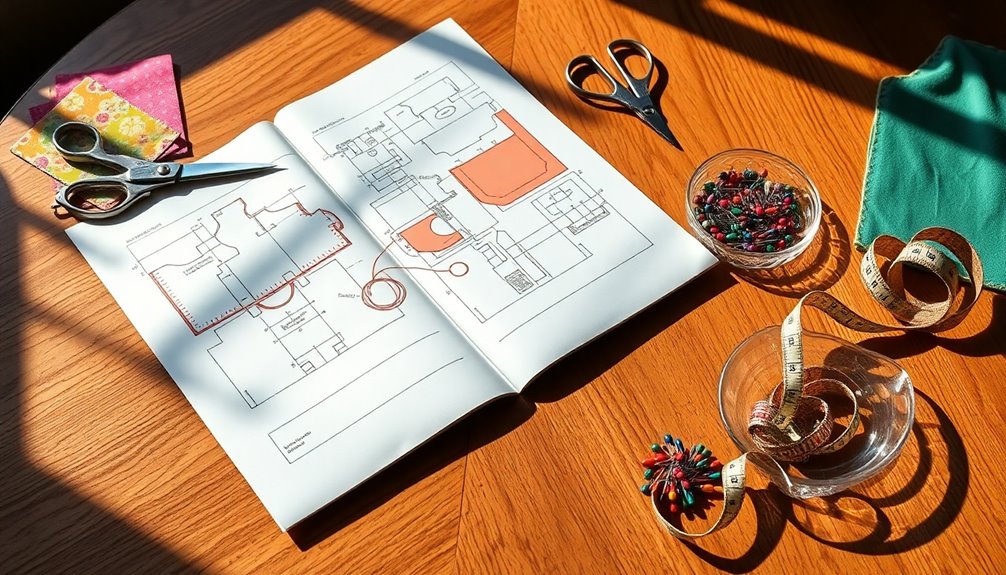
How to Cut the Pattern and Fabric

Before you start cutting your pattern and fabric, make certain you've laid everything out properly to avoid mistakes.
Use paper scissors to carefully cut out the pattern tissue along the solid cutting lines, paying attention to the grain line for proper fabric alignment.
When you move on to the fabric, exclusively use fabric scissors. Fold the fabric with right sides together and follow the pattern's cutting layout.
If the pattern requires you to cut on the fold, guarantee the fabric is correctly positioned to prevent misalignment.
Remember to mark notches, darts, and other important points before removing pins or weights. This will help maintain accuracy during assembly and sewing, ensuring a smooth sewing experience.
How to Follow the Instructions

Once you've cut out your pattern and fabric, the next step is to carefully follow the instructions provided in the pattern booklet. Here's how to follow the instructions effectively:
- Read the entire booklet to understand the steps and techniques needed for your soft furnishings project.
- Circle necessary pattern pieces based on your selected view to guarantee you have everything you need.
- Adhere to the cutting layout given in the instructions to maximize fabric usage and guarantee accuracy.
- Use markings like notches and darts to accurately align and assemble the fabric pieces during sewing.
Don't forget to refer to the glossary of sewing terms if you encounter any unfamiliar terminology while working through the instructions!
Frequently Asked Questions
Which Sewing Patterns Are Easiest for Beginners?
If you're just starting out, look for beginner-friendly sewing patterns featuring simple designs like day dresses, tops, or skirts.
Patterns with fewer pieces and straightforward assembly make the process easier. Choose ones with clear line drawings and easy fastening methods like zips.
Opt for multi-sized patterns to customize your fit. Many beginner patterns also provide step-by-step instructions and helpful glossaries, ensuring you've got the support you need while sewing your first projects.
What Is the Best Way to Trace a Sewing Pattern?
Tracing a sewing pattern can be a tidy task! To get started, lay your pattern flat on a clean surface and secure it with weights or pins.
Grab lightweight tracing paper and a sharp pencil or tailor's chalk for clear markings. Use a ruler for straight lines and a French curve for curves, ensuring precision.
After tracing, label each piece with its name and size to streamline your sewing later. You've got this!
How to Use a Sewing Pattern Without Cutting It?
To use a sewing pattern without cutting it, you'll want to trace the pieces onto tracing paper or lightweight muslin.
Pin or weigh down the pattern to prevent it from shifting while you trace. Be sure to mark any seam allowances if they're not included.
Follow the cutting lines carefully to keep the garment's shape intact. Once you've traced everything, store your patterns safely for easy access on future projects.
How Do You Transfer a Sewing Pattern to Fabric?
So, you wanna play fabric Picasso, huh?
First, lay that pattern piece on your fabric, aligning the grain line like a pro. Grab some tailor's chalk or a fancy pen, and trace around the edges, marking all those little notches and darts—don't skip this, or you'll be crying later!
If your pattern's seam allowances are MIA, add 'em before cutting. Double-check your markings, and you're ready to release your inner designer!
Conclusion
In the grand tapestry of sewing, patterns are your guiding stars, leading you to creative shores. Embrace the journey and let each stitch weave your story. With a sprinkle of patience and a dash of practice, you'll find joy in the process. Remember, every masterpiece begins with a single cut of fabric and a thoughtful pattern. So, gather your materials, trust the instructions, and watch your vision come to life, one delightful seam at a time.