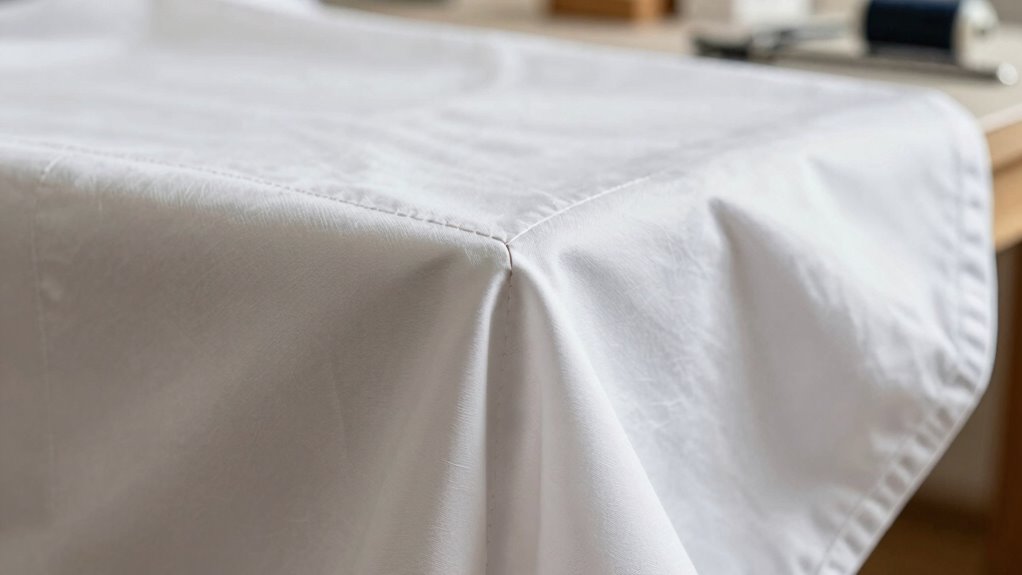

To sew a clean mitred corner, select a stable, tightly woven fabric and use a consistent 1/4-inch seam allowance. Mark your seam lines clearly, then fold at a 45-degree angle, pinning or clipping to keep edges aligned. Sew slowly, pivoting carefully and keeping the needle down when turning. Press your seam allowances flat and press the corner sharply. With patience and precise handling, you’ll achieve crisp, professional-looking mitred corners—keep going for more detailed tips.

Get business pricing on tools and workshop supplies
- Business-only prices and quantity discounts
- Tax-exempt purchasing
- Multiple users, one account, clear invoices
Key Takeaways
- Choose stable, non-stretch fabrics and use a consistent 1/4-inch seam allowance for precise corners.
- Mark seam lines accurately with tailor’s chalk or fabric marker before sewing.
- Fold fabric at a 45-degree angle, pin securely, and sew slowly while pivoting at the corner.
- Press seam allowances open and fold the corner carefully, ensuring sharp mitred edges.
- Finish by pressing the corner with a hot iron and a pressing cloth for a polished, professional look.
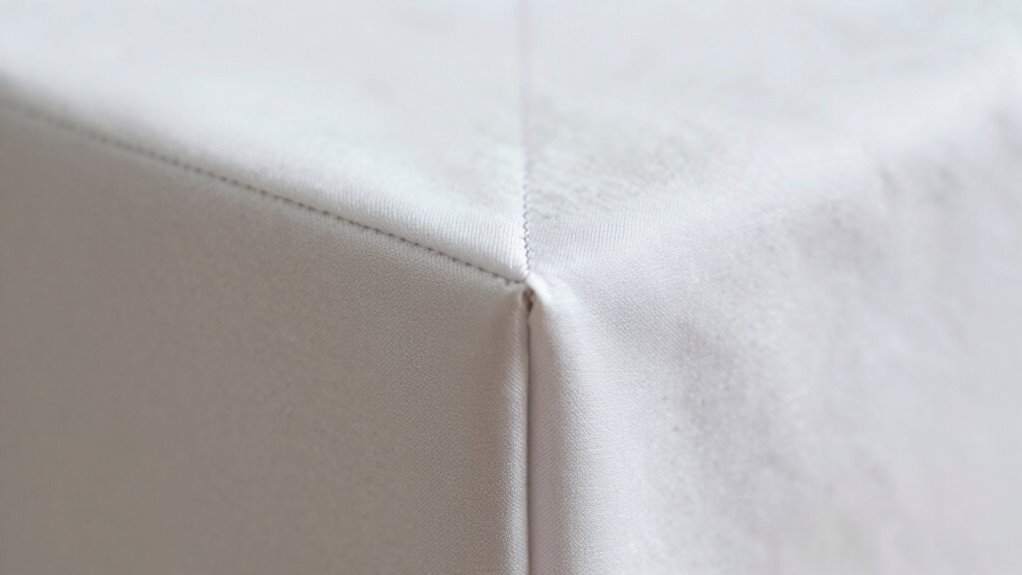
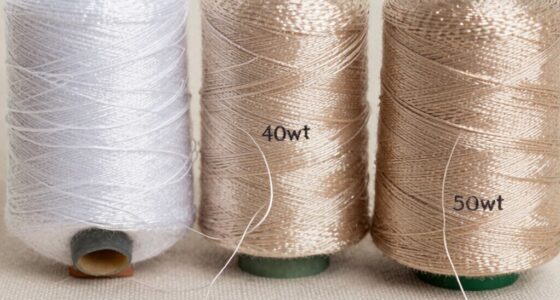
Have you ever struggled to get a neat, professional-looking mitred corner when sewing? It’s a common challenge, but with the right approach, you can master this technique and achieve crisp, clean edges every time. The key starts with your fabric selection. Choose fabrics that are stable and don’t stretch easily, like quilting cottons or tightly woven linens. These types of fabric hold their shape well, making it easier to sew precise mitred corners. Avoid slippery or stretchy fabrics, as they tend to shift and puckering can occur, ruining the clean look you’re after. Also, consider the weight and texture; heavier fabrics often give more control, while lightweight ones might require extra careful handling.
Next, pay close attention to your seam allowance. When measuring and sewing, use a consistent seam allowance—typically 1/4 inch or as specified in your project instructions. A precise seam allowance ensures that your corners align perfectly when folded and pressed. Too small a seam allowance can cause the mitred corner to look uneven, while too large might result in bulk or puckering. It’s a good idea to mark your seam allowance lines with tailor’s chalk or a fabric marker before sewing, so you can follow them accurately. Sewing with a presser foot that guides a consistent seam allowance also helps maintain uniformity and control. Additionally, stabilizing the fabric with interfacing or starch can help maintain its shape during sewing, especially with delicate or lightweight textiles. Using proper pressing techniques can further enhance the sharpness of your mitred corners and prevent distortion.
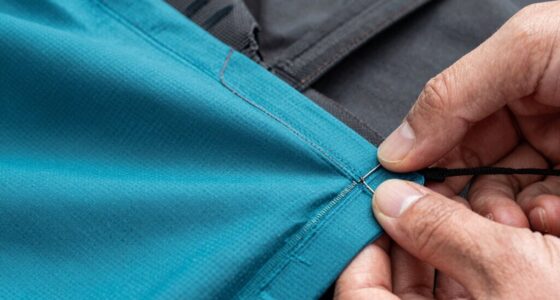
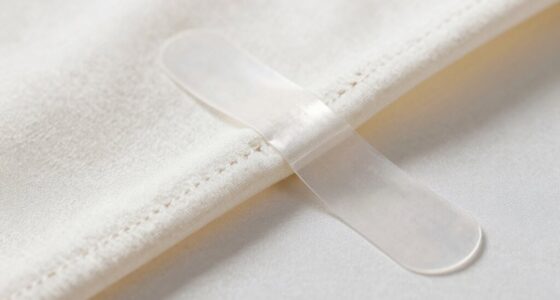
As you approach the mitre corner itself, fold your fabric at a 45-degree angle, aligning the edges carefully. Use pins or clips to hold the fold in place, making sure the fabric edges stay aligned and smooth. When sewing, go slowly, especially as you approach the corner. Keep your needle down when pivoting, and lift the presser foot to adjust if needed. Press the seam allowances open or to one side before folding the corner in, which helps to flatten the mitre and gives it a sharp, professional finish. When pressing, use a hot iron and a pressing cloth if needed, avoiding stretching the fabric or distorting the seam. Properly pressing and shaping the mitred corner is crucial to achieving a polished look. Remember, patience and careful handling are key to mastering this technique.
sewing presser foot guide for accurate seam allowances
As an affiliate, we earn on qualifying purchases.
As an affiliate, we earn on qualifying purchases.
Frequently Asked Questions
What Tools Are Best for Sewing Mitred Corners?
The best tools for sewing mitred corners include a quality sewing machine with adjustable settings for precise stitching, a sharp rotary cutter, and a clear ruler for accurate measurements. You’ll also need pins or clips to hold fabric in place, and an iron for fabric preparation techniques like pressing seams. These tools help guarantee your sewing machine adjustments are fine-tuned, resulting in perfectly neat mitred corners for your home projects.
How Do I Fix Mistakes in Mitred Corners?
To fix mistakes in mitred corners, start by carefully unpicking the flawed seam with a seam ripper. Then, realign the fabric using precise fabric folding techniques, ensuring the mitre lines are accurate. Adjust your sewing machine settings if needed for better control, and re-sew the corner, keeping the fabric flat and smooth. Take your time, double-check alignment, and press the corner to set it neatly.
Can Mitred Corners Be Sewn on Curved Edges?
Yes, mitred corners can be sewn on curved edges, but it requires some finesse. You’ll want to use curved edge techniques, such as easing or gentle pinning, to follow the curve smoothly. If the curve is too complex, consider mitred corner alternatives like mitered seams or bias tape to achieve a clean finish. These methods help you maintain neat corners even on tricky, curved edges.
What Fabric Types Are Suitable for Mitred Corners?
You can sew mitred corners on various fabric types, but lightweight cotton, linen, and silk work best due to their stable weave, making precise miters easier. Avoid stretchy or slippery fabrics like satin or jersey, as they’re harder to control. When choosing fabric, consider color coordination to guarantee your project looks cohesive. A sturdy weave helps achieve clean, sharp mitred corners, giving your finished piece a professional appearance.
How Do I Measure Fabric for Mitred Corners Accurately?
To measure fabric for mitred corners accurately, start with precise measuring techniques. Use a clear, straight ruler or measuring tape to determine the length and width needed, adding extra for seam allowances and miter cuts. Lay out your fabric flat in a fabric layout, guaranteeing smooth, wrinkle-free surfaces. Double-check your measurements before cutting, and consider marking your measurements lightly with fabric chalk for accuracy. This approach guarantees clean, precise mitred corners.
Conclusion
With a little patience and a steady hand, you’ll find that your corners come together as smoothly as a gentle breeze rustling through leaves. Each neatly sewn mitred corner adds a touch of finesse, like the final brushstroke on a beautiful painting. As you step back to admire your work, remember that even the most perfect corners are born from a bit of practice and care—turning your home projects into quiet, satisfying works of art.
Fall yard work Picks
leaf blowers
As an affiliate, we earn on qualifying purchases.