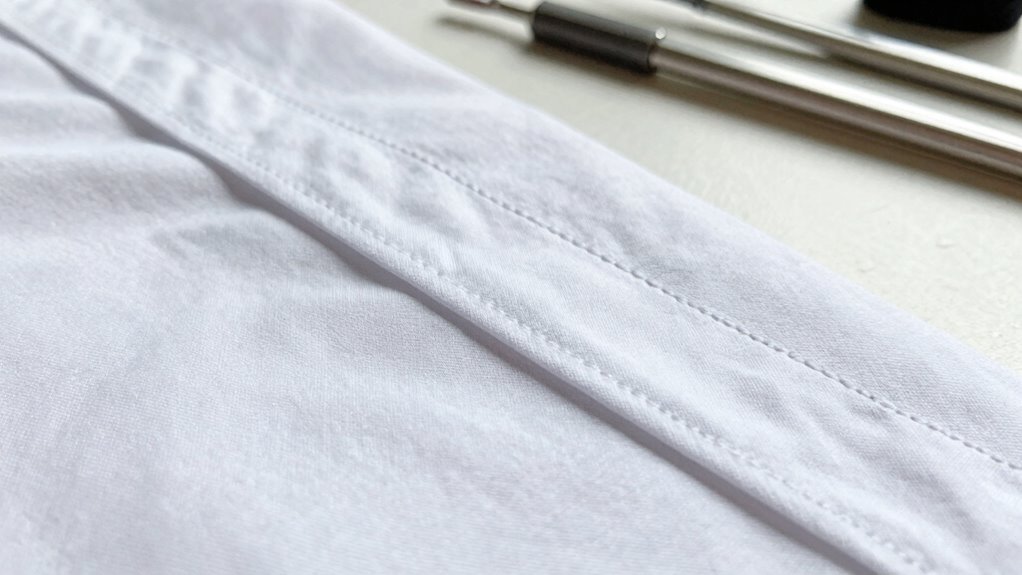

To sew a placket without getting the overlap wrong, start by carefully measuring and marking your fabric to guarantee symmetry. Use precise seam allowances and cut on the straight grain to avoid distortions. Press layers thoroughly and align overlaps evenly before sewing, checking with a scrap piece if needed. Consistent pressing and careful attention to detail help you achieve a neat, professional finish. Keep these tips in mind, and you’ll master the technique with ease.

Get business pricing on tools and workshop supplies
- Business-only prices and quantity discounts
- Tax-exempt purchasing
- Multiple users, one account, clear invoices
Key Takeaways
- Precisely measure and mark the overlap areas before cutting to ensure consistent and symmetrical plackets.
- Use a clear sewing guide or basting stitches to temporarily hold overlaps in place before final stitching.
- Press seam allowances open or to one side to set a crisp, flat placket with even overlaps.
- Sew slowly and accurately along edges, maintaining a consistent seam allowance for neat overlaps.
- Double-check overlap alignment and symmetry before finishing or topstitching for a professional look.
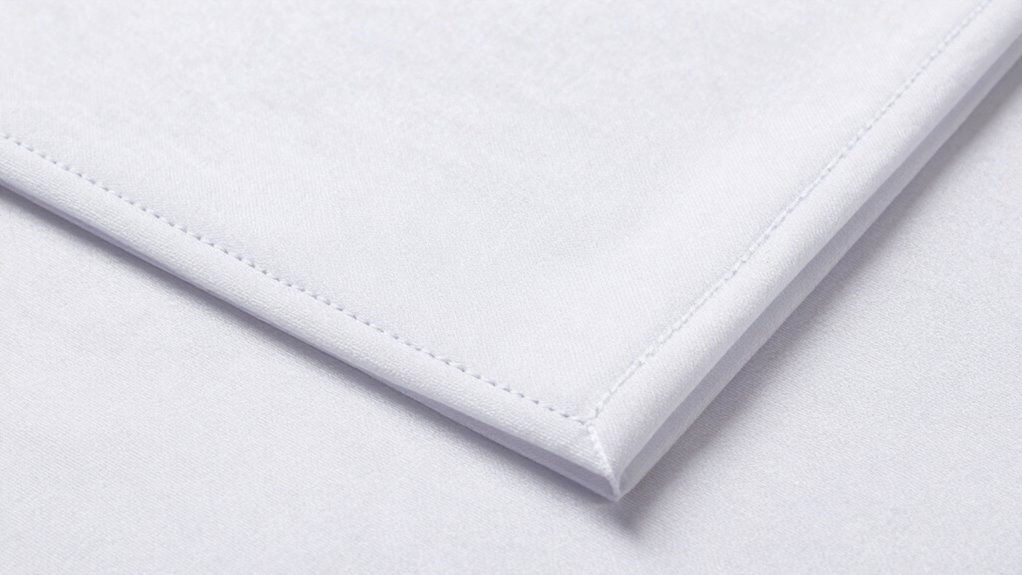
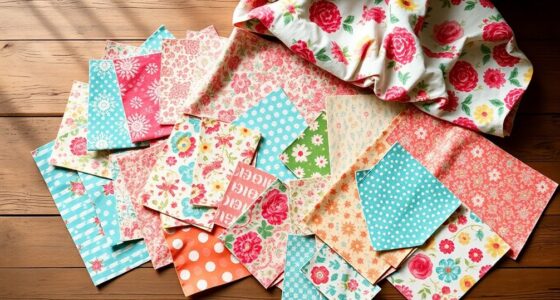
Sewing a placket can seem tricky, but with the right technique, you can avoid getting the overlap wrong and achieve a professional finish. The first step is choosing the right fabric. Opt for fabrics that are sturdy yet easy to work with, like cotton or a cotton blend. These materials hold their shape well, making it simpler to sew the placket neatly. Lightweight or slippery fabrics, such as silk or chiffon, may require extra care and interfacing to prevent shifting or distortion. Consider using interfacing or fusible fleece to reinforce the placket area, guaranteeing it stays crisp and durable through wear and washing.
Choosing sturdy, easy-to-work-with fabrics like cotton ensures a neat, professional placket finish.
When you cut your fabric, pay attention to the grainline. Cutting the placket pieces on the straight grain helps maintain stability and prevents stretching or distortion during sewing. Before you start stitching, pre-press all pieces to remove wrinkles, which can cause misalignment. As you sew, focus on precision. Use pins or fabric clips to hold the placket layers in place, especially at the overlap. This keeps everything aligned and prevents shifting as you sew. When sewing the seam, stitch with a consistent seam allowance—commonly 1/4 inch or 3/8 inch—so your overlaps are even and neat.
Seam finishing is vital for a clean look and longevity. Finish raw edges inside the placket with a zigzag stitch, serging, or pinking shears to prevent fraying. If you’re working with a fabric that frays easily, consider using a bias tape or binding to encase raw edges. Proper fabric selection can make a significant difference in how easily you sew and how professional your results look. Using the correct sewing techniques can also help you avoid common mistakes like puckering or uneven overlaps, making your project look more polished. When attaching the placket to the shirt or garment, guarantee the overlap is even on both sides. You want the placket to lie flat and look symmetrical. Use a pressing ham or sleeve board to press the seam allowances open or to one side—good pressing makes a big difference in how professional your finished placket looks.
Throughout the process, double-check your overlap before sewing the final stitches. It’s better to do a quick test on scrap fabric to confirm your measurements and seam allowances. Understanding fabric types can help you select the best materials and techniques for your project. With careful fabric choice, precise seam finishing, and thorough pressing, you’ll find sewing a placket becomes much easier. The key is patience and attention to detail, which guarantees your placket turns out neat, even, and functional. Once you master these basics, your sewing projects will look polished, and you’ll avoid common mistakes like uneven overlaps or puckering.
As an affiliate, we earn on qualifying purchases.
Frequently Asked Questions
Can I Use a Different Fabric for the Placket?
Yes, you can use a different fabric for the placket, but guarantee fabric compatibility for a smooth sewing process and durability. Choose a fabric that matches or complements your main fabric in weight and texture to maintain comfort and appearance. Consider color coordination carefully; selecting a contrasting or matching fabric can add style. Test on scraps first to see how they work together before sewing the actual placket.
How Do I Fix a Crooked or Uneven Placket?
A stitch in time saves nine, so fix a crooked or uneven placket early. To improve placket alignment, carefully realign the fabric edges, pressing flat to restore symmetry. Reinforce the fabric durability by sewing small, secure stitches along the edges after adjusting. If needed, remove and resew the problematic section, ensuring the placket stays straight and neat. Patience and precision will make your placket look professional and polished.
What Tools Are Essential for Sewing a Neat Placket?
To sew a neat placket, you need essential tools like fabric stabilization products, such as interfacing, to keep the fabric sturdy. A seam ripper helps fix mistakes, while a ruler or measuring tape guarantees the seam allowance is accurate. Pins or clips hold the fabric in place during sewing. These tools help you maintain precision, resulting in a clean, professional-looking placket that’s perfectly aligned and crisp.
How Do I Choose the Right Placket Style for My Project?
Choosing the right placket style can seem overwhelming, but don’t let fear hold you back. You should pick a style that matches your fabric coordination and project’s vibe. For a casual look, opt for a simple, clean placket, while a decorative or contrasting fabric makes a statement for formal wear. Consider your garment’s overall style variations and how the placket complements them, ensuring your finished piece feels cohesive and confident.
Can I Add Embellishments to My Placket?
Yes, you can definitely add embellishments to your placket. Consider using embellishment ideas like decorative stitching, embroidery, or appliqué to enhance its look. You might also add small fabric flowers, beads, or contrast topstitching for extra flair. Just make certain your embellishments don’t interfere with the placket’s functionality or opening. Keep it balanced so your design remains both stylish and practical, showcasing your personal touch.
Conclusion
Don’t worry if your first attempt at sewing a placket isn’t perfect—practice makes perfect! Remember, even experienced sewists sometimes need to redo a placket to get it just right. Keep patient and focus on the process rather than perfection on the first try. With a little persistence, you’ll master this skill and create professional-looking garments. Once you get the hang of it, sewing plackets will feel like second nature, and you’ll enjoy customizing your projects with confidence!
Fall Picks
fall essentials
As an affiliate, we earn on qualifying purchases.