To sew curves and corners smoothly, use bias tape to follow curves closely, pinning carefully and easing fabric around bends. Maintain consistent seam allowances and sew slowly for control, especially on tight curves. Clip seam allowances at corners to reduce bulk and make sharp turns easier. Press seams during project to set stitches and achieve a neat finish. Adjust your sewing machine settings for better maneuverability. Keep practicing these techniques, and you’ll soon master flawless curves and corners.
Key Takeaways
- Use bias tape cut on the bias to easily conform to curves and prevent puckering.
- Sew slowly and pivot frequently at corners or tight curves for better control.
- Clip seam allowances after sewing to reduce bulk and create sharp, crisp corners.
- Press seams and edges thoroughly to set stitches and achieve a smooth finish around curves and corners.
- Adjust machine settings, such as stitch type and tension, to handle complex shapes with precision.
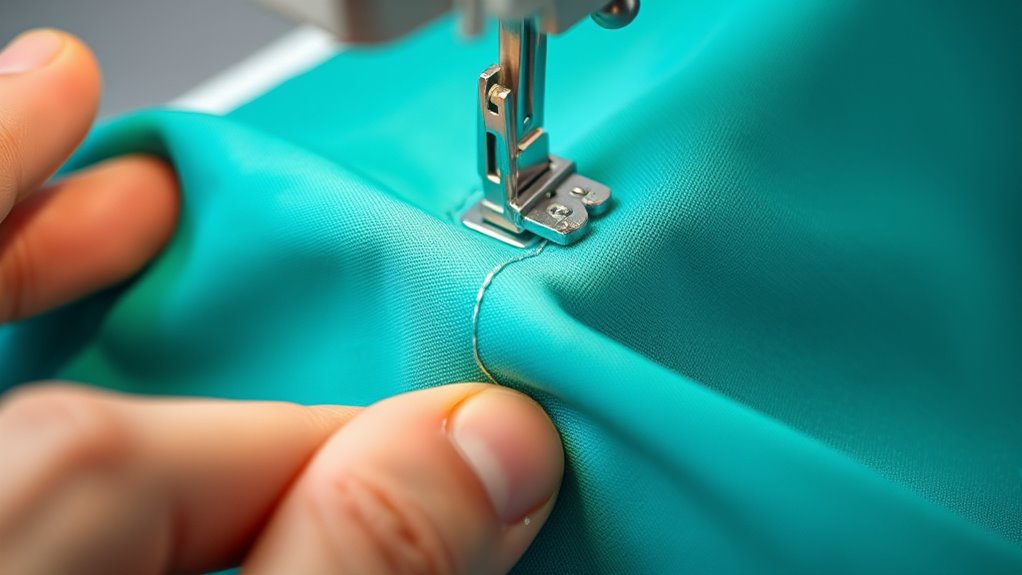
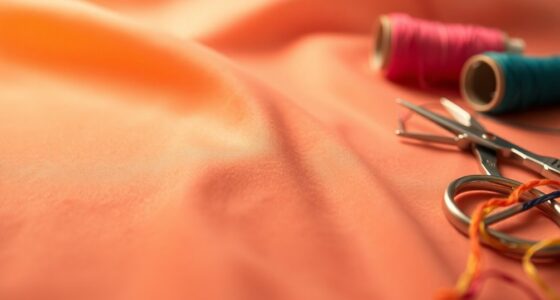
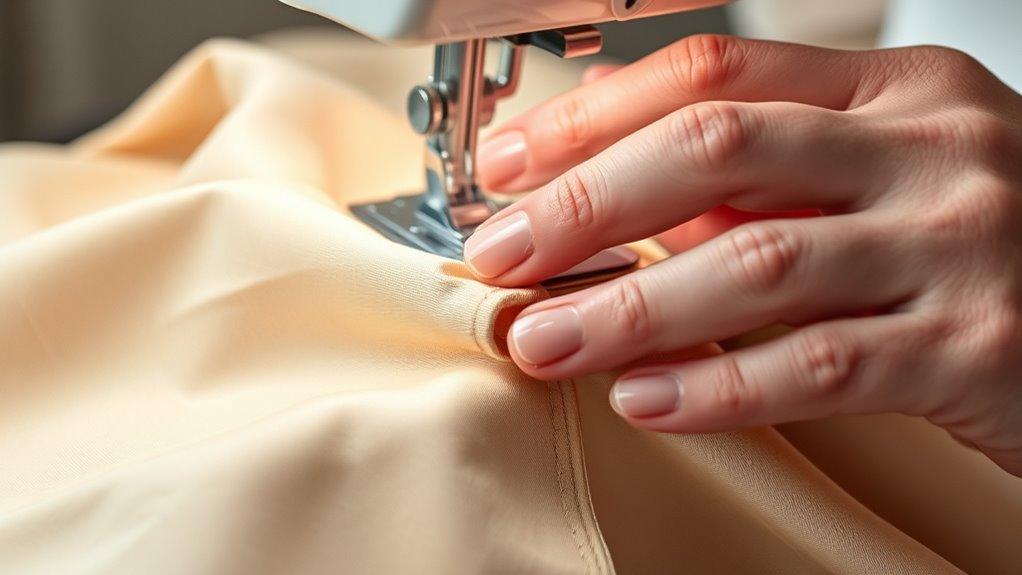
Sewing curves and corners can seem challenging at first, but with the right techniques, you can achieve smooth, professional-looking results. One key element to master is using bias tape effectively, especially when finishing curved edges. Bias tape, cut on the bias, is flexible and easily conforms to curved shapes, making it ideal for finishing edges on garments or home décor projects. When applying bias tape around curves, you should cut it slightly longer than the edge to allow for ease, then carefully pin it in place, easing the tape around the curve. As you sew, keep the tape flat against the fabric, smoothing it out with your fingers to prevent puckering or bunching. This approach helps create a clean, finished look that follows the curve seamlessly.
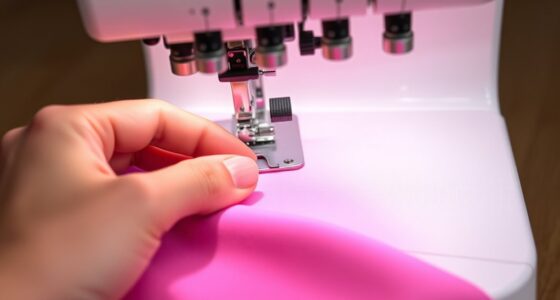
Another important aspect is understanding seam allowances. When sewing curves and corners, you need to maintain consistent seam allowances—usually 1/4 inch or 3/8 inch—so that your edges align properly and your finished product looks professional. When you sew, set your machine’s seam guide or use a marking tool to keep a steady seam allowance. For tight curves, you might find it helpful to sew slowly and pivot frequently, lifting the presser foot at each corner or curve to adjust the fabric smoothly. This prevents the fabric from stretching or bunching, which can distort the shape.
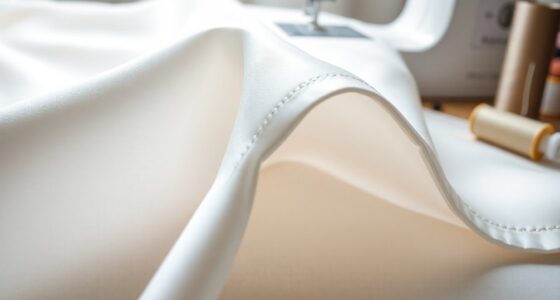
When working on corners, especially inside corners, it is vital to clip the seam allowances after sewing. Clipping involves making small, evenly spaced cuts into the seam allowance without cutting into the stitching line. This technique allows the fabric to turn neatly at the corner, reducing bulk and creating a sharp, crisp point. For outside corners, press the seam allowances open or to one side, then topstitch or finish the edges with bias tape to keep everything tidy. Pressing is vital: pressing your seams after sewing helps flatten and set the stitches, giving your curves and corners a smooth, finished appearance. Additionally, choosing the right sewing machine settings can make a significant difference in handling curves and corners effectively.
Frequently Asked Questions
Can I Sew Curves With a Standard Sewing Machine?
Yes, you can sew curves with a standard sewing machine. To do so, adjust your fabric stretch and sew slowly to maintain control. Keep a consistent seam allowance to make certain smooth curves and avoid puckering. Use sharp pins or clips to hold the fabric in place, and gently guide the fabric along the curve. Practicing on scrap fabric first will help you master handling curves with your machine.
What Type of Needle Is Best for Sewing Curves?
You should use a universal or sharp needle for sewing curves, as they work well with most fabric types. For delicate fabrics like silk or chiffon, choose a microtex or sharp needle to prevent snags and puckering. If you’re working with heavy fabrics like denim or canvas, go for a denim or heavy-duty needle. Always match needle types to your fabric to guarantee smooth sewing and avoid skipped stitches.
How Do I Prevent Puckering When Sewing Corners?
To prevent puckering when sewing corners, think of your fabric as a dance partner that needs gentle guidance. Adjust your fabric tension to match the project, ensuring even stitching. Use pinning techniques to secure corners precisely, preventing shifting. Sew slowly around corners, easing fabric smoothly through the machine. These steps keep your fabric aligned, resulting in crisp, professional corners without puckering.
Is There a Difference Between Sewing Curved and Straight Seams?
Yes, sewing curved seams differs from straight ones. When sewing curves, you need to carefully follow the fabric grain and maintain a consistent seam allowance to prevent puckering or distortion. For straight seams, you can rely on a ruler and pressing to keep everything aligned. Curved seams require easing or clipping to help the fabric lay smoothly, while straight seams are more forgiving and easier to press flat.
Can I Use a Walking Foot for Sewing Curves and Corners?
Of course, you can use a walking foot for sewing curves and corners—it’s practically your secret weapon. Its benefits include better fabric feed and reduced puckering, especially with tricky curved seams. With curved seam techniques, a walking foot keeps everything aligned, ensuring smooth, professional results. So, don’t shy away from it; embrace the walking foot for your next project and watch your curves come out flawless.
Conclusion
Just like a gentle stream curves around rocks, mastering sewing curves and corners guides your fabric smoothly along the path. With patience and practice, your stitches will dance effortlessly, creating a seamless flow that turns raw fabric into beautiful shapes. Think of each curve as a song you’re learning—the more you practice, the more harmonious your sewing becomes. Keep gentle, steady, and confident, and soon your projects will glide like water over stones.