Turn your old towels into stylish spa headbands with just one simple cut. Start by selecting a soft, worn-out towel you no longer need, measure your head, and cut a straight strip to size. You can customize it by adding beads, lace, or ribbons to match your style. This eco-friendly project is quick, easy, and a fun way to reuse fabric. Keep going to discover more tips and ideas for creating unique accessories from your old towels.
Key Takeaways
- Select a soft, worn towel and measure your head circumference plus seam allowance for a perfect fit.
- Lay the towel flat and cut a straight line at the measured length to create the headband shape.
- Finish edges with zigzag stitch or fabric glue to prevent fraying and ensure durability.
- Customize your headband with embellishments like ribbons, lace, or fabric flowers for a personal touch.
- Wash gently and store flat to maintain shape and extend the lifespan of your DIY spa headband.
Why Turn Old Towels Into Stylish Spa Headbands?

Turning old towels into stylish spa headbands is a smart way to repurpose items you already have, saving you money and reducing waste. Recycling tips like this promote eco-friendly crafts, helping you minimize clutter while making something useful. Instead of throwing away worn-out towels, transform them into fun accessories that enhance your self-care routine. It’s an easy, sustainable project that gives new life to fabric scraps and keeps plastic waste out of landfills. Plus, crafting your own spa headbands adds a personal touch, making them unique and tailored to your style. By choosing recycling tips and eco-friendly crafts, you support environmental responsibility while enjoying the satisfaction of creating something beautiful from what you already own. Incorporating DIY projects that utilize existing materials can also improve your skills and inspire further creative reuse. Additionally, understanding the environmental impact of waste can motivate you to embrace sustainable crafting habits, fostering a deeper appreciation for recycling benefits and their positive effects on our planet. Engaging in these kinds of projects can also deepen your crafting knowledge and encourage mindful consumption habits.
What Materials and Tools Do You Need?
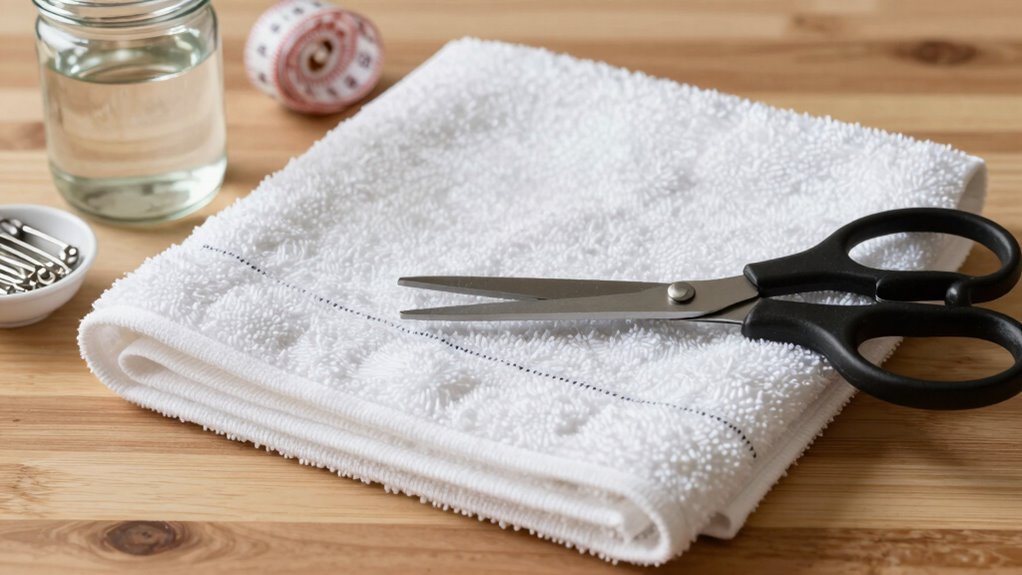
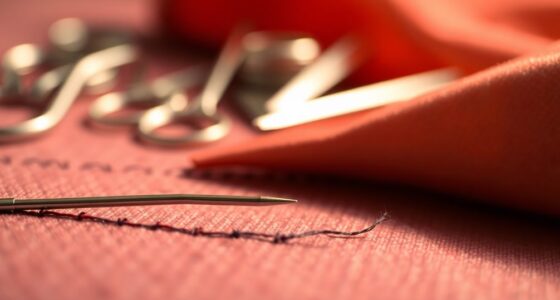
To create your DIY spa headbands, you’ll need a few basic materials and tools. First, choose your fabric options—soft towels, old T-shirts, or stretchy jersey work well. Next, gather cutting tools like sharp scissors or fabric scissors to make precise cuts. Here’s a quick overview:
| Material Options | Cutting Tools | Additional Items |
|---|---|---|
| Towels, T-shirts | Sharp scissors or rotary cutter | Measuring tape |
| Jersey fabric | Fabric scissors | Pins or clips |
| Old bedsheets | Utility knife (optional) | Chalk or fabric marker |
Selecting the right fabric and sharp cutting tools guarantees clean, smooth edges. Keep your tools sharp and your fabric steady for best results. Additionally, choosing energy-efficient tools aligns with sustainable practices, ensuring your DIY project is eco-friendly. Properly safety precautions when handling cutting tools help prevent accidents and ensure quality craftsmanship. Being mindful of material safety can help you avoid injuries and achieve the best possible outcome. Also, considering recycling old textiles can further enhance your eco-friendly approach. Incorporating energy-efficient tools not only saves power but also supports environmentally conscious crafting.
How to Make a Spa Headband From an Old Towel in One Easy Cut
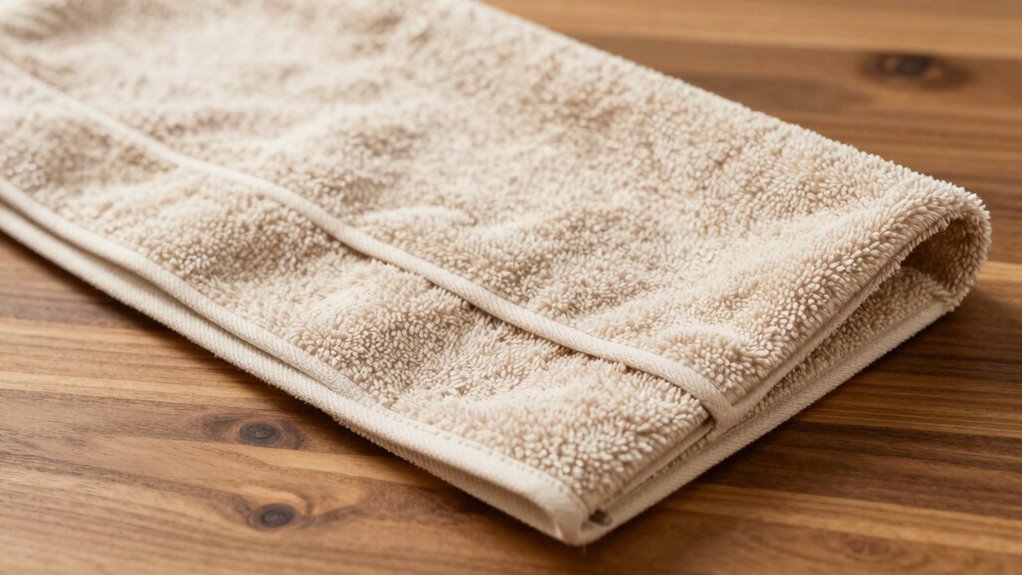
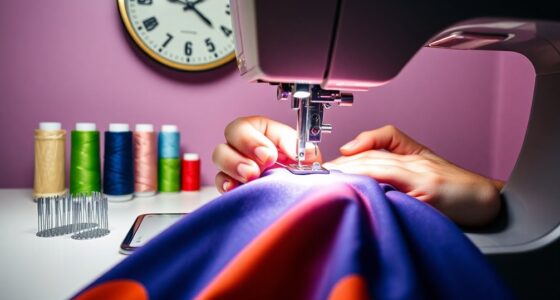
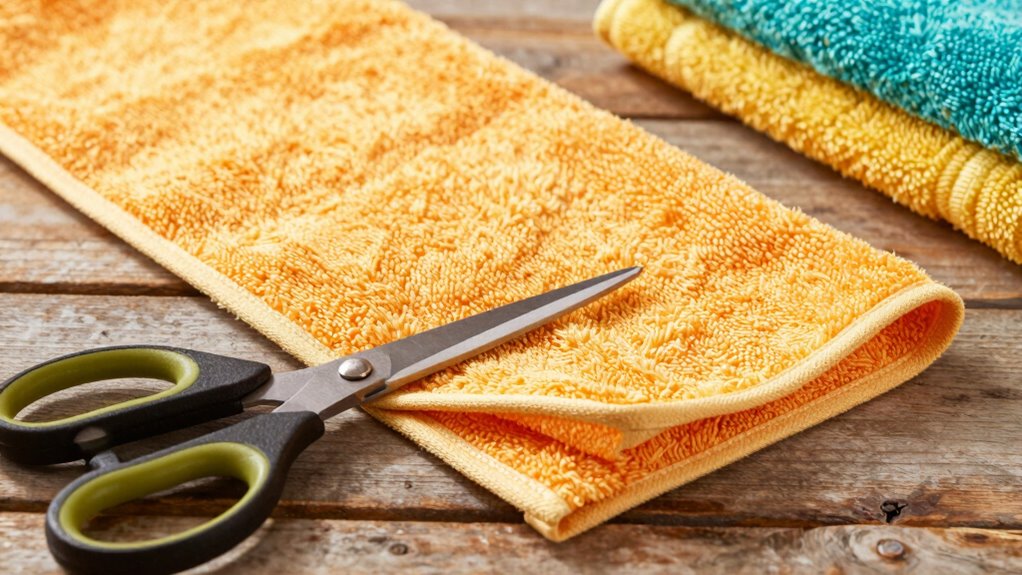
Want an easy way to transform an old towel into a stylish spa headband? Start by choosing a towel with a pattern or color you like. Lay it flat and decide on your headband size—measure around your head where you’ll wear it, then add a little extra for seam allowance. Using scissors, cut a straight line across the towel at your chosen length. Make sure the cut is smooth and even. If the towel has a pattern, align your cut accordingly for a neat look. For a snug fit, you can cut slightly smaller; for a looser headband, go a bit larger. This simple cut creates your headband’s main strip, ready to be styled or sewn if desired.
Creative Ways to Style and Customize Your Headband
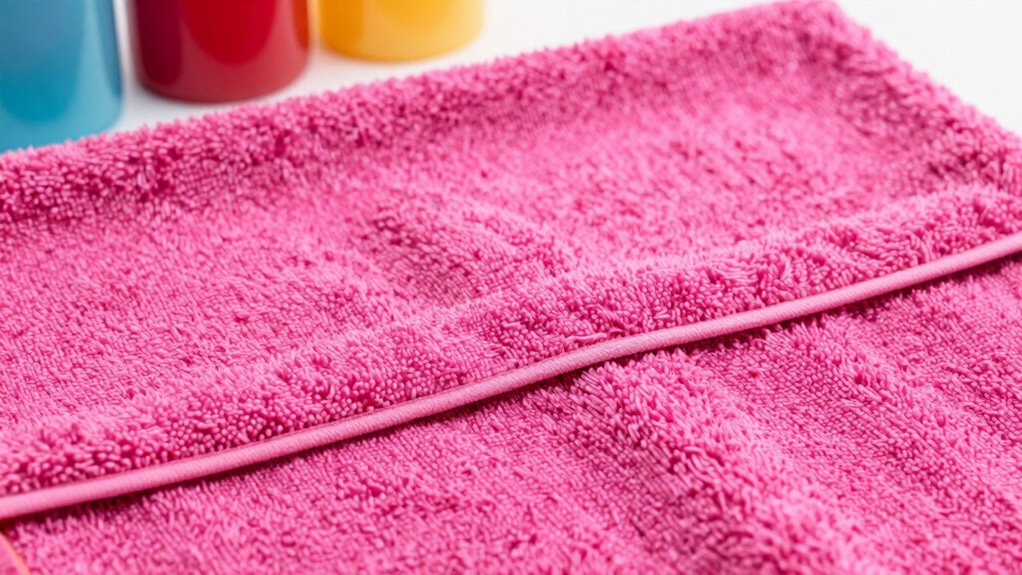
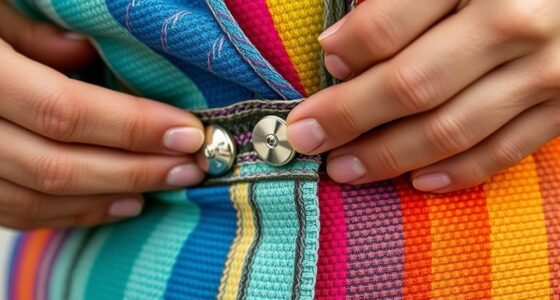
Once you’ve cut and prepared your spa headband, you can elevate its style by experimenting with different ways to wear and decorate it. Play with fabric patterns—mixing floral, polka dot, or striped designs can add a fun, personalized touch. You might also consider embellishment techniques like sewing on beads, sewing on lace trim, or attaching small fabric flowers to give your headband a unique flair. Wrapping it with a contrasting ribbon or adding a fabric bow can instantly boost its charm. You can also layer different fabrics, combining textures for an eye-catching look. The key is to get creative with your fabric patterns and embellishments, transforming a simple headband into a stylish accessory that complements your mood or outfit. Additionally, understanding fabric quality can help ensure your DIY headband remains durable and comfortable for everyday wear. Incorporating architectural design principles into your decorating techniques can further enhance the aesthetic appeal of your accessory, making it stand out even more. Exploring color theory can also help you select color combinations that are visually appealing and harmonious. Paying attention to fabric durability can ensure that your creations last longer and withstand daily use, especially if you choose fabrics with proper care instructions that suit your lifestyle.
Common Issues and How to Make Your Headband Last Longer
Even with careful crafting, your DIY spa headband may face common issues like fraying, stretching, or losing its shape over time. To improve fabric durability, opt for tightly woven or thicker fabrics. To prevent color fading, wash your headband in cold water and avoid harsh detergents. Regularly check for frayed edges and trim loose threads promptly. Proper storage also helps maintain shape and color. Additionally, selecting safer riding habits when using or handling your headband can prevent premature wear or damage. Here’s a quick guide:
| Issue | Solution |
|---|---|
| Fraying | Sew edges with zigzag stitch or fabric glue |
| Stretching | Avoid overstretching during wear; wash gently |
| Color Fading | Wash in cold water; avoid excessive sun exposure |
| Shape Loss | Store flat or rolled; reshape when needed |
Following these tips extends your headband’s life and keeps it looking fresh.
Frequently Asked Questions
Can I Make Spa Headbands From Any Type of Towel?
You can make spa headbands from most towel types, but your best bet is soft, absorbent materials like cotton or microfiber. Thinner towels work well because they’re easier to cut and shape. Keep in mind, towel material influences headband durability; thicker or rougher fabrics might wear out faster. Choose a lightweight, sturdy towel to guarantee your headband stays comfortable and lasts through multiple uses.
How Do I Wash and Care for My DIY Headband?
To keep your DIY spa headband in good shape, wash it regularly using gentle cycle settings and mild detergent. Since towel material varies, opt for softer fabrics like cotton for easy maintenance. Avoid bleach or fabric softeners, which can damage the fibers. Wash your headband after 3-4 uses or if it gets visibly dirty, and air dry or tumble dry on low heat to preserve its elasticity and softness.
Are There Specific Towel Sizes That Work Best?
You’ll want towels with dimensions around 20×40 inches for a comfortable fit, but smaller or larger sizes can work too. Look for towels with moderate fabric thickness—thicker towels may be less flexible, while thinner ones are easier to cut and sew. Focus on soft, absorbent cotton towels, as these provide the best comfort and durability for your DIY spa headbands. Adjust size based on your head measurements for perfect fit.
Can I Add Embellishments or Decorations?
Absolutely, you can add embellishments or decorations to personalize your spa headbands. Use embellishments ideas like rhinestones, fabric flowers, or beads to make them stand out. For decoration options, try sewing on lace, attaching small charms, or using fabric paint for designs. Just make certain the decorations are securely attached so they stay in place during use. Have fun customizing your headbands to match your style and create unique, spa-worthy accessories!
How Long Does a Homemade Headband Typically Last?
A homemade headband usually lasts several months, depending on fabric durability and how often you wear or wash it. If you use sturdy towel fabric, it can hold up well over time. To extend the headband’s lifespan, wash it gently and avoid stretching. Keep in mind that frequent use or rough handling may reduce its durability, but with proper care, your DIY headband can stay in good shape longer.
Conclusion
Turning old towels into spa headbands blends sustainability with style, proving that simple cuts can release new possibilities. While they’re practical accessories, they also serve as a reminder that beauty and eco-consciousness can coexist—each enhancing the other. So, embrace your creativity, repurpose what’s old, and enjoy the luxurious feeling of a personalized spa experience. After all, sometimes the most ordinary items hold the potential for extraordinary transformations.