
To revolutionize your craft, start with essential tools like ditch foot guides, duck bill scissors, and silk pins for flawless satin hemming. Familiarize yourself with different techniques, such as machine and hand-rolled hems, to achieve that polished finish. Always prepare your fabric properly by allowing extra hem width and using gentle steam when pressing. With practice and the right methods, your satin projects will shine. There's so much more to discover about mastering this art!
Key Takeaways
- Utilize duck bill scissors to trim hems closely without damaging delicate satin fabric for a polished finish.
- Employ silk pins to secure fabric layers, preventing slipping and minimizing marks on satin during hemming.
- Use a ditch foot for precise machine stitching near the hem edge, ensuring a clean and professional look.
- Incorporate gentle steam pressing to maintain satin's integrity and enhance the overall appearance of your hem.
- Practice different hemming techniques, like hand-rolled hems, to find the best method for achieving flawless results on satin.
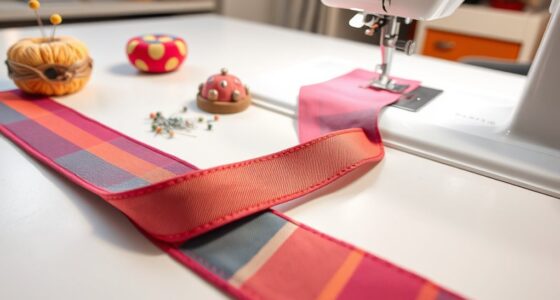
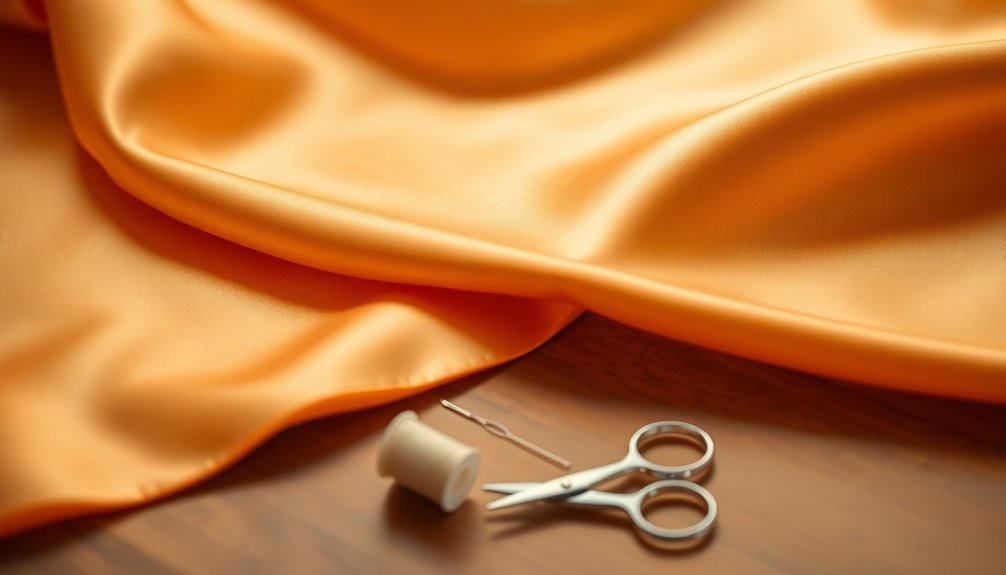
Essential Tools for Hemming Satin
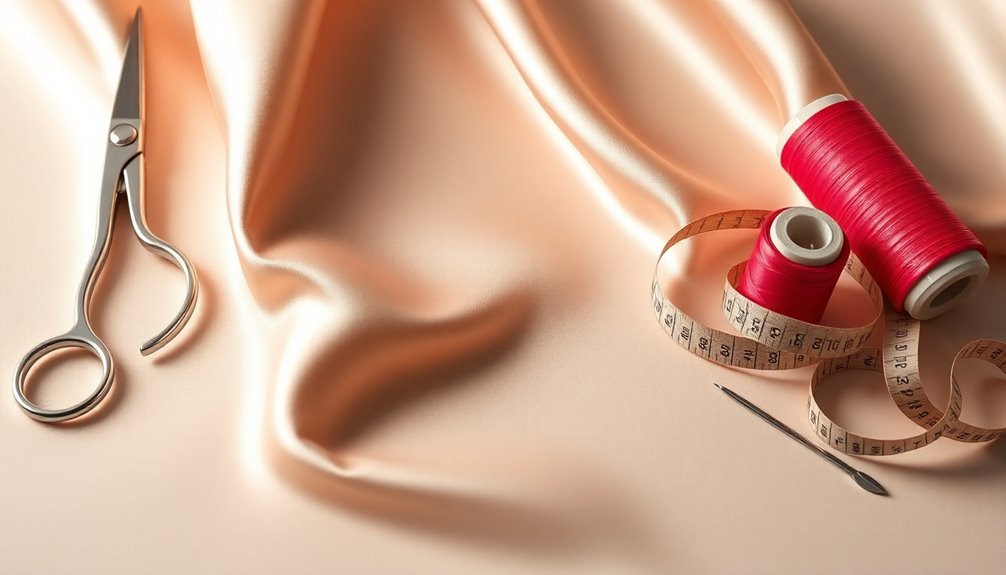
When you're ready to hem satin, having the right tools makes all the difference in achieving a polished finish.
First, a ditch foot is essential for machine hemming; it guides your stitching and guarantees accurate edge placement.
Next, invest in duck bill scissors to trim the hem closely without risking damage to the fabric. These scissors help you achieve that clean finish every time.
Don't forget silk pins—they're perfect for securing delicate satin without leaving unsightly holes.
To enhance your thread's strength, use beeswax to reduce twists and make sewing easier.
Finally, gentle steam pressing is your best friend, as it maintains the satin's quality without causing damage.
With these tools, you're set for success!
Understanding Different Hemming Techniques
Various hemming techniques can help you achieve a polished finish on satin.
Two popular methods are machine hems and hand-rolled hems, each lending elegance to lightweight fabrics.
Here's a quick breakdown:
- Machine Hem: Turn up the fabric 1 cm, press it, and stitch close to the edge with a ditch foot for precision.
- Hand-Rolled Hem: Press the edge, then stitch with small V-shaped stitches about a quarter of an inch apart for a refined finish.
- Tools: Use silk pins and duck bill scissors to avoid damaging the fabric while cutting.
Remember to match your thread and use gentle steam instead of hard pressing. Additionally, ensuring color accuracy in your fabric choice can enhance the overall appearance of your satin hem.
These techniques will guarantee your satin hem looks seamless and sophisticated!
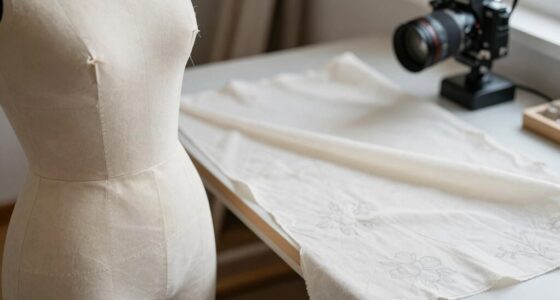
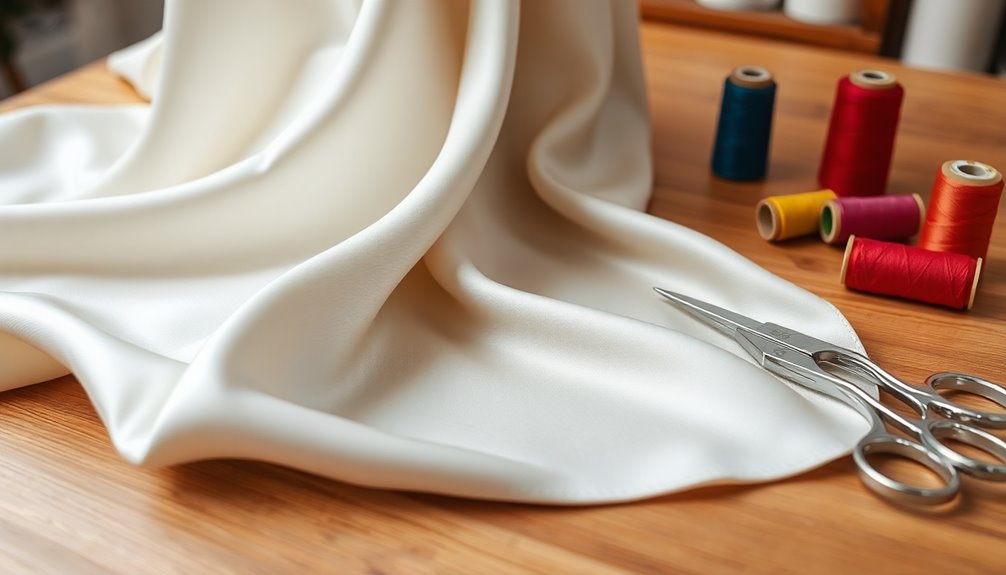
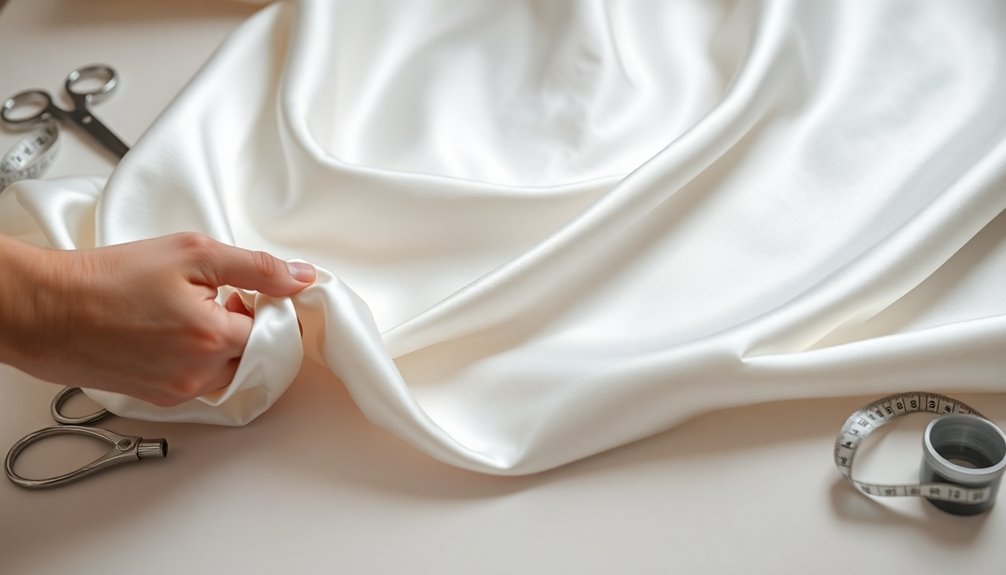
Preparing Your Satin Fabric for Hemming
Preparing your satin fabric for hemming is essential for achieving a polished look. Start by cutting your satin to the desired size, adding an extra 2 inches for the hem allowance. For example, if you want a 22-inch square, cut it to 24 inches.
Next, press a 1-inch hem allowance on all four sides, creating a crisp finish. Be sure to turn under the hem allowance, keeping the right side of the fabric facing up during this step.
Secure the folded hem in place with silk pins, which are gentler on delicate satin than regular pins. Handle the fabric carefully, as satin can be slippery and prone to fraying, requiring your utmost attention to detail for the best results.
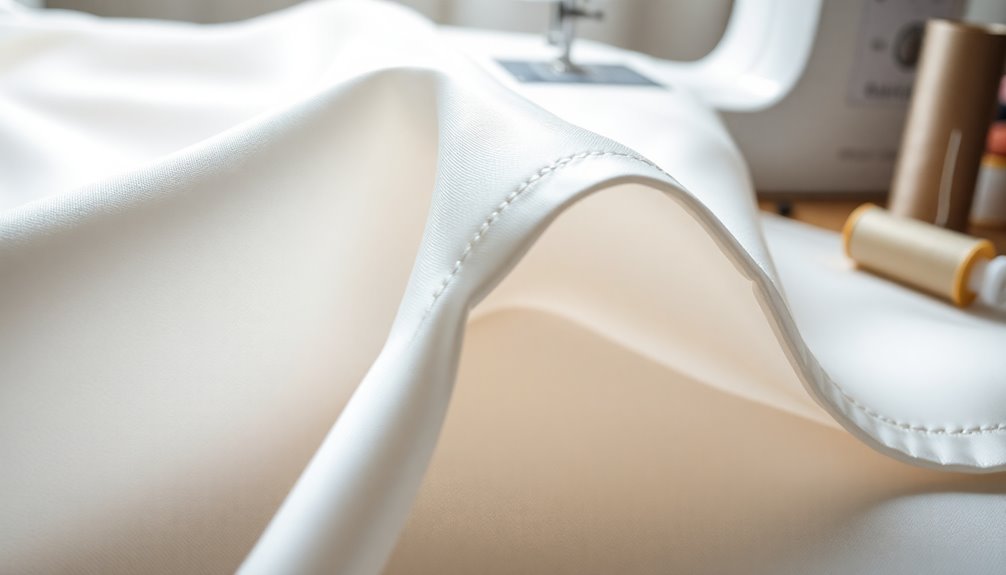
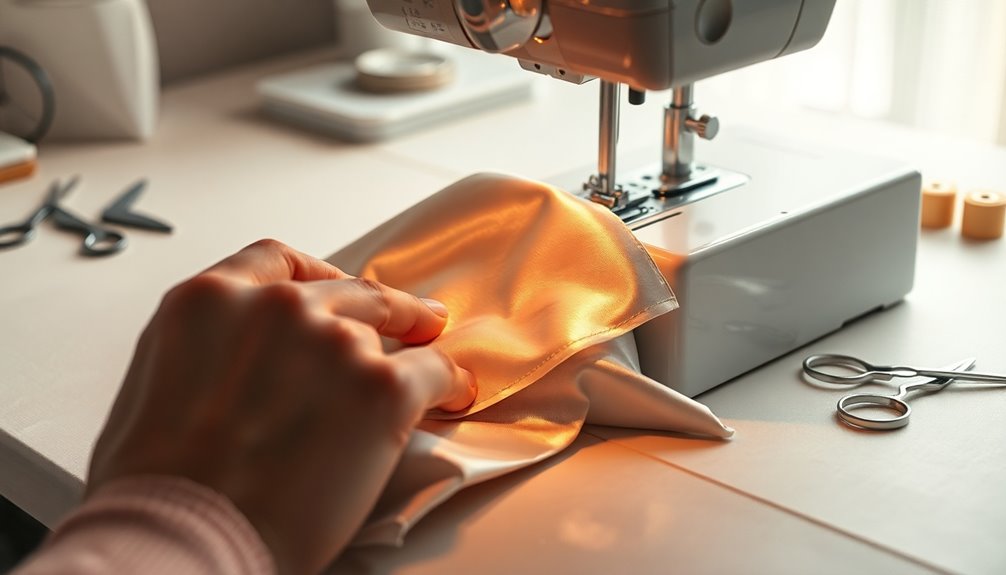
Step-by-Step Guide to Machine Hemming
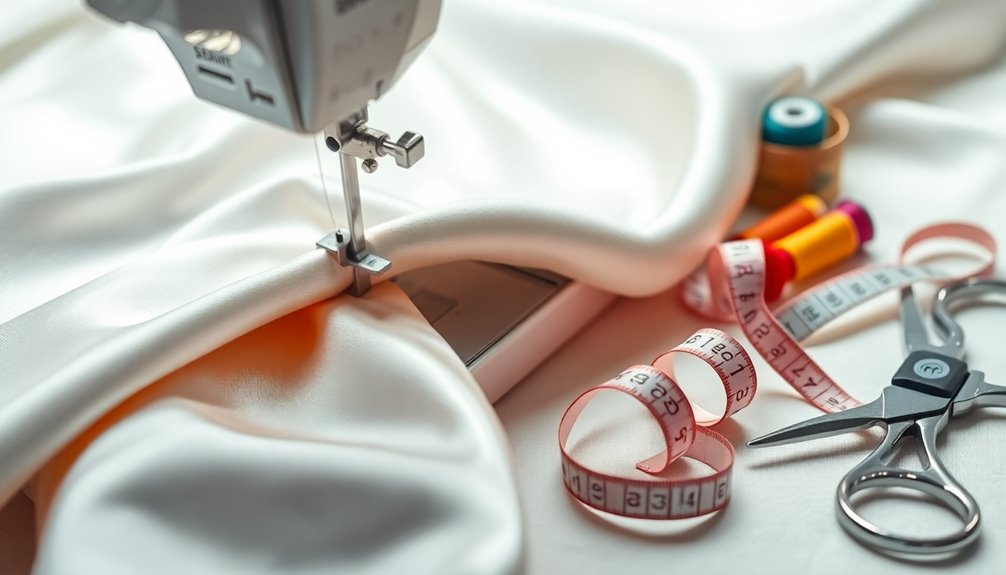
Machine hemming satin can elevate your project with a polished finish. Start by turning up the fabric edge 1 cm and pressing it flat. This creates a clean starting point for your hem.
Use a ditch foot for precise stitching; position the needle a few millimeters from the folded edge for a neat finish. Before you start sewing, secure the folded hem with silk pins to maintain alignment.
Follow these steps:
- Trim the fabric close to the stitching using duck bill scissors to avoid cutting through the underlying layers.
- Select matching thread to create a seamless appearance on the right side of the hem.
- Stitch carefully to guarantee an even hemline.
Additionally, consider the importance of cookies in enhancing user experience, which parallels the meticulous attention required in satin hemming.
Enjoy your beautifully hemmed satin!
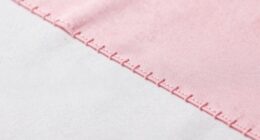
Mastering the Hand-Rolled Hem Technique
While mastering the hand-rolled hem technique may seem intimidating at first, it's a skill that can greatly enhance the look of your satin projects.
Start by pressing the fabric edge about an eighth of an inch to create a clean fold. Use a fine needle and waxed thread for strength and smoothness, which is essential for delicate satin.
Stitch under the fold with small V-shaped stitches, spacing them about a quarter of an inch apart for a consistent rolled hem. To secure the edge, gently pull the thread and finish with steam pressing, avoiding hard pressure to keep the fabric soft.
Regular practice will refine your technique, resulting in a polished and professional-looking hem that elevates your garments.
Tips for Achieving a Professional Finish

To achieve a professional finish on your satin hems, it's imperative to pay attention to the details.
Using the right tools and techniques will elevate your sewing game. Here are three essential tips:
- Use a hemmer foot: This attachment folds and stitches the fabric simultaneously, ensuring a neat seam.
- Press the hem allowance: A crisp edge makes it easier to manage the fabric while you sew with your sewing machine.
- Secure with silk pins: They prevent marks on delicate satin, making your work cleaner.
Finally, finish your hem with a gentle steam press instead of hard pressing.
This protects your satin and maintains its beautiful drape, giving you that polished look you desire.
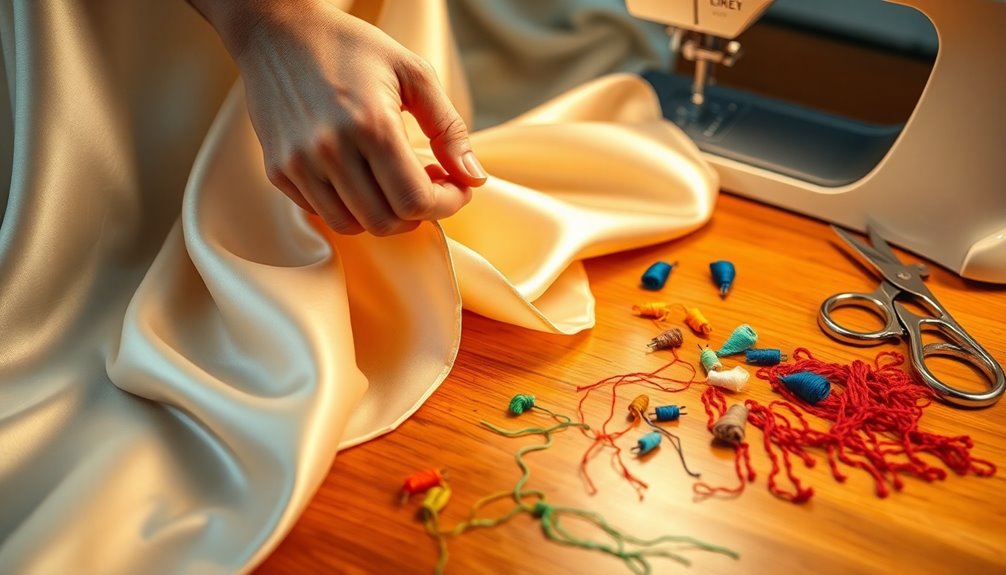
Troubleshooting Common Hemming Issues
When you're working with satin hems, it's not uncommon to run into a few issues that can disrupt your sewing flow.
If you notice puckering, check your tension settings; an imbalance can lead to uneven stitching. For skipped stitches, make sure you're using the right needle type, like a ballpoint or fine needle, and that it's sharp.
If your fabric shifts, consider using a walking foot to help feed the slippery satin layers evenly. To prevent fraying edges, use a serger or a zigzag stitch along the raw edges before hemming.
Finally, to avoid a bulky hemline, trim excess fabric close to the stitching line after your first round, ensuring a polished finish worthy of an embroidery hoop masterpiece. Additionally, be cautious when using essential oils around pets, as some oils can be toxic and might affect their environment during your sewing projects.
Recommended Practices for Delicate Fabrics
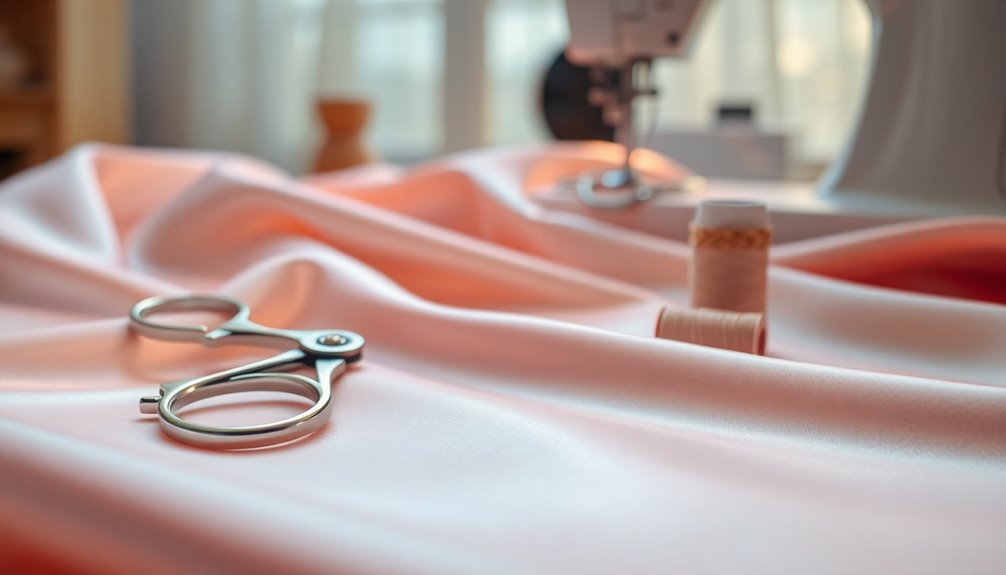
Successfully hemming satin requires attention to detail, especially with delicate fabrics. To achieve the best results, keep these practices in mind:
- Use a Lightweight Needle: Opt for a size 60/8 or 70/10 needle to prevent damage to the fibers.
- Fine, Matching Thread: Choose a matching thread that's fine to maintain a seamless look and avoid visible stitching on the right side.
- Ditch Foot for Precision: Employ a ditch foot while machine sewing, keeping stitches just a couple of millimeters from the edge.
When securing layers, silk pins are your best friend, as they prevent marks.
Finally, use steam pressing instead of hard pressing to shape hems gently, avoiding unwanted creases that could affect your embroidery.
Exploring Other Fabrics: Chiffon, Cotton, and Silk Hemming Techniques
When you're working with chiffon, cotton, or silk, each fabric requires its own hemming approach to achieve the best results.
For chiffon, a narrow hem keeps the edges neat, while cotton typically needs a simple machine hem for a clean finish.
Silk, on the other hand, benefits from precise techniques like using a ditch foot and duck bill scissors to guarantee a polished look. Additionally, maintaining proper fabric care is essential to ensure the longevity of your hemmed garments.
Chiffon Hemming Techniques
Hemming chiffon can be a challenging yet rewarding task, especially if you're aiming for a refined finish. To achieve that polished look along the edge, you can choose between machine hemming or hand-rolled techniques. Here's how to get started:
- Machine Hemming: Turn the fabric up 1 cm and stitch close to the edge using a ditch foot for precision.
- Hand-Rolled Hem: Press the edge about an eighth of an inch and create small V-shaped stitches approximately a quarter of an inch apart.
- Use Silk Pins: This helps prevent damage to the delicate fabric and allows for easier handling.
Don't forget to use gentle steam pressing to finish your hems beautifully without hard pressure. Additionally, using specialized tools can streamline the process and enhance your overall results.
Practice makes perfect!
Cotton Hemming Guide
While cotton is often easier to handle than delicate fabrics like chiffon, achieving a clean hem still necessitates attention to detail.
Start by cutting your cotton fabric with a 2-inch allowance and pressing a 1-inch hem. When you sew, use a medium long stitch close to the right-hand fold to secure the hem neatly.
To maintain a straight line, trim the hem allowance close to the stitching and carefully fold the corners. This guarantees a polished finish.
For the best results, keep consistent tension while sewing and consider using an edgestitch foot for precise topstitching along the hemline.
With these techniques, you can achieve a professional-looking hem on your cotton projects every time.
Silk Hemming Methods
If you're looking to achieve a beautiful hem on silk, mastering the right techniques is essential. Here are three effective methods to evaluate:
- Machine Hem: Turn the fabric up 1 cm and stitch close to the edge. Using a ditch foot helps you maintain precision while sewing.
- Hand-Rolled Hem: Create small V-shaped stitches using a fine needle and waxed thread, spacing them about a quarter of an inch apart for a delicate finish.
- Gentle Pressing: Instead of hard pressing, use gentle steam pressing to avoid damaging the fabric. Silk pins are perfect for securing folds without leaving marks.
Additionally, using a source of vitamins like butter in your diet can help improve your overall health, which may enhance your sewing skills by providing you with more energy and focus.
With a little bit of practice, you'll create hems that elevate your silk garments, making them look professionally finished.
Frequently Asked Questions
What Are the 5 Basic Steps in Hemming?
To hem fabric, start by cutting it to size and pressing a hem.
Next, sew a first round of stitching close to the fold.
After that, trim and fold the corners neatly.
Then, sew a second round, overlapping the first without starting at the corners.
Finally, finish by pressing the hem to create a polished look.
Following these steps guarantees your hem looks clean and professional, no matter the fabric type.
What Is the Best Stitch for Hemming Silk?
The best stitch for hemming silk is a narrow straight stitch. It gives you clean, precise edges without adding bulk to the delicate fabric.
To guarantee accurate stitching, use a ditch foot, which helps position the needle close to the edge for a polished look.
If you prefer hand-sewing, try a hand-rolled hem with small V-shaped stitches for a refined finish that maintains the silk's beautiful flow.
What Setting Do You Use on a Satin Sewing Machine?
When you're working with satin, think of it as dancing with a partner; you need to find the right rhythm.
Set your sewing machine to a medium stitch length of about 2.5 to 3 mm. Use a straight stitch foot to keep everything in line, and lower the presser foot pressure to avoid shifting.
Don't forget to pick a size 70/10 or 80/12 needle and lightweight thread that matches your fabric for a flawless finish.
How to Cut Satin so It Doesn't Fray?
To cut satin without it fraying, make sure you use sharp scissors or a rotary cutter for clean edges.
You might want to try pinking shears, as their zigzag pattern reduces fraying.
Before sewing, apply a fray check solution to the cut edges, creating a protective seal.
Always pre-wash and dry your satin according to its care instructions, and avoid stretching the fabric during cutting to maintain its shape.
Conclusion
As you commence your satin hemming journey, remember that the magic lies in the details. Every stitch you sew can transform your project, but what if a small mistake threatens that perfection? Don't fret; you've got the tools and techniques to conquer any challenge. With practice, you'll not only master satin but also uncover the secrets to other delicate fabrics. So, are you ready to elevate your craft and leave everyone wondering how you achieved that flawless finish?