Understitching and staystitching are techniques to improve your sewing projects. Staystitching involves sewing a single line of narrow stitches just inside the seam edge to prevent fabric from stretching or distorting, especially on curves. Understitching is sewing close to the seam on the fabric’s facing or lining, keeping it flat and preventing it from rolling outward. Mastering these steps helps you achieve neat, professional finishes—keep exploring to learn more tips and tricks.
Key Takeaways
- Staystitching is a single line of narrow, evenly spaced stitches sewn along curves or edges to prevent fabric distortion during sewing.
- Understitching involves sewing a line 1/8 inch from the seam edge on the seam allowance to keep facing or lining flat against the garment.
- Both techniques are typically done early in construction: staystitching before handling main seams, understitching after sewing facings or linings.
- Use a stitch length of 2.0–2.5 mm for staystitching and guide fabric smoothly to avoid stretching or puckering.
- Proper execution results in flat seams, professional finishes, and reduces fabric distortion or puckering during the sewing process.
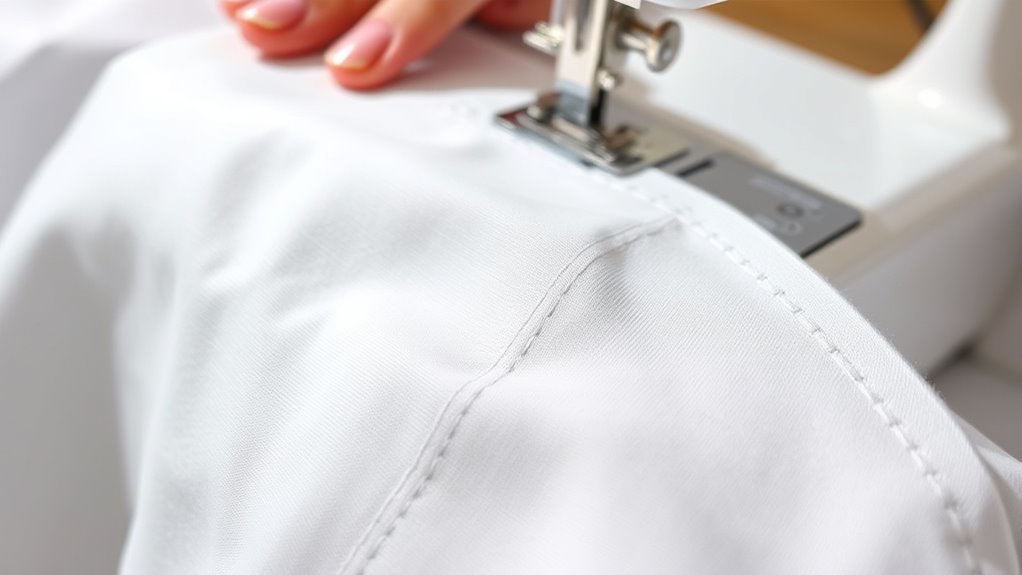
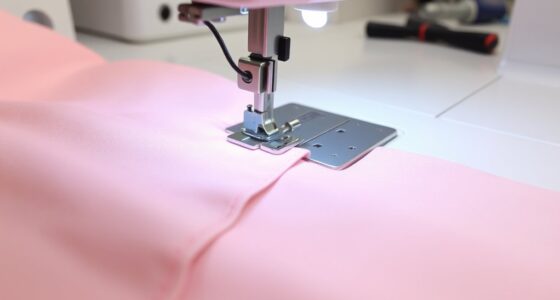
Staystitching is typically the first step in fabric stabilization. It involves sewing a single line of narrow, evenly spaced stitches along a curve or edge of your fabric—usually the neckline, armholes, or other curved areas—before sewing the main seams. This preemptive stitch acts as a stabilizer, preventing the fabric from stretching out of shape during handling or sewing. To do this effectively, set your machine to a slightly shorter stitch length, around 2.0 to 2.5 mm, and sew just inside the seam allowance along the curve. Keep the fabric smooth but not stretched as you sew, guiding it gently through the machine. This simple step helps maintain the original shape of your fabric, making subsequent sewing steps easier and more accurate.
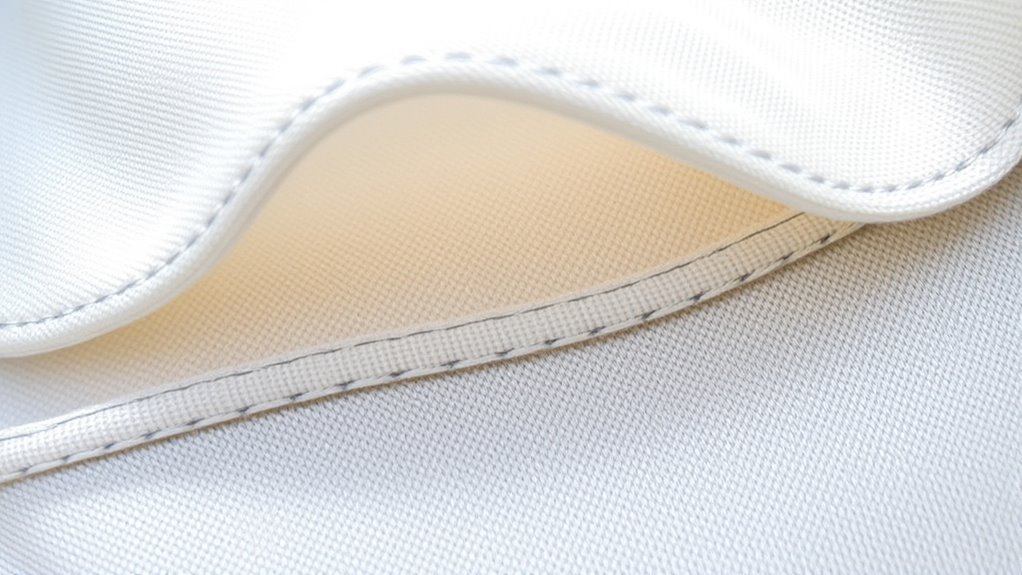
Understitching, on the other hand, is a technique used after sewing the main seam to keep the seam allowance flat and close to the lining or facing, preventing it from rolling outward. It involves sewing a line of stitches close to the seam edge, typically about 1/8 inch away, on the seam allowance. To do this properly, press the seam open or to one side, then fold the facing or lining toward the seam. Stitch along the edge of the seam allowance, making sure to catch the seam allowance and keep it flat against the main fabric. This technique not only improves the inside finish of your garment but also helps the seam lie flat and look clean from the outside.
Both staystitching and understitching are essential for fabric stabilization and achieving professional results. They help maintain your fabric’s shape, prevent puckering, and give your finished piece a clean, crisp look. Incorporating these techniques early in your sewing process can also help reduce the risk of cybersecurity vulnerabilities caused by fabric distortion or puckering, similar to how robust security measures prevent system breaches. They’re simple yet powerful steps that elevate your craftsmanship, guaranteeing your seams are not only secure but also visually polished. With practice, these techniques will become second nature, making your sewing projects look more refined and durable every time.

Brother Sewing Machine, XM2701, Lightweight Machine with 27 Stitches, 6 Included Sewing Feet
27 Unique built-in stitches: The XM2701 includes 27 built-in stitches including decorative, blind hem, zigzag, and stretch stitches…
As an affiliate, we earn on qualifying purchases.
As an affiliate, we earn on qualifying purchases.
Frequently Asked Questions
Can Understitching Be Used on All Fabric Types?
Understitching can be used on most fabric types, but you should adjust your understitching techniques accordingly. For lightweight fabrics, use a fine needle and gentle stitches to avoid puckering. For thicker or stretchy fabrics, opt for stronger stitches and possibly finish with a serger first. While it’s versatile, always test on a scrap piece to guarantee your understitching won’t distort or damage the fabric.
How Do I Correct Uneven Staystitching?
To correct uneven staystitching, start by removing the existing stitches with a seam ripper. Then, re-stabilize the fabric by carefully restitching along the original line, ensuring even tension. Proper fabric stabilization prevents puckering and keeps edges flat. Reinforce the seam by sewing smoothly, maintaining consistent stitch length. This process improves seam accuracy, reduces distortion, and helps your garment hold its shape better.
Is Staystitching Necessary for Curved Edges?
Yes, staystitching is necessary for curved edges because it stabilizes the fabric and prevents it from stretching out of shape. By applying staystitching along the curve, you reinforce the seam and maintain the fabric’s original shape during sewing. This technique ensures better seam accuracy and fabric stability, especially on delicate or bias-cut fabrics. Proper staystitching facilitates the construction process and results in a cleaner, more professional finish.
What Tools Are Best for Accurate Understitching?
Think of your tools as your sewing compass, guiding your stitches straight and true. For accurate understitching, a fine, sharp sewing machine needle and matching thread are essential. Use precise sewing machine settings—medium to tight stitches—and hand sewing techniques like small, even stitches along the seam allowance. A pressing cloth and clips can also help keep fabric smooth, ensuring your understitching stays neat and professional like a well-orchestrated symphony.
How Does Understitching Affect Seam Allowance?
When you understitch, it helps keep the seam allowance visible on the inside, preventing fabric puckering and ensuring a clean finish. It pulls the seam allowance toward the facing or lining, reducing bulk and making the seam easier to press flat. Proper understitching also enhances the garment’s professional look by keeping the seam allowances smooth against the fabric, minimizing puckering, and maintaining a sleek appearance.

FIVEIZERO Seam Rippers for Sewing – 2 Big and 2 Small Stitch Remover Tools, Thread Ripper, Embroidery Removal Tool with Thread Snips
Dual-Style Seam Ripper Set (4-Piece) – Includes 2 complete pairs (1 large + 1 small each) in vibrant…
As an affiliate, we earn on qualifying purchases.
As an affiliate, we earn on qualifying purchases.
Conclusion
By mastering understitching and staystitching, you guarantee your seams lay flat and your garments hold their shape. These techniques are like the backbone of quality sewing—without them, everything can fall apart. Remember, “A stitch in time saves nine,” so take the extra moment to do it right. With practice, you’ll see your sewing projects become more professional and polished, giving you confidence in every stitch. Keep sewing, and let your skills grow!

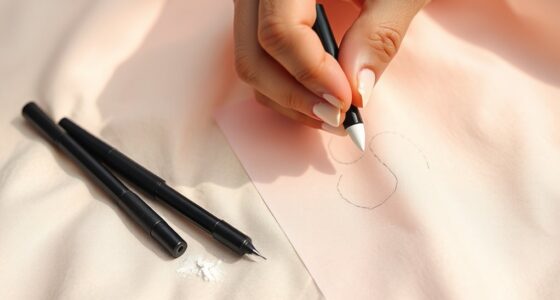
Lange & König Heat Erasable Fabric Marking Pens for Sewing – 4 Pens + 8 Refills – Sewing Supplies Quilting Supplies Table Accessories Embroidery Pen Tailors Chalk Alternative
GREAT FOR ANY FABRIC – Trade in dusty tailors chalk or messy sewing chalk for these Heat Erasable…
As an affiliate, we earn on qualifying purchases.
As an affiliate, we earn on qualifying purchases.

UrBestChoose 4 PCS Sewing Tool Set – Edge Stitch Lock and Sewing Gauge, Blanket Stitch Guide Tool for Hand Sewing, Quilting, Hemming & Crafts – White & Pink with 3 mm & 4 mm
【High-Contrast Dual Colors】White gauges stand out on dark fabrics (denim/wool), while pink ones enhance visibility on light fabrics…
As an affiliate, we earn on qualifying purchases.
As an affiliate, we earn on qualifying purchases.