
To sew a padded laptop sleeve, start by choosing durable, soft fabrics like denim or canvas and cutting your outer, lining, and padding to size with a quarter-inch seam allowance. Sew horizontal lines on the padding to prevent shifting, then layer the outer fabric, padding, and lining, pinning everything securely. Sew around the edges, leaving an opening for turning, then turn right side out, reinforce the corners, and add topstitching for a neat finish. For more detailed tips and step-by-step guidance, continue exploring the process.
Key Takeaways
- Cut outer fabric, lining, and padding to same size with a ¼-inch seam allowance.
- Sew horizontal lines across padding to create compartments and prevent shifting.
- Assemble by placing outer fabric and lining right sides together with padding in between; sew around edges, leaving an opening.
- Turn right side out, push out corners with a blunt tool, then topstitch around the entire edge for a finished look.
- Add closures like zipper or velcro for security, then press all seams flat for a professional, durable finish.
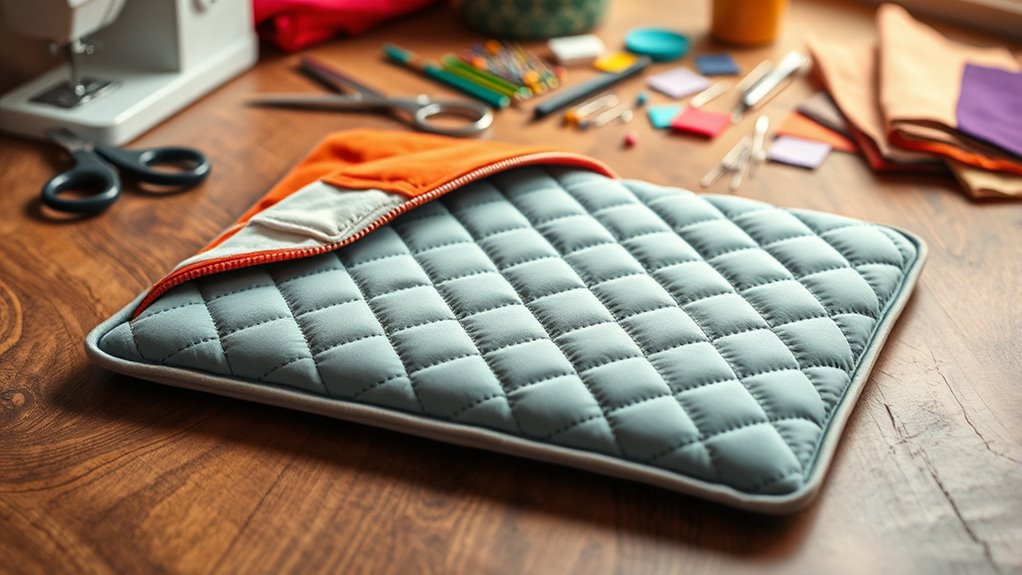
A padded laptop sleeve is a simple and practical project that protects your device on the go. When choosing fabric choices, you’ll want to prioritize materials that are durable, soft, and provide some cushioning. Think about sturdy options like denim, canvas, or sturdy cotton for the outer layer. For the padding, foam or thick batting works well to absorb shocks. Inside the sleeve, a smooth fabric like flannel or quilting cotton keeps your laptop from scratches. Balancing durability with comfort is key, so pick fabrics that are both resilient and gentle on your device.
Once you’ve gathered your fabrics, it’s time to focus on sewing techniques. Start by cutting your outer fabric, lining, and padding to the same dimensions, adding a quarter-inch seam allowance. When sewing, use a straight stitch for most seams to ensure strength, but don’t hesitate to backstitch at the beginning and end to prevent unraveling. To keep the padding in place, you can sew a few horizontal lines across it, creating small compartments that prevent shifting. This technique not only secures the padding but also adds structural integrity to your sleeve.
When assembling the sleeve, place the outer fabric right sides together with the lining, sandwiching the padding in between. Pin carefully, especially around the edges, to keep everything aligned. Sew around the perimeter, leaving an opening for turning. Use a seam allowance of about ¼ inch, and reinforce the corners with backstitches for added durability. After sewing, clip the corners to reduce bulk, then turn the case right side out through the opening. Push out the corners with a blunt tool to get sharp edges.
Next, topstitch around the entire edge of the sleeve to secure the opening and give your project a finished look. This step also helps the edges stay flat and adds strength. If you want, you can add a closure like a zipper, velcro, or elastic band at the top for extra security. To finish, press all seams flat with an iron, making your laptop sleeve look professional and tidy. Incorporating appropriate sewing techniques ensures a durable and well-crafted case. This project is a great way to practice sewing techniques while creating a customized protective case that suits your style.
Frequently Asked Questions
What Materials Are Best for Padding and Lining?
For padding, you should choose foam or batting with a suitable fabric thickness to provide adequate protection without bulk. For lining options, cotton or polyester fabrics work well because they’re smooth and durable. Consider using a softer lining to prevent scratches on your laptop. Combining a sturdy padding material with a comfortable lining creates a protective sleeve that’s both functional and easy to sew.
How Do I Ensure a Snug Fit for Different Laptop Sizes?
Think of your laptop sleeve as a glove that fits perfectly. To guarantee a snug fit for different laptop sizes, you need to adjust dimensions based on your device, considering fabric selection and padding thickness. Measure your laptop carefully and add a small seam allowance. Use flexible, stretchable fabrics for slight variations, and tailor the padding to maintain a secure, cushioned fit that protects without being too tight.
Can I Customize the Sleeve With Pockets or Handles?
Yes, you can customize your sleeve with personalization options like pockets or handles. Adding small pockets provides extra storage for accessories, while handles make carrying easier. To incorporate these features, simply sew or attach fabric pieces in your preferred locations before finishing your design. Personalization options let you tailor the sleeve to your needs, giving you added storage features and making your laptop case uniquely yours.
How Do I Wash and Maintain the Padded Sleeve?
If your padded sleeve gets a stain, act quickly with gentle care instructions, like spot cleaning with a mild soap and water. For regular maintenance, hand wash it carefully and let it air dry to preserve the padding. Imagine a friend’s sleeve that stayed fresh after a coffee spill—proper stain removal and gentle washing extend its life. Always follow manufacturer care instructions for best results.
What Sewing Machine Settings Are Ideal for Thick Fabrics?
For sewing thick fabrics, set your sewing machine tension to a medium range and adjust as needed for smooth stitches. Use a heavy-duty presser foot or a walking foot to evenly feed the layers through. Increase the stitch length to about 3mm for durability. Test on scrap material first to fine-tune tension and presser foot settings, ensuring your seams stay strong and neat without puckering or skipped stitches.
Conclusion
Now that you’ve sewn your padded laptop sleeve, imagine the peace of mind knowing your device is protected. But what if unexpected accidents happen? Your new case is just the beginning—what if you could customize it further or add unique touches? The possibilities are endless, and your creativity can turn this project into something truly special. Are you ready to take the next step and make your DIY skills even more impressive? The journey isn’t over yet.