To hem a dress with attached lining, start by checking for visible stitches and splitting the lining side seam. Press the hem allowance toward the wrong side and trim the lining to be 1 inch shorter. Sew the hem with a ½ inch seam allowance, keeping the lining aligned. Finish with a slipstitch for an invisible look on the outside. For perfection, maintain even tension and regularly check alignment for a professional finish. There's more to master this technique!
Key Takeaways
- Check and split the lining side seam for easier handling before starting the hem alteration process.
- Ensure the lining is 1 inch shorter than the outer fabric hemline for a proper fit.
- Use a slipstitch technique to secure the lining to the hem, making stitches invisible on the outside.
- Press both dress and lining separately to maintain perfect alignment throughout the hemming process.
- Regularly check alignment while sewing to ensure an even and professional-looking hem.

Hem Tape 3/4 INCH x 70 Yards No Sew Iron-On Fusible Interfacing Hemming Fabric Tape Adhesive with Scissors&Tape Measure for Clothes Pants Dress Curtains DIY Kit Gift Stocking Stuffers for Women(White)
If you are not satisfied, there is no need to return it; simply contact us
As an affiliate, we earn on qualifying purchases.
As an affiliate, we earn on qualifying purchases.
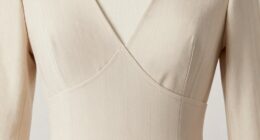
Preparing the Hem for Shortening
Before you start shortening your dress hem, it's essential to prepare properly to guarantee a clean finish.
Begin by checking for visible stitches at the seam line between the lining and the dress. This will help you identify where to remove stitches for access to the hem.
Next, carefully split open the lining side seam; this makes handling and shortening the hem easier without disturbing the overall structure.
Fold the hem allowance towards the wrong side of the dress and press it to create a clear crease for the new hemline.
If the lining is longer than the outer fabric, trim it to match the new hemline.
Secure the hem allowance with pins before sewing for a polished look.

SCHMETZ Stretch Sewing Machine Needles – Precision Needles, Size 90/14, 5-Needle Cards, Pack of 1
ENGINEERED FOR STRETCH FABRIC: SCHMETZ Stretch Needles are specially engineered to sew through elastic, knit fabric, synthetic suede,…
As an affiliate, we earn on qualifying purchases.
As an affiliate, we earn on qualifying purchases.
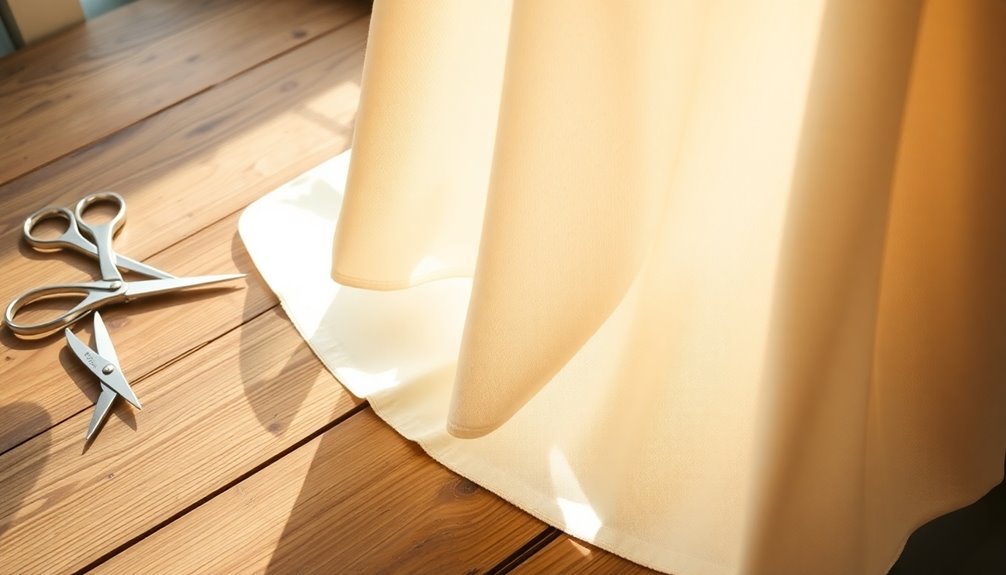
Trimming the Lining for a Perfect Fit

To achieve a polished look when hemming your dress, it's crucial to trim the lining correctly. Start by confirming that the lining is 1 inch shorter than the outer fabric hemline. This helps maintain a clean appearance and prevents bulk at the hem.
Before you begin trimming the lining, double-check that both the lining and the outer fabric are properly aligned. If they match in length, trim the excess lining to avoid any fullness.
After trimming the lining, press it to confirm it lays flat and aligns perfectly with the dress hem. Finally, use a slipstitch to secure the lining to the hem, making sure no visible stitches are present for a neat finish.
Your dress will look fantastic!
KISTARCH Small Sharp Scissors for Hair Cutting, Beard, Eyebrow, Nose, Facial Hair, Beauty | Sewing Trimming Scissors for Embroidery, Yarn Fabric, Thread, Craft & Crochet
✅【Premium Stainless Steel Blades】Crafted with premium stainless steel blades, ensures every precision cutters. These small nippers are sharp…
As an affiliate, we earn on qualifying purchases.
As an affiliate, we earn on qualifying purchases.
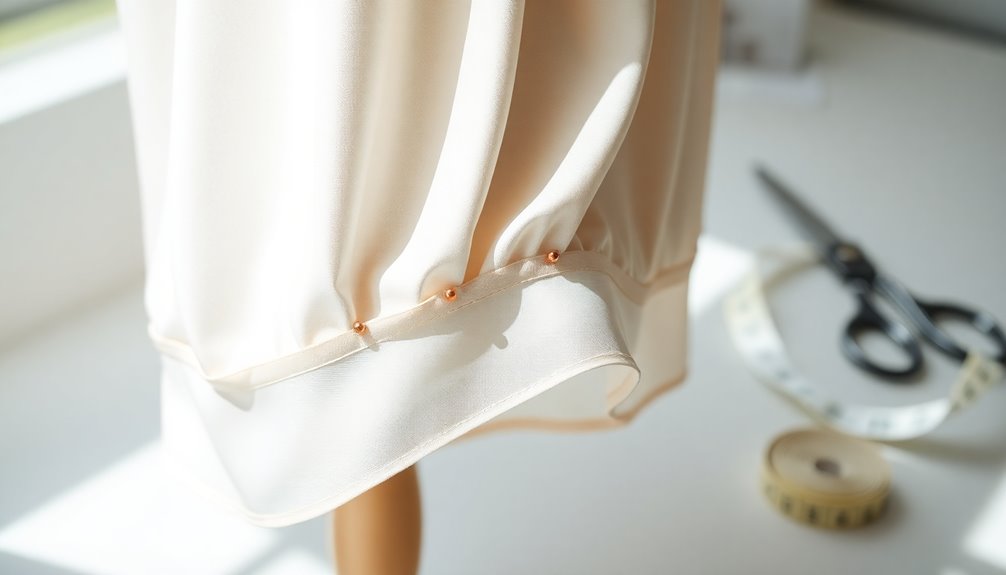
Sewing the Hem by Machine
Once you've pressed the hem allowance, you're ready to sew it by machine for a professional finish.
Begin by folding the hem allowance of the dress towards the wrong side and pressing it to create a sharp crease. If the lining and outer fabric lengths are identical, trim the lining to 1 inch below the hemline.
Next, align the bottom edge of the lining with the garment's hem allowance and pin them securely. Using a sewing machine, make a machine stitch along the edges at a ½ inch seam allowance, leaving a gap for finishing.
Finally, iron the lining edge inward. This sets you up perfectly for the next step of sealing the hem without visible stitches on the outer layer. Additionally, maintaining a clean sewing environment can help reduce airborne allergen reduction while you work.

600PCS Sewing Pins, Straight Pin for Fabric, Pearlized Ball Head Quilting Pins Long 1.5inch, Corsage Stick Pin for Jewelry DIY, Craft, Sewing Supplies, Accessories By Sunenlyst
【High-Quality Material】pins sewing is made of high-quality stainless steel and pearl ball head , sturdy and sharp for…
As an affiliate, we earn on qualifying purchases.
As an affiliate, we earn on qualifying purchases.
Hand Finishing the Lining Hem

Now that you've sewn the hem by machine, it's time to hand finish the lining hem for a polished look.
You'll use a slipstitch technique to keep your stitches invisible on the outside, ensuring a neat appearance.
Remember to maintain even tension while sewing to avoid puckering and achieve that smooth finish you want.
Slipstitch Technique Overview
The slipstitch technique is an essential method for hand-finishing the lining hem of a dress, providing a seamless and polished look. This technique allows you to attach the lining discreetly, ensuring no visible stitches mar the exterior.
Here's how to effectively use the slipstitch:
- Align the folded edge of the lining with the hem allowance.
- Secure the lining using small, hidden stitches that only catch the lining fabric.
- Press each component before and after to enhance the finish.
Ensuring Even Tension
To achieve a professional finish when hand sewing the lining hem, maintaining even tension is crucial. Use the slipstitch method, sewing ½ inch from the fold to keep your stitches hidden. Before you start, press both the lining layer and the garment separately to help them lay flat. As you sew, check the alignment of the lining with the hem regularly to guarantee consistency. If you notice uneven tension, gently adjust your stitches, either loosening or tightening them as needed. This attention to detail will give you a smooth and polished look.
| Tip | Action |
|---|---|
| Press the fabrics | Press separately before sewing |
| Check alignment regularly | Guarantee the lining layer aligns with the hem |
| Adjust tension as needed | Loosen or tighten stitches gently |
Techniques for Free-Hanging Lining
While hemming a dress with a free-hanging lining might seem intimidating, it can be a straightforward process with the right techniques. Here are some essential steps to follow:
- Trim the lining hem allowance to guarantee it's shorter than the outer layer for a polished look.
- Use a folded-up hemming technique for the lining layer, allowing it to hang freely without strain.
- Tack down the lining at each seam to prevent shifting.
Additionally, consider applying a French tack to discreetly secure the lining to the garment. This method keeps everything in place without visible stitches.
Don't forget to properly fold and iron the hem allowance of the dress for a clean, professional appearance. You'll achieve a stunning finish!
Tips for a Professional Finish

To achieve a professional finish when hemming your dress, start by pressing both the dress and lining for perfect alignment.
Use effective hand sewing techniques, like the slipstitch, to guarantee the stitches remain hidden and the fabric lies flat.
Finally, maintain even tension while sewing to create a polished look that elevates your finished piece.
Pressing for Perfect Alignment
Achieving a professional finish when hemming a dress with lining hinges on effective pressing techniques. Start by pressing both the dress and lining separately to guarantee a crisp new hemline.
Here are some essential tips:
- Use a pressing cloth to protect delicate fabrics, like taffeta.
- Align the folded hem of the lining with the dress hem, then pin securely.
- After sewing, press the finished hem again to set the stitches.
Regularly check the alignment as you work—this guarantees the lining and dress stay even throughout the alteration process. Additionally, maintaining optimal performance of your tools can lead to more precise and efficient hemming results.
Hand Sewing Techniques Explained
After pressing the hem and lining for a polished look, it's time to focus on hand sewing techniques that guarantee a professional finish.
Use the slipstitch technique to keep your stitches virtually invisible, creating a clean folded edge. Start by aligning the hem and lining, ensuring they're correctly positioned before you sew.
It's best to sew the lining to the dress about 1/2 inch from the fold to maintain the hem's integrity while allowing for slight movement.
As you hand sew, maintain even tension on the thread to prevent puckering. This attention to detail will enhance the overall appearance and structure of your garment, giving it that polished, professional look you desire.
Ensuring Even Tension
Guaranteeing even tension while hand sewing is essential for a polished finish. Here are some tips to help you achieve that:
- Maintain consistent pressure on the fabric as you slipstitch through the lining and hem allowance.
- Use a light grip to allow slight movement, which aids in a smooth finish.
- Regularly check the alignment of the lining and dress as you sew, adjusting when necessary.
Focus on taking small, even stitches to distribute tension evenly across the hemline.
Additionally, press each component separately before sewing to eliminate creases. This attention to detail helps prevent puckering and guarantees a uniform and professional look throughout your hem.
With practice, your sewing will reflect your dedication to quality craftsmanship.
Frequently Asked Questions
How Do You Hem a Fully Lined Dress?
To hem a fully lined dress, start by checking for stitches at the seam where the lining meets the dress; remove them carefully.
Shorten the lining first, securing it with machine stitching.
Then, hand sew the lining to the dress using a slipstitch to keep the stitches hidden.
Press both the dress and lining separately, making sure they align perfectly for a polished finish.
Always handle delicate fabrics with care to maintain their integrity.
What Is an Enclosed Hem?
An enclosed hem is a technique that hides raw edges to give your garment a polished finish.
You'll fold the hem allowance of the outer fabric and the lining inward, then stitch them together. This method prevents fraying and enhances durability, making it ideal for formal wear.
You can choose between machine sewing or hand stitching, but hand stitching usually looks neater and helps avoid puckering for that refined finish you want.
How Do You Hem a Dress With Heat and Bond?
To hem a dress with heat and bond, first measure and mark your desired hem length.
Cut a strip of heat and bond slightly shorter than your hem allowance, placing it between the fabric layers at the hemline with the adhesive side facing the fabric. Press the fabric layers together using a hot iron, ensuring the heat activates the adhesive for a secure bond. This technique provides a clean finish to your hem and can be particularly useful when learning how to repair couch burn damage, as it allows for a seamless integration of any patched areas. Once cooled, you can easily trim any excess fabric to achieve a polished look.
Press with a hot iron as instructed on the packaging, then fold the hem up to the mark and press again for a crisp finish.
You can sew a slipstitch for extra security.
How to Make a Dress Shorter Without Cutting or Sewing?
If you want to make a dress shorter without cutting or sewing, try some quick fixes.
Use temporary fabric tape or hem tape to secure the hem in place. Safety pins can also help; just fold the fabric and pin it together.
For a stylish touch, gather the hem with a fabric or bobby pin.
Alternatively, wearing a shorter slip or petticoat can visually shorten the dress without any alterations.
Conclusion
So, you thought hemming a dress with an attached lining would be a breeze, huh? Well, surprise! It's actually a bit of a dance between precision and creativity. But don't worry; with the right techniques and a touch of patience, you'll achieve that professional finish you once believed only the pros could pull off. Embrace the challenge, and soon you'll be hemming like a seasoned tailor, impressing everyone with your newfound skills!