To move a button placket without ruining your shirt, carefully gather the necessary tools such as scissors, seam ripper, and fabric markers. Gently unpick the existing stitching, noting the seam allowances, then select matching fabric for the new position. Measure precisely, mark your lines, and sew the placket securely in its new spot, reinforcing the edges for durability. If you keep these steps in mind, you’ll successfully alter your shirt and learn more about achieving a professional finish.
Key Takeaways
- Carefully unpick the existing placket stitches, preserving fabric integrity for a smooth relocation.
- Measure and mark the new placket position accurately, double-checking for precision.
- Use matching fabric and reinforce seams to ensure durability after repositioning.
- Sew the new placket securely with even stitches, pressing edges flat for a professional finish.
- Address common issues like button alignment and fraying immediately to maintain shirt quality.
Why and When You Should Move a Button Placket

You might need to move a button placket when the current placement causes discomfort, looks unbalanced, or doesn’t suit your style. Adjusting the placket can considerably enhance your overall look, offering better style enhancement and a tailored appearance. It also improves garment flexibility, making the shirt more comfortable and functional. If the placket’s position makes it awkward to button or feels restrictive, relocating it can resolve these issues. Sometimes, the original placement clashes with your body shape or personal aesthetic, prompting a move for a cleaner, more harmonious look. Whether you want a sleek, modern vibe or a classic fit, repositioning the placket ensures your shirt fits better and showcases your style preferences. Proper fabric handling during the alteration process helps prevent damage and ensures a seamless finish. Being aware of construction techniques can also help maintain the shirt’s durability and overall appearance. Additionally, understanding backyard transformation essentials can inspire creative ways to customize your wardrobe and personal space. Gaining knowledge about garment alteration can further inform your approach to small clothing adjustments, making the process smoother and more successful. Exploring professional tailoring methods can provide valuable insights into achieving a high-quality result.
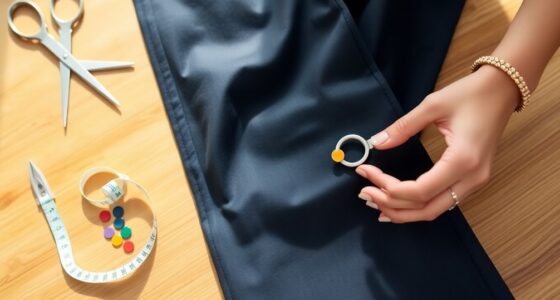
Gathering Tools and Preparing Your Shirt for a Placket Move

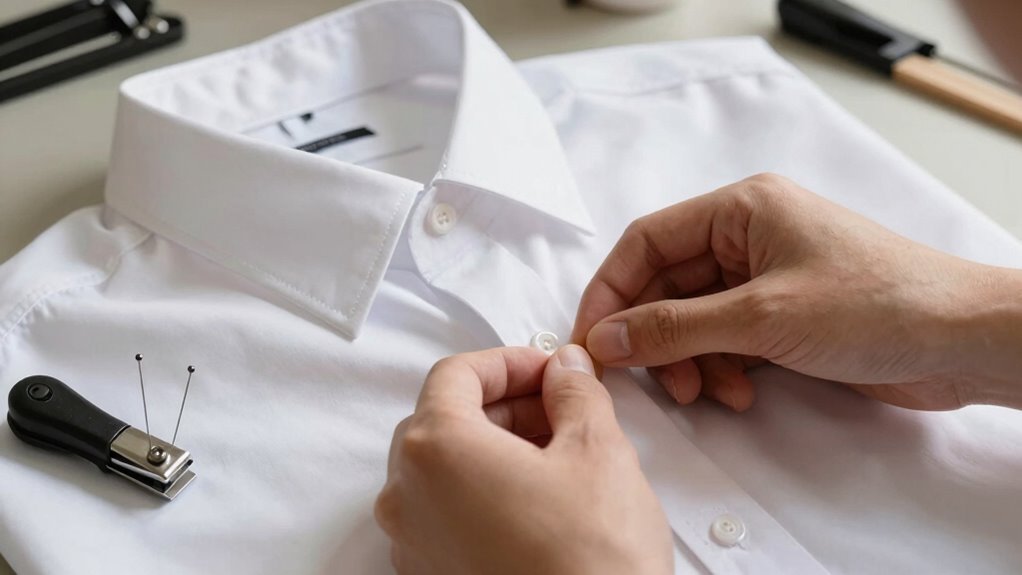
Before starting the placket move, gather the necessary tools and prepare your shirt to guarantee a smooth process. You’ll need a pair of fabric scissors to trim threads neatly and a seam ripper to carefully detach the existing stitches without damaging the fabric. Set up a clean workspace with good lighting, and lay the shirt flat on a sturdy surface. Inspect the area around the placket and identify seams that need to be removed or altered. Using the seam ripper, gently undo stitches along the placket line, taking care not to tear the fabric. Keep the cut threads organized to avoid confusion later. Having these tools ready and your shirt prepped minimizes mistakes and ensures a precise, tidy alteration. Paying attention to visual and auditory cues can help you monitor your progress and maintain accuracy throughout the process. Additionally, understanding the fabric type can influence your approach and prevent accidental damage during the alteration. Knowing the fabric characteristics can help you choose the appropriate techniques to avoid stretching or fraying, especially considering the fabric’s flexibility and resilience.
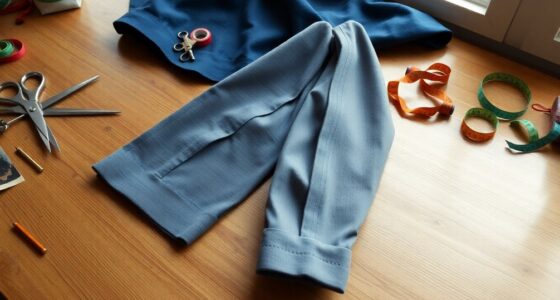
How to Carefully Remove and Relocate Your Shirt’s Button Placket
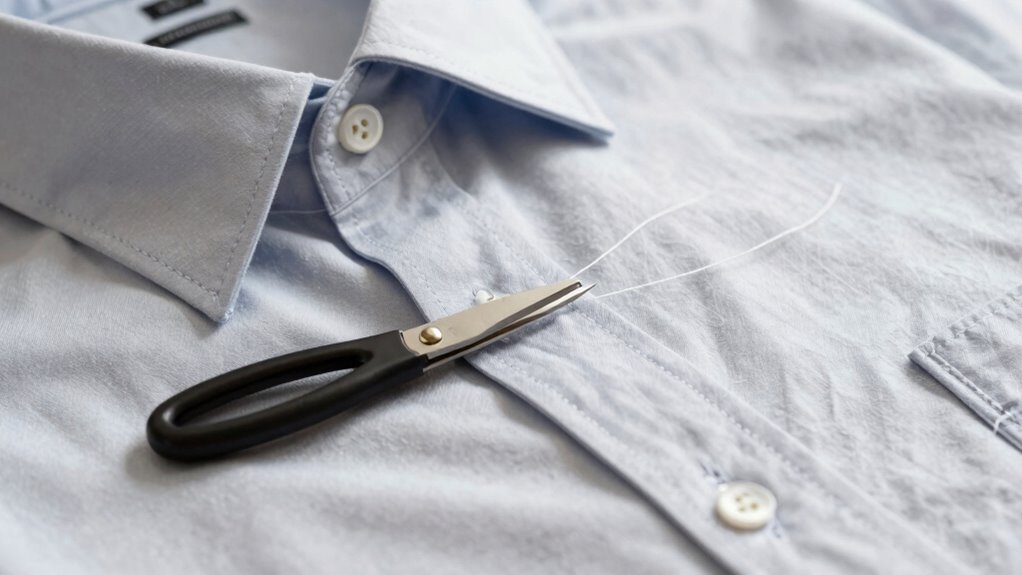
Removing and relocating the button placket requires careful attention to detail to preserve the fabric and guarantee a neat result. Start by choosing a fabric with similar weight and stretch to the original, ensuring the seam allowances are clear to avoid damaging the fabric. Carefully unpick the stitching along the edges of the placket, keeping the fabric intact. Take your time to prevent tearing or distorting the fabric. When removing the placket, note the seam allowances—these will guide you when sewing the placket in its new position. Keep the fabric flat and smooth as you work, and avoid pulling or stretching it. Precision in removing the stitches preserves the fabric’s integrity, making the reinstallation seamless and professional-looking. To ensure a consistent and professional finish, consulting professional sewing techniques can provide additional guidance on handling delicate fabrics. Additionally, understanding fabric stability helps in choosing the right techniques to avoid puckering or distortion during the alteration process. Being aware of seam allowances is essential for a clean and durable alteration. Incorporating water-resistant fabrics can also be beneficial if the shirt is to be worn in moist environments, preventing damage and prolonging its lifespan. Using fabric stabilizers during sewing can further improve the durability and appearance of the finished alteration.
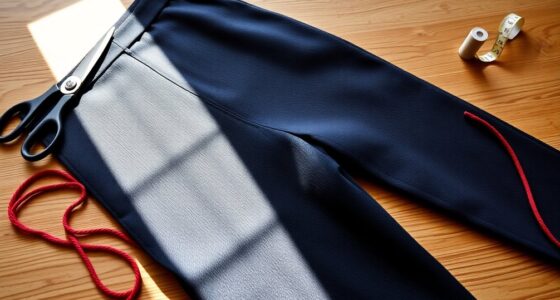
Measuring and Marking the New Position for Your Placket
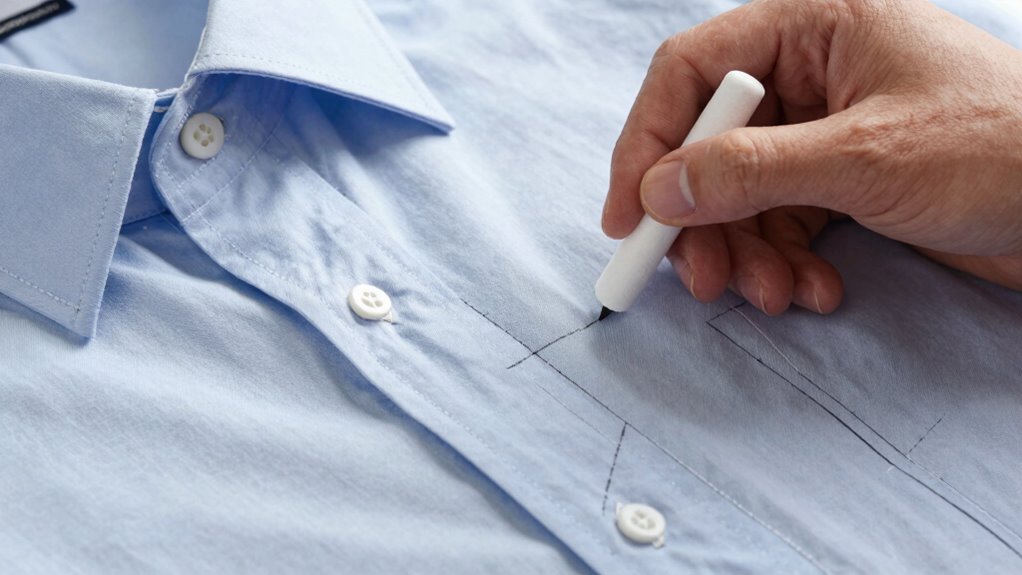
To guarantee your new placket is accurately positioned, start by measuring carefully from the original stitching line or a reference point on your shirt. Precise measuring ensures the placket will align properly and look professional. Use a ruler or measuring tape to double-check your measurements before marking.
Remember these tips for measuring accuracy and marking precision:
- Keep your measuring tools flat against the fabric to avoid skewed readings
- Measure twice before making any marks to prevent mistakes
- Use tailor’s chalk or a fabric-safe marking pen for clear, accurate lines
Sewing and Reinforcing the New Placket for a Clean, Professional Look
Once you’ve marked the new placket position, sewing it securely is essential for a polished finish. Use precise sewing techniques to attach the placket neatly, ensuring straight stitches along the edges. Reinforce the fabric by sewing a second line close to the first, adding durability and preventing fraying. Press the stitched edges flat with an iron as you go, creating crisp, clean lines. Take your time to sew carefully, especially around the corners, to achieve a professional look. Make sure your stitches are even and tight, reinforcing the placket’s structure. Proper fabric reinforcement helps the placket stay in place and maintains the shirt’s overall appearance. Pay attention to seam technique to ensure a smooth, durable finish. Incorporate sewing precision by using proper needle sizes and thread tension for a cleaner result. Finish by trimming any excess fabric and pressing the entire placket for a flawless, tidy result.
Common Problems When Moving a Button Placket and How to Fix Them

Moving a button placket can sometimes lead to common problems that affect the shirt’s appearance and functionality. One frequent issue is button misalignment, which makes buttons sit unevenly and looks unprofessional. Another problem is uneven stitching, causing the placket to look crooked or bulky. To avoid these issues, pay close attention to the placement of the buttonholes and seams. You can also use simple tools like a ruler or marking tools to keep your stitching straight and ensure proper alignment. Double-check button placement and spacing after sewing. Addressing button misalignment and uneven stitching promptly ensures your shirt looks neat and functions properly. Taking your time and double-checking your work helps prevent these common problems from ruining your alteration.
Frequently Asked Questions
Can I Move a Button Placket on Any Fabric Type?
You can move a button placket on most fabric types, but fabric flexibility and sewing techniques matter. For stretchy or delicate fabrics, use gentle stitches and avoid excessive tension to prevent damage. Sturdier fabrics like cotton or denim are easier to alter. Always test your sewing techniques on a scrap piece first. If you’re unsure, consult a professional tailor to ensure your fabric responds well to the move without tearing or puckering.
How Long Does the Entire Process Usually Take?
The entire alteration usually takes about 1 to 3 hours, depending on your skill level and the complexity of moving the placket. If you’re experienced with sewing, you might finish faster, perhaps within an hour. If you’re a beginner, it could take longer as you carefully measure, pin, and sew to avoid ruining the shirt. Plan accordingly, and allow extra time for any adjustments.
Is Special Sewing Equipment Necessary for This Alteration?
You don’t need special sewing equipment for this alteration, but having a sewing machine helps if you’re comfortable using one. If not, hand sewing techniques work perfectly fine. Just make sure you have sharp needles, matching thread, and pins to hold the fabric in place. With patience and careful stitches, you can successfully move the button placket without damaging your shirt, whether you use a machine or hand sewing.
Will Moving the Placket Affect the Shirt’s Original Size?
Moving the placket can slightly shift the shirt’s size, but careful handling minimizes this. You affect fabric stretch and seam strength, so it’s important to work gently. By maintaining the garment’s original dimensions and reinforcing seams, you preserve the shirt’s fit while shifting the placket. Precise positioning and proper technique help ensure the alteration enhances your shirt without compromising its original size or durability.
Should I Consider Professional Help for Complex Shirt Fabrics?
Yes, you should consider professional help for complex shirt fabrics. Fabrics with significant stretch or delicate textures require advanced sewing techniques to avoid damage or distortion. A professional tailor has the skills to handle these fabrics carefully, ensuring your shirt maintains its shape and integrity during the alteration process. Trying it yourself might risk ruining the fabric, especially if you’re unfamiliar with the specific sewing techniques needed.
Conclusion
With patience and care, you can shift your button placket like a seasoned tailor, turning a simple repair into an artful transformation. Think of it as rewriting your shirt’s story—each stitch a step toward perfection. Embrace the process, learn from the little hiccups, and soon your shirt will wear its new path with confidence. Just like a well-told tale, your alteration ends on a satisfying note, ready for many more chapters ahead.