Want to customize your pants with a drawstring? First, gather your supplies, including a matching drawstring and scissors. Next, wear the pants to mark and cut small slits on each side of the waistband. Apply clear nail polish to seal the edges and prevent fraying. Then, use a threader to insert the drawstring, tying it securely in place. Finally, enjoy your stylish new fit! Stick around to discover tips on adding the perfect finishing touches.
Key Takeaways
- Gather necessary supplies like a matching drawstring, scissors, and clear nail polish to prepare for the project.
- Mark and cut symmetrical slits on the waistband, ensuring they are 1-2 inches long for the drawstring.
- Apply clear nail polish to the edges of the slits to prevent fraying and prolong durability.
- Use a drawstring threader to easily insert the drawstring through the slits from both lining and outer fabric.
- Tie the drawstring ends securely and add optional cord locks for a customizable and secure fit.
Top picks for "fashion hack drawstr"
Open Amazon search results for this keyword.
As an affiliate, we earn on qualifying purchases.
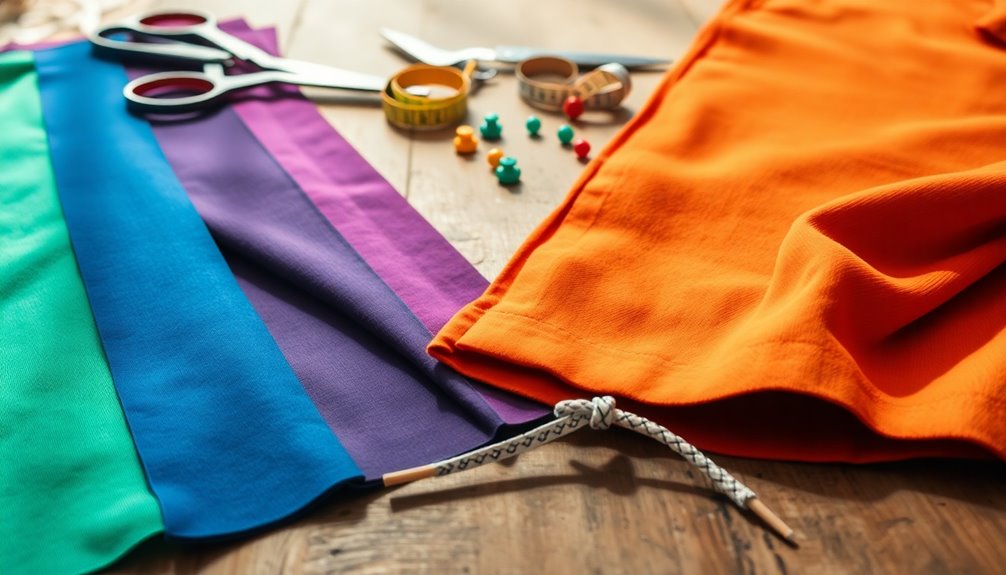
Gather Your Supplies
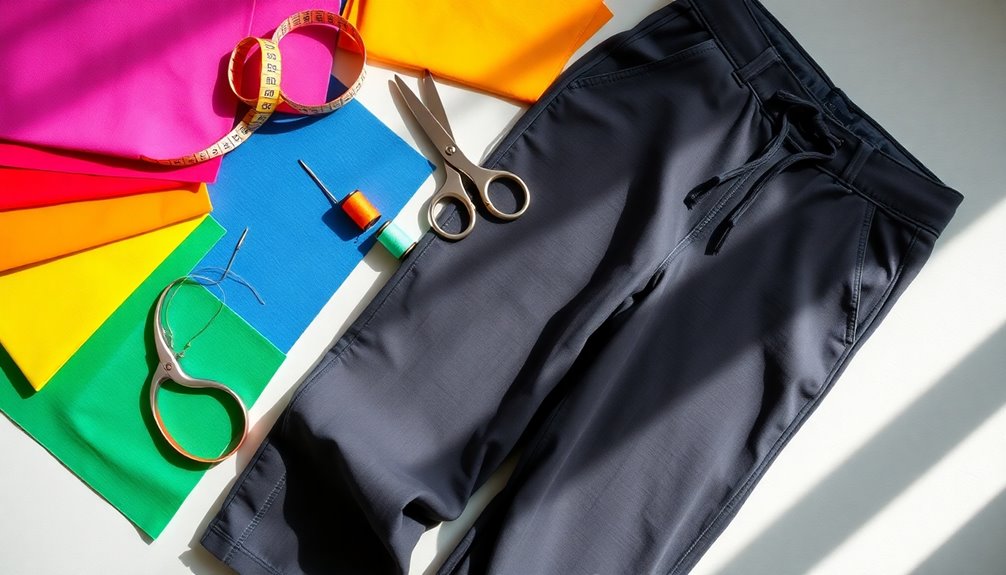
Before you plunge into your DIY project, it's vital to gather all the necessary supplies. Start by selecting a drawstring that matches the color of your pants to guarantee a cohesive look.
You'll need scissors or shears to create slits for inserting the drawstring. A drawstring threader is essential; it'll make the insertion process much easier.
Don't forget to have clear nail polish on hand to seal the slits and prevent any fraying of the fabric. If you want to elevate your project, consider optional supplies like cord locks for securing the drawstring and eyelets for a polished finish.
Mark and Cut Slits
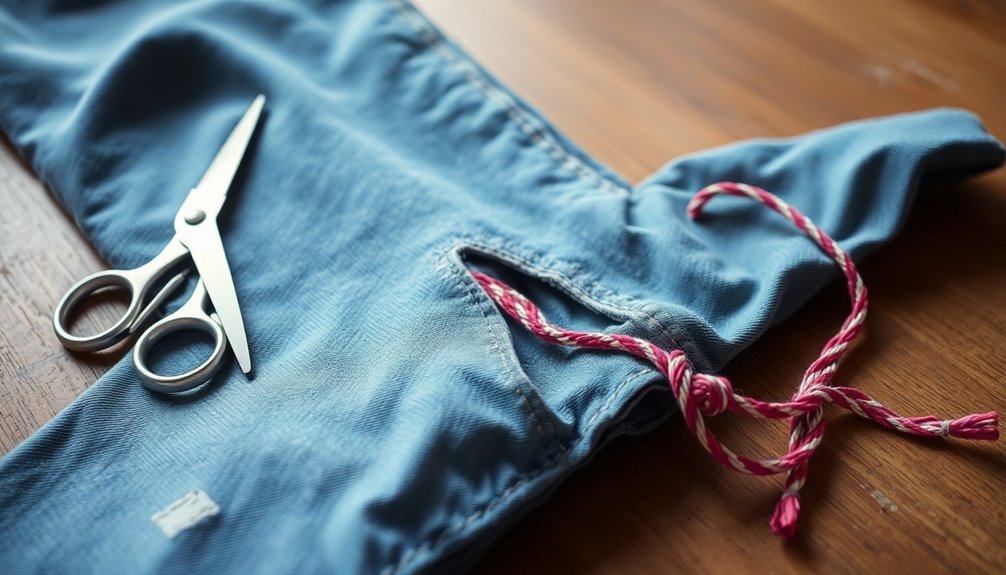
With your supplies ready, it's time to mark and cut the slits for the drawstring. First, wear the pants to find the best position for comfort and style. Use a fabric marking tool to create symmetrical marks on both sides of the waistband.
| Step | Action | Notes |
|---|---|---|
| 1 | Wear the pants | Determine ideal position |
| 2 | Mark with a fabric tool | Confirm marks are evenly spaced |
| 3 | Cut small slits | About 1-2 inches long |
| 4 | Check for size | Slits should fit the drawstring easily |
Carefully cut the slits at the marked points, making sure you don't cut too deep into the fabric. This will set you up perfectly for the next step!
Apply Clear Nail Polish
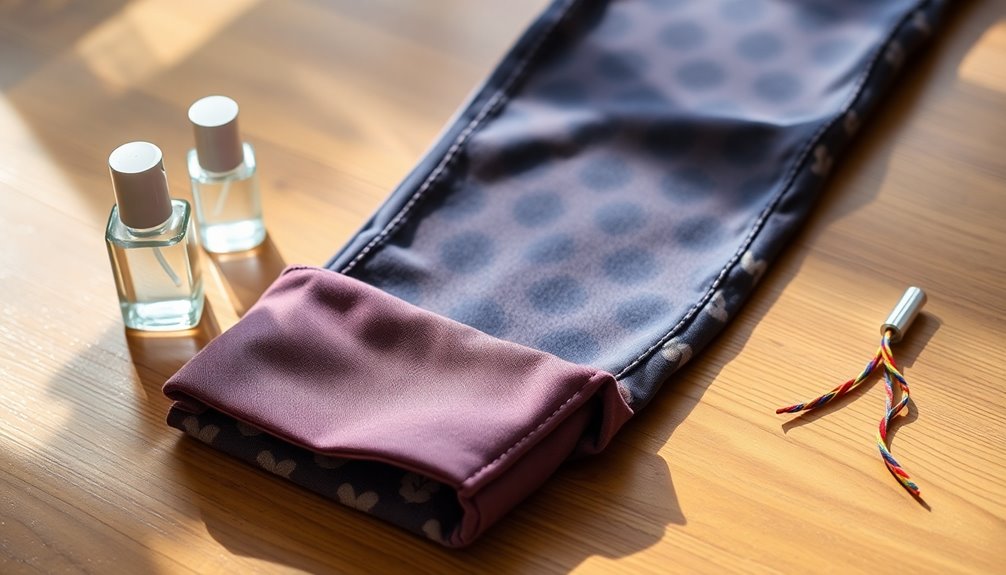
Apply clear nail polish to the cut edges of your fabric slits to prevent fraying and guarantee a neat finish for your drawstring.
Use a brush applicator to apply a thin layer directly to the edges, making sure to cover the slits or holes completely. This creates a protective barrier that enhances durability.
It's best to work in a well-ventilated area to avoid inhaling fumes, and if you have sensitive skin, consider wearing gloves.
Allow the polish to dry completely before moving on to the next step.
For longevity, reapply the nail polish every few wash cycles, especially if you frequently wash your pants.
This simple step will keep your drawstring area looking sharp and tidy!
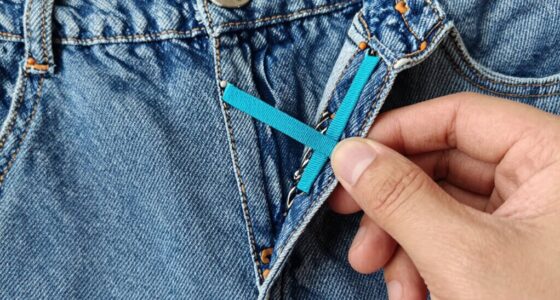
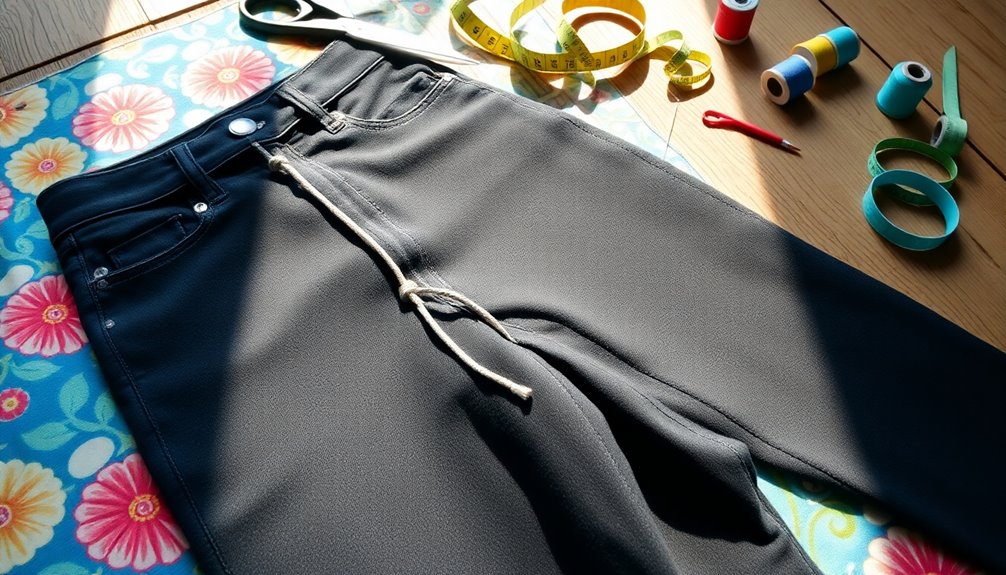
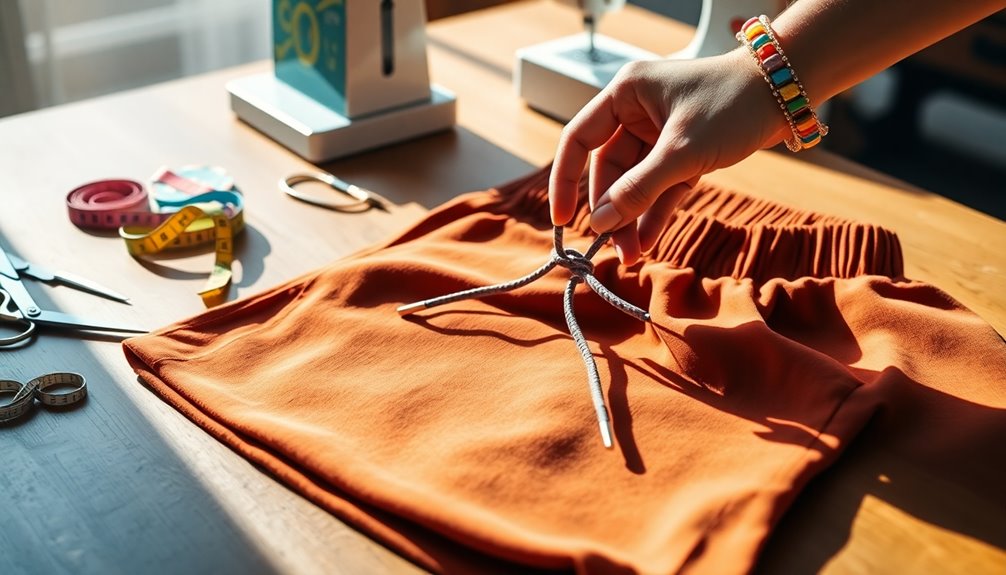
Insert the Drawstring
Once you've prepared your waistband, it's time to insert the drawstring.
For the next step, start by making symmetrical slits on either side of the waistband, ensuring they're evenly spaced for a balanced look.
Grab a drawstring threader to guide the drawstring through the waistband—this makes the process much smoother.
If your pants have a lining, make sure to thread the drawstring through both the lining and the outer fabric for a secure fit.
Once the drawstring is threaded through, tie the ends in a double knot to prevent slipping back into the waistband.
If you want, you can apply clear nail polish to the slits to seal the fabric edges and prevent fraying over time.
Secure and Enjoy Your Customized Pants
Now that you've successfully added the drawstring, it's time to secure everything and enjoy your customized pants.
Start by using a drawstring threader to guide the drawstring through the waistband smoothly. This guarantees a quick and hassle-free installation.
To prevent any fraying, apply clear nail polish to any cut edges or holes you created; this will help prolong the life of your modified pants.
Don't forget to add cord locks at the ends of the drawstring—they'll keep it securely in place and prevent slipping.
With these adjustments, you'll not only achieve a customized fit but also enhance the versatility of your pants for various occasions.
Enjoy your stylish, comfortable, and functional new look!
Frequently Asked Questions
What Can I Use for Drawstring Pants?
When you're thinking about what to use for drawstring pants, you've got plenty of options.
You can go for cotton twill tape, elastic shoelaces, or even repurpose fabric strips from old clothes. If you want a stylish touch, consider decorative cords or ribbons that match your pants.
For durability, nylon or polyester works great too. Just make sure the length allows for a comfortable fit without being too tight or loose.
How to Make a Thin Drawstring?
You might think making a thin drawstring is complicated, but it's really quite simple.
Start by cutting a strip of fabric or shoelace about 1 inch wide and long enough for your needs. Choose a color that matches or contrasts with your pants.
Secure the edges with a sewing machine or fabric glue to prevent fraying. If you want ease, use a drawstring threader to insert it through the casing.
Finish the ends with clear nail polish.
How to Recover a Lost Drawstring?
To recover a lost drawstring, start by finding the opening where it used to be threaded.
Use a safety pin or a drawstring threader attached to a new cord or shoelace to guide it through.
If the channel's too narrow, try a sturdy wire or flexible straw.
Once you've threaded the new drawstring, make sure both ends are even, then secure them with a knot or cord locks to keep it from getting lost again.
How to Make a Drawstring Hem?
To make a drawstring hem, start by measuring a drawstring or shoelace to your desired length.
Flip your pants inside out and carefully cut symmetrical slits at the hem. Seal the edges of the slits with clear nail polish to prevent fraying. Once the nail polish has dried, you can try on the pants to see how the alterations look. If you’re satisfied with the new design, you may want to consider how to hem leather pants if they still don’t fit perfectly. Remember, it’s always good to practice on an old piece of fabric first before you make any permanent changes to your favorite leather pants.
Use a drawstring threader to pull the drawstring through the slits, creating a cinched effect.
Finally, secure the ends with a double knot or cord locks for easy adjustments.
Conclusion
Now that you've added a drawstring to your pants, think about the endless possibilities for customization! You've transformed a simple piece of clothing into a unique statement that reflects your personal style. So, why settle for ordinary when you can create something extraordinary? With just a few easy steps, you've not only upgraded your wardrobe but also embraced your creativity. Go ahead, strut your stuff in those fabulous, customized pants—you've earned it!