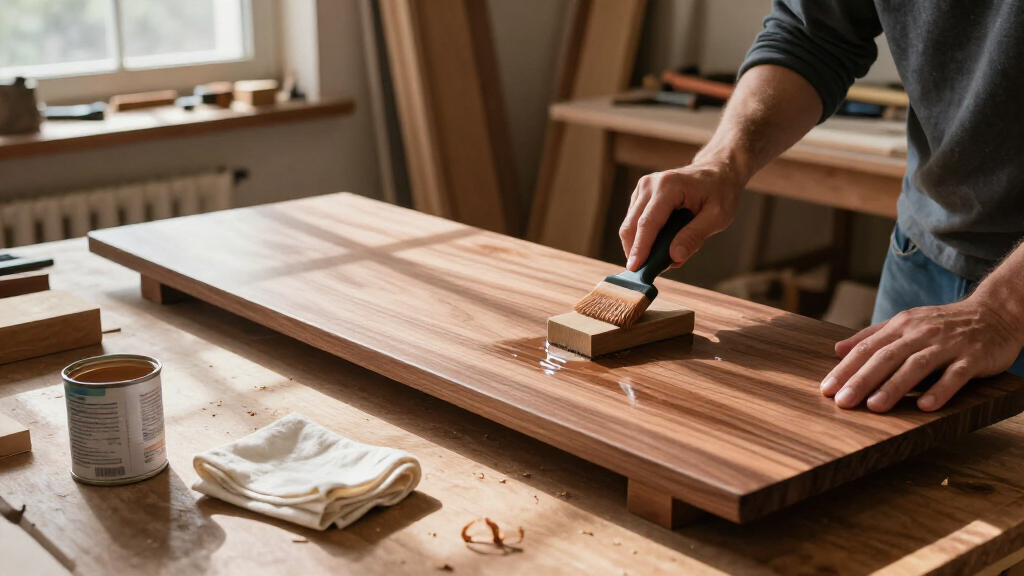
This checklist is for DIY woodworkers preparing to sand, repair, color, and finish a project. It covers the finishing supplies named here and helps you think through how each one fits into your workflow.

Get business pricing on tools and workshop supplies
- Business-only prices and quantity discounts
- Tax-exempt purchasing
- Multiple users, one account, clear invoices
The sections follow a practical order: surface preparation, sanding abrasives, filling, staining, protective finish, and application tools. Some slots have a named pick; wood filler and wood stain are advice-only sections without a product pick.
Use the notes to check compatibility and fit before buying. Confirm that abrasives match your sander, choose repair and color products for the wood and intended finish, and verify that application tools suit the product directions.
Random orbital sander
A random orbital sander can help prepare a wood surface for finishing, so the key is matching the tool to the work you actually do. The listed pick is the Festool ETS EC150/5 EQ-Plus 6-Inch Random Orbital Sander. Its name identifies a 6-inch format; check that your sanding discs use the same diameter and attachment style before pairing them.
A common buying mistake is choosing abrasives first and assuming they will fit any sander. Confirm the tool’s specifications and the disc backing arrangement, then consider whether a 6-inch sanding area suits your project surfaces and how you plan to handle edges and tighter spots. Also review the manufacturer’s operating and dust collection guidance before use. A sander is a preparation tool, so plan to remove dust and inspect the surface before moving on to filler, stain, or finish. Fit the abrasive to the tool and make sure the tool’s form factor matches the pieces you expect to sand.
What to look for:
- Match disc diameter to the 6-inch sander.
- Confirm the abrasive attachment style is compatible.
- Consider whether the sanding area suits your project surfaces.
- Review the tool’s operating and dust collection guidance.
Festool ETS EC150/5 EQ-Plus 6-Inch Random Orbital Sander

This corded random orbital sander has a 5 mm sanding stroke, stepless speed preselection, and constant speed under load for efficient material removal. Its compact 2.5 lb design, vibration control, and carbide-tipped sanding pad brake support comfortable use and longer service life.
Pros:
- Stepless speed selection and constant speed under load
- Compact, lightweight design
- Vibration control helps reduce fatigue
- Includes sanding pad, wrench, and storage case
Cons:
- Corded design requires access to power
- Listed with coarse grit type
Best for: Woodworkers whose projects suit a 6-inch random orbital sander.
Not ideal for: Projects where the listed sander’s size or abrasive fit does not suit the work.
Bottom line: Confirm disc fit and project needs before choosing this sander.
Sanding discs
Abrasives shape the surface that later steps will cover, so compatibility and grit selection matter. The listed item is Sanding Belts & PSA Sanding Discs Set – 10 Pack 4×36 Inch Aluminum Oxi. Its name includes both belts and PSA sanding discs, as well as a 4×36-inch size reference; do not assume every piece in the set fits the 6-inch random orbital sander listed above.
Check the package details for disc dimensions, backing type, and the intended tool before buying. PSA typically describes a pressure-sensitive adhesive backing, so verify how it attaches to your sander and whether it can be removed as needed. Another common mistake is choosing an abrasive without considering the sequence of grits required for the project. Review the included grits and plan a progression appropriate to the wood and finish instructions. Keep sanding dust off the surface before applying other products. Verify the exact contents of the set, since the product name alone does not specify all disc sizes or grits.
What to look for:
- Verify the included disc dimensions and belt dimensions.
- Confirm PSA backing works with your tool’s attachment surface.
- Check which grits are included and plan a suitable progression.
- Make sure the set’s contents suit your intended sanding tasks.
Sanding Belts & PSA Sanding Discs Set – 10 Pack 4×36 Inch Aluminum Oxide Belts a

This comprehensive sanding set includes belts and discs suitable for wood, metal, and non-metallic materials. Made from durable aluminum oxide, it offers a wide range of grits for various sanding and polishing tasks, ideal for both DIY and professional use.
Pros:
- Includes a wide range of grits for versatile sanding and polishing
- Durable aluminum oxide material ensures long-lasting performance
- Self-adhesive discs for easy attachment and replacement
- Suitable for both flat and curved surfaces
Cons:
- May be too coarse for very fine finishing without additional polishing
- Requires compatible tools for use with belts and discs
- No specific price information provided
Best for: Shoppers who need to confirm the set’s belt and disc contents for their tools.
Not ideal for: Anyone assuming all listed abrasives fit a 6-inch random orbital sander.
Bottom line: Inspect sizes, backing, and grits before treating this set as a match.
Wood filler
Wood filler can address small surface imperfections before staining or applying a finish, but this checklist has no product pick for the slot. Decide first whether the defect should be filled at all: a repair product can change the surface’s appearance, and a filled area may accept stain differently from the surrounding wood. Test your intended process on scrap or an inconspicuous area when possible.
Common mistakes include choosing by color alone, applying filler without checking its directions, and sanding before it has reached the specified readiness. Read the label for the wood types and uses it supports, drying and sanding instructions, and any stated compatibility with stain or finish. For a visible repair, compare the filler color after it dries and after the planned finish is applied. Follow the product directions for application and preparation, and avoid assuming a filler will blend invisibly just because its wet color looks close.
What to look for:
- Choose a filler labeled for the intended wood and repair.
- Check whether it is compatible with the planned stain or finish.
- Follow the stated drying and sanding directions.
- Test the color and result on scrap when appearance matters.
Wood stain
Stain changes the color of wood while leaving the grain visible to varying degrees, depending on the product and application. This slot is advice only, with no named stain pick. Start by identifying the look you want and checking that the stain’s directions suit the wood and the finish you plan to apply afterward.
A common mistake is judging stain from its container or a sample on a different wood. Species, surface preparation, and application can affect the result, so make a test sample using the same sanding and finishing steps planned for the project. Read the label for application method, drying guidance, cleanup, and compatible topcoats. Confirm the stain is ready for the next step according to its instructions. Test the complete finish schedule on scrap, including the protective coat, because the final appearance can differ from stain alone.
What to look for:
- Check that the stain directions suit the wood and application method.
- Confirm compatibility with the planned protective finish.
- Test on the same wood with the planned sanding preparation.
- Follow the stated drying and cleanup instructions.
Polyurethane finish
A protective finish is a distinct step in a wood finishing plan, and the product named for this slot is Oil Based Paint Markers, 12 Colors Permanent Paint Pens, Waterproof Qu. The name describes paint markers, not polyurethane, so it does not establish that the item is a polyurethane finish. Treat this listing as a mismatch and verify the actual product category and label before selecting a protective coat.
For a polyurethane finish, check the package for an explicit polyurethane description, whether it is oil-based or water-based, and the surfaces and application methods it supports. Read directions for preparation, coats, drying, ventilation, cleanup, and compatibility with any stain already applied. Do not use a paint marker as a substitute for a protective coating based on the title alone. Confirm the product identity and follow its label; test the intended sequence on scrap to see how the coating looks over the prepared or stained wood.
What to look for:
- Confirm the product is explicitly labeled as polyurethane.
- Check whether the finish type suits the stain and project.
- Review application, coat, and drying instructions.
- Follow label guidance for ventilation and cleanup.
Oil Based Paint Markers, 12 Colors Permanent Paint Pens, Waterproof Quick Dry Pa

This set includes 12 vibrant oil-based paint markers suitable for various surfaces such as rock, wood, glass, metal, plastic, and canvas. They feature waterproof, quick-drying, and permanent ink, making them ideal for indoor and outdoor creative projects.
Pros:
- Suitable for multiple surfaces including rock, wood, glass, and metal
- Waterproof and quick-drying ink ensures durability
- Vibrant color set with 12 different shades for creative versatility
- Smooth medium tip provides precise control
Cons:
- Medium tip may not be ideal for very fine details
- Oil-based ink might require proper ventilation during use
- Limited to 12 colors, which may not suit all projects
Best for: Shoppers who can confirm the listing is actually a polyurethane finish.
Not ideal for: Anyone relying on the provided paint-marker title as a protective coating.
Bottom line: The listed name describes paint markers, so verify the item before using it as polyurethane.
Foam brushes
Foam brushes can be useful for applying some paints, stains, or finishes when the product directions allow that method. The listed pick is Baderke 300 Count 1 Inch Foam Sponge Brushes for Painting, which identifies a 1-inch brush size and a 300-count quantity. Check that a narrow brush suits the project area and the application method for your chosen product.
A common mistake is assuming a brush intended for painting is automatically suitable for every wood finish. Review the finish or stain label for permitted applicators, and test on scrap to see whether the brush leaves the result you want. Consider the size of the surfaces, corners, and edges: a 1-inch brush may be convenient for detail work but may be slow on broad panels. Follow product directions for application and disposal, and keep the work area clean between coats. Match the applicator to the label and project rather than relying on the brush count alone.
What to look for:
- Check that foam brushes are permitted by the product directions.
- Consider whether 1-inch brushes suit the surfaces and details.
- Test the application result on scrap first.
- Review the stated quantity and handling directions.
Baderke 300 Count 1 Inch Foam Sponge Brushes for Painting

This set includes 300 black foam sponge brushes with wooden handles, ideal for painting, decorating, and DIY crafts. The brushes are lightweight, easy to handle, and suitable for both children and adults, making them perfect for various art projects and home improvements.
Pros:
- Large quantity of 300 brushes suitable for multiple projects
- Lightweight and easy to handle, ideal for children and adults
- Reliable materials with comfortable wooden handles
- Versatile for painting, decorating, and DIY crafts
Cons:
- Limited to small-scale projects due to size
- Wooden handles may require careful cleaning to maintain durability
Best for: Projects needing narrow foam brushes for compatible painting tasks.
Not ideal for: Large surfaces or finishes whose directions call for another applicator.
Bottom line: Confirm the finish allows foam brushes and that 1-inch widths suit the work.
Use a budget-first buying order: identify the project and finish schedule, confirm the sander and abrasive fit, then select only the repair, color, and application products that suit the job. Verify product identity where a listed name appears inconsistent with its slot, especially for the polyurethane finish.
With compatibility checked and a small test sample completed, you can move through preparation and finishing with more confidence. Let the product directions guide drying, sanding, and application, and take the process one surface at a time.
Halloween Picks

Spirit Halloween 54-Inch Sitting Scarecrow Animatronic

Max Fun 10-Foot Halloween Dragon and Pumpkin Inflatable Archway with LED Lights

Haunted Hill Farm 4.6-Ft. Spinning Beatrix Halloween Animatronic
As an affiliate, we earn on qualifying purchases.