
You can easily convert your Procreate designs into embroidery files in just minutes! Start by focusing on simple shapes and thick lines for clarity. Export your designs as PNG, then convert them to SVG using Convertio. Edit the SVG files in Inkscape, ensuring they're optimized for your sewing machine. Save them in compatible formats and transfer them to your machine. There's more to discover about the process—keep going to uncover extra tips and tricks!
Key Takeaways
- Create simple shapes and bold lines in Procreate to ensure clarity for embroidery conversion.
- Export your design as a PNG, then use Convertio to convert it to SVG format.
- Import the SVG into Inkscape to simplify paths and remove unnecessary artifacts for smoother stitching.
- Resize your design in Inkscape to match the specifications of your embroidery machine before saving.
- Transfer the final file to a thumb drive and test it on your machine for compatibility.
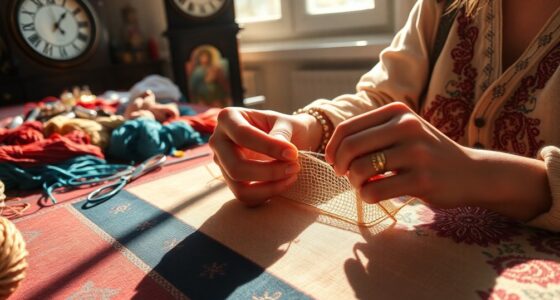
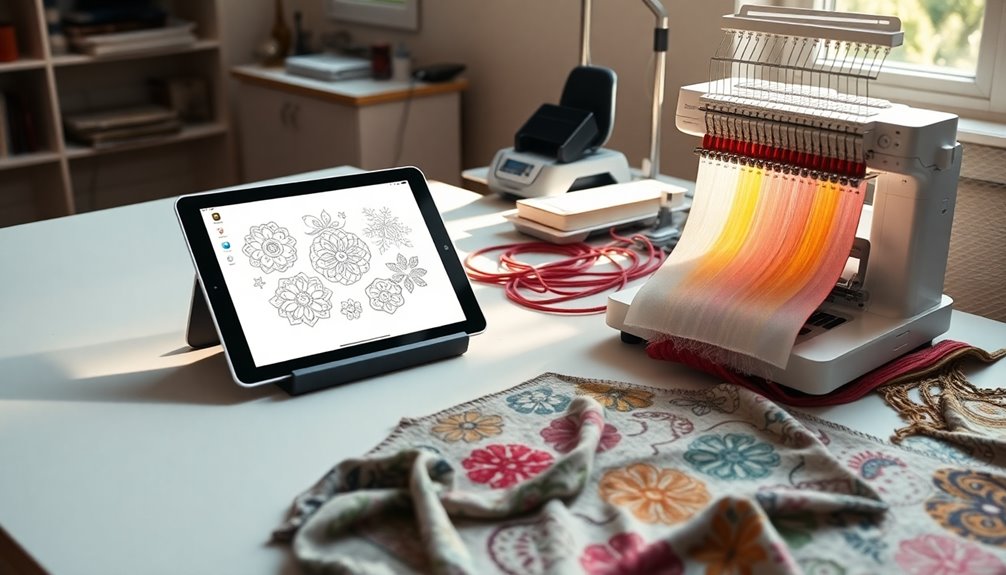
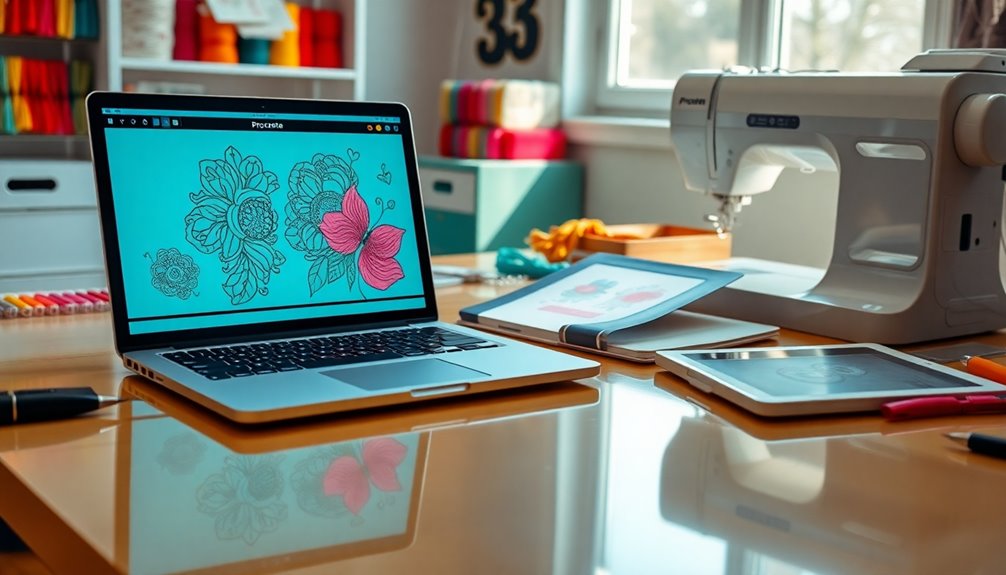
Getting Started With Procreate Designs
When you're ready to plunge into creating embroidery designs with Procreate, start by focusing on simple shapes and bold lines. This approach guarantees your Procreate designs are easy to convert into an embroidery file later.
Keep details minimal; thick lines make your designs clearer for the sewing machine. Once you're satisfied with your creation, export it as a PNG file to maintain its quality and transparency.
You'll then need to convert this PNG to SVG format, which works well with embroidery software like Inkscape. Download Inkscape and the Ink/Stitch extension for free to import and edit your SVG files.
Always check your designs for unnecessary artifacts, and use the simulator feature in Ink/Stitch to preview the embroidery before saving it.
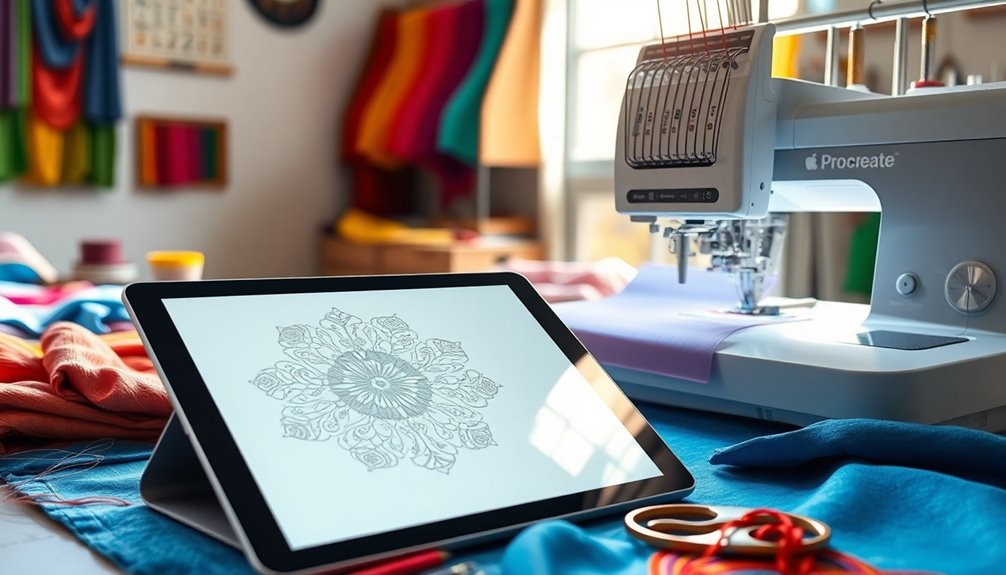
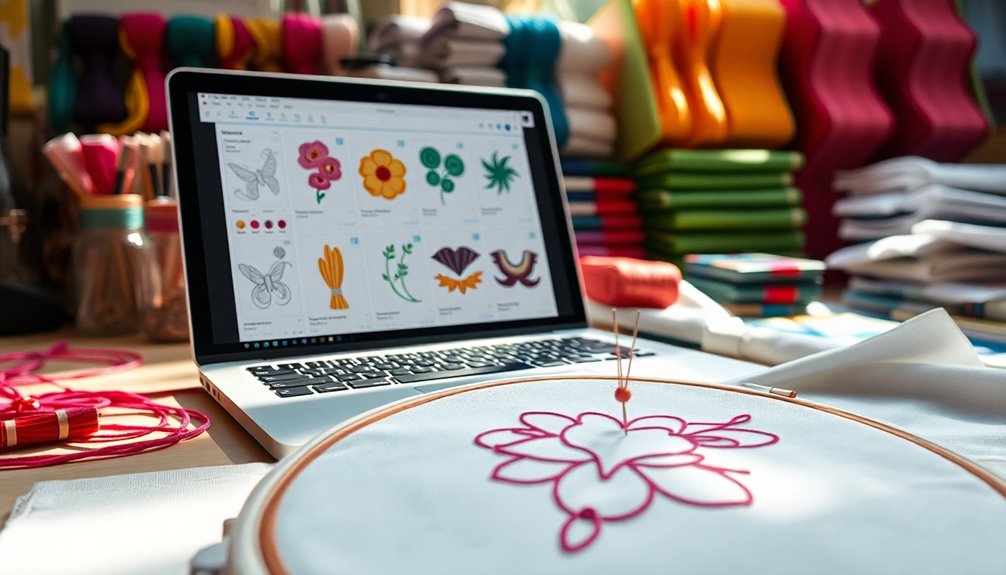
Preparing Your Designs for Conversion
After creating your Procreate designs, it's time to prepare them for conversion into embroidery files. Start by guaranteeing your artwork features simple shapes with thick lines and minimal details, as this helps achieve ideal results.
Once you're satisfied with your design, save it as a PNG file and transfer it to your laptop. This guarantees high-quality graphics for the next steps.
Use Convertio to change your PNG files to SVG format; select vector and SVG for compatibility with your embroidery software.
Import the SVG file into Inkscape to check for unnecessary rectangles or artifacts that could hinder your design's effectiveness.
Finally, save your work in a compatible format, making sure it meets your sewing machine's specifications for it to be working properly.
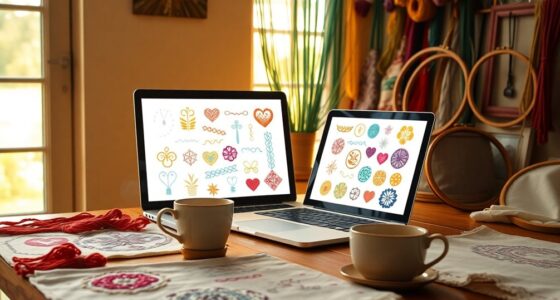
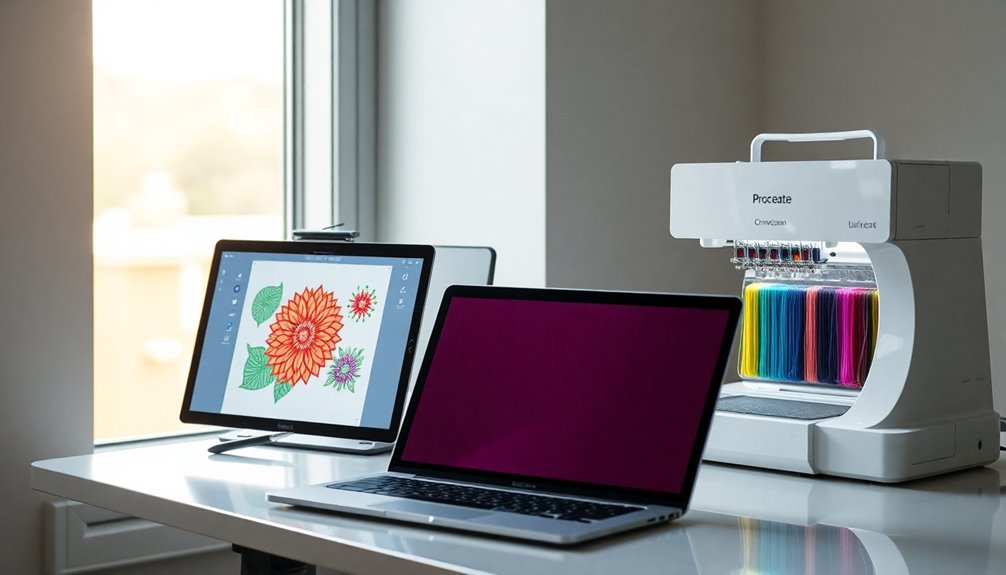
Converting PNG Files to SVG Format
To convert your PNG files to SVG format, start by saving your Procreate designs as PNGs and transferring them to your laptop.
Next, head over to Convertio and upload your PNG file. Make certain to select "vector" and then choose "SVG" as your output format.
Once the conversion is complete, download the SVG file to guarantee it's ready for editing and compatible with embroidery software.
After that, import the SVG file into Inkscape for any necessary tweaks, checking for unwanted artifacts that could affect your final design.
Finally, save the edited SVG file in a format compatible with your embroidery machine, confirming it meets size specifications before transferring it to a thumb drive.
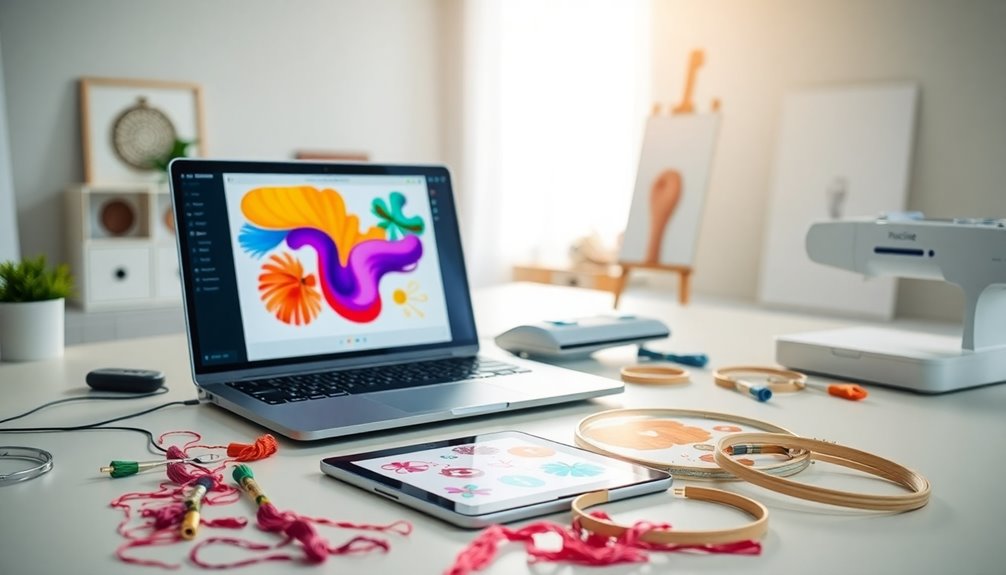
Editing SVG Files in Inkscape
Once you've imported your SVG files into Inkscape, you can start editing the design elements to suit your embroidery needs.
Look out for any unnecessary artifacts that could disrupt the stitching process and remove them.
Don't forget to use the Ink/Stitch simulator to preview how your design will stitch out before finalizing it.
Importing SVG Files
When you're ready to edit your SVG files in Inkscape, start by importing the converted file through the "File" menu and selecting "Import." This process allows you to access your design and make necessary adjustments.
Once imported, check for any unnecessary rectangles or artifacts that could interfere with the embroidery process. It's essential to tidy up your design for the best results.
If needed, resize your design by selecting the object and dragging the corners or entering specific dimensions in the toolbar.
Finally, before saving, use the simulator feature in Ink/Stitch to preview how the embroidery will stitch out. When you're satisfied with everything, save your final design in a compatible format, like .pes or .dst, for your sewing machine.
Editing Design Elements
After importing your SVG file into Inkscape, you'll want to focus on refining your design elements for ideal embroidery results.
First, check for unnecessary rectangles or artifacts that could interfere with the embroidery process and delete them if needed.
Next, use the "Path" menu to simplify your design by converting strokes to paths, ensuring your embroidery machine interprets the design correctly.
Adjust the size of your design by selecting it and using the transform panel to enter specific dimensions compatible with your machine.
Don't forget to utilize the simulator feature in the Ink/Stitch extension to preview the embroidery process and adjust stitch order or density.
Finally, save your edited design in a compatible format, like PES or DST. Additionally, understanding the importance of path simplification will enhance your design's compatibility with embroidery machines.
Saving Your Designs in Compatible Formats
To guarantee your Procreate designs are ready for embroidery, start by saving them as high-quality PNG files. Next, use Convertio to transform your PNG files into SVG format. Select vector and then SVG as the output format. After downloading the converted SVG, import it into Inkscape for further editing. Check for unnecessary artifacts and utilize the simulator feature in Ink/Stitch for a realistic embroidery preview. Finally, save the design in a compatible embroidery file format, ensuring the file size meets your sewing machine's specifications.
| Step | Action |
|---|---|
| 1. Save Design | Save as high-quality PNG |
| 2. Convert File | Use Convertio to create SVG |
| 3. Finalize Design | Edit in Inkscape, check for artifacts |
Transferring Files to Your Embroidery Machine
Once you've created your embroidery files, it's time to prepare your thumb drive for transfer.
Make certain you save your files in compatible formats that your machine recognizes.
Before you start stitching, always test the design on your machine to ascertain everything works smoothly.
Preparing Your Thumb Drive
Preparing your thumb drive is essential for a smooth embroidery experience. After finalizing your design in Inkscape, save it in a compatible format like PES or DST.
Make sure your thumb drive has enough storage and is formatted correctly for your machine. It's a good idea to rename the drive to something recognizable, like "Embroidery Designs," so you can find it quickly when connecting to your sewing machine.
Once you've done that, insert the thumb drive into the USB port of your embroidery machine. Navigate to the file selection menu to find your design.
Always double-check the size and compatibility of your files before transferring them to avoid any issues during the embroidery process. Happy stitching!
Compatible File Formats
After you've saved your designs and prepared your thumb drive, it's time to focus on compatible file formats for your embroidery machine.
You'll want to verify your files are ready for a smooth transfer. Here are key formats to evaluate:
- Save your Procreate designs as PNG files.
- Use Convertio to transform PNGs into SVG format.
- Import the SVG into Inkscape for further adjustments.
- Utilize the Ink/Stitch extension to eliminate unnecessary artifacts.
- Save the final design in compatible formats like PES or DST.
Once you have your embroidery files saved, transfer them to your thumb drive and rename it for easy identification.
This way, you'll be ready to start stitching without any hassle!
Testing Design Compatibility
Before you start stitching, ensuring your designs are compatible with your embroidery machine is essential.
First, save your Procreate design as a PNG and download it to your laptop. Use Convertio to convert it to SVG format, making it editable in Inkscape.
After importing the SVG, check for any unnecessary artifacts that could interfere with the embroidery. Use Ink/Stitch's simulator feature to preview the design realistically before saving it in a compatible format for your sewing machine.
Adjust the dimensions in Inkscape to fit your machine's specifications if needed.
Finally, transfer the resized embroidery files to a thumb drive, rename it for easy identification, and test the designs on your machine to confirm compatibility before you start embroidering. Maintaining optimal performance of your machine through regular maintenance can help prevent issues during the embroidery process.
Troubleshooting Common Embroidery Issues
When you immerse yourself in embroidery, encountering issues can be frustrating, but understanding common problems and their solutions can make a significant difference.
Here are some tips to keep your embroidery projects running smoothly:
- Verify you're using the correct embroidery foot and needle for your machine.
- Regularly check the threading and tension settings to prevent thread breakage.
- Monitor your design's placement on the fabric to avoid misalignment.
- If you see thread bunching or puckering, adjust your fabric type and stabilizer.
- Always test your embroidery files on a scrap piece of fabric before starting on your final project.
Engaging With the Crafting Community
Embroidery not only thrives on technical skills but also flourishes within a vibrant crafting community. Engaging with fellow crafters can spark unique design ideas and inspiration for your embroidery projects.
Many creators share their experiences and suggestions online, making collaboration effortless. By participating on platforms like Instagram, you can deepen connections with others through exclusive content and chats. Engaging through likes, subscriptions, and comments doesn't just support creators; it cultivates a lively atmosphere for shared learning.
Crafting communities often host events like secret Q&A sessions or bonus project shares, giving you even more opportunities to connect and enhance your skills. Additionally, you might discover how essential oils for respiratory health can be beneficial in maintaining a clear and focused mind while you craft. Immerse yourself and discover how collaboration can elevate your embroidery journey!
Frequently Asked Questions
How Long Does It Take to Finish an Embroidery Project?
Finishing an embroidery project can take anywhere from 30 minutes to several hours or days, depending on the design's complexity.
If you're working with a simpler design, you might complete it in under an hour. However, intricate designs will require more time for stitching and preparation.
Don't forget to account for setup, monitoring for issues, and post-embroidery tasks, which can add another 45 minutes to an hour to your overall project time.
Can You Use Procreate to Make Embroidery Files?
Did you know that about 70% of embroidery designs are custom creations?
Yes, you can definitely use Procreate to make embroidery files! Start by crafting your design with bold lines and minimal details.
Once you're satisfied, export it as a PNG and convert it to SVG format using online tools.
After that, import it into Inkscape, use the Ink/Stitch extension, and you'll have an embroidery file ready for your machine in no time!
What Is the Best Program to Digitize Embroidery?
When you're looking to digitize embroidery, Inkscape with the Ink/Stitch extension is a solid choice, especially for beginners.
It's free and user-friendly, letting you create vector designs tailored for embroidery.
If you're more experienced, Adobe Illustrator offers advanced features, though it comes with a price tag.
For professional use, consider Wilcom, while SewArt provides a simpler interface for newcomers.
Embird strikes a balance, catering to both hobbyists and pros alike.
How Do I Turn an Image Into an Embroidery File?
To turn an image into an embroidery file, start by creating your design in a program like Procreate, focusing on simple shapes and thick lines.
Export it as a PNG, then use a tool like Convertio to convert it to SVG format.
Next, import the SVG into Inkscape to edit and remove any unnecessary elements.
Finally, use the Ink/Stitch extension to save your design in a compatible embroidery format for your machine.
Conclusion
Now that you know how to convert your Procreate designs into embroidery files, you can plunge into your creative projects with confidence! Did you know that nearly 40% of crafters report feeling more fulfilled when they engage in hands-on activities like embroidery? By joining the crafting community and sharing your creations, you'll not only enhance your skills but also connect with others who share your passion. So, grab your designs and start stitching today!