
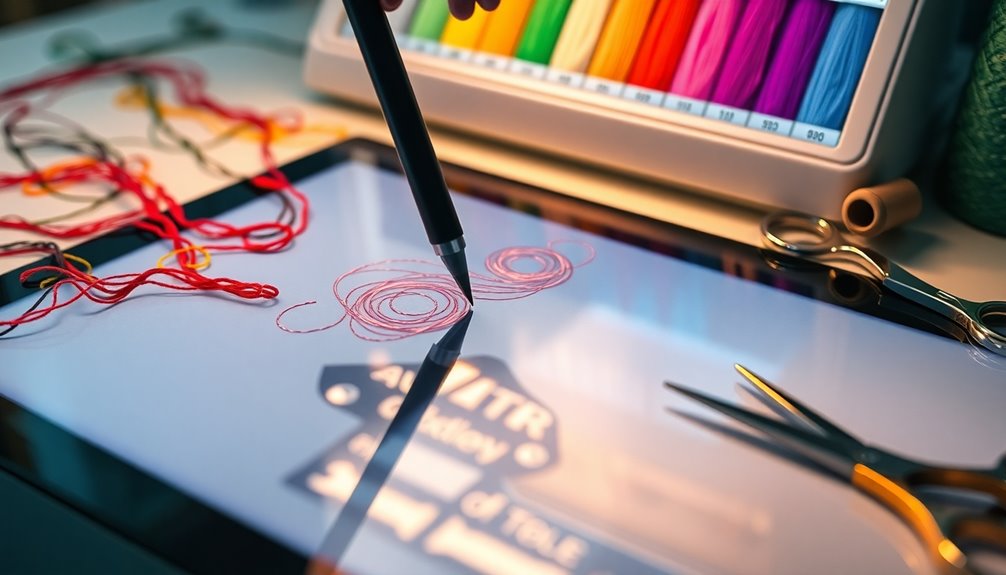
To edit embroidery designs effectively, focus on customizing entry and exit points to enhance quality and minimize trims. Break down complex designs into individual elements for better control over the stitching order. Use simulation tools to visualize the flow and catch any potential issues before stitching. Adjust the stitching order for smoother shifts between elements. By mastering these techniques, you can achieve a polished finish. You'll discover even more advanced tips as you explore further.
Key Takeaways
- Adjust entry and exit points for each letter to enhance stitching flow and minimize trims in your design.
- Break down complex designs into individual elements for better control and customized stitching sequences.
- Utilize embroidery software's simulation tools to visualize stitching order and identify potential issues before finalizing designs.
- Regularly practice using the rearrange feature to optimize stitch order and improve the overall quality of your embroidery projects.
- Isolate and customize stitching order for better transitions, ensuring clear and legible lettering in your designs.
Understanding Entry and Exit Points in Embroidery Design Editing
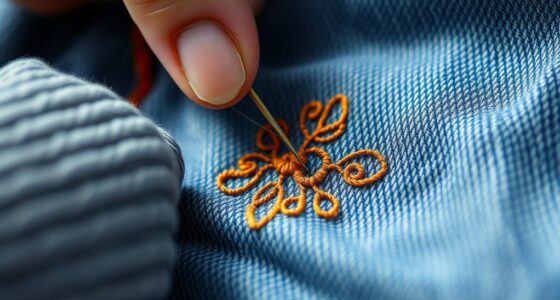
When you're editing embroidery designs, have you considered how entry and exit points can influence your project? These points determine where your stitching begins and ends, directly impacting the flow and quality of your final product.
By customizing entry and exit points, you can boost stitching efficiency and minimize unnecessary thread trims. Utilizing embroidery software, you can manually adjust these points to create smoother shifts between letters and design elements.
This is especially significant for lettering, as it affects both appearance and legibility. Tools like the rearrange feature in embroidery software make it easy to modify these points, allowing you to simultaneously adjust the stitching sequence and trimming locations for a polished result.
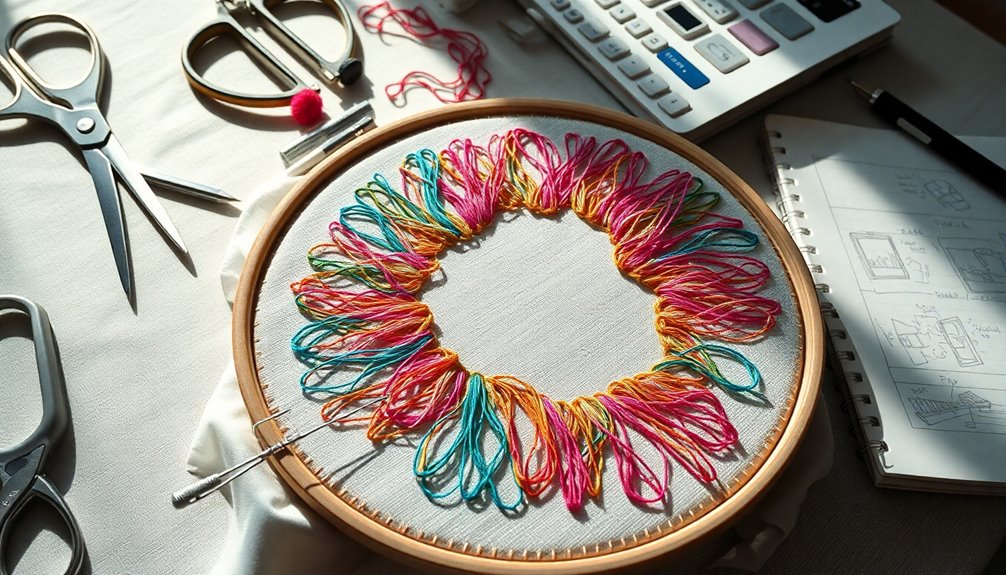
Breaking Down Complex Designs for Better Control
As you tackle complex embroidery designs, breaking them down into simpler components can greatly enhance your control over the stitching process.
By isolating individual design elements like letters or patterns, you can customize the stitching order for ideal flow and minimize thread trims. This method allows you to adjust entry and exit points, ensuring smoother shifts.
Utilizing embroidery software to manually refine these sequences gives you precise control, leading to a more polished final product. After making adjustments, check the embroidery simulation for a visual representation of the stitching flow, enabling further refinements.
Also, the re-arrange tool in the software can streamline simultaneous modifications, enhancing efficiency and overall control in your embroidery projects.
Customizing Stitching Order in Manual Mode
Breaking down complex designs sets the stage for customizing the stitching order in manual mode, giving you more control over each element.
Start by separating letters in your design software to manage their entry and exit points individually. Access the software menu to adjust each letter's entry point, ensuring a smooth flow from bottom to top.
After rearranging the stitching order, always run an embroidery simulation to verify that the new sequence meets your expectations. Use the re-arrange tool not only to modify the stitching order but also to optimize trim points and start/exit points, enhancing your design's efficiency.
Regular practice with entry and exit points will greatly improve the clarity and quality of your final embroidered pieces.
Adjusting Entry and Exit Points for Smooth Transitions
To achieve smooth changes in your embroidery designs, it's essential to adjust entry and exit points effectively. By adjusting entry and exit points, you gain better control over the stitching sequence, enhancing the flow of your embroidery from bottom to top.
Manually breaking letters apart allows you to customize the stitching order, minimizing thread trims and improving efficiency. Use your software's menu to change entry and exit points for each letter, making precise adjustments that enhance design movement.
After making these changes, always verify your work with an embroidery simulation to guarantee smooth shifts between letters. Tools like the patented re-arrange tool can further streamline adjustments, allowing for simultaneous modifications to entry points, exit points, and trim points.
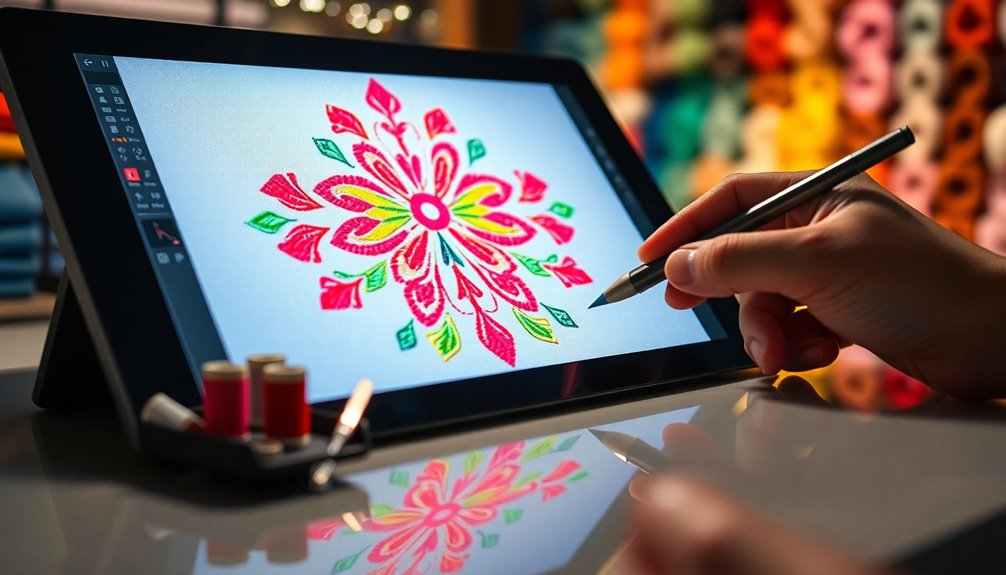
Utilizing Simulation Tools for Optimal Movement
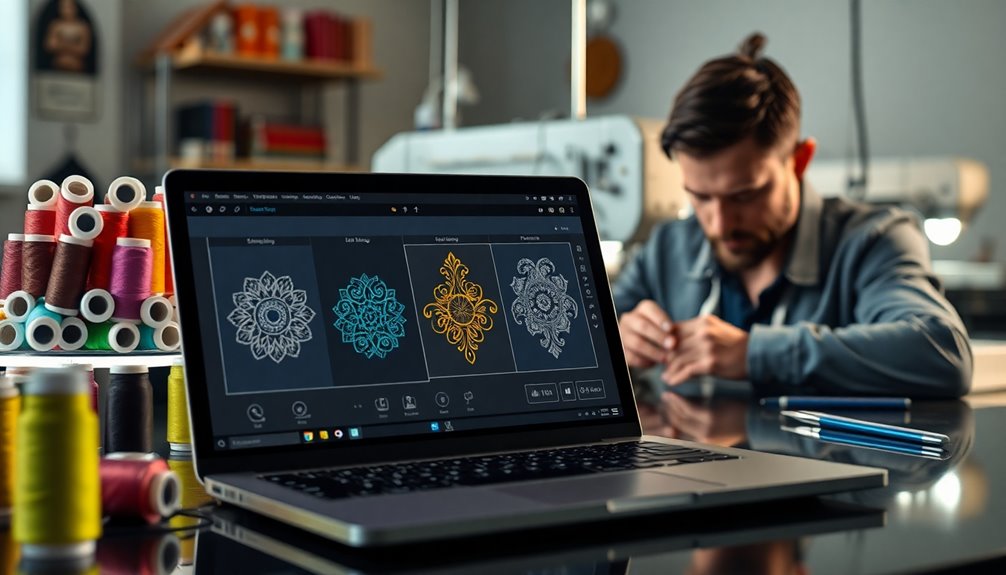
How can you guarantee your embroidery designs flow seamlessly? Utilizing simulation tools is key.
These tools allow you to visualize the stitching order and flow, helping identify potential issues before you start stitching. By breaking letters or design elements apart, you gain individual control over the stitching sequence, greatly enhancing design efficiency.
Customizing entry and exit points through these tools guarantees smoother transitions between letters, reducing thread trims and jumps. Additionally, simulation features can highlight areas needing adjustments, promoting a logical bottom-to-top pattern for ideal movement.
Remember to regularly check your embroidery simulations after making changes to confirm that your intended design flow is maintained and troubleshoot any complications before you begin stitching.
Enhancing Design Flow for a Polished Finish
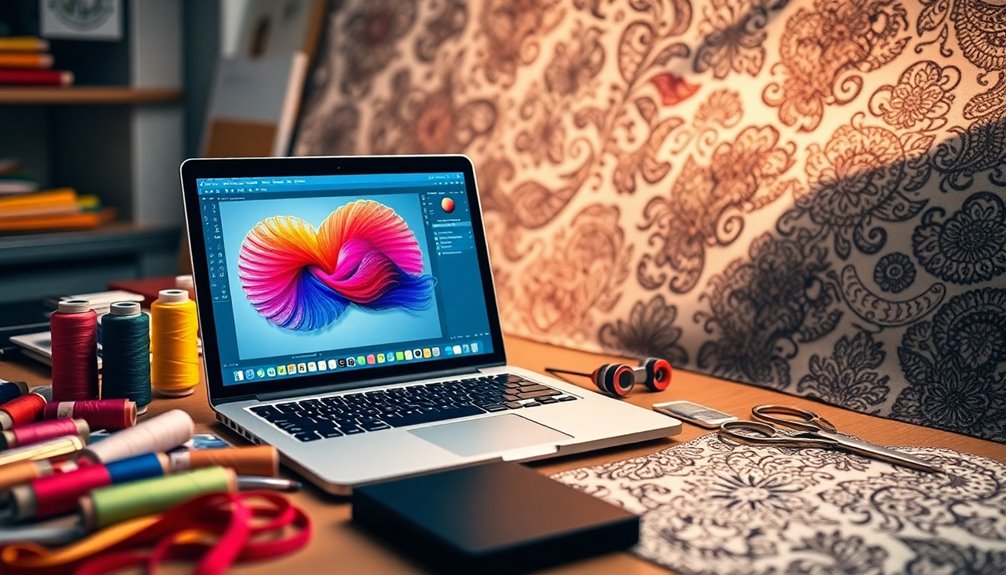
Achieving a polished finish in your embroidery designs hinges on enhancing the design flow. Start by carefully adjusting entry and exit points for each stitch, ensuring smooth changes and minimizing jumps between elements.
Use embroidery simulation tools in your software to visualize the stitching order, helping you spot areas needing improvement before production. For complex designs, break them into simpler parts and manually control the stitching sequence to boost the design flow.
Regularly check and adjust stitch density to avoid puckering that can disrupt the final look. Don't forget to experiment with the patented re-arrange tool to modify design sequences efficiently, further facilitating smoother changes and enhancing the overall flow of your embroidery design.
Frequently Asked Questions
How to Improve Embroidery Digitizing Quality?
To improve your embroidery digitizing quality, focus on optimizing stitch density specific to your design.
Regularly test your designs on similar fabrics to catch issues early. Use advanced digitizing software features to refine your work, ensuring it's compatible with various machines.
Simplify complex designs to maintain clarity, and continuously experiment with different stitch types and densities.
This practice will boost your skills and help you achieve professional-quality results in your embroidery projects.
How to Fix Messed up Embroidery?
To fix messed up embroidery, start by evaluating your stitchout for issues like skipped stitches or tension problems.
Document your findings for future reference. Adjust the tension settings if you see puckering or loose threads, ensuring the top and bobbin threads balance.
If the design isn't aligning, re-hoop the fabric or tweak the position in your software.
Finally, perform regular maintenance on your machine to prevent future stitch quality issues.
How Do You Keep Embroidery Designs From Puckering?
To keep embroidery designs from puckering, start by choosing the right stabilizer for your fabric type; this helps maintain shape. Additionally, it’s essential to hoop your fabric properly, ensuring it is taut but not overstretched, as this promotes even stitching. Experimenting with different needle types and thread tension can also significantly improve the final outcome. Understanding how to secure embroidery techniques will enhance your results and prevent any unwanted distortion in your designs.
Make certain you're hooping properly, keeping the fabric taut to minimize distortion.
Adjust stitch density based on the design and fabric, as too dense stitching can cause issues.
Use a suitable needle type that matches your thread and fabric thickness, and always perform test stitchouts to catch potential problems early.
Which Software Is Used for Embroidery Designs?
Did you know that over 80% of professional embroiderers use specialized software for their designs?
When it comes to embroidery design, you'll find popular options like Wilcom, Hatch, and Brother PE-Design. Each has unique features tailored to your needs.
Wilcom excels in complex designs, Hatch offers a user-friendly experience, and Brother PE-Design guarantees compatibility with Brother machines.
Choosing the right software can enhance your projects and streamline your workflow considerably.
Conclusion
Now that you've opened these advanced tips and tricks for editing embroidery designs, imagine the stunning creations you can craft. Picture yourself effortlessly customizing stitching orders and fine-tuning entry and exit points for seamless shifts. But wait—what if you could elevate your designs even further, transforming them into true masterpieces? With practice and creativity, you'll soon discover the endless possibilities that await. So, are you ready to take your embroidery skills to the next level? The journey's just beginning!