
To remove embroidery from a jacket easily, start by turning the jacket inside out. Use a seam ripper to cut the threads carefully, and tweezers to pull out any leftover pieces. For larger designs, try an electric stitch eraser or sharp scissors. If needed, steam or freeze the fabric to loosen stubborn threads. After removal, inspect closely for any holes or marks. There's more to learn about cleaning up and repairing your jacket afterward.
Key Takeaways
- Use a seam ripper to carefully cut and lift threads from the jacket's embroidery without damaging the fabric.
- For quicker removal, consider using sharp scissors or an electric stitch eraser for larger designs.
- Inspect the fabric closely after removal for any holes or marks, especially on delicate materials.
- Utilize tweezers to pick out remaining threads and a lint roller to clean up debris.
- Consider re-embroidering or using patches to cover any visible holes for a stylish repair.

FIVEIZERO Seam Rippers for Sewing – 2 Big and 2 Small Stitch Remover Tools, Thread Ripper, Embroidery Removal Tool with Thread Snips
- Set Includes 4 Seam Rippers: 2 large and 2 small tools in vibrant colors
- Includes Precision Sewing Scissors: Razor-sharp stainless steel for clean cuts
- Durable and Versatile Design: Protective mini ball safeguards fabric
As an affiliate, we earn on qualifying purchases.
As an affiliate, we earn on qualifying purchases.
Understanding Embroidery Removal
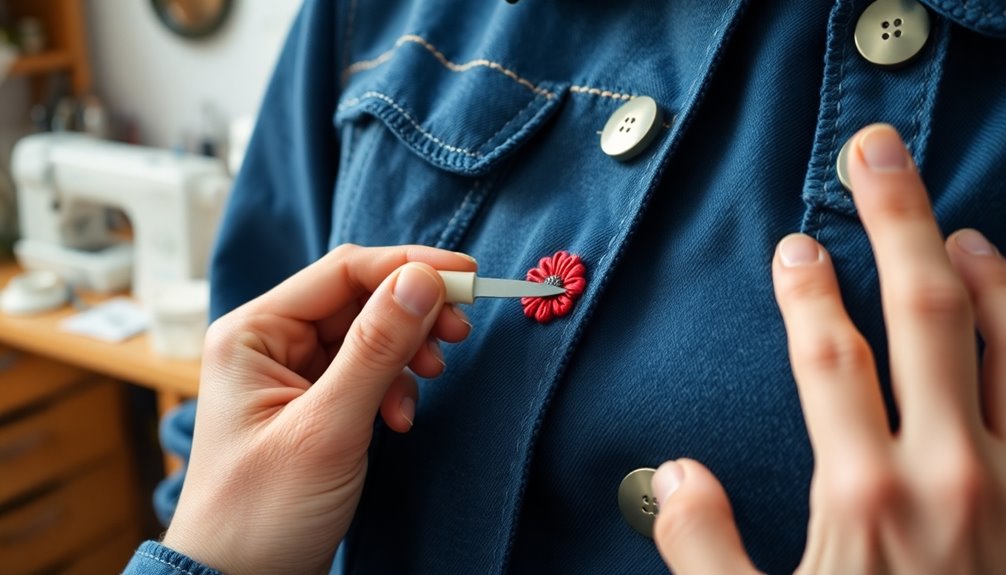
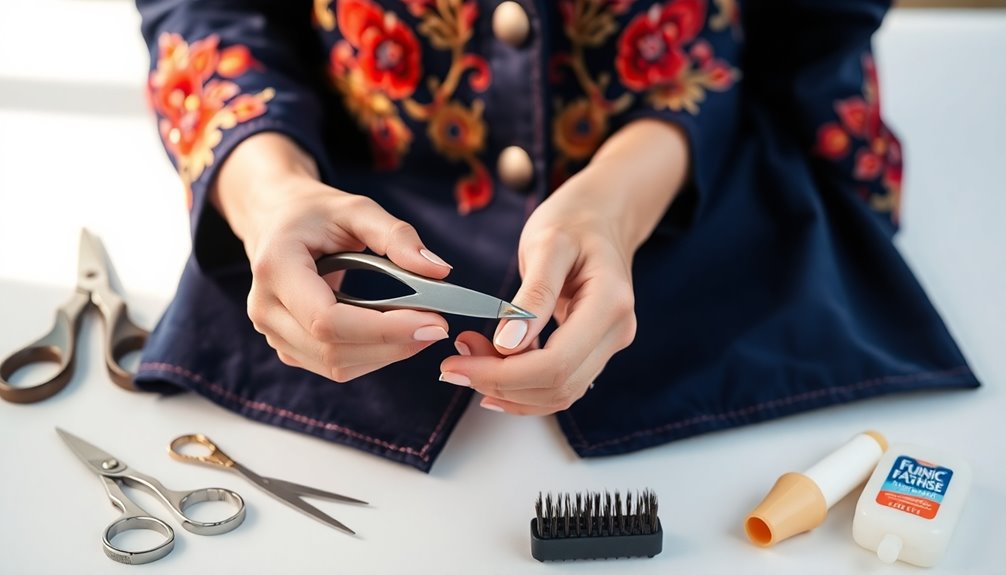
When it comes to removing embroidery from a jacket, you might find the process a bit tricky but manageable with the right tools and techniques. To start, make sure you have sharp fabric scissors, a seam ripper, and a pair of tweezers on hand. Carefully cut the threads of the embroidery, taking care not to damage the nylon fabric beneath. If you’re unsure about how to remove embroidery from nylon, you can approach it slowly, creating small incisions to avoid any accidental tears. Once the threads are cut, gently pull them out using the tweezers for a clean finish.
Understanding embroidery removal is essential, especially when working with delicate fabrics like silk or velvet that can easily get damaged. A seam ripper is your best friend for carefully removing stitches, allowing you to cut them with precision.
After you've removed the embroidery, check for leftover threads; they can be tackled with tweezers or a lint roller for a clean finish.
Always inspect the fabric closely afterward for any holes or marks, as some stitching techniques might leave permanent traces, making professional assistance a wise option if you're unsure about your results.
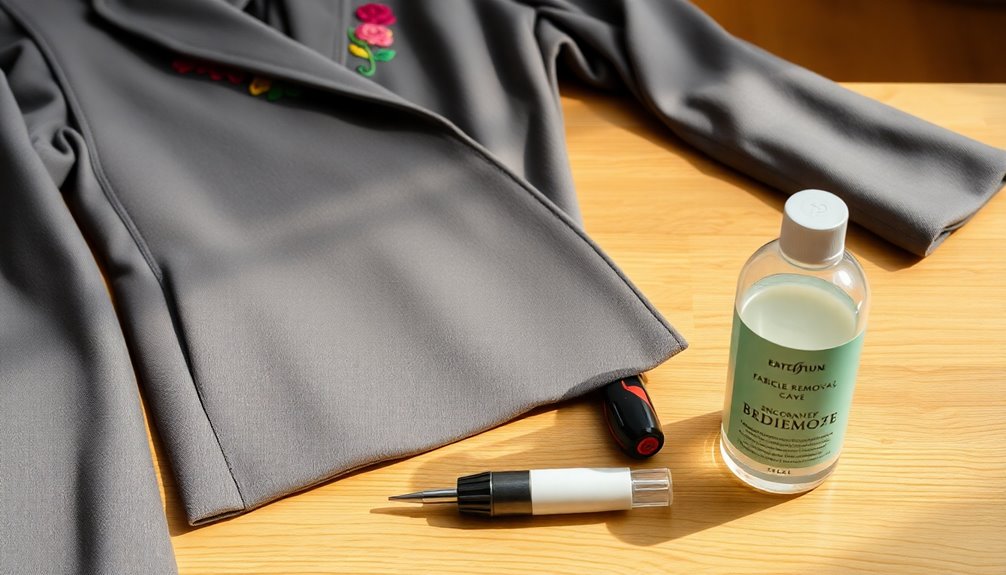
Essential Tools for Embroidery Removal

To effectively remove embroidery from your jacket, you'll need a few essential tools.
A seam ripper, sharp scissors, and tweezers are must-haves for precise work, while an embroidery eraser can speed up the process for machine-stitched designs.
Don't forget to prioritize safety and consider alternative tools that can help make your task easier and cleaner.
Must-Have Removal Tools
Removing embroidery from a jacket requires a few essential tools to make the process smooth and efficient. A seam ripper is a must-have removal tool, allowing you to cut threads precisely without damaging the fabric.
For larger designs, consider an electric stitch eraser to expedite removal techniques, or a budget-friendly hair trimmer. After using these tools, sharp scissors or tweezers help you pick out any remaining threads for a clean finish.
A magnifying glass is invaluable for inspecting delicate fabrics closely, ensuring you catch every leftover thread.
Ultimately, keep a lint roller, clothing brush, or tape handy for cleaning up loose threads after you've successfully removed embroidery, leaving your jacket looking fresh and intact.
Alternative Tool Options
While a seam ripper is often the go-to tool for removing embroidery, there are several alternative options that can make the task easier and more efficient.
An embroidery eraser can speed up the removal process, particularly for larger logos, by clipping threads beneath the design.
Small, sharp scissors are perfect for accessing tight areas and ensuring precision when cutting individual threads.
After cutting, tweezers come in handy for picking out any leftover threads, allowing for careful handling of small, fraying strands.
If you find stubborn threads hard to see, a magnifying glass can help you identify them for a thorough removal process.
Exploring these alternative methods can enhance your embroidery removal experience.
Safety Precautions Required
When tackling embroidery removal, it's important to keep safety in mind to prevent injury or damage to your jacket.
Start with a seam ripper, an essential tool that allows you to cut the embroidery threads precisely while avoiding damaging the fabric. For larger designs, consider using a stitch eraser or electric hair trimmer to speed up the process.
Sharp scissors are handy for trimming excess threads and reaching tight areas. After cutting, use tweezers to pull out any remaining threads, ensuring a clean finish.
Always inspect the fabric closely, preferably with a magnifying glass, to catch any missed threads or potential damage. Following these safety precautions will make your embroidery removal much easier and safer.
Step-by-Step Guide to Removing Embroidery

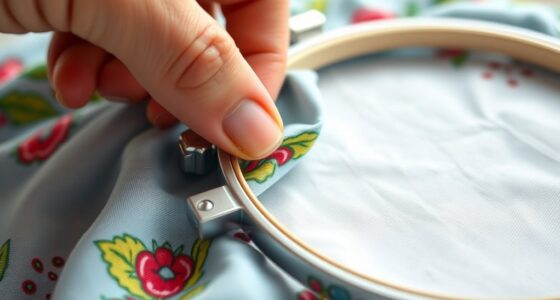
To successfully remove embroidery from your jacket, start by turning it inside out. This helps you access the embroidery without damaging the front fabric.
Follow these steps for effective removal:
- Use a seam ripper to cut and lift the threads close to the fabric. Be careful not to cut too many at once to avoid snags.
- For quicker removal, consider using sharp scissors or an embroidery eraser to clip threads efficiently.
- Once most threads are gone, use tweezers to pick out any remaining pieces. Clean the area with a lint roller to remove debris.
Finally, conduct a thorough final inspection of both sides of the jacket to verify all threads are removed and check for any potential damage.
Alternative Methods for Embroidery Removal
If you're looking for alternative methods to remove embroidery from your jacket, consider techniques that can make the process easier and more effective. Here's a quick overview of some options:
| Method | Description | Tools Needed |
|---|---|---|
| Steam and Heat | Softens threads with a steam iron | Damp cloth, iron |
| Freezing Method | Makes threads brittle for easy removal | Freezer, sealable bag |
| Hair Trimmer | Clips threads quickly without damage | Hair trimmer |
| Gentle Pulling | Breaks threads using tweezers | Tweezers or needle |
| Adhesive Removal | Loosens adhesive for easier peeling | Heat source |
Mastering the art of removing individual threads can save your jacket. You might also use sharp scissors or a seam ripper to cut stitches effectively.
Tips for Preventing Fabric Damage

Removing embroidery can be a delicate task, especially when you want to maintain the integrity of your jacket. To prevent fabric damage, keep these tips in mind:
- Use the Right Tools: Opt for a seam ripper or sharp scissors to cut the threads carefully.
- Work Slowly to Avoid Mistakes: Cut only a few threads at a time, maintaining tension on the fabric to prevent distortion.
- Protect Delicate Fabrics: If using heat, place a damp cloth over the embroidery and set the iron to low to avoid scorching.
Inspecting and Cleaning After Removal

Once you've finished taking off the embroidery, it's important to inspect the fabric closely under good lighting.
Look for any irregularities, such as tears or holes left from the removal process. Use a lint roller or tape to clean up any leftover threads and debris that may cling to the fabric's surface.
If you notice visible holes, think about re-embroidering over them with a custom design to mask imperfections. For fabrics sensitive to water, check the care instructions before washing to avoid damage.
Finally, conduct a thorough inspection of the jacket from both the front and back. This guarantees it's clean, intact, and ready for use or storage.
Addressing Holes and Imperfections After Removal

After removing embroidery, you might notice holes or imperfections in your jacket.
It's important to assess the fabric type first, as this will guide your repair options.
Whether you choose to patch up the holes or cover them with a creative design, there are effective ways to restore your jacket's look.
Assessing Fabric Damage
Evaluating fabric damage is essential when you've taken out embroidery from a jacket, as it often leaves behind holes or imperfections.
Start by determining the extent of the damage. Here's what to check:
- Visibility of Holes: Examine how noticeable the holes are, especially in delicate materials like silk or velvet.
- Remaining Threads: Look for any leftover threads that might need attention to avoid fraying.
- Repair Options: Consider options like re-embroidering, patches, or custom designs to enhance the garment's appearance.
Regular inspection after removing embroidery helps you identify any issues that require immediate repair attention.
Addressing these concerns promptly will guarantee your jacket remains in great shape and continues to look fantastic.
Repairing Visible Holes
Removing embroidery can leave behind noticeable holes and imperfections that need attention. One effective method for repairing visible holes is re-embroidering, which allows you to create custom designs that cover up any flaws.
The visibility of these holes often depends on the stitch density and fabric type; larger holes can be more prominent. For delicate materials like silk or chiffon, consider using fabric patches or appliqués to reinforce the area and prevent fraying.
If you're unsure how to proceed, consulting with expert digitizers can help you craft a design that not only covers the holes but also enhances your jacket's overall look. Address these imperfections thoughtfully to restore your garment's charm.
Covering Imperfections Creatively
Covering imperfections creatively can breathe new life into your jacket after embroidery removal. Here are some effective methods to take into account:
- Custom Design: Re-embroider over large holes with a design that complements your jacket's style.
- Fabric Patches and Appliqués: Use these to cover smaller holes while adding a decorative touch.
- Iron-On Adhesive Patches: A quick fix for holes, offering a seamless and durable finish.
You can also use fabric paint to blend minor imperfections into the jacket's design. Additionally, consider using natural materials like cotton or linen to enhance the overall aesthetic of your repair.
If you're not confident in your skills, don't hesitate to seek help from professional tailors or embroidery digitizers for expert solutions.
These creative solutions will guarantee your jacket looks fantastic!
Frequently Asked Questions
How Do I Remove Embroidery From a Jacket?
To remove embroidery from your jacket, start by turning it inside out.
Grab a seam ripper and gently cut through the threads, taking care to snip only a few at a time. You can also use a stitch eraser or hair trimmer for faster results.
Once the threads are cut, use tweezers or small scissors to pull out any leftover bits.
Finally, check for marks or holes and consider washing the jacket to clean it up.
Can Embroidery Be Removed Without Damage?
Did you know that nearly 30% of people struggle with unwanted embroidery on their clothing?
Yes, you can remove embroidery without damage if you're careful. Using a seam ripper or small scissors, cut the threads slowly, ensuring you only target the embroidery. A stitch eraser can speed things up while protecting the fabric.
Always test a small area first, and check for leftover threads or holes after you finish.
Will Removing Embroidery Leave Holes?
Removing embroidery can leave holes in your fabric, especially if the stitches were dense.
You might notice that tightly woven fabrics, like denim, show fewer marks than delicate ones like silk.
If you see large holes after removal, you can often repair them by re-embroidering or using patches.
To minimize holes, use sharp tools and apply gentle pressure during the process.
Always test a small area first to see how your fabric reacts.
How Do I Remove a Logo From a Jacket?
To remove a logo from your jacket, start by flipping it inside out to access the stitching.
Use a seam ripper to carefully lift and cut the threads, taking your time to avoid damaging the fabric.
If you're short on time, a stitch eraser or hair trimmer can speed things up, but keep the fabric taut.
Afterward, use tweezers to pull out any leftover threads and a lint roller to clean up the area.
Conclusion
Once you've successfully removed the embroidery, you might find yourself admiring your jacket's fresh look, almost as if it were a brand-new piece. It's funny how a little change can spark creativity; you may even consider adding a different design or patch instead. Remember, with the right tools and techniques, you can revive any garment. So, go ahead and let your imagination run wild—it's amazing what a simple removal can lead to!