
To fix loose embroidery, start by identifying the issue, like pulled threads or gapping. Use matching thread and an embroidery needle to re-stitch areas needing attention. Incorporate fabric stabilizers for extra support and apply fray check to secure edges. Regularly maintain your embroidery by checking for loose threads and using gentle washing techniques. Air dry and avoid ironing directly on designs. If you want more tips and advanced techniques, there's plenty more to discover.
Key Takeaways
- Assess the issue by identifying loose threads, gapping, or unraveling to determine the best repair method.
- Use matching embroidery thread and a crewel needle to re-stitch any pulled or gapped areas securely.
- Apply fabric stabilizers to reinforce the area and prevent future loosening while repairing the embroidery.
- Utilize fabric sealants or fray check products to enhance the longevity of the repaired embroidery.
- Regularly inspect and maintain embroidered items, addressing loose threads promptly to preserve design integrity.

Easy Clothing Embroidery Kit – 34 Water Soluble Stick & Stitch Designs – Embroidery Kit for Clothes Starter Pack, Beginners All Inclusive Kit for Clothing Embroidery
- Complete Embroidery Kit: Includes all necessary tools and designs
- Versatile Application: Suitable for hats, scarves, shirts, jeans, and more
- Beginner & Expert Friendly: Perfect for all skill levels to personalize clothing
As an affiliate, we earn on qualifying purchases.
As an affiliate, we earn on qualifying purchases.
Common Reasons for Embroidery Coming Loose

When your embroidery starts to come loose, it can be frustrating to pinpoint the exact cause. One common reason is incorrect tension settings, which lead to instability in stitches. If your embroidery threads aren't under proper tension, you may notice loose stitches that unravel over time.
Additionally, using low-quality threads can compromise the strength of your work, increasing the likelihood of breakage. Fabric types also play a role; materials with stretch can make it harder to maintain stability.
Regular wear and tear, along with washing, can weaken your embroidery, resulting in further loosening. To avoid these issues, guarantee you use quality materials and pay attention to tension settings, preventing further loosening in your projects.
Identifying Different Types of Loose Embroidery Issues

Loose embroidery can manifest in several distinct ways, each indicating a specific issue that needs attention.
You might notice pulled threads, where individual stitches come loose and disrupt the design, requiring careful re-stitching.
Gapping is another sign, characterized by spaces between stitches due to inadequate tension control or stabilization.
Unraveling edges can occur when the outer embroidery edges come undone, often needing re-stitching and knotting techniques for repair.
Additionally, puckering happens when fabric bunches around the embroidery, leading to loose areas. Ensuring proper tension and stabilization during stitching can help prevent this.
Approximately 35% of embroiderers face loose stitches, so recognizing these issues early is essential to preventing further damage.
The Impact of Fabric Type and Thread Quality on Embroidery Stability

Understanding how fabric type and thread quality influence embroidery stability is essential for achieving lasting results. Different fabrics respond uniquely to embroidery, affecting durability.
For example, lightweight cotton often requires more stabilization than sturdy denim. High-quality embroidery threads reduce the risk of breaking or fraying, enhancing the overall longevity of your work.
When considering fabric and thread, remember:
- Match needle size to fabric thickness.
- Maintain proper thread tension for consistent stitching.
- Use compatible fabric and thread combinations.
- Opt for high-quality embroidery thread to avoid issues.
- Give proper care to finished pieces to preserve stability.
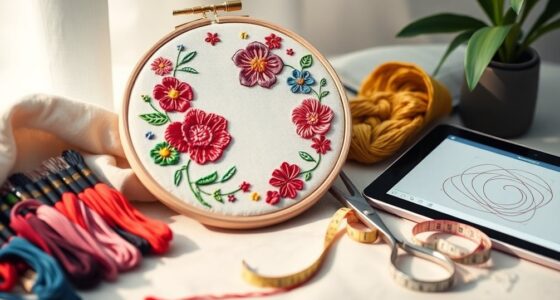
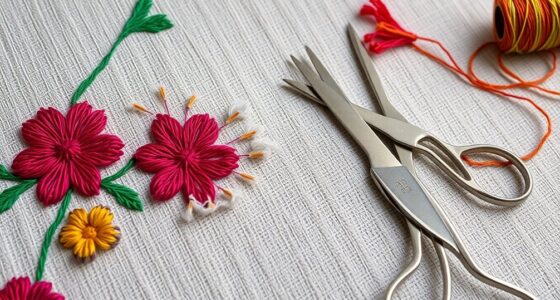
Essential Tools and Materials for Fixing Loose Embroidery
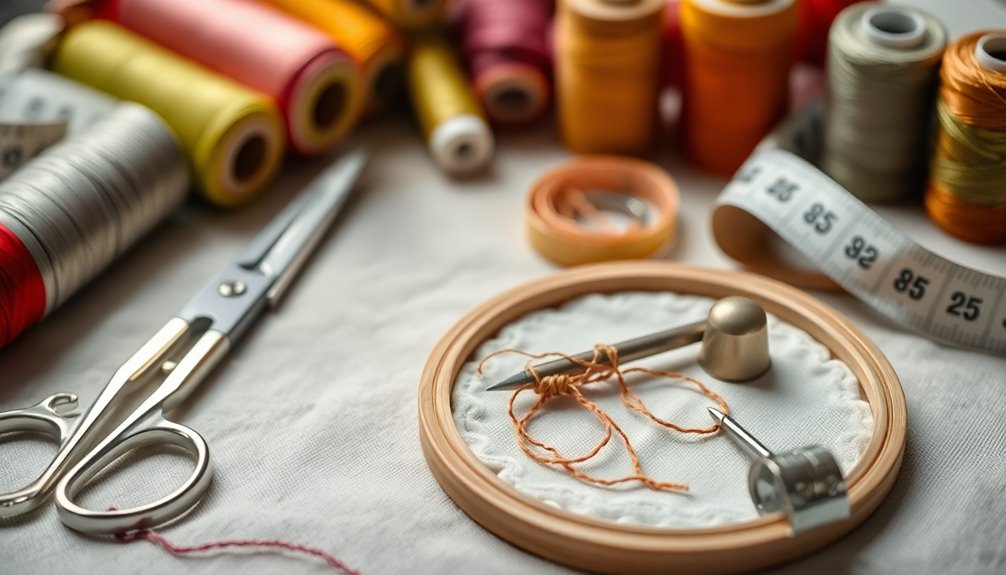
To effectively fix embroidery that's coming loose, you'll need the right tools and materials at your disposal.
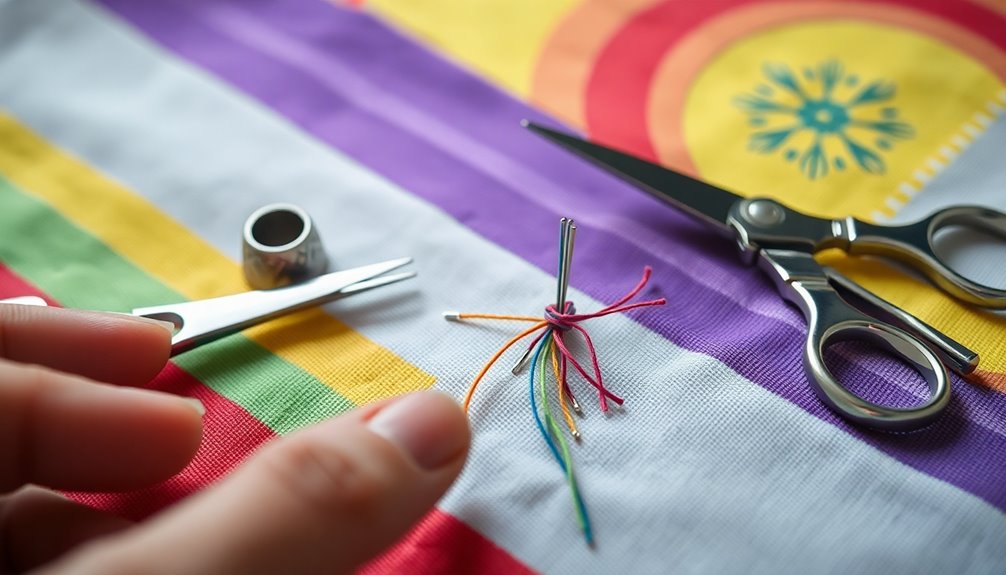
Start with embroidery needles, specifically crewel needles, which are ideal for weaving in loose threads and securing them. It's vital to have matching the original embroidery thread on hand to guarantee your repairs blend seamlessly with the existing design.
Fabric stabilizers provide the necessary support to prevent further loosening of stitches during the repair process. Fabric sealants and fray check products are important for preventing fraying and enhancing the longevity of your embroidery.
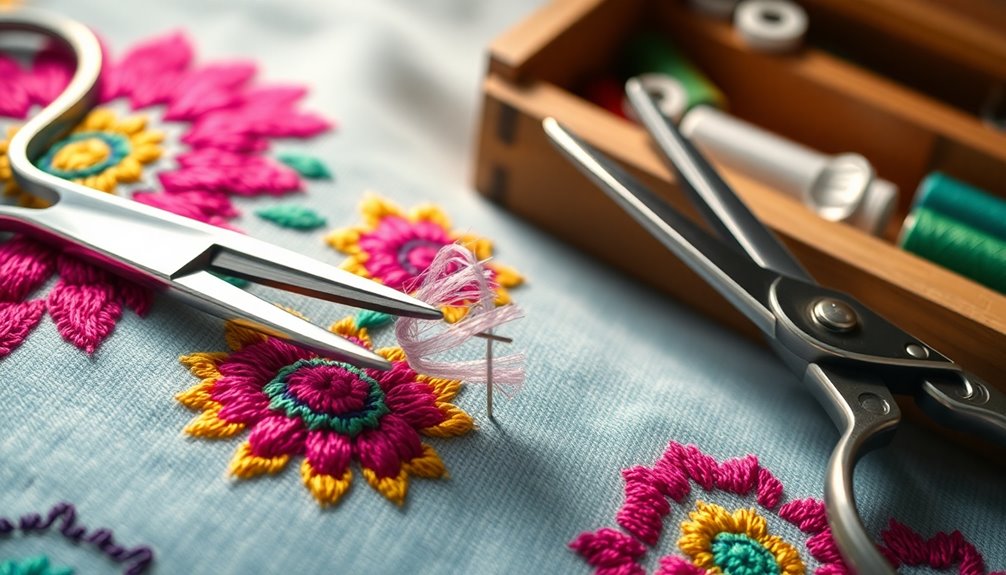
Finally, don't forget sharp scissors for trimming loose threads and, if needed, tweezers and a magnifying glass to help you manage those tiny details effectively.
Step-by-Step Guide to Fixing Loose Embroidery
Before you start fixing loose embroidery, assess the damage to understand how extensive the issue is.
Knowing the type of repair techniques needed will help you tackle the problem effectively.
Let's explore the best ways to restore your embroidery to its original beauty.
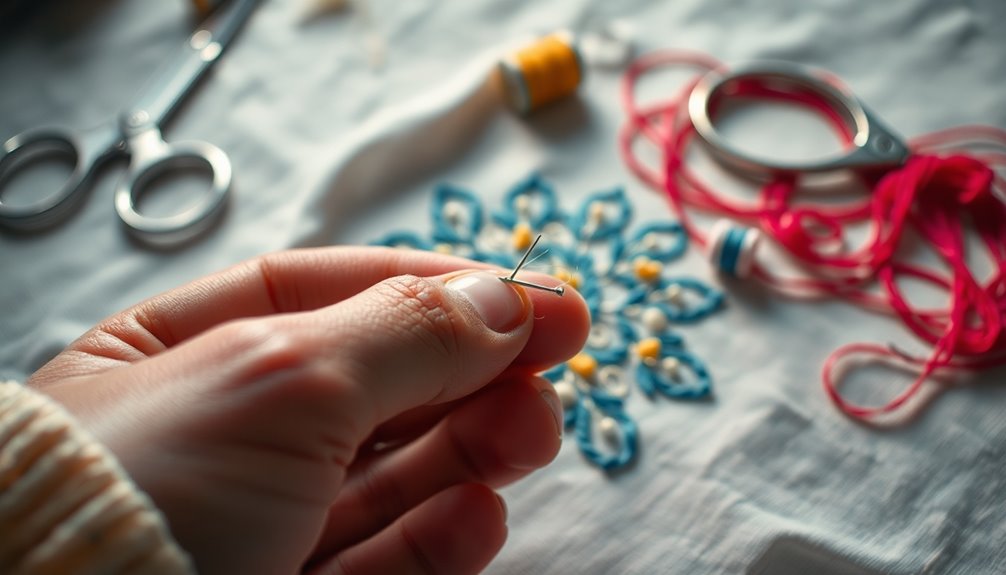
Assessing the Damage
A thorough visual inspection is the first step in evaluating the damage of loose embroidery. Start by carefully examining the piece to pinpoint any loose threads, gapping, or unraveling edges. This evaluation is essential for effective embroidery repair.
- Identify specific areas needing attention
- Look for any loose threads that may unravel
- Note any gapping that affects appearance
- Check edges for signs of fraying
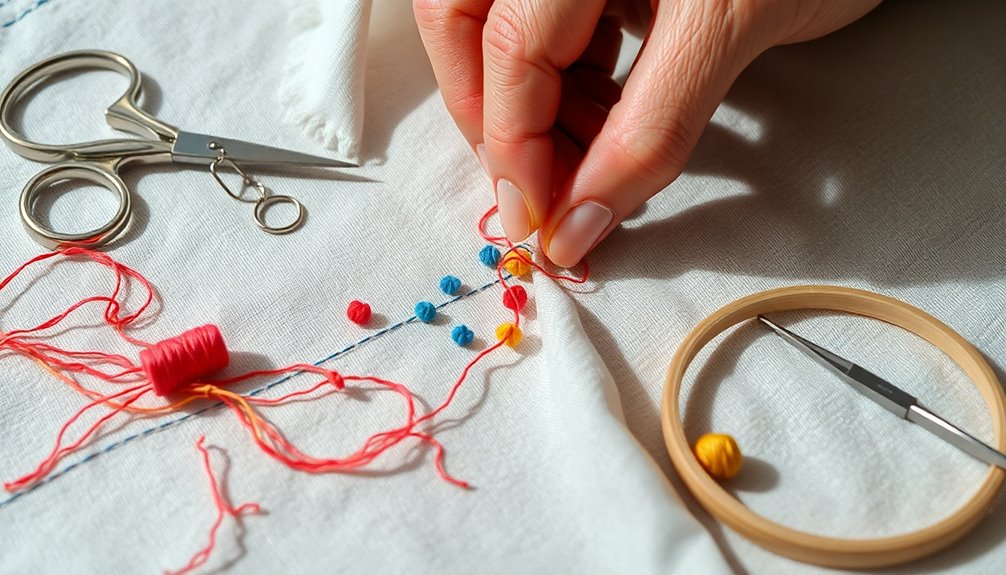
- Secure loose threads using a needle and knotting technique
After reviewing the damage, secure any loose threads to prevent further issues.
Consider using fabric sealant to protect your repairs. Regularly inspect the fixed areas to guarantee your embroidery remains secure and visually appealing.
Repair Techniques Overview
While addressing loose embroidery may seem intimidating, you can easily restore your piece with a few straightforward techniques.
Start by securing loose threads with a knot to stabilize them before proceeding with repairs. Use an embroidery needle and thread to carefully weave those loose ends back into the fabric, ensuring the design's integrity remains intact.
If you're working with delicate fabrics, be gentle to avoid further damage. Once you're done, consider applying a fabric sealant to the repaired area; 78% of embroiderers report longer-lasting results with this step.
Regularly inspecting your embroidery can help catch loose threads early, keeping your embroidery looking fabulous. With practice, you'll refine your skills and feel more confident in fixing loose embroidery.
Preventive Measures to Avoid Loose Embroidery

To guarantee your embroidery stays intact, it's vital to implement proper tension control during the stitching process. Incorrect tension can lead to loose threads, compromising your design.
Additionally, selecting compatible fabric and thread combinations is significant, as different materials have unique stretch and stability characteristics. Incorporating the right stabilizer, especially for lightweight or stretchy fabrics, prevents puckering and loosening of stitches.
Here are some preventive measures to keep in mind:
- Maintain consistent tension throughout your work.
- Choose the right stabilizer for your fabric type.
- Regularly inspect for any loose threads.
- Follow care instructions, like hand washing with mild detergent.
- Use appropriate embroidery techniques for your specific fabric.
Furthermore, using specialized tools like stabilizers and tension devices can enhance your embroidery's durability.
Troubleshooting Common Embroidery Issues
Even with preventive measures in place, issues can still arise during the embroidery process. One common problem is loose stitches, which often stem from incorrect tension.
Poor knot tying or not using the right stabilizer can exacerbate this issue, especially on lightweight fabrics that need extra support. Check the fabric around your design; puckering or gapping may indicate a need for better stabilization.
Regularly inspect your work to catch loose threads before they lead to unraveling edges. Verify you've properly threaded both the upper and bobbin areas, and confirm that your needle and embroidery floss are compatible.
Addressing these common issues promptly helps maintain the integrity of your embroidery and guarantees a polished final product.
Advanced Techniques for Embroidery Repair
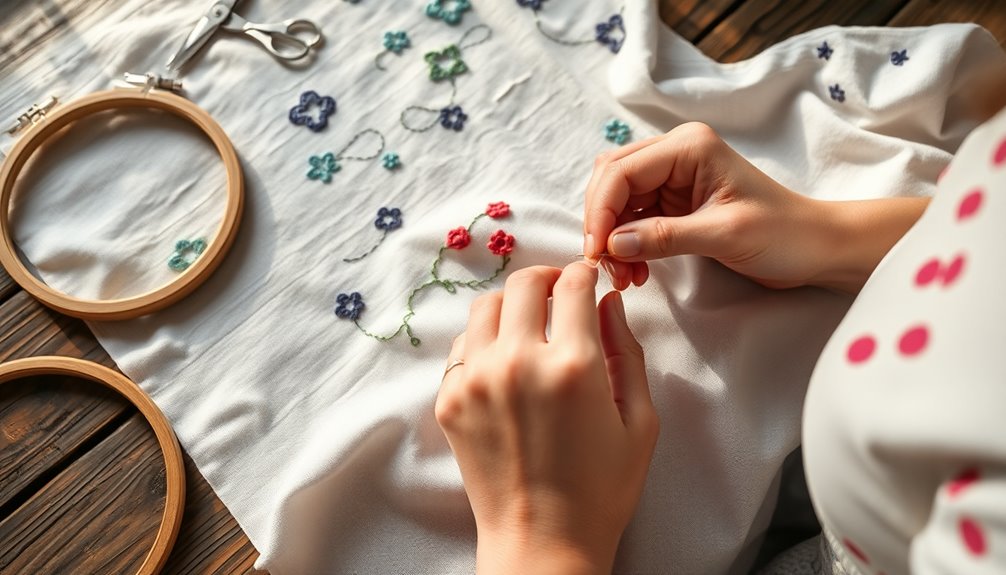
When dealing with embroidery repairs, knowing advanced techniques can make all the difference in restoring your piece to its former glory. You can effectively address issues by using the right tools and methods. Additionally, understanding how to finish embroidery stitches properly is essential to ensure that your repairs not only look professional but also endure over time. By selecting the appropriate thread and stitch type, you can create seamless repairs that blend beautifully with the existing design. With a little practice and the right guidance, you’ll be able to tackle even the most challenging embroidery repairs with confidence.
Consider these advanced embroidery repair techniques:
- Match thread colors and stitch types for seamless integration.
- Use stabilizers or backing fabric to reinforce weak areas.
- Apply fabric glue for added durability after repairs.
- Employ invisible mending techniques for subtle fixes.
- Add new elements, like appliqué patches or beadwork, to creatively cover damage.
Maintaining Your Embroidery
Maintaining your embroidery is essential for ensuring its longevity and preserving its beauty. Start by regularly checking for loose threads; addressing them promptly can help keep your designs looking fresh.
When washing embroidered clothing, use the right mild detergent and hand wash to preserve the integrity of the threads. Avoid washing with rough-textured items or those with zippers to minimize snags.
Air drying your pieces instead of using a dryer protects them from heat exposure, which can fade and weaken the embroidery over time. When ironing, always turn embroidered garments inside out to shield the threads from direct heat.
These simple steps will help keep your embroidery vibrant and intact for years to come.
Frequently Asked Questions
How to Fix Embroidery Coming Undone?
If your embroidery's coming undone, start by checking the fabric for any loose threads or gaps.
Grab an embroidery needle and carefully weave those loose threads back in, knotting them to secure.
For fraying, apply a fabric sealant like Fray Check to help keep everything intact.
If you've got larger areas unraveling, remove damaged threads and re-stitch, following the original pattern.
Regular maintenance can prevent future issues, so handle your embroidered items with care!
How to Keep Embroidery From Loosening?
Think of your embroidery as a delicate dance, where each stitch needs the perfect balance.
To keep your embroidery from loosening, make certain you've got the right tension and high-quality threads. Choose stabilizers suitable for your fabric to support your design.
Regularly check for loose threads and maintain your piece with care—gentle washing and air drying are key.
With attention, your embroidery will stay beautifully intact, twirling gracefully for years to come.
How to Make Embroidery Tighter?
To make your embroidery tighter, start by adjusting your machine's thread tension to a range of 4-5.
Use an embroidery hoop to keep your fabric taut, which helps prevent loose stitches.
Make sure you're using the right needle size and type for your thread and fabric to avoid shifting.
Incorporating fabric stabilizers beneath lightweight materials can also provide extra support.
Regularly check for loose threads and secure them promptly to maintain tightness.
Why Is My Embroidery Loose?
Your embroidery might be loose due to several factors.
First, check your tension settings; if they're off, your stitches won't hold properly.
Poor knot tying can also lead to threads coming undone.
Additionally, if the fabric isn't stabilized enough, it can pucker and create gaps in your design.
Consider the quality of your fabric and thread, as lightweight materials need extra support.
Finally, regular wear and tear can weaken your stitches over time.
Conclusion
In summary, fixing loose embroidery doesn't have to be an intimidating task. By identifying the issues, using the right tools, and applying some simple techniques, you can restore your fabric's beauty and integrity. Remember to maintain your work and prevent future problems, ensuring your creations stay vibrant and intact. So, whether you're patching a favorite shirt or sprucing up a decorative piece, embrace these smart solutions and enjoy the satisfaction of a job well done!