
To end an embroidery stitch, you need to secure your thread properly to prevent unraveling. For hand-stitching, try the waste knot or long tail method to hide your knot. Machine stitching requires you to backstitch 3 to 5 times at the end of seams. Always trim excess thread close to the knot for a neat finish. By focusing on these techniques, you can achieve a polished look and guarantee your stitches withstand wear—there's more to explore on this topic!
Key Takeaways
- Use a waste knot or long tail method to secure your thread before cutting it for a clean finish.
- Slide the needle under the nearest stitch at the back to hide the knot and secure the thread.
- Make 3 to 5 back stitches at the end of machine seams to prevent unraveling and ensure durability.
- Trim excess thread close to the knot or last stitch to maintain a neat appearance.
- Weave thread under adjacent stitches for extra security and a polished look on the backside.

New Brothread 100pcs Thread Spool Savers/Spool Huggers – Prevent Tails from Unwinding – No Loose Ends for Sewing and Embroidery Machine Thread Spools
- Complete Thread Organizer: 100pcs to prevent thread tangles
- Space-Saving Design: Thin and compact for storage
- Universal Fit: Flexible silicone for various spool sizes
As an affiliate, we earn on qualifying purchases.
As an affiliate, we earn on qualifying purchases.
Understanding the Importance of Ending Stitches

When you finish an embroidery piece, how you end your stitches can make all the difference. Properly securing your thread is essential to prevent unraveling and guarantee your design lasts.
A neat backside enhances your work's overall appearance, giving it that professional finish while avoiding unsightly loose threads. If your project will be washed, it's even more important to pay attention to these details.
Techniques like weaving the thread under existing stitches help reduce visibility and maintain a clean look. By taking the time to end your stitches properly, you not only improve the aesthetic but also guarantee your piece withstands wear and handling without compromising its integrity.
Hand-Stitching Techniques for Securing Threads

When you're finishing your embroidery, securing threads properly is essential.
You can use various knotting techniques to guarantee your stitches hold tight and don't unravel.
Let's explore how to effectively create knots and secure your threads for a polished finish.
Knotting Techniques Overview
Knotting techniques play a vital role in securing threads in embroidery, and choosing the right method can greatly impact your project's overall appearance. Here's a quick overview of popular knotting techniques to help you finish your embroidery stitches neatly.
| Technique | Description |
|---|---|
| Waste Knot | Ties a knot at the end and cuts it after a few stitches. |
| Long Tail Method | Captures the thread tail with stitches, hiding the knot. |
| Anchoring X | Suitable for larger stitches, keeps the knot hidden underneath. |
Using the waste knot can lead to bulkiness, while the long tail method secures without mess. The anchoring X method works well for filling areas. Remember, a neat finish enhances your overall look!
Securing Threads Effectively
Securing threads effectively is essential for achieving a polished finish in your embroidery projects.
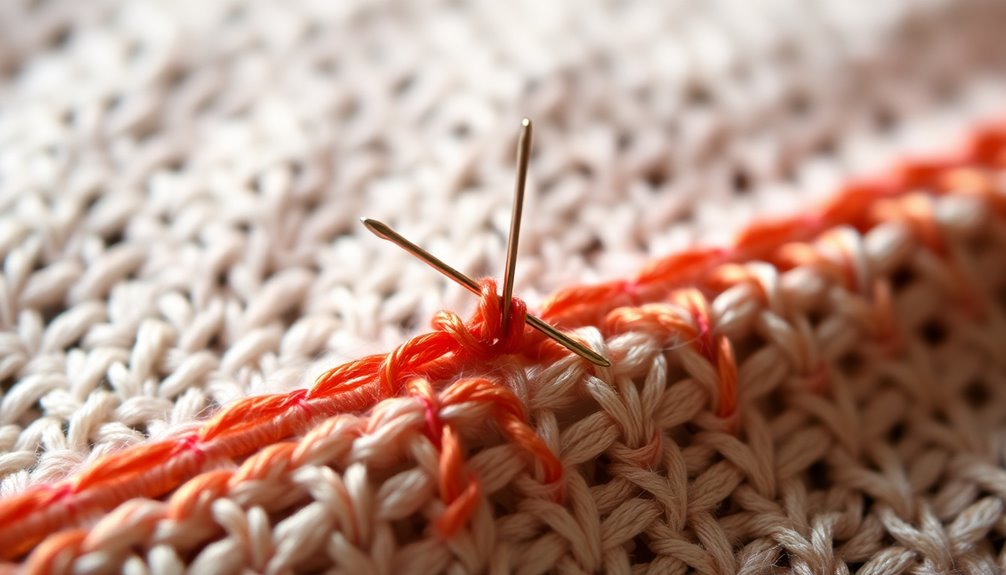
To do this, flip the fabric to the back and slide your needle under the nearest stitch, creating a loop for a secure knot. Make sure to leave at least 6 inches of thread on the needle to guarantee you have enough length for a tight knot.
Insert the needle through the loop and pull tightly to form a strong knot that prevents unraveling. Trim any excess thread close to the knot to keep a neat appearance and avoid bulk on the backside.
For extra security, consider making a few additional knots or weaving the thread under adjacent stitches before cutting.
Machine-Stitching Methods for Locking Stitches
Although finishing your embroidery stitches might seem straightforward, mastering machine-stitching methods for locking stitches is essential for a polished look and durability.
To end your embroidery effectively, press the reverse button on your sewing machine and make 3 to 5 back stitches at the end of your seam. This technique helps guarantee that the stitches don't unravel.
Afterward, cut the thread near the last stitch, but remember to lift the needle first to avoid fabric snags. For added security, consider backstitching at stress points in your fabric.
If you're new to this, practice on scrap fabric to gain confidence. Using a shorter stitch length can also enhance the security of your stitches, preventing them from coming undone.
Step-by-Step Guide: Ending Hand Embroidery Stitches

When you finish your hand embroidery, it's essential to secure your stitches properly to prevent them from unraveling.
You'll want to use some hand stitching techniques that complement the machine stitching methods you've learned.
Let's go through a step-by-step guide to guarantee your finishing touches look polished and professional.
Hand Stitching Techniques
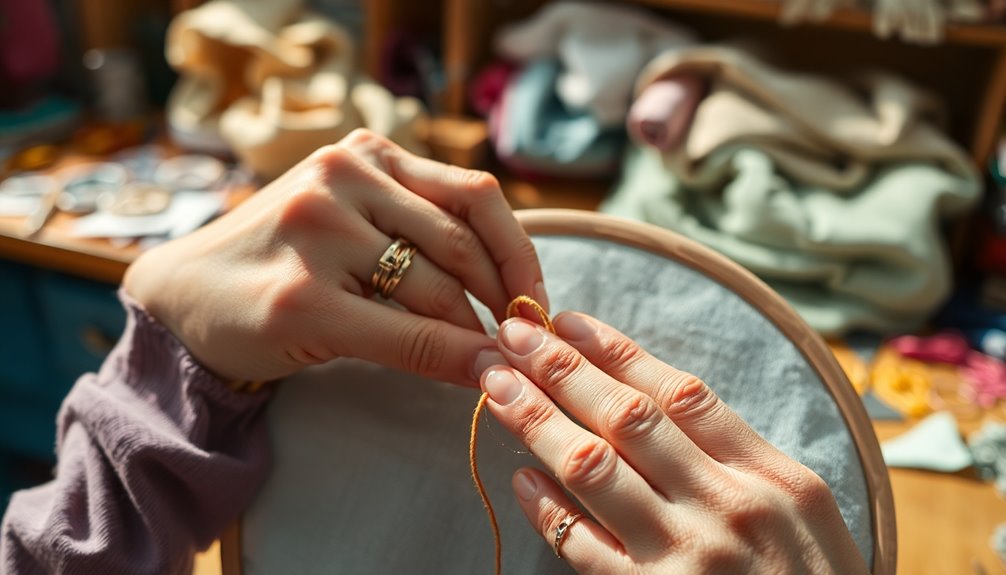
Ending your hand embroidery stitches properly is essential for ensuring your work remains intact and looking great.
To finish, flip your fabric over to the wrong side and leave at least 6 inches of thread on the needle. Slide the needle under the nearest stitch to create a loop, then insert the needle through the loop and pull tightly to secure a knot. Trim the excess thread close to the knot, ensuring it’s tight enough to withstand use or washing. Once you have secured the knot, carefully press the finished area to smooth out any irregularities. This will give your project a polished look and help the stitches lay flat. If you’re looking for more tips on how to finish embroidery hoop projects effectively, consider researching additional techniques to enhance your skills and ensure longevity in your work.
For added security, weave the needle under a few additional stitches before cutting the thread to prevent unraveling. If you're working with thicker fabrics, consider using a thimble to protect your fingertips while pulling the needle through.
Machine Stitching Methods
To finish your machine stitching neatly, you'll want to secure your stitches effectively to prevent any unraveling.
Start by pressing the reverse button about 1 inch from the edge and make 3 to 5 backstitches to secure the thread. After backstitching, continue forward stitching until you reach the last stitch. This locks your stitches securely.
Once you've finished, lift the needle and cut the thread near the last stitch for a clean finish. If you're new to machine stitching, practice on scrap fabric to get comfortable with the technique.
Step-by-Step Guide: Ending Machine Embroidery Stitches

Securing your machine embroidery stitches properly is essential for a polished finish. To end your stitches, sew until you're about 1 inch from the edge of the fabric.
Then, press the reverse button to start backstitching, making 3 to 5 backstitches for added stability. This step helps secure the stitches and enhances their durability.
After backstitching, continue forward stitching all the way to the fabric's end to lock everything in place. Once you've finished, cut the thread near the last stitch.
If you're new, practice on scrap fabric to build your confidence. Finally, gently pull the fabric apart to test if the stitches hold well and adjust as necessary for secure results.
Tips for Ensuring Secure Stitches
While finishing your embroidery project might seem straightforward, ensuring your stitches are secure is essential for a lasting result. To achieve this, follow these tips:
- Slide the needle under a few nearby stitches on the back to create a loop, forming a tight knot without visible bulk.
- For added security, weave the thread through multiple stitches before cutting, especially in areas that will be washed.
- Trim your thread tails to about 1/4 inch after securing to maintain a neat backside and avoid distortion.
- Regularly test the security of your stitches by gently pulling the fabric to check for loose ends.
Common Mistakes to Avoid When Ending Stitches

Even with secure stitches, mistakes can still happen when finishing them off. Here are common pitfalls to avoid:
| Mistake | Solution |
|---|---|
| Leaving a little loop | Make sure to secure threads by weaving them under several stitches. |
| Short thread tail | Aim for at least 4 inches to prevent unraveling. |
| Using too many knots | Excessive knotting can create bulk; opt for clean finishes. |
| Pulling it too tight | Avoid distorting your design; gentle tension is key. |
| Neglecting visibility | Bury thread ends in covered areas for a professional look. |
Expert Insights on Thread Security

When you finish your embroidery, ensuring thread security is essential for a polished look and durability. To achieve this, consider these expert tips:
- Slide the needle under a few nearby stitches to create a loop for secure threads.
- Bury the thread under previously laid stitches in the opposite direction for a clean finish.
- Maintain at least 4 inches of thread for effective thread manipulation and weaving securely.
- Choose finishing methods appropriate for your project to maintain integrity during washing or wear.
Reader Experiences and Feedback
Many readers have shared their positive experiences with our guides on ending embroidery stitches, highlighting how clear instructions have made a significant difference in their projects.
You've told us that the methods work, especially when it comes to making hand embroidery more secure. With 83% finding the information helpful, many appreciate the step-by-step approach to finishing stitches to secure them, preventing unraveling.
Reader experiences show that visual aids enhance understanding, particularly for beginners. Additionally, the desire for more content on varied ending techniques reflects a strong community engagement, emphasizing the importance of shared learning.
Regular updates to our guides guarantee you continue stitching with confidence, equipped with effective methods for securing your threads.
Frequently Asked Questions
How to Finish off an Embroidery Project?
To finish off your embroidery project, first, leave about 4 inches of thread.
Slide your needle under a few stitches on the back to create a secure knot, pulling gently for a neat finish.
If you're working on a covered area, bury the thread by slipping it under previous stitches.
For extra stability, consider using the anchoring X method.
Finally, check the backside for any visible threads or knots to ascertain a polished look.
How to End Embroidery Without a Knot?
You've just finished that intricate design, but now you're faced with the dilemma of how to end your thread without leaving a knot. Instead of tying one, slide your needle under a few stitched threads on the back, creating a secure loop.
Don't pull too tight! For extra security, bury the thread by weaving it under stitches in the opposite direction. This way, your work stays neat, and the finish looks professional.
How to End a Stem Stitch?
To end a stem stitch, you'll want to slide your needle gently under a few previous stitches on the backside.
Make sure your needle goes in the same direction as your last stitch to keep the flow intact.
Pull the thread carefully to create a loop, then tuck the needle under additional stitches for extra security.
Leave around 4 inches of thread for manipulation, ensuring a neat finish without any visible knots.
How to End Embroidery Chain Stitch?
Like a painter finishing a masterpiece, you'll want to end your embroidery chain stitch with finesse.
Slide your needle beneath the last few stitches on the back, securing the thread without pulling too tightly. Create a small loop, thread your needle through it, and pull tight to form a knot.
If you're stitching along a line, weave the thread under adjacent stitches for a seamless finish.
Practice will refine your technique and elevate your work!
Conclusion
In the world of embroidery, finishing your stitches securely is vital to crafting enchanting creations. By mastering various methods and avoiding common mistakes, you'll guarantee your embroidery endures. Remember, whether you're hand-stitching or machine-stitching, the key is consistency and care. So, immerse yourself in your next project with confidence, and let your threads tell their tale. With practice, patience, and precision, you'll transform your embroidery into timeless treasures that truly shine!