
To finish your embroidery hoop, start by securing the fabric tightly within the inner hoop, ensuring it's centered. Trim excess fabric, leaving enough to fold over the back. Use hot glue to secure the edges neatly against the hoop. You can also add decorative elements like ribbons for extra flair. Finally, choose a well-lit spot to display your artwork. If you want to explore more finishing techniques and display tips, there's plenty more to discover.
Key Takeaways
- Trim excess fabric around the hoop, leaving enough to fold over the back for a neat finish.
- Secure the folded fabric with hot glue or fabric adhesive to ensure it stays in place.
- Use a felt square to cover the back for added stability and a polished appearance.
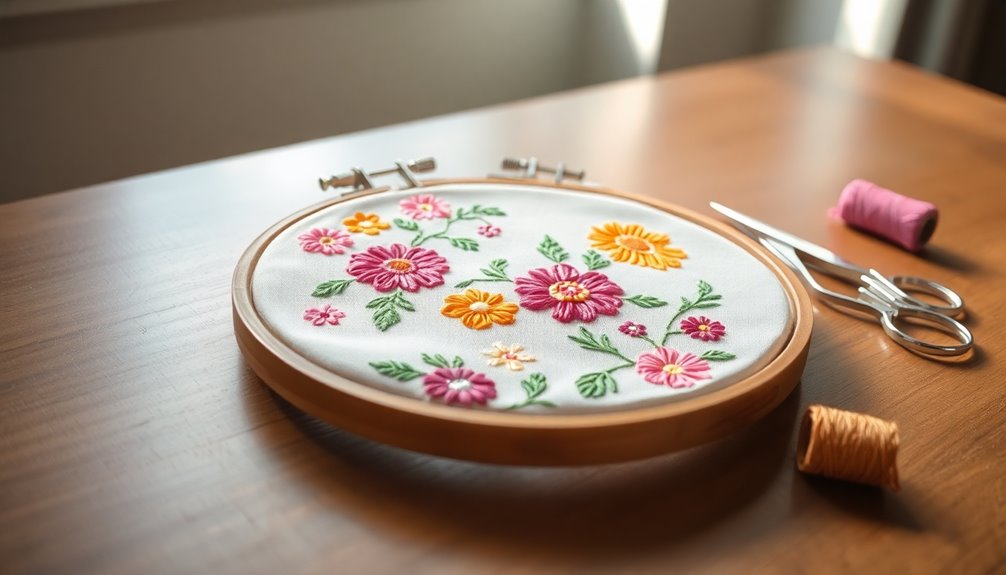
- Incorporate decorative elements like ribbons to enhance the visual appeal of the finished piece.
- Display the hoop in good lighting and protect it from direct sunlight to maintain its vibrancy.

6 Pcs Embroidery Hoop 6 Size, Round Plastic Cross Stitch Hoop with 16 Needles (3.6In to 10.7 in), Small Embroidery Hoop, Cross Stitch Hoops and Frames, Suitable for Embroidery, Craft Sewing
Multiple sizes: our embroidery hoop, each set has 6 different sizes of embroidery hoops and a bag of…
As an affiliate, we earn on qualifying purchases.
As an affiliate, we earn on qualifying purchases.
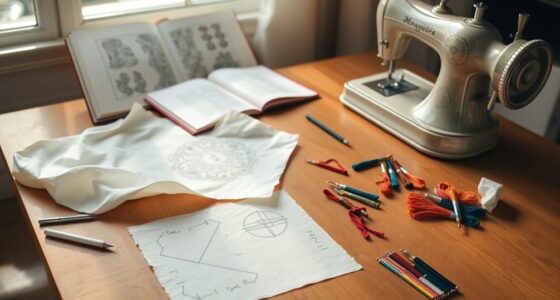
Materials Needed for Finishing an Embroidery Hoop

To finish your embroidery hoop beautifully, you'll need a few essential materials.
Start with a timber embroidery hoop that features a top tension screw, ensuring your fabric stays securely in place. You'll require a square of felt, at least the size of your hoop, and a felt circle slightly smaller than the circumference if you want a polished backing.
Gather sewing thread, long enough to stitch around the circle while leaving a 4-5 inch tail for gathering. An embroidery needle and sharp scissors are vital for precision. If you wish, pinking shears can help prevent fraying.
Finally, have some glue handy to secure the felt circle to the inner hoop during the finishing process.

FREEBLOSS 15Pcs 3 Sizes Felt Circles Embroidery Hoop Backing for Finishing Embroidery Hoops 5 Colors Round Embroidery Backing for Christmas Ornaments DIY Handy Sewing Craft 4/6/8Inch
3 Versatile Sizes & 5 Color Options: Includes 15 pieces total: 3 sizes (4/6/8inch) in 5 colors each,…
As an affiliate, we earn on qualifying purchases.
As an affiliate, we earn on qualifying purchases.
Preparing Your Embroidery Hoop

Before you start, make sure you've selected the right fabric for your project, as it can greatly influence the final look.
Once you've got your fabric, trace and cut out the felt pieces to fit your design perfectly.
This preparation will set you up for a smooth and successful embroidery hoop finish.
Selecting the Right Fabric
Selecting the right fabric is essential for achieving beautiful embroidery results. The fabric you choose will affect the overall look and feel of your project. Here are some tips to help you select the perfect fabric:
- Choose suitable materials like cotton, linen, or muslin for a smooth stitching surface.
- Pre-wash and iron your fabric to avoid shrinkage and wrinkles that can mar your design.
- Opt for contrasting colors to make your embroidery thread pop and enhance visibility.
- Consider fabric weight; lightweight fabrics may need stabilizers, while heavier options can hold stitches better.
When preparing your embroidery hoop, make sure you cut the fabric at least 2 inches larger than the hoop's circumference for easy securing.
Tracing and Cutting Felt
Once you've chosen the right fabric, it's time to prepare your embroidery hoop by tracing and cutting felt. Start by using the inner ring of the embroidery hoop to trace a circle onto a square of felt, ensuring it's slightly smaller than the hoop's circumference. Carefully cut out the traced circle to maintain a clean edge.
| Step | Action | Tip |
|---|---|---|
| 1 | Trace the inner ring | Keep it slightly smaller |
| 2 | Cut out the circle | Use steady hands |
| 3 | Trim excess fabric | Leave 1 inch for gathering |
Place your finished embroidery piece inside the hoop, center it, and stretch the fabric smooth. Finally, create a loose running stitch around the edge to prepare for gathering.

Marvexi 5Pcs Oval Embroidery Hoops 3"x3.7" Decorative Cross Stitch Hoops, Vintage Cute Faux Wood Embroidery Hoop for Christmas Ornaments and Art Craft Sewing
【Flexible Rubber-Resin Build】Durable, pressure-resistant oval hoops with elastic twist-to-lock mechanism for fabric stability
As an affiliate, we earn on qualifying purchases.
As an affiliate, we earn on qualifying purchases.
Securing the Fabric Inside the Hoop

To secure the fabric inside the hoop effectively, start by placing your embroidered fabric over the inner hoop, ensuring the design is perfectly centered.
Next, follow these steps:
- Tighten the screw on the outer hoop to keep the fabric taut, avoiding puckering.
- Trim excess fabric around the outer edge to about 1-2 inches for a neat finish.
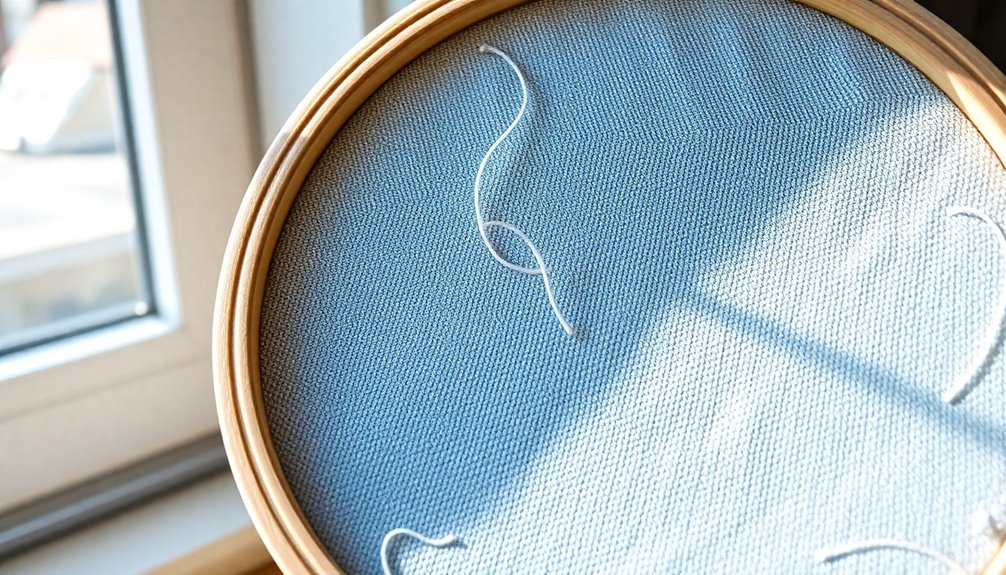
- Use a loose running stitch along the outer edge, leaving a long tail for gathering.
- Pull the thread to gather the fabric at the back of your hoop, ensuring it's evenly distributed.
Finally, secure it with a knot to finalize the securing process, achieving a smooth and secure fit for your embroidery project.

ARTMAN INSTRUMENTS Bent Handle Curved Embroidery Scissors – 6 Inch Curved Applique Scissors for Machine Embroidery, Fabric Stitches, and Crafting – Premium Stainless Steel with Precision Blades
Sharp Blades: The blades are made from high-quality stainless steel and are razor-sharp, ensuring clean cuts every time.
As an affiliate, we earn on qualifying purchases.
As an affiliate, we earn on qualifying purchases.
Techniques for Backing the Hoop
When it comes to backing your embroidery hoop, you've got a few solid techniques to choose from.
You can opt for a gathering stitch to secure fabric tightly or go for a cardboard backing for a clean finish.
Each method offers a unique way to enhance the look of your project while keeping everything in place.
Fabric Backing Techniques
As you finish your embroidery hoop, choosing the right fabric backing technique can make all the difference in achieving a polished look.
Here are some effective fabric backing techniques to evaluate:
- Running Stitch Around: Gather the fabric snugly around the hoop's perimeter with a running stitch before securing the back.
- Felt Backing: Use a circle of wool felt slightly smaller than the hoop for a polished finish; it's easy to sew and won't fray.
- Whip Stitch: This method for backing is great for attaching the felt, giving you a neat and visually appealing result.
- Hot Glue: For a quick solution, use hot glue to secure the trimmed fabric around the back of your embroidery hoop.
Each technique can enhance your finished embroidery beautifully!
Cardboard Backing Method
Using the cardboard backing method can simplify your embroidery finishing process while ensuring a polished appearance.
Start by tracing the inner edge of your embroidery hoop onto a piece of cardboard to create a snug circle. Carefully cut it out, ensuring a precise fit.
Once you've gathered the fabric at the back of the hoop, gently tuck the cardboard into place, making sure all fabric is secure underneath. This method is beginner-friendly, as it requires no sewing or gluing.
Plus, it allows for easy adjustments if the fabric shifts, providing a clean finish to your embroidery project. With this technique, you'll achieve a professional look without the hassle, making your embroidery hoop display-ready in no time!
Using Cardboard for a Clean Finish
To achieve a polished finish in your embroidery hoop, you can use cardboard as an effective backing material. Follow these steps for a clean and professional look:
- Trace the inner circumference of the hoop onto cardboard for a precise fit.
- Cut out the circle carefully, ensuring a neat edge to avoid sizing issues.
- Gather the fabric at the back of the hoop and slide the cardboard into place, tucking all fabric securely beneath it.
- Press down on the cardboard to keep it positioned without bumps, allowing for easy adjustments if needed.
This method not only gives your embroidery hoop a polished look but also makes repairs and adjustments hassle-free, preserving the integrity of your work.
Additional Finishing Options

While cardboard provides a great option for a clean finish, there are several other finishing techniques that can elevate the look of your embroidery hoop.
For a polished appearance, cover the back with a circle of wool felt, securing it with a whip stitch for a seamless finish.
If you prefer a no-sew option, use hot glue to attach trimmed fabric to the back, ensuring a quick and easy finish.
You can also enhance the aesthetics by gluing light cardboard to the back for extra structure.
To personalize your piece, add a bow or a hanging loop to the hoop's screw.
Finally, consider wrapping the hoop in ribbon or adding decorative trim around the edge for an extra touch of flair.
Tips for Displaying Your Finished Embroidery

Wondering how to best showcase your finished embroidery? Here are some tips to elevate your display:
- Choose Good Lighting: Select a spot with ample natural light to highlight the colors and details of your embroidery hoops.
- Secure Properly: Use wall hooks or picture hangers to guarantee your finished piece is level and well-supported.
- Consider Grouping: Create a gallery wall by grouping multiple hoops of varying sizes and designs for an eye-catching effect.
- Protect from Sunlight: Shield your embroidery from direct sunlight to prevent fading. Use UV-filtering glass if framed or position it in a shaded area.
Additionally, consider incorporating non-toxic plants to complement your embroidery display, adding a touch of greenery without harming your pets!
Don't forget to add decorative elements like ribbons or bows for a personal touch!
Frequently Asked Questions
How to Finish off Embroidery Hoops?
To finish off embroidery hoops, start by trimming the excess fabric to about 1-2 inches from the edge.
Then, use a running stitch around the fabric's perimeter, leaving a long tail. Pull the thread to gather the fabric tightly behind the hoop and secure it with a knot.
For a polished look, cover the back with a circle of wool felt and stitch it in place, hiding raw edges for a clean finish.
How to Trim Fabric in an Embroidery Hoop?
Did you know that nearly 70% of embroiderers struggle with trimming fabric in hoops?
To trim fabric effectively, start by ensuring the design is centered in the hoop. Then, use sharp scissors or pinking shears to carefully cut around the edges, leaving about an inch for folding.
Follow the hoop's contour for a neat look. This attention to detail not only enhances your project but also prevents fraying and gives a polished finish.
How to Cover the Back of an Embroidery Hoop?
To cover the back of your embroidery hoop, start by cutting a circle of wool felt that's slightly smaller than the hoop's circumference.
Position it over the back of your embroidery. Use a whip stitch with a matching embroidery thread to attach the felt securely around the edges.
If you prefer a no-sew option, hot glue works too. Once secured, tie off any loose threads and trim excess for a polished look.
How to Finish off the Back of Embroidery?
To finish off the back of your embroidery, start by trimming the fabric to about 1-2 inches around the edges.
Use a running stitch to gather the fabric tightly and tie off the thread securely.
For a polished look, you can cover the back with a circle of wool felt, using a whip stitch.
If you prefer a quicker method, hot glue works great to attach the fabric or a decorative backing like cardboard.
Conclusion
With your embroidery hoop now complete, you’ve transformed a simple piece of fabric into a vibrant tapestry of creativity. Each stitch tells a story, and the finished piece stands like a beacon of your artistry. As you hang it on your wall, let it serve as a constant reminder of your unique journey. Embrace the beauty of your handiwork, and know that every loop and knot weaves a thread of inspiration for others to admire. Each time you glance at your creation, you are reminded not just of the effort put into it, but also of the embroidery hoop benefits for cross stitch, which enhance precision and ease of work. This foundational tool has not only improved your technique but has also opened up a world of possibilities for future projects. With each new design and pattern you undertake, your skills will grow, allowing your tapestry of creativity to flourish even more.