
To use a sewing machine, start by understanding its components like the needle, presser foot, and spool pin. Set it up on a sturdy surface and install the needle. Thread the machine properly and wind the bobbin before inserting it. Adjust the stitch settings based on your fabric, then sew your first stitch. Don't forget to backstitch to secure seams. Keep your machine clean and well-maintained. Stick around to discover more tips and techniques for sewing success!
Key Takeaways
- Set up your sewing machine on a sturdy table, ensuring it's properly assembled and the power switch is on.
- Select and install an appropriate needle, then thread the machine correctly, following the guides.
- Wind and insert the bobbin securely, ensuring the thread unwinds in the correct direction for effective sewing.
- Adjust stitch settings for length and width based on fabric type, practicing on scrap fabric for accuracy.
- Regularly clean and maintain your machine, checking for common issues and ensuring it's properly threaded before use.

10 Pcs Fish Mouth Sewing Machine Needle Threader,2024 New Upgraded Automatic Sewing Needle Threader,Simple Needle Threader Tool,Quick Sewing Machine Cycle Simple Needle Threader Tool (Green)
- Durable Material: Made of sturdy plastic and metal
- Easy Needle Insertion: Holds needle securely for easy threading
- Time-Saving Tool: Speeds up sewing and threading process
As an affiliate, we earn on qualifying purchases.
As an affiliate, we earn on qualifying purchases.
Understanding Sewing Machine Components

A sewing machine is like a well-orchestrated team, with each component playing an essential role in creating beautiful stitches. The needle punctures the fabric, while the presser foot holds it in place, ensuring a smooth sewing process.
The spool pin secures your thread, and the thread guide directs it to the needle and bobbin, making threading easier. Underneath the presser foot, the feed dog moves the fabric along, helping you maintain even stitches.
You can customize your sewing with stitch adjustment buttons, allowing you to choose different stitch types and lengths. Keep an eye on thread tension for perfect results, and don't forget the convenience of an automatic needle threader to save time and frustration!
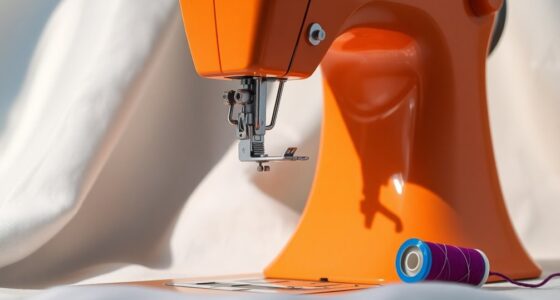
Setting Up Your Sewing Machine
To set up your sewing machine, start by placing it on a sturdy table with the needle end on the left for easy access.
Next, you'll need to install a suitable needle and thread the machine correctly to guarantee smooth operation.
Let's go through the essential steps for machine assembly and threading so you can get started with your projects.
Machine Assembly Tips
Setting up your sewing machine correctly is essential for a smooth sewing experience. Start by placing your new sewing machine on a sturdy table with the needle end facing left. Always unplug the machine during setup to avoid accidental activation.
Here are three important assembly tips:
- Connect the foot pedal: Plug it into the machine for easy access.
- Check the power switch: Verify it's on and the light indicators are visible.
- Verify all parts: Confirm the spool holder, thread guides, and bobbin compartment are correctly assembled as per your user manual.
Finally, adjust your chair height so that you can comfortably reach the machine's controls while seated.
Happy sewing!
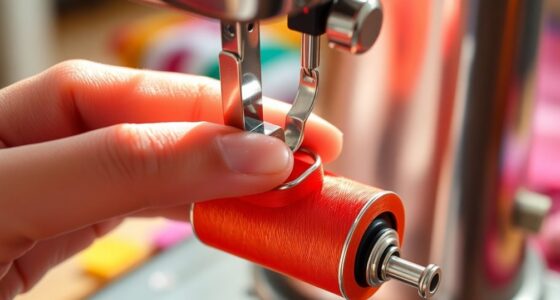
Needle and Threading
Getting the needle and threading right is essential for successful sewing.
First, select a needle suitable for your fabric type, making sure the flat side of the needle faces the back when you install it in the needle clamp screw.
Place your thread on the spool pin and guide it through the thread guide, then secure it on the bobbin using the bobbin winder.
Raise the needle to its highest position using the hand wheel before threading it from front to back, pulling several inches of thread.
Follow your user manual to verify the thread passes through the thread take-up lever and other guides.
Finally, insert the bobbin into the compartment and catch the bobbin thread before you start sewing.
Installing the Needle
When you're ready to install the needle, first choose the right type for your fabric—remember that knits need a ballpoint needle while wovens require a sharp one.
Next, securely install the needle by loosening the clamp screw, inserting it with the flat side facing the back, and tightening the screw.
This simple process guarantees you'll get the best results from your sewing machine.
Needle Type Selection
Choosing the right needle type is crucial for achieving the best results in your sewing projects. Your needle selection directly influences sewing performance and fabric handling. Here are three key points to contemplate:
- Fabric Type: Use a ballpoint needle for knit fabrics and a universal needle for woven fabrics.
- Needle Size: Opt for a size 70/10 for lightweight fabrics and a size 90/14 for medium weight materials.
- Installation: Verify the flat side of the needle faces the back when inserting it into the needle clamp.
Don't forget to replace the needle regularly, especially if you notice skipped stitches or if it appears bent or dull.
Proper needle choice and maintenance can greatly enhance your sewing experience.
Proper Needle Installation
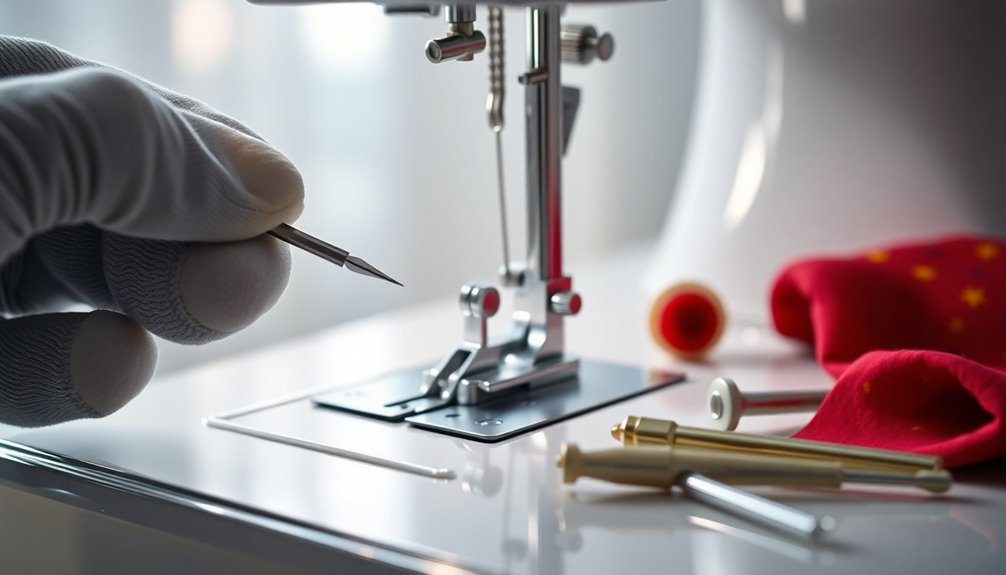
Proper needle installation is essential for ensuring smooth sewing. To start, choose a needle that matches your fabric type; a sharp tip works well for woven fabrics, while a ballpoint tip is best for knits.
First, turn off the machine and use the hand wheel to raise the needle to its highest position. Loosen the needle clamp screw with a screwdriver, then insert the needle with the flat side facing the back of the machine. Make sure it's inserted all the way into the clamp to prevent wobbling.
Finally, tighten the needle clamp securely. Regularly check your needle for signs of wear, and replace it as needed to maintain peak sewing performance.
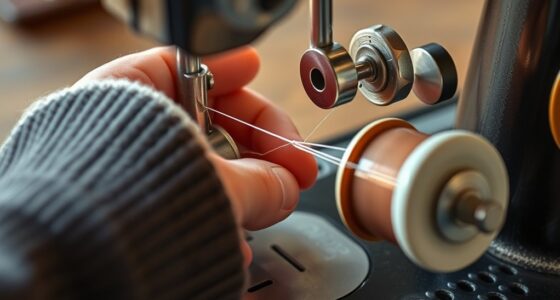
Threading the Machine
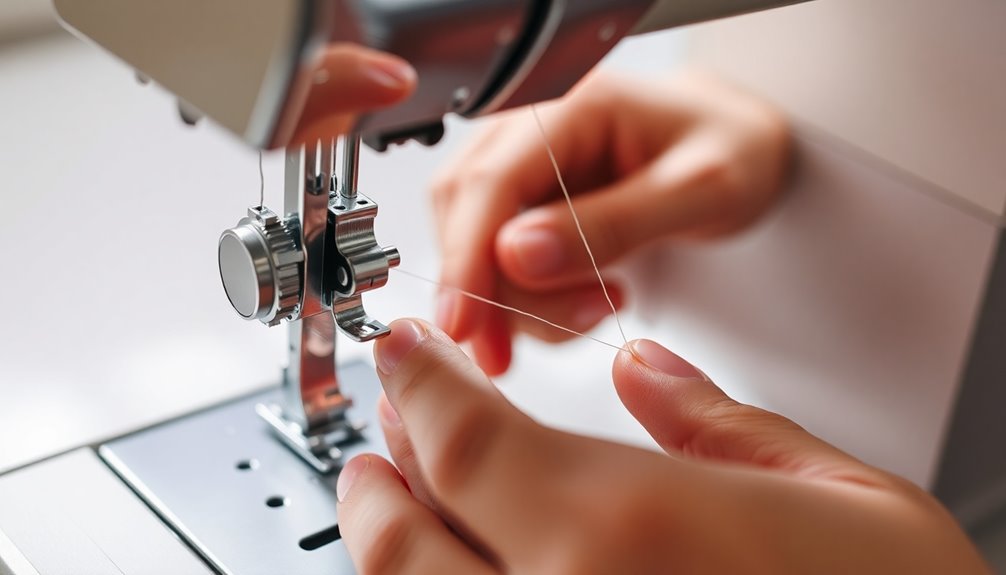
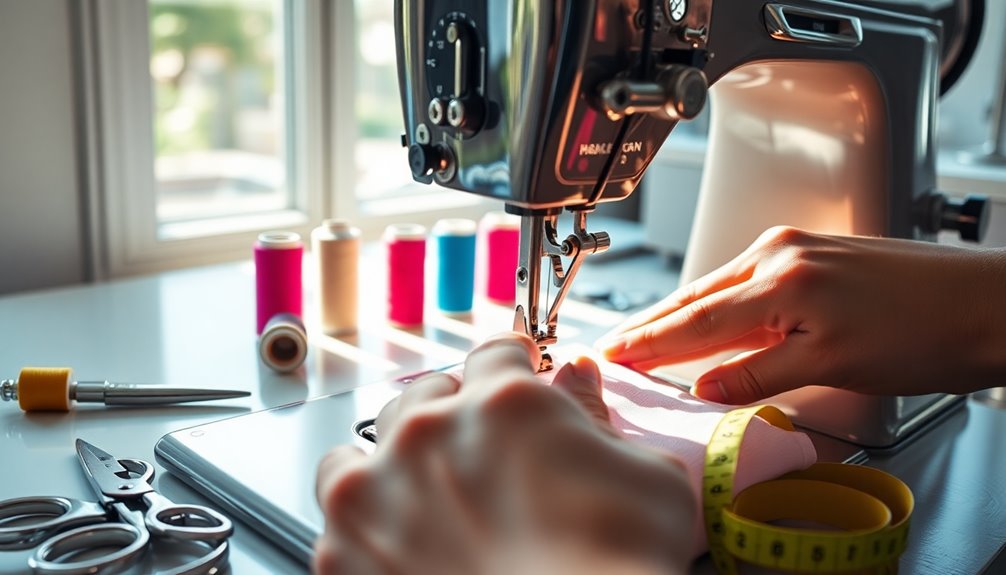
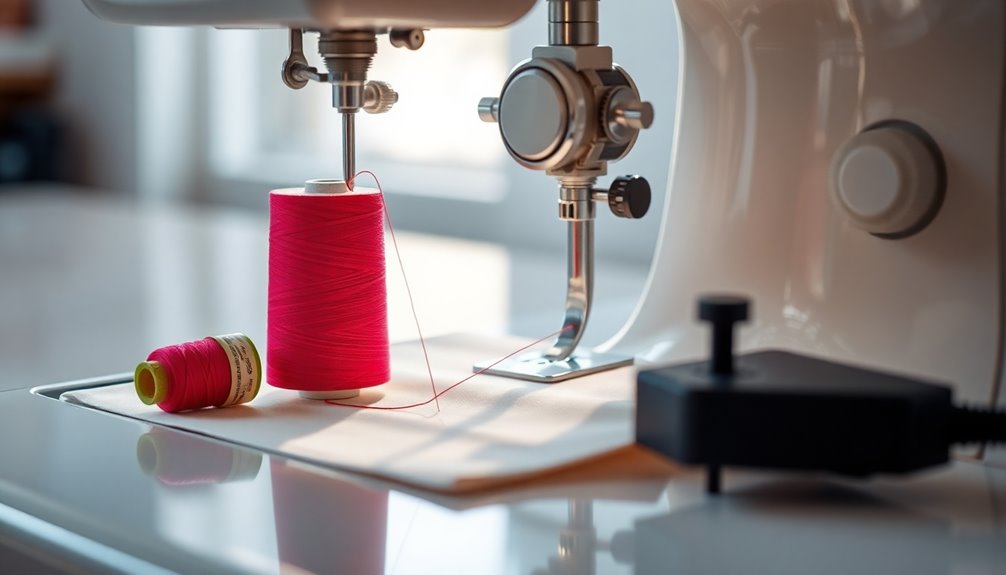
Threading your sewing machine correctly is essential for smooth operation and quality stitching. Start by placing your spool of thread on the spool pin, using a cap if necessary to maintain tension.
Follow the machine's threading path through the thread guide, take-up lever, and down to the needle. When you reach the eye of the needle, use an automatic needle threader if available, or thread it manually from front to back, pulling several inches through.
Here's a quick checklist to guarantee proper threading:
- Secure the spool of thread on the spool pin.
- Confirm the top thread follows the threading path.
- Confirm the thread is properly through the needle's eye before sewing your first stitch.
Winding and Inserting the Bobbin
Winding and inserting the bobbin is an essential step that guarantees your sewing machine operates smoothly.
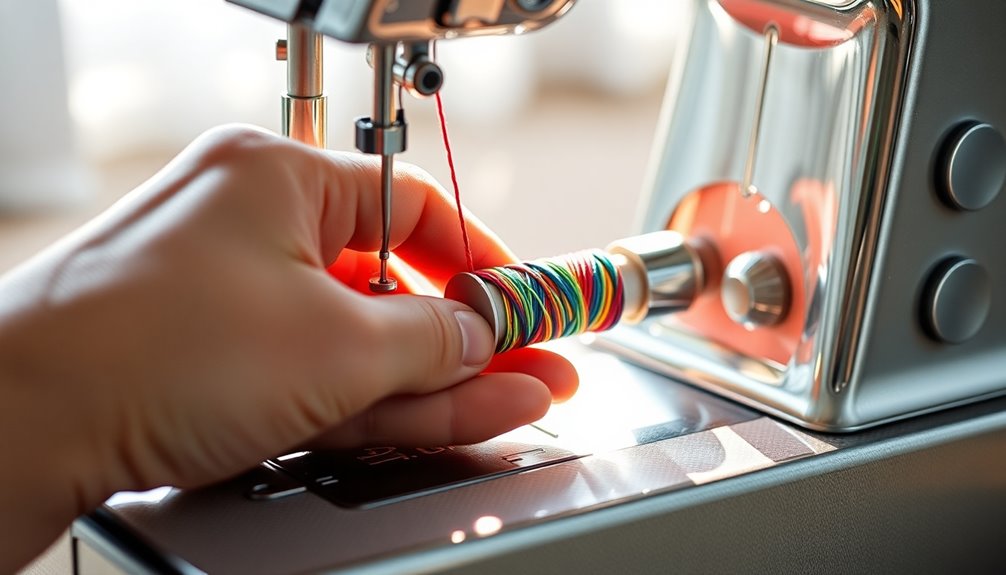
Begin by placing the bobbin on the bobbin winder and securing the thread around it, inserting the end into the hole on the bobbin.
Slide the bobbin winder to the right and press the foot pedal to start winding the thread onto the bobbin.
Monitor the winding process to verify even distribution. Once filled, stop the machine and slide the bobbin winder back to the left.
To insert the bobbin, open the cover, place the wound bobbin into the compartment with the thread unwinding in the correct direction, and pull the thread through the slot.
Finally, replace the bobbin cover securely to prepare for sewing.
Adjusting Stitch Settings

Once you've successfully wound and inserted the bobbin, you're ready to adjust the stitch settings for your sewing project.
Start by locating the stitch adjustment buttons or knobs on your machine. Here are some key adjustments to make:
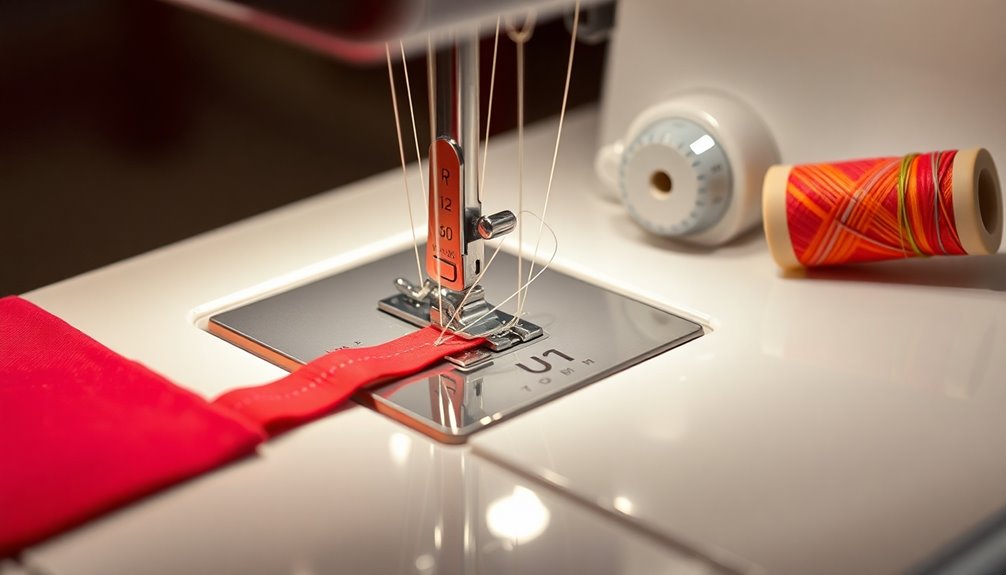
- Set a medium stitch length of 2.5 to 3.5 mm for most seams to guarantee balance and prevent puckering.
- For a zig-zag stitch, adjust the stitch width between 2-6 mm based on your fabric type to prevent fraying.
- Always verify the stitch with the needle in the highest position and the presser foot lowered.
Remember to consult your user manual for specific stitch types and settings tailored to your fabric and machine features.
Happy sewing!
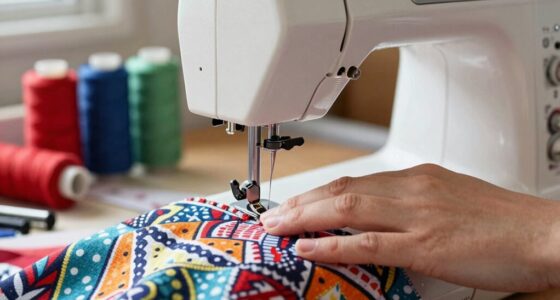
Sewing Your First Stitch
Now that you've set up your sewing machine, it's time to plunge into sewing your first stitch.
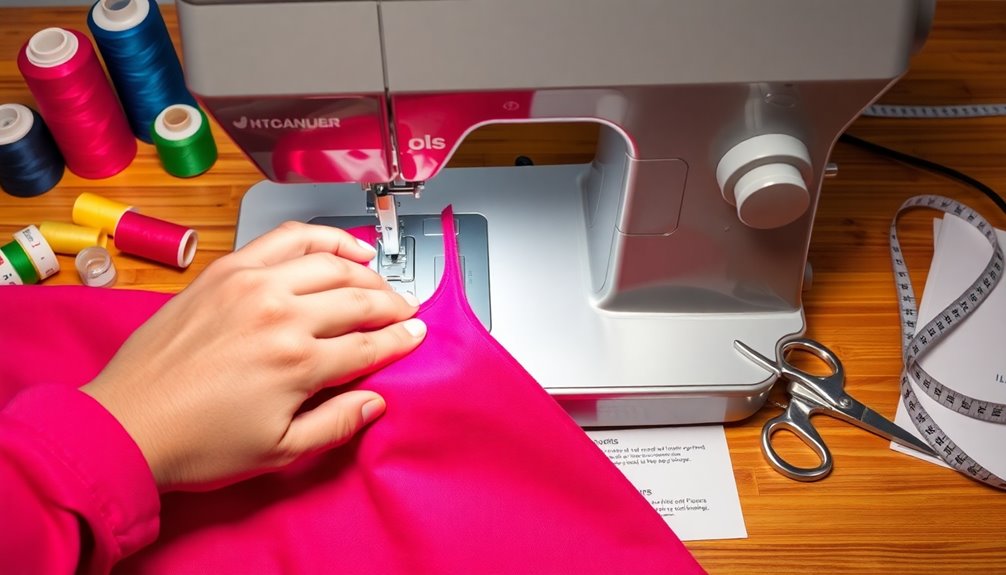
Start by ensuring your bobbin is loaded and your needle is installed correctly. Place your fabric under the presser foot, aligning the edge with the seam allowance guide, usually set at 5/8 inch.
Lower the presser foot to secure the fabric in place. Gently press the foot pedal to begin stitching, allowing the sewing machine to move the fabric while you guide it with your hands.
For a secure start, use a straight stitch, then backstitch by sewing forward a few stitches and reversing for an equal number. This will lock your first stitch in place, setting you up for success!
Backstitching and Securing Seams
While you may be enthusiastic to finish your sewing project, taking the time to backstitch is essential for securing your seams and preventing unraveling.
This technique guarantees your stitches hold strong, so don't skip it! Here's how you can master backstitching:
- Engage the reverse button on your sewing machine right after you start sewing.
- Sew backward for about 3-4 stitches to lock in your thread.
- Repeat this before finishing your seam to secure it effectively.
Maintenance and Care Tips

Taking care of your sewing machine is just as important as mastering techniques like backstitching.
Regularly clean your sewing machine to prevent dust buildup, especially around the feed dogs and needle area. Use a soft brush or cloth for this task.
Don't forget to oil the machine's moving parts as recommended in the user manual; this guarantees smooth operation and longevity.
Check the needle condition frequently—replace the needle if it's bent, dull, or damaged to avoid sewing complications and maintain stitch quality.
When not in use, store your sewing machine properly by covering it and making sure it's unplugged.
Finally, consult the user manual for troubleshooting tips to maintain peak performance and address common issues.
Frequently Asked Questions
How to Sewing Machine for Beginners?
To get started with a sewing machine as a beginner, you'll want to familiarize yourself with its parts.
Check the power switch, spool pin, and thread guide. Choose the right needle for your fabric and install it correctly.
Thread the machine carefully, making sure to follow the path. Set the machine to a straight stitch and lower the presser foot before you begin. Once the presser foot is lowered, you can start sewing your fabric, ensuring that the edges are aligned properly. It’s crucial to maintain a steady pace to achieve even stitches throughout your project. If you’re unsure about the setup, there are plenty of tutorials available online on how to thread a juki machine, which can guide you through the process step-by-step for optimal results.
Finally, remember to backstitch at the start and end of your seams.
How Do Sewing Machines Work Step by Step?
Imagine this: a magical machine that transforms fabric into art with just a flick of your foot!
Sewing machines work by using a needle that dances up and down, pulling the top thread while the bobbin supplies the bottom thread. You guide the fabric as the feed dogs move it forward, and the foot pedal controls your speed.
With a twist of a knob, you can select different stitch types, making your creativity limitless!
Can I Teach Myself to Use a Sewing Machine?
Yes, you can definitely teach yourself to use a sewing machine! Start with simple projects and gradually tackle more complex designs as your skills grow.
Explore online resources like video tutorials and blogs that break down the basics. Familiarize yourself with your machine's manual, practice threading it, and winding the bobbin.
Regularly experiment with different fabrics and techniques to boost your confidence and troubleshoot any sewing hiccups you encounter along the way.
How to Start and End a Stitch on a Sewing Machine?
To start a stitch, position your fabric under the presser foot and lower it.
Make sure the needle's at its highest position, then gently press the foot pedal.
Always backstitch at the beginning by sewing forward a few stitches and reversing the same amount.
When you're done, stop with the needle in the fabric, lift the presser foot, and backstitch again to lock your seam before trimming the thread tails.
Conclusion
As you close the door on your sewing adventure, think of the machine as a trusty steed, ready to gallop into the world of creativity. With each stitch, you weave dreams into reality, crafting a tapestry of your imagination. Just as a gardener tends to their blooms, remember to care for your machine, ensuring it flourishes like a vibrant meadow. Now, saddle up and let your ideas take flight—every project is a new journey waiting to unfold!