
To install snap fasteners neatly, start by choosing the right tools like a snap fastener kit and ensuring your fabric is clean, pressed, and marked accurately. Use a ruler for even spacing and reinforce delicate fabrics with interfacing if needed. Carefully position the snaps and apply consistent pressure with the setter, making sure they are aligned and secure. For the best results, paying attention to detail and proper technique is key—keep going to discover all the helpful tips for a professional finish.
Key Takeaways
- Use a compatible snap fastener kit with proper tools like pliers, punch, setter, and anvil for precise installation.
- Prepare fabric by washing, ironing, and marking exact snap placement with chalk or washable markers.
- Ensure accurate and straight markings with measuring tools to maintain even spacing and alignment.
- Select appropriate tools for fabric thickness, applying consistent pressure to securely fasten each snap.
- Achieve a professional finish by reinforcing delicate fabrics, maintaining neatness, and verifying snap placement before completing.
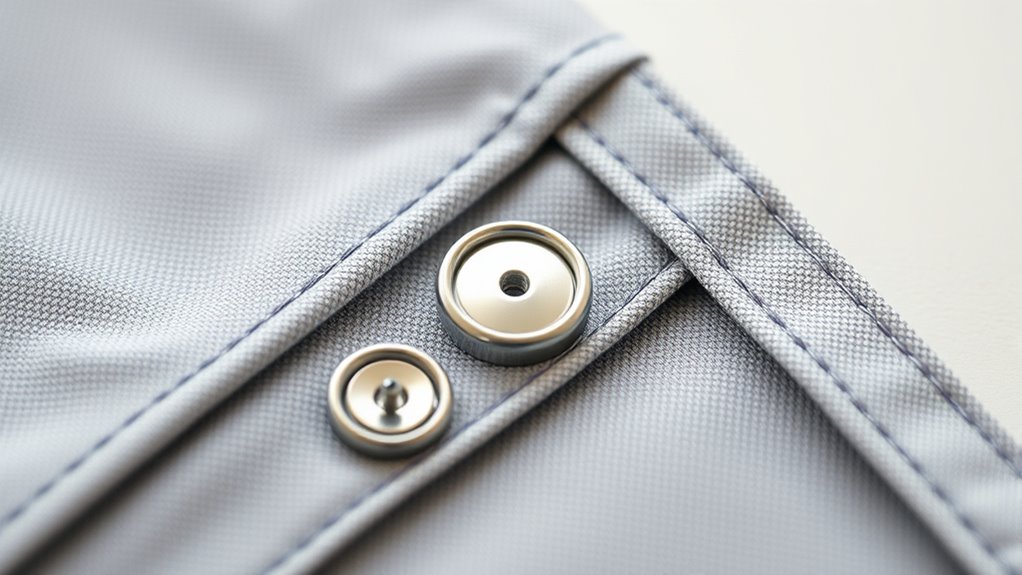
Installing snap fasteners neatly can considerably improve the appearance and functionality of your project, whether you’re working on clothing, accessories, or home decor. To achieve a professional look, you need to focus on proper tool selection and fabric preparation. Picking the right tools is essential because it ensures the snaps are installed securely and cleanly. A snap fastener kit typically includes a punch, setter, and anvil—each designed for specific parts of the snap. Choose tools that match the size and type of the snaps you’re working with, and always verify their compatibility to avoid damaging your fabric or producing uneven results.
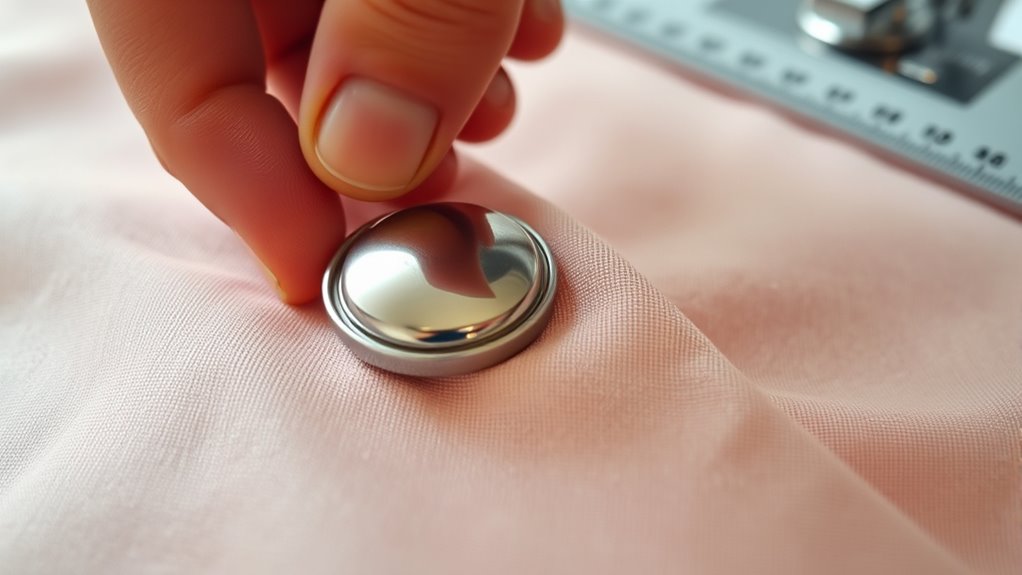
Fabric preparation is equally important. Before you start installing snaps, wash and iron your material to remove any wrinkles or residues that could interfere with proper placement. Lay your fabric flat on a sturdy surface, and mark the exact spot where you want the snap to go. Use a fabric chalk or a washable marker for precision, ensuring your marks are straight and centered. Proper preparation helps prevent shifting during installation and guarantees that the snaps will be aligned correctly, giving your project a polished finish.
When selecting tools, consider investing in a quality snap fastener plier or a dedicated snap setting tool rather than improvising with makeshift equipment. These tools provide the necessary leverage and precision, making the process easier and more accurate. If you’re working with thicker fabrics like denim or upholstery, choose a heavy-duty setter to accommodate the material’s density. For lighter fabrics, a smaller, more delicate tool will suffice, preventing tears or distortions.
During fabric preparation, also think about reinforcing the area where you’ll place the snap. For delicate or stretchy fabrics, you might want to add a small piece of interfacing behind the mark. This extra layer provides stability, ensuring the snap stays securely attached over time, especially under stress. When marking your fabric, double-check your measurements to keep the snaps evenly spaced and aligned. Using a ruler or measuring tape can help you achieve symmetry and a professional look.
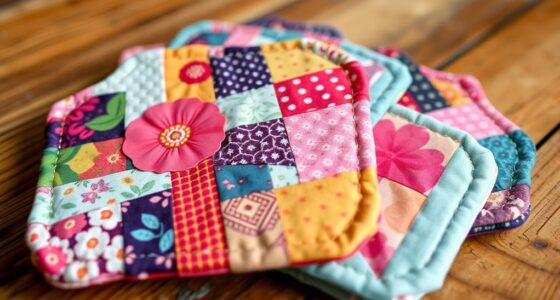
Additionally, selecting natural materials such as linen or cotton can enhance the authentic farmhouse aesthetic of your project, creating a charming and cohesive finish.

Snap Fastener Tool,Snap Tool for Boat Covers, Heavy Duty Snap Setter Pliers Canvas Snap Fasteners Kit Includes 60 Sets 15mm Stainless Snaps
- Integrated Punch Holes: No need to switch tools for punching
- Magnetic Mold Head: Easy to replace and prevents dropping
- Lightweight and Portable: One-handed operation for convenience
As an affiliate, we earn on qualifying purchases.
As an affiliate, we earn on qualifying purchases.
Frequently Asked Questions
Can Snap Fasteners Be Removed Easily Without Damage?
You might wonder if snap fasteners can be removed easily without damage. Generally, they’re designed for durability in various snap fastener applications, so removal isn’t always straightforward. While some snap fasteners can be pried off carefully, doing so risks damage or leaving holes. For delicate projects, consider using specialized tools or replacing the fastener entirely, but keep in mind that their durability means they’re meant to stay securely in place once installed.
What Fabrics Are Best Suited for Snap Fastener Installation?
Imagine you’re attaching snap fasteners to a denim jacket. For fabric compatibility, sturdy materials like denim, canvas, and upholstery fabric work best because they hold snaps securely. Light or stretchy fabrics, such as silk or jersey, may not provide enough support, leading to loose or torn areas. When choosing snap fastener types, select heavy-duty ones for thick fabrics and smaller, softer snaps for delicate materials to guarantee durability and a clean look.
Are Special Tools Needed for Different Types of Snap Fasteners?
When working with different snap fastener types, you might wonder if you need special installation tools. The answer is yes; various snap fasteners often require specific installation tools for proper setup. For example, metal snaps typically need a snap setting tool, while plastic ones might use a different applicator. Using the right installation tools guarantees secure fastening and a neat finish, making your project look professional and durable.
How Do I Prevent Misalignment During Installation?
To prevent misalignment during installation, focus on maintaining proper alignment of the snap fastener components. Use a template or mark the fabric beforehand to guarantee consistent placement, which helps avoid alignment issues. Carefully position each part and apply even pressure to improve fastening precision. Taking your time and double-checking the alignment before securing will ensure your snap fasteners are installed neatly and securely, giving a professional finish.
Can Snap Fasteners Be Reused After Removal?
You can reuse snap fasteners after removal, but their durability depends on the material and how carefully you take them out. If you handle them gently, they often stay in good condition for future use, though their aesthetic appeal might diminish over time. Keep in mind, reusable fasteners work best if they’re designed for multiple uses. Always inspect them for any damage before reinstalling to ensure they hold securely and maintain a neat appearance.
Conclusion
Now that you know how to install snap fasteners neatly, you’ll find your projects look more professional and hold better. Remember, practice makes perfect, and taking your time guarantees a clean finish. Did you know that snap fasteners are among the most popular fasteners worldwide, with an estimated 10 billion units sold each year? Mastering their installation not only boosts your skills but also opens up new creative possibilities for your sewing and craft projects.