
To improve fit and finish, focus on properly stabilizing your fabric to prevent shifting and puckering. Use clean seam allowances, press seams flat, and trim excess to keep edges neat. Finish seams with zigzag stitches, serging, or bias tape to prevent fraying and add durability. Precise seam construction and allowance management make your projects look professional and last longer. Keep these tips in mind, and you’ll create sewing projects that truly stand out—there’s more to discover as you go.
Key Takeaways
- Stabilize fabric with interfacing or stay tape to prevent puckering and ensure smooth, even seams.
- Choose appropriate seam finishes like serging or binding to prevent fraying and enhance durability.
- Press seam allowances correctly—open or to one side—to create flat, neat seams and reduce bulk.
- Use consistent seam allowances and reinforce stress points with topstitching for stronger, longer-lasting seams.
- Trim seam allowances precisely to maintain a clean finish and avoid unnecessary bulk that affects fit.

Have you ever wondered why some sewing projects turn out perfect while others fall apart? The secret often lies in understanding how to manage your seam allowances and finish your seams properly. When you pay attention to fabric stabilization, you give yourself a solid foundation that prevents puckering, shifting, or stretching as you sew. Stabilizing your fabric can be as simple as using interfacing, stay tape, or starch to keep your fabric flat and stable during sewing. This step ensures that your seams stay even and your project maintains its intended shape. Without proper stabilization, even the best sewing techniques can fall short, leading to uneven seams or rippling fabric that ruins the finish. Additionally, choosing the right stabilization method can depend on the fabric type and project requirements, further improving your results.
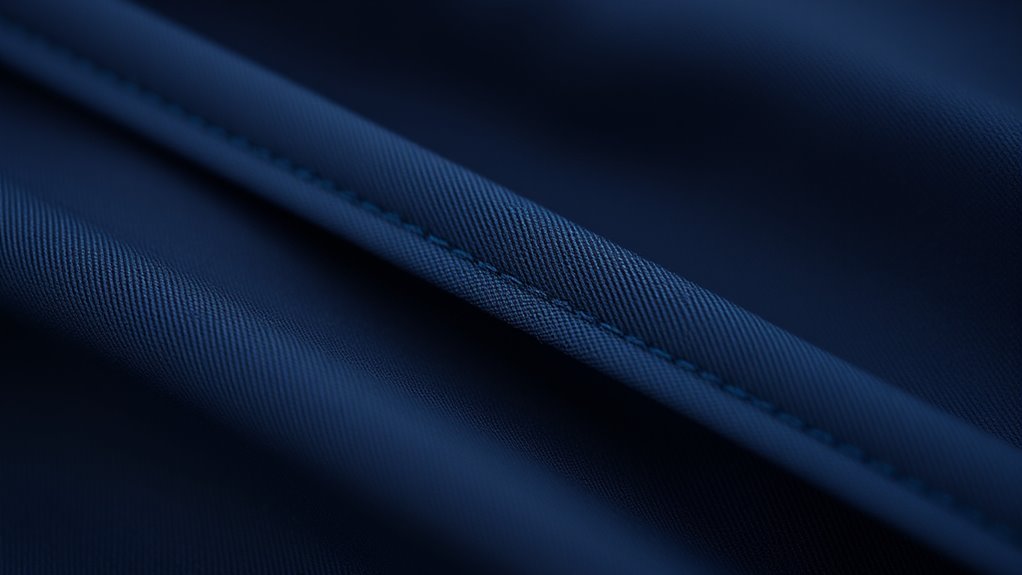
Once your fabric is stabilized, the next critical step is mastering seam finishing techniques. These techniques are essential for preventing fraying, which is especially important if your fabric tends to unravel easily. There are many options, from narrow zigzag stitches and pinking shears to more advanced methods like serging or binding the raw edges with bias tape. Choosing the right seam finish depends on your fabric type, the project’s purpose, and your desired look. Proper seam finishing not only improves durability but also gives your project a professional appearance.
Understanding how to handle your seam allowances plays a crucial role in the overall quality of your sewing. Generally, you want to press your seam allowances open or to one side, depending on the fabric and project. Pressing helps flatten the seams and set the stitches, which contributes to a cleaner finish. If your seam allowances are too wide, they can add bulk and make fitting difficult; too narrow, and you risk fraying or compromising strength. A good rule of thumb is to trim seam allowances to an appropriate width before finishing, ensuring a neat, flat edge that’s easy to work with.
Another important aspect is how you sew your seams. Use consistent seam allowances and stitch length, especially for seams that will bear stress or need extra strength. Reinforcing seams with topstitching or backstitching at critical points adds resilience and prevents splitting over time. When combined with proper fabric stabilization and seam finishing techniques, these small adjustments can dramatically improve both the fit and the professional appearance of your finished project. Mastering seam allowance management can significantly elevate your sewing results and project durability.
In the end, mastering these seam allowance secrets—focusing on fabric stabilization, choosing the right seam finishing techniques, and handling allowances thoughtfully—will elevate your sewing. It’s not just about the stitches; it’s about creating a durable, well-finished product that looks as good as it feels. With practice, you’ll find that these details make all the difference in achieving sewing projects that stand the test of time.
Frequently Asked Questions
How Do Seam Allowances Differ for Stretch Fabrics?
When sewing stretch fabrics, you should adjust your seam allowances to account for fabric stretch and seam flexibility. Typically, use narrower seam allowances, around 1/4 to 3/8 inch, to avoid excess fabric that can cause puckering or distortion. It’s also helpful to reinforce seams with stretch stitches or serging. This way, your seams maintain their strength and flexibility, ensuring a better fit and professional finish on your stretch projects.
Can Seam Allowances Be Altered After Sewing?
Did you know that about 80% of home sewists adjust seam allowances for a better fit? Adjusting seam allowances after sewing is possible, but it requires careful seam allowance trimming or resewing. If you need a smaller or larger seam allowance, you can carefully unpick stitches and re-sew with the desired allowance. Just be gentle to avoid damaging your fabric, and always press your seams afterward for a polished finish.
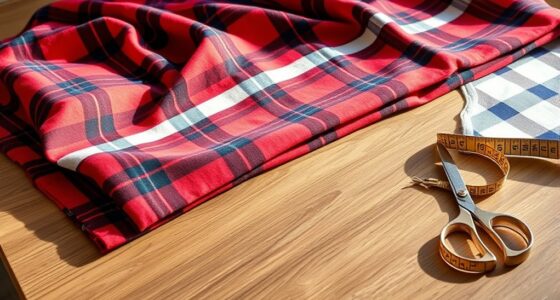
What Tools Help Measure Seam Allowances Accurately?
To measure seam allowances accurately, you should use reliable measuring tools like a seam gauge or a clear ruler. A seam gauge is especially helpful because it’s designed specifically for sewing, allowing you to quickly and precisely check seam widths. Keep the tool flat against your fabric and double-check your measurements before sewing to make certain of consistent seam allowances, which leads to better fit and professional-looking finishes.
Should Seam Allowances Be Pressed Open or to One Side?
When it comes to pressing techniques, the choice depends on your project; there’s no one-size-fits-all. Generally, pressing seam allowances open can reduce bulk and create a flatter finish, especially for fabrics that benefit from a smooth look. For heavier fabrics or certain seams, pressing to one side might be better. Keep your seam allowance width in mind, and always press carefully to make certain your garment looks professional and fits well.
How Does Seam Allowance Impact Garment Drape?
Seam allowance substantially impacts your garment’s drape by influencing fabric stability and how it hangs. If your seam allowance is too wide, it can add bulk and cause stiffness, disrupting the drape. To prevent this, you should consider fabric stabilization techniques and seam allowance grading, which reduces bulk at the edges. Pressing seams open or to one side also helps, ensuring a smooth, natural fall that enhances your finished look.
Conclusion
Now that you know these seam allowance secrets, your sewing projects will look more professional and fit better. Think of seam allowances like the foundation of a house—they support everything above. With just a little extra attention, you’ll turn simple seams into polished finishes that elevate your craftsmanship. Keep experimenting and adjusting, and soon, sewing will feel as natural as breathing. Your skills will grow, and your projects will shine brighter than ever before.